If your candles aren’t burning evenly, check that your wick is centered and the right size for your candle’s diameter, trimming it to ¼ inch before each burn. To fix cracked or cloudy wax, gently re-melt with a temperature-controlled double boiler, and smooth the surface with a heat gun. For soot, keep wicks trimmed and avoid drafts. For better results on surface finish and longevity, follow these tips closely—you’ll discover more ways to perfect your candles as you continue.
Key Takeaways
- Trim wicks to ¼ inch before each burn to prevent tunneling, soot, and uneven burning.
- Re-melt and smooth surface issues like cracks or cloudiness using a heat gun or double boiler.
- Use proper wick size and maintain a stable environment to avoid warping, melting, and soot buildup.
- Choose high-quality waxes suited for longer burns, and ensure proper pouring temperature for a smooth finish.
- Employ layering techniques, gentle stirring, and tools like heat guns to achieve a clean, even surface.

Etienne Alair Organic Soy Candle Wax for Candle Making, 10 lbs Natural Candles Making Supplies, Beeswax-Free, Paraffin-Free, Pure Soy Wax Flakes Perfect for Candles, Tealights and Melts
All-In-One Starter Kit – Everything you need to dive into candle making! Our Etienne Alair soy candle wax...
As an affiliate, we earn on qualifying purchases.
How to Fix Uneven Burning Candles
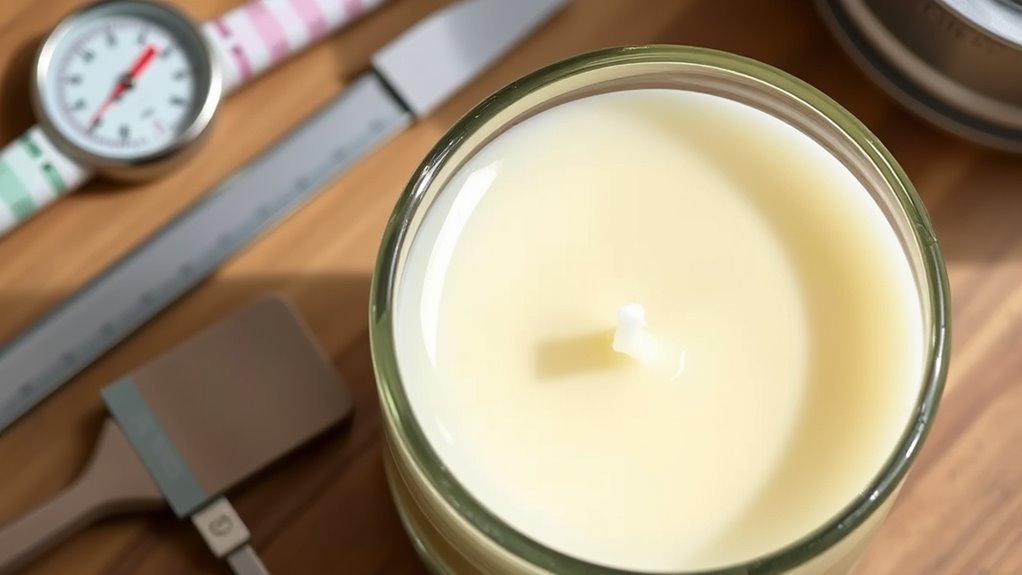
Have you noticed your candle burning unevenly, creating a tunnel or soot buildup? This often happens when the wick is too long or uneven, causing an uneven melt pool. To fix this, trim the wick to about ¼ inch before each burn to promote even burning and prevent tunneling. Proper wick trimming ensures consistent flame height and helps with fragrance integration, so your candle releases scent evenly. Also, make sure your wick is centered; an off-center wick can cause uneven wax consumption. If your candle still burns unevenly, try redistributing the wax around the wick while it’s still warm. Keeping the wick trimmed and properly centered not only improves burn quality but also enhances fragrance diffusion, giving you a better overall candle experience. Additionally, using the correct wick size for your candle container can significantly improve burn performance. Being aware of candle composition and how it influences burn behavior can help prevent common issues and extend your candle’s lifespan. Proper wax layering techniques can also contribute to a cleaner and more even burn. Regular maintenance and understanding the exfoliating properties of glycolic acid can help preserve the health of your skin, preventing issues like uneven patches.

American Soy Organics Freedom Soy Wax Beads for Candle Making - Natural Candle Making Supplies - Paraffin-Free, Beeswax-Free Candle Wax for Container Candles, Tealights and Wax Melts, 25 lbs
NATURAL SOY WAX BEADS - Best candle making supplies make the best soy candles! These safe, ethically produced,...
As an affiliate, we earn on qualifying purchases.
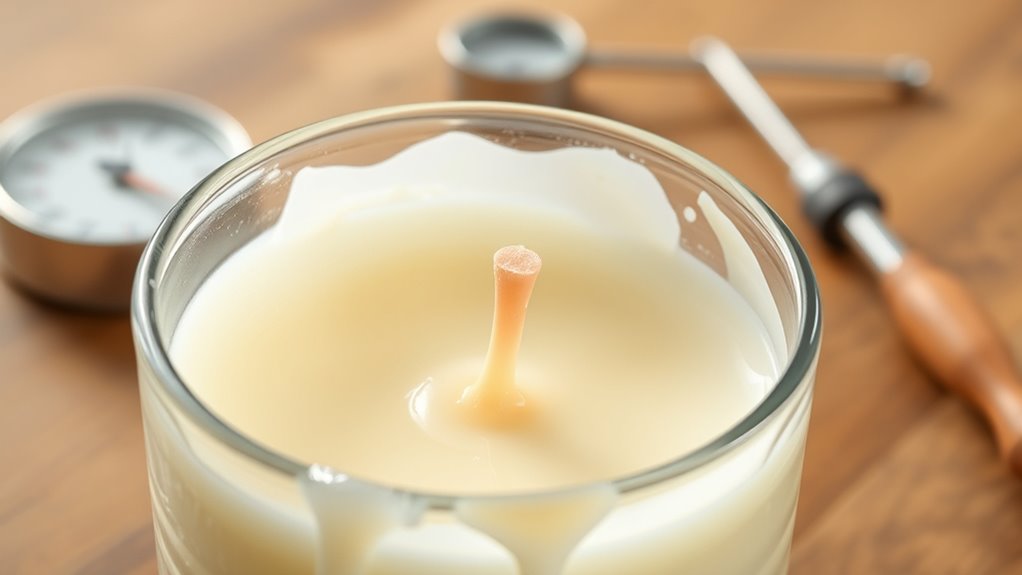
Troubleshooting Sinkholes and Tunneling
Sinkholes and tunneling are common issues that can ruin your candle’s appearance and burning performance. To fix this, start by checking your wax’s pH balance, as improper pH can cause uneven melting and tunneling. Make certain your wax is fully melted and at the right temperature before pouring. Fragrance compatibility also plays a role; incompatible scents can interfere with the wax’s flow, leading to sinkholes. Use fragrances designed for candle making and add them at the correct temperature to promote even distribution. When pouring, do so slowly and carefully to prevent air bubbles that may cause tunneling. Allow your candle to cool undisturbed. Proper wax temperature control is essential for a smooth, even burn, and adjusting pH levels, choosing compatible fragrances, and careful pouring help create a smooth, even burn without sinkholes or tunneling. Additionally, proper candle wick selection ensures a steady flame and prevents uneven burning.
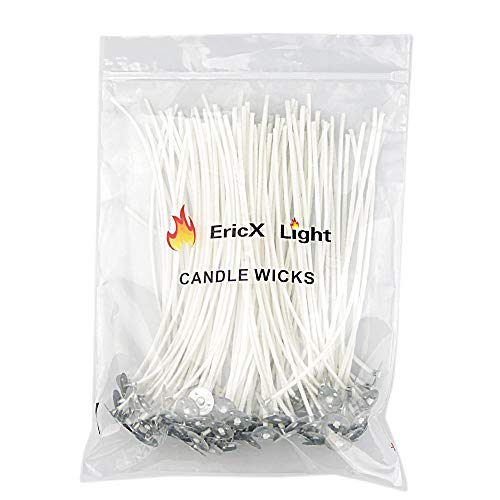
EricX Light 100 Piece Natural Candle Wick, Low Smoke 6" Pre-Waxed & 100% Natural Cotton Core,For Candle Making,Candle DIY
Pre-waxed and tabbed
As an affiliate, we earn on qualifying purchases.
Managing Excessive Soot Production
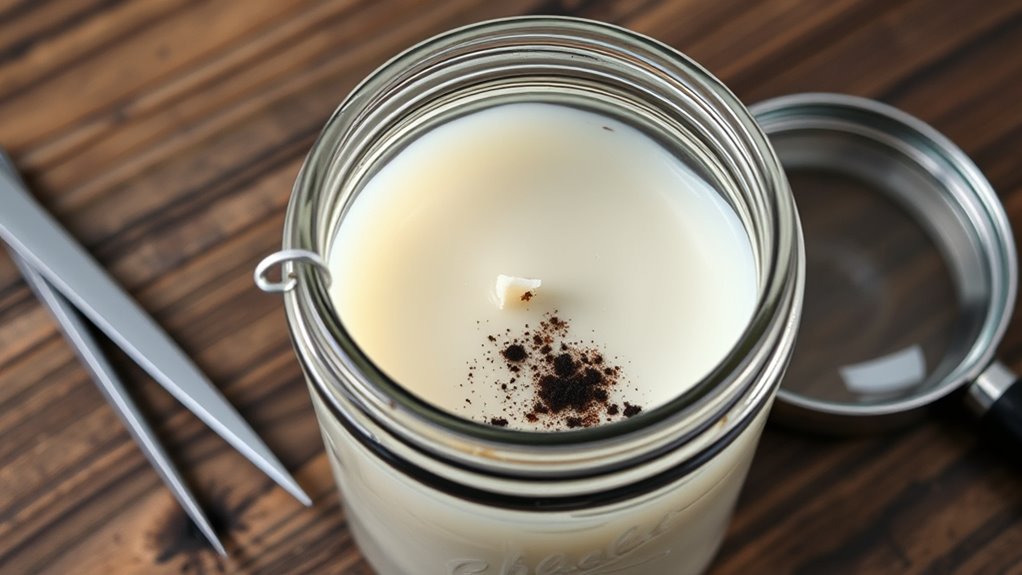
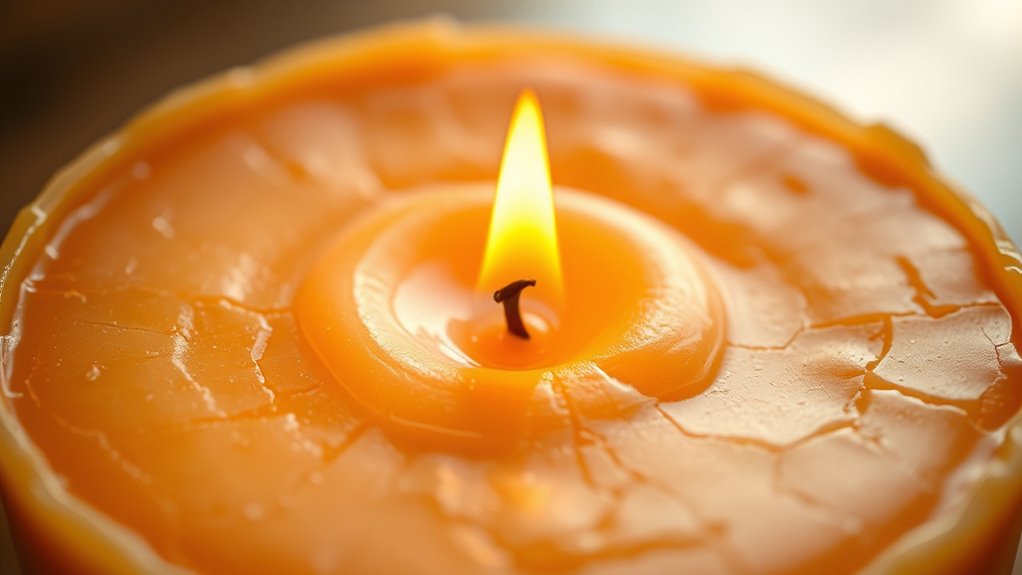
Excessive soot production can mar the appearance of your candle and pose health concerns. To manage this, start by trimming your wick to about ¼ inch before each burn. A shorter wick promotes a cleaner, steadier flame, reducing soot. Additionally, ensure your fragrance oils are not overused; excess fragrance can cause increased soot and smoky flames. Proper wick trimming also helps with fragrance enhancement, allowing the candle to burn evenly and release scent without producing soot. Keep your candle away from drafts, which can cause flickering and soot buildup. Regularly inspecting your candle and adjusting wick length will lead to a cleaner burn, better fragrance release, and a safer, more attractive candle. Being aware of candle safety tips can further prevent accidents and ensure a safe burning experience.

buluker 300Pcs Functional Smokeless Candle Wicks - Pre Waxed Cotton Wick with Metal Sustainer Tabs for Pillar Candle Making and DIY, 9cm/3.5in, 15cm/6in, 20cm/8in
value pack:There are 3 different sizes of 4 "+6"+8 ", each with 100 pieces, including 10pcs of wooden...
As an affiliate, we earn on qualifying purchases.
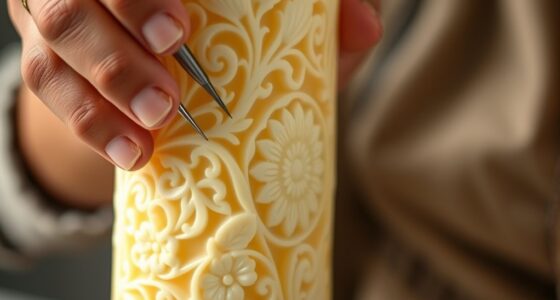
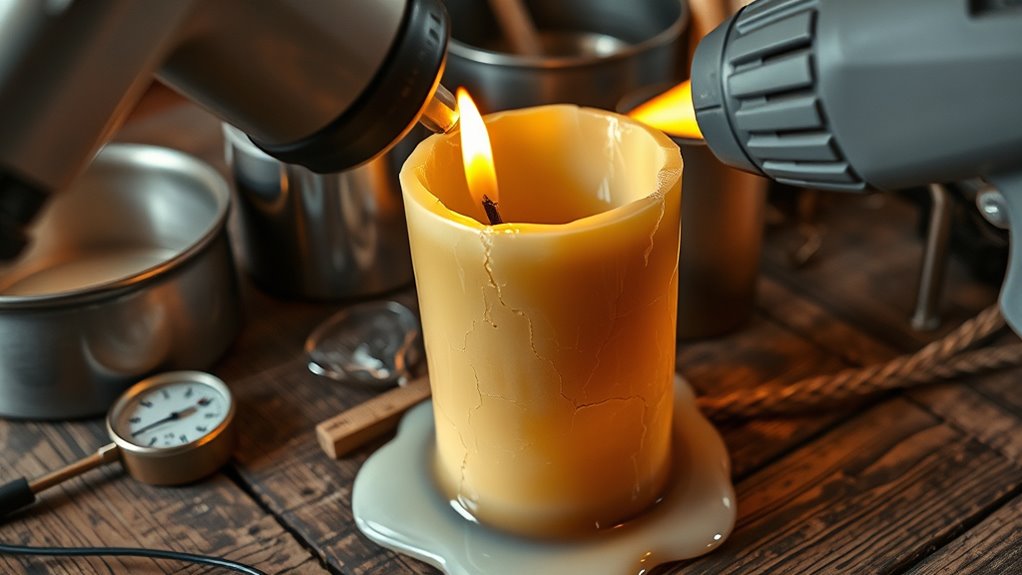
Correcting Cracked or Cloudy Wax
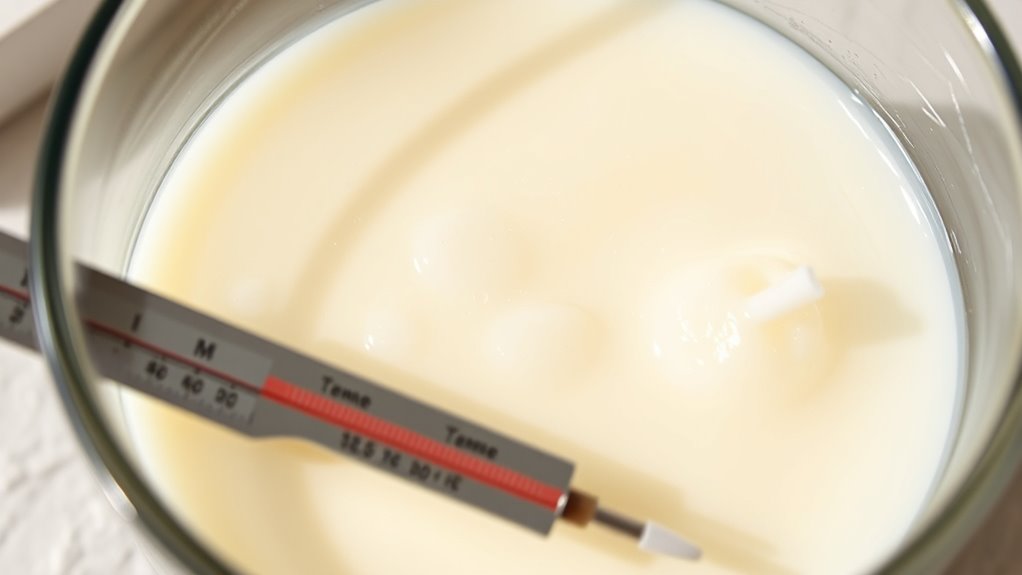
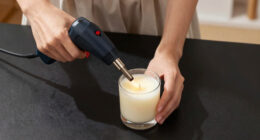
Cracked or cloudy wax can detract from the appearance and performance of your candle, but you can often fix these issues with simple adjustments. Cracked wax usually results from uneven cooling or excessive temperature during pouring. Cloudy wax often occurs when impurities or moisture are present. To correct this, gently re-melt the candle to smooth out cracks or clarify cloudy wax. Use a double boiler to prevent overheating. Ensuring proper temperature control during the process helps prevent future issues. Additionally, maintaining a consistent cooling rate can help achieve a smoother, clearer finish. Incorporating visual and auditory cues during troubleshooting can assist in identifying the root causes of these issues and improve your technique.
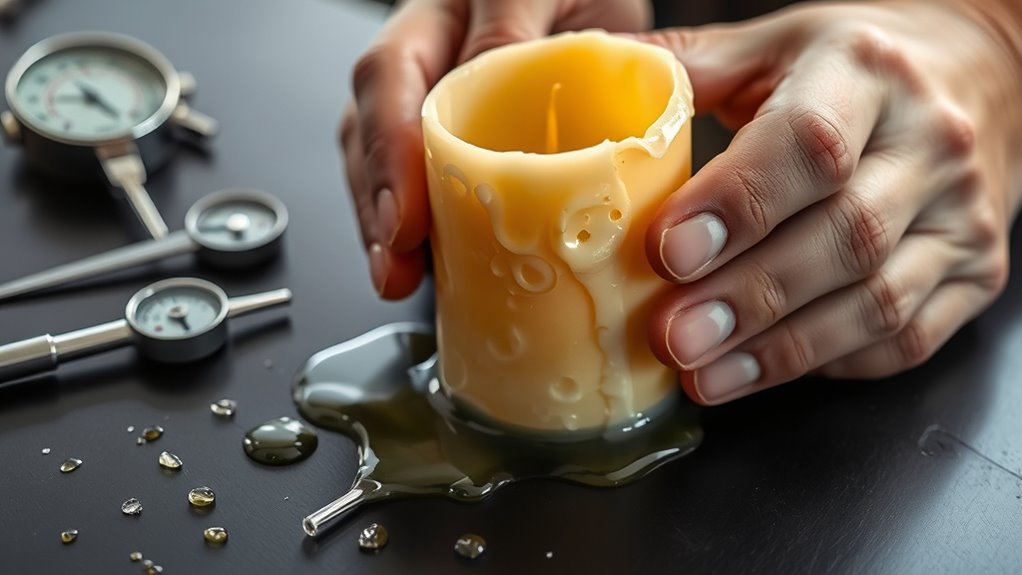
Preventing and Repairing Wax Drips
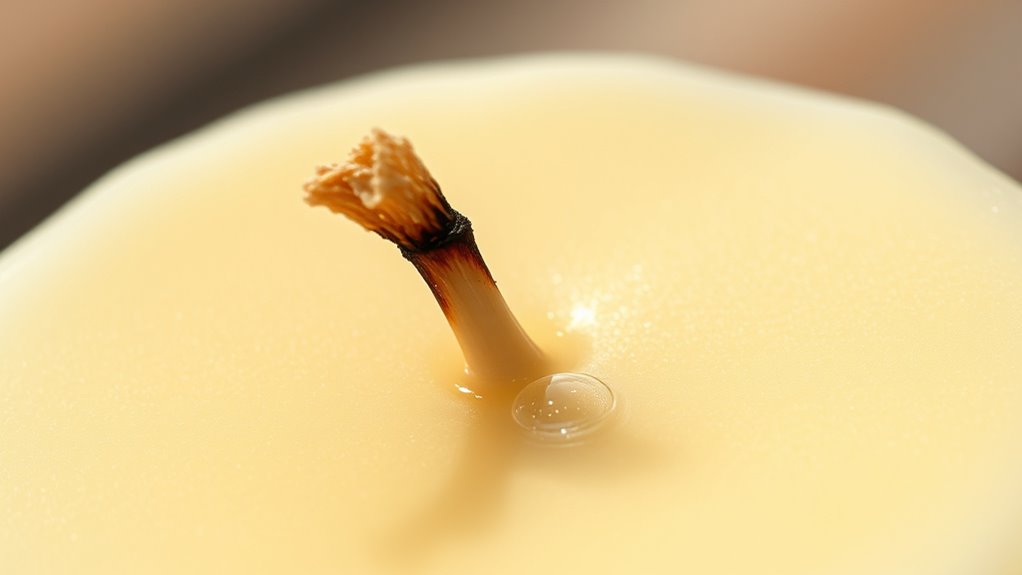
Wax drips can be frustrating, but they’re often preventable with proper technique. One key factor is choosing the right wick size; a wick that’s too small can cause uneven burning, leading to excess wax melting and dripping down the sides. Make certain your wick is appropriate for your candle’s diameter. When adding fragrance oils, avoid overpouring, as too much can weaken the wax structure and increase dripping. Keep your pouring temperature consistent and within the recommended range to help the wax set smoothly, reducing drips. If you notice wax starting to drip, you can try gently reheating the candle’s surface and smoothing it with a heat gun or spoon. Proper wick size and careful fragrance oil use are essential for minimizing wax drips and achieving a clean, professional finish. Additionally, monitoring the cooling process can help prevent uneven wax flow and drips. Maintaining a consistent pouring temperature plays a crucial role in the overall appearance of your candles. Ensuring proper candle safety practices during burning can also minimize issues with dripping. Paying attention to room temperature during the candle-making process can further improve the quality and reduce imperfections.
Addressing Candle Wick Problems
Wick problems are a common cause of uneven burning or poor candle performance, but many issues can be fixed with simple adjustments. Proper wick maintenance is essential to guarantee a steady, even burn. If your candle is tunneling or burning too quickly, consider resizing the wick; a wick that’s too small won’t provide enough heat, while one that’s too large may cause excessive flickering and soot. Always match your wick size to the candle’s diameter for best results. Keep the wick trimmed to about ¼ inch before each burn to prevent mushrooming and maintain consistent burning. Regularly inspect your wicks for fraying or unevenness, and replace them if needed. Proper wick maintenance and correct wick sizing are key to achieving a clean, even burn and improving your candle’s overall performance. Ensuring your wick is the correct wick size can significantly enhance the candle’s burning efficiency. Using the appropriate wick type can also influence how evenly your candle burns and how much soot it produces. Additionally, choosing the right wick material can further optimize combustion and reduce smoke. Incorporating adaptive technologies from the knowledge can help in selecting the ideal wick specifications and materials for different candle types.
Fixing Candle Melting and Warping Issues
If your candle is melting unevenly or warping, addressing temperature control and container stability can often resolve these issues. Make sure your wax melts at the correct temperature; too hot, and it can cause warping, while too cool may lead to uneven melting. Wick trimming plays a role too—an oversized wick can create excessive heat, resulting in distortion. Check your wick length and trim it regularly to maintain a steady burn. Fragrance overload can also contribute to melting problems, as excess fragrance oils can alter melting points and cause warping. Avoid adding too much scent, which may make the wax softer or cause warping. Ensuring your candle’s environment remains stable and adjusting your wick and fragrance levels can help achieve a more even, warp-free burn. Additionally, understanding automation in business can help streamline production processes and reduce the likelihood of manufacturing inconsistencies that might affect candle quality. Proper temperature control methods are essential to prevent uneven melting and warping, especially in varying ambient conditions. Incorporating consistent attention to detail during the candle-making process can also greatly improve the final product’s quality. Being aware of Gold IRA Rollovers can provide insight into diversifying your investments and protecting your assets, which may be especially relevant if you are considering funding a business or personal projects through diversified savings.
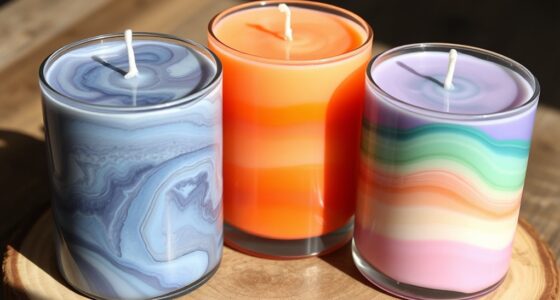
Tips for Achieving a Smooth Finish
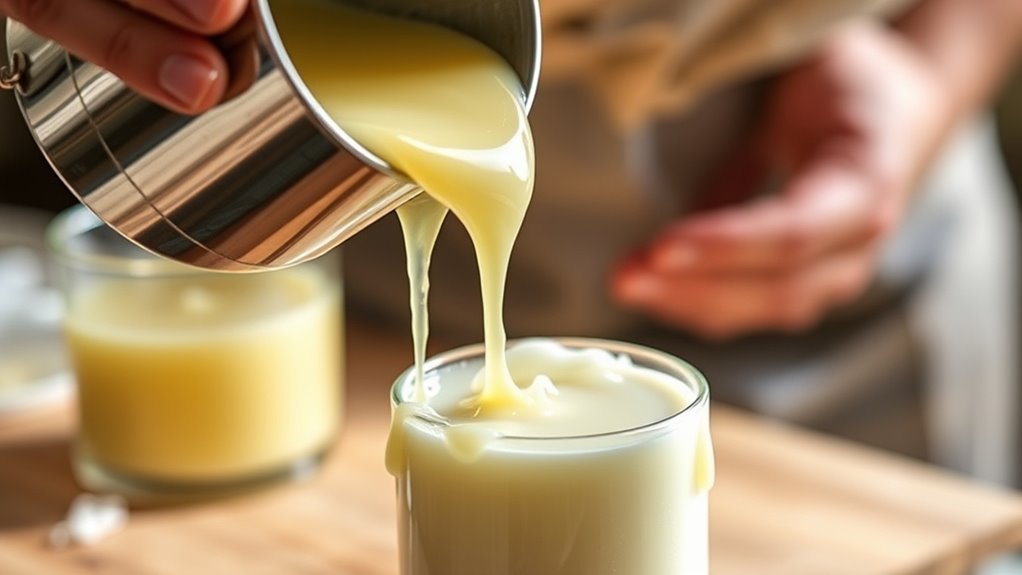
Achieving a smooth finish on your candle requires careful attention to your pouring technique and surface preparation. Use layering techniques by pouring multiple thin layers instead of one thick one, which helps prevent surface imperfections and creates a sleek look. When incorporating scent blending, do so gradually, stirring gently to make certain even distribution without disturbing the surface. To enhance surface smoothness, let each layer cool slightly before pouring the next, reducing bubbles and uneven textures. Before pouring, make sure your container is clean and free of debris, and use a heat gun or a torch to gently melt any imperfections on the surface for a flawless finish. Consistent pouring temperature and patience during cooling are key to achieving that professional, smooth appearance. Additionally, understanding the net worth associated with your investments can help ensure your financial stability after completing your craft projects. Proper surface preparation is also vital; ensure your workspace is clean and free of dust to avoid introducing unwanted particles into the wax.
Solutions for Short Candle Lifespan
Choosing the right wax is essential if you want your candle to last longer. You should also focus on optimizing burn time by trimming the wick and allowing the wax to melt evenly. These simple adjustments can greatly extend your candle’s lifespan. Additionally, selecting high-quality waxes designed for better burn performance can make a significant difference.
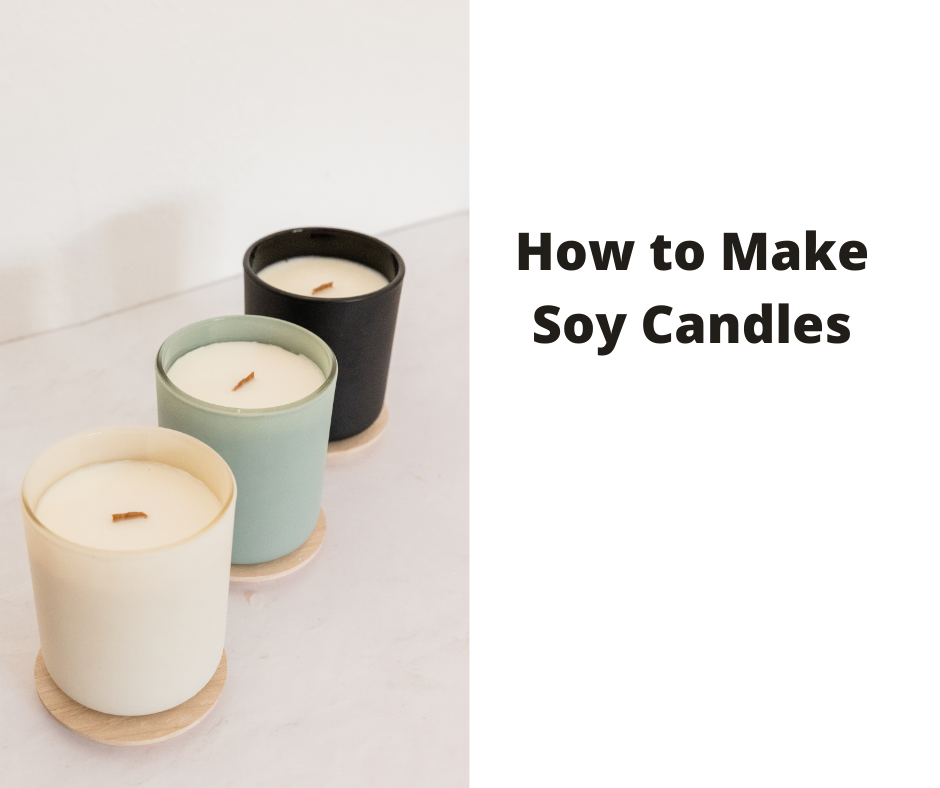
Proper Wax Selection
Have you ever wondered why your candles burn out too quickly? Choosing the right wax makes a big difference. Soy wax benefits include a cleaner burn and longer-lasting flames, which help extend candle life. In contrast, paraffin wax differences involve a typically shorter burn time and more soot. Selecting a wax suited to your needs can improve burn consistency and lifespan.
| Wax Type | Burn Time | Benefits/Drawbacks |
|---|---|---|
| Soy | Longer | Eco-friendly, cleaner burn, better scent throw |
| Paraffin | Shorter | Cheap, vibrant color, more soot |
| Beeswax | Moderate | Natural, aromatic, longer-lasting |
| Palm | Similar to soy | Sustainable, smooth finish |
| Gel | Varies | Unique look, needs special wicks |
Optimizing Burn Time
If your candles burn out too quickly, there are several strategies you can try to extend their lifespan. First, keep your wick trimmed to about ¼ inch; this prevents excessive flame size and soot. Next, optimize fragrance enhancement by using the right amount of fragrance oil—too much can cause uneven burning. Make certain your wax is poured at the correct temperature to promote a steady burn. Additionally, avoid drafts that can cause uneven melting. You can also create a longer-lasting burn by allowing your candle to burn until the wax pool reaches the edges during each use. Consider using a wick that’s appropriate for your candle size and wax type. These adjustments will help maximize burn time and improve overall candle performance.
Frequently Asked Questions
How Can I Prevent My Candles From Tunneling Excessively?
To prevent your candles from tunneling, choose the right wick size for your wax and container. A wick that’s too small won’t produce enough melt pool, causing tunneling. Also, pour your wax at the recommended temperature; pouring too hot or cold can affect how evenly the candle burns. Ensuring proper wick size and correct pouring temperature helps create a consistent melt pool, reducing the risk of tunneling and improving candle performance.
What’s the Best Way to Remove Wax Drips From Surfaces?
Cleaning residue from wax drips is simple if you act quickly. First, let the wax cool and harden, then gently scrape it off with a plastic scraper or credit card. For stubborn spots, soften the wax with a warm, damp cloth, making sure to protect your surface. Always use surface protection like a cloth or newspaper underneath to prevent damage. Quick action prevents residue buildup and protects your surfaces effectively.
How Do I Choose the Right Wick for Different Wax Types?
To choose the right wick, consider your wax compatibility and wick selection. You’ll want a wick that matches your wax type to guarantee proper burning and minimize tunneling. For soy wax, use a cotton or wood wick designed for soy. For beeswax, opt for a slightly thicker wick. Always test small batches first to confirm your wick choice burns evenly and creates an ideal candle flame.
Why Do Some Candles Produce More Soot Than Others?
Imagine your candle as a tiny lighthouse; some shine clean, others produce smoke. You might notice your candles produce more soot due to improper wick selection or fragrance impact. A thick wick can burn too hot, creating soot, while certain fragrances can cause incomplete combustion. To keep soot at bay, pick the right wick for your wax type and avoid overly fragrant blends. This guarantees a cleaner, brighter glow every time.
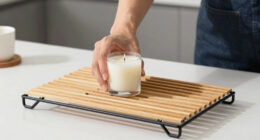
How Can I Slow Down Candle Melting During Hot Weather?
To slow down candle melting during hot weather, you should focus on climate control and insulation techniques. Keep your candles in a cool, shaded area away from direct sunlight or heat sources. Use insulation materials like ceramic dishes or candle holders that help regulate temperature. Additionally, consider creating a barrier around your candles with insulating wraps or placing them in cooler environments to prevent rapid melting and maintain their shape longer.
Conclusion
With a little patience and a keen eye, you can conquer candle conundrums with confidence. By troubleshooting twists, tackling tunneling, and taming tips, you’ll transform tricky troubles into perfect, pristine candles. Embrace each error as an opportunity to perfect your craft, brightening your space with beautiful, flawless flickers. Remember, persistent practice and careful correction create mesmerizing candles that cast cozy, calming glows—so don’t despair, and delight in your DIY journey!