
If you choose between rolled and poured beeswax candles, consider your skill level, time, and desired look. Rolled candles are quick, simple, and great for small, decorative shapes, while poured candles take longer but offer larger, uniform designs. Rolling involves wrapping wax sheets around wicks, and pouring requires melting wax into molds. Both methods produce beautiful candles—exploring their differences can help you create the perfect fit for your style and needs. Keep going to get detailed tips for each.
Key Takeaways
- Rolled beeswax candles are quick, economical, and ideal for detailed designs with minimal equipment.
- Poured beeswax candles produce larger, uniform shapes with smooth finishes but require precise temperature control.
- Rolled candles use pre-cut wax sheets, while poured candles involve melting and pouring wax into molds or containers.
- Poured candles often need longer cooling time and finishing steps like trimming wicks and polishing.
- Both methods offer customization options, but rolled candles are simpler for beginners, whereas poured candles allow more elaborate shapes.
The Basic Process of Rolled Beeswax Candles
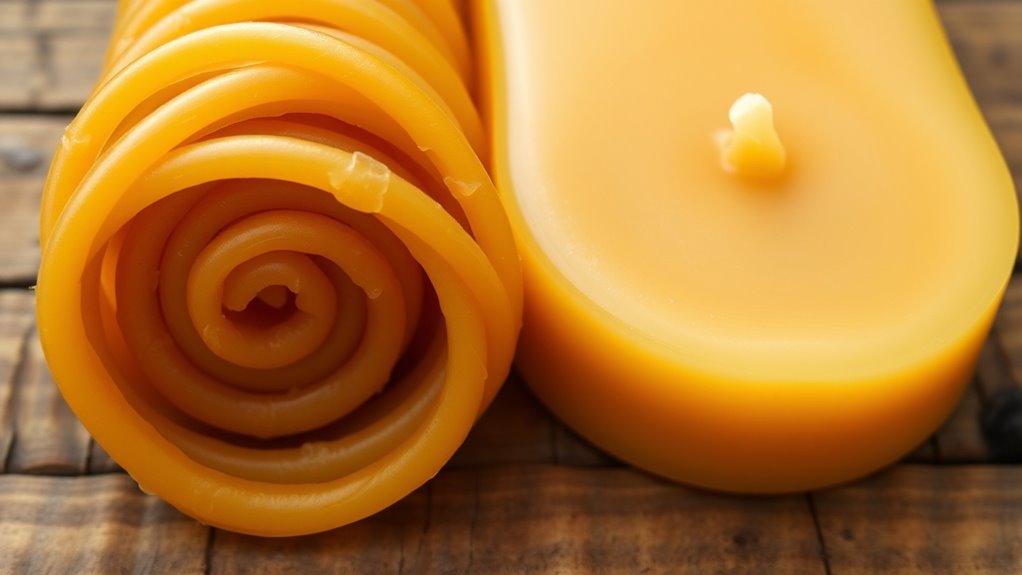
To make rolled beeswax candles, you start by selecting high-quality beeswax sheets or blocks. Next, you carefully cut the beeswax into rectangles, guaranteeing they’re even for a smooth roll. Before rolling, consider scent incorporation by lightly applying essential oils to the beeswax if you want a scented candle—just avoid over-saturating to prevent spoilage. When choosing a wick, pick one that’s suitable for beeswax, typically cotton or hemp, and ensure it’s long enough to extend past the rolled edge for easy lighting. Position the wick at one end of the rectangle, then tightly roll the beeswax around it. Smooth out any air bubbles as you go, creating a firm, even shape. This simple process forms the foundation of beautiful, handcrafted rolled beeswax candles. Necessary cookies ensure the website functions correctly during your crafting process. Additionally, paying attention to color temperature can help you achieve the desired appearance and ambiance for your candles.
The Fundamentals of Poured Beeswax Candles
Poured beeswax candles offer a versatile and straightforward method for creating beautiful, custom-shaped candles. To succeed, you need to understand a few fundamentals.
- Wick Selection: Choose a wick suitable for beeswax, typically cotton or hemp, ensuring it’s thick enough to burn evenly without tunneling. Proper wick size affects flame size and scent throw. Selecting the right wick can also influence the overall burn time and safety of your candles. Understanding wick materials can help you choose the best options for clean, consistent burning.
- Candle Scenting: While beeswax has a natural honey aroma, you can add essential oils during pouring for custom scents. Mix them into the melted wax carefully to avoid affecting the pourability. Incorporating essential oils properly ensures a balanced fragrance without compromising the wax’s consistency.
- Pouring Technique: Pour the melted beeswax into prepared molds or containers at the right temperature, usually around 150°F. Steady pouring prevents cracks and ensures a smooth surface. Maintaining the correct temperature is crucial for achieving a professional finish and consistent burn quality. Proper temperature control also helps in reducing the formation of surface imperfections.
- Understanding beeswax qualities can help you select the best wax type for your candles, ensuring optimal burning and scent release. Knowing the specific properties of beeswax, such as its natural purity and melting point, will enhance your candle-making results.
Materials and Tools Needed for Each Method
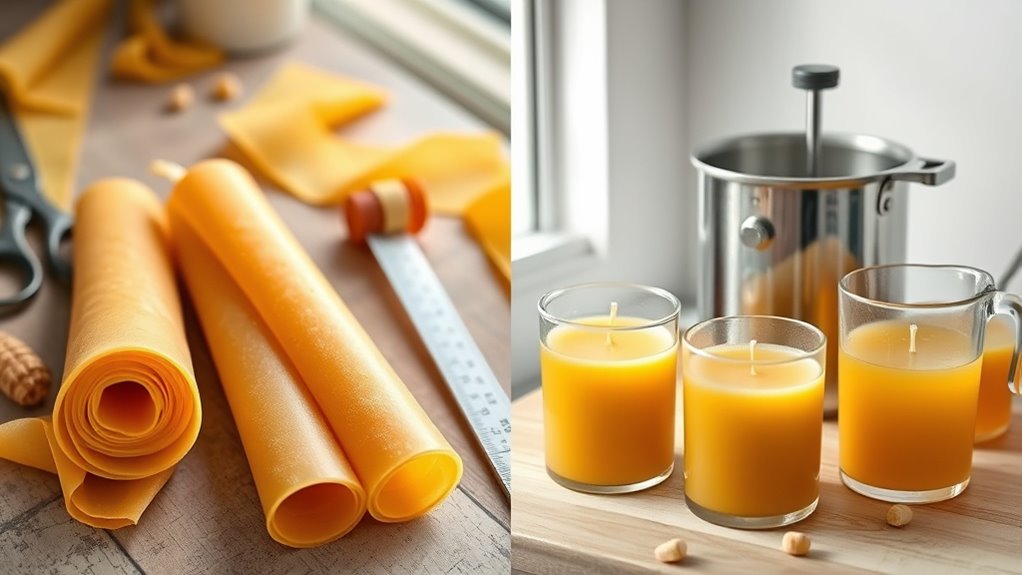
Before you start pouring beeswax, gather the right materials and tools tailored to your chosen method. For poured candles, you’ll need a double boiler or melting pot to safely melt the wax, a thermometer to monitor temperature, and molds or containers for shaping. Wick selection is essential; choose a wick that matches your candle’s size and wax type for proper burn. Candle scenting requires high-quality essential oils or fragrance blends, which you add once the wax reaches the right temperature. For rolled candles, you’ll need sheets of beeswax, scissors, and a rolling surface. Both methods benefit from a heat gun or hairdryer for finishing touches. Additionally, understanding the importance of proper ventilation ensures safety during melting and pouring processes, especially when working with heated wax. Being aware of fire safety precautions is also crucial to prevent accidents in your craft space. Preparing these materials ensures a smooth process and beautiful, functional beeswax candles.
Step-by-Step Guide to Rolling Beeswax Candles

To start rolling your beeswax candles, you’ll first need to prepare your wax sheets by cutting them to the right size. Then, use your hands and gentle pressure to roll the sheets evenly, ensuring a smooth, tight finish. Mastering these techniques will give your candles a polished, professional look. Proper temperature control during rolling can also help achieve a consistent texture and appearance.
Preparing Wax Sheets
Start by preparing your beeswax sheets so they’re ready for rolling. First, choose your scent options and consider adding essential oils to customize your candles’ aroma. Next, guarantee your sheets are smooth and free of wrinkles by gently warming them if needed. This makes rolling easier and results in a cleaner finish. Additionally, keeping your workspace organized and clean can help prevent messes and make the candle-making process more enjoyable. Proper storage techniques are crucial to maintaining the quality of your wax sheets, so proper storage helps preserve their flexibility and scent. Proper storage not only protects the sheets from dust and damage but also maintains their quality and longevity. Finally, store your prepared sheets properly—roll them loosely and place in an airtight container when not in use to preserve their flexibility and scent. Keep them in a cool, dry place to prevent melting or warping. Proper preparation ensures your wax sheets are ready for a smooth rolling process, helping you create beautiful, fragrant candles with ease.
Rolling Techniques
Lay a prepared wax sheet on a clean, flat surface and gently unroll it if it’s rolled up. To start rolling, place your decorative accents or scent infusion at one edge for a personalized touch. Use your fingers to smooth the wax and guarantee an even, tight roll. Keep the pressure consistent for a uniform candle. Additionally, maintaining consistent pressure ensures a professional and aesthetically pleasing finish. Being aware of local resources can also help you find quality supplies if needed. Incorporating proper technique can further enhance the overall appearance and durability of your candles. Utilizing the right tools and equipment can make the rolling process smoother and more precise.
Step-by-Step Process for Poured Beeswax Candles

To make poured beeswax candles, start by melting and preparing the wax to the right temperature. Then, pour the melted wax carefully into your chosen molds and let it set. To ensure a smooth finish, finish your candles with trimming and polishing for a polished look, and consider wick selection to achieve an even burn. Using the correct candle mold can also influence the overall appearance and safety of your finished product. Additionally, selecting appropriate wax temperature is crucial for a clean pour and proper candle formation. Being aware of cookie categories can help you understand how website features are optimized for user experience during your candle-making process.
Melting and Preparing Wax
Before pouring your beeswax, you’ll need to melt it properly to guarantee a smooth, even pour. Start by using a double boiler or a heat-safe container in a pot of simmering water. Keep the temperature steady to avoid overheating. Once melted, you can add scent if desired—stir gently to distribute evenly. Next, prepare the wick by securing it in the candle mold or container, ensuring it stays centered. Then, pour the melted beeswax slowly, maintaining a steady flow. Be mindful of wick placement as you pour to keep it centered. If you want a more fragrant candle, add scent at this stage, stirring briefly. Carefully monitor the temperature and avoid introducing impurities for a smooth, high-quality finish. Ensuring proper air quality during melting can help prevent contamination of your beeswax. Additionally, maintaining a clean workspace minimizes the risk of contamination, ensuring a purer final product.
Setting and Finishing
Once you’ve poured the melted beeswax into your mold or container, the next step is to let it set properly. As it cools, you’ll notice the wax begins to harden and take shape. During this time, you can consider adding color options by embedding natural dyes or crayons into the wax before pouring. If you want your candle to smell inviting, now’s the perfect moment for scent additions—just a few drops of essential oil can enhance your candle’s aroma. Avoid disturbing the mold to guarantee a smooth, even surface. Once the wax is fully solidified, gently remove the candle from the mold or trim any uneven edges if poured into a container. This finishing touch gives your candle a polished, professional look. For optimal results, check the retail hours today if you need to purchase additional supplies or for assistance. Additionally, understanding decoding slang can help you better navigate informal language when shopping for craft supplies online. Ensuring your workspace remains free of any wire or connection issues can help prevent accidents during the pouring process.
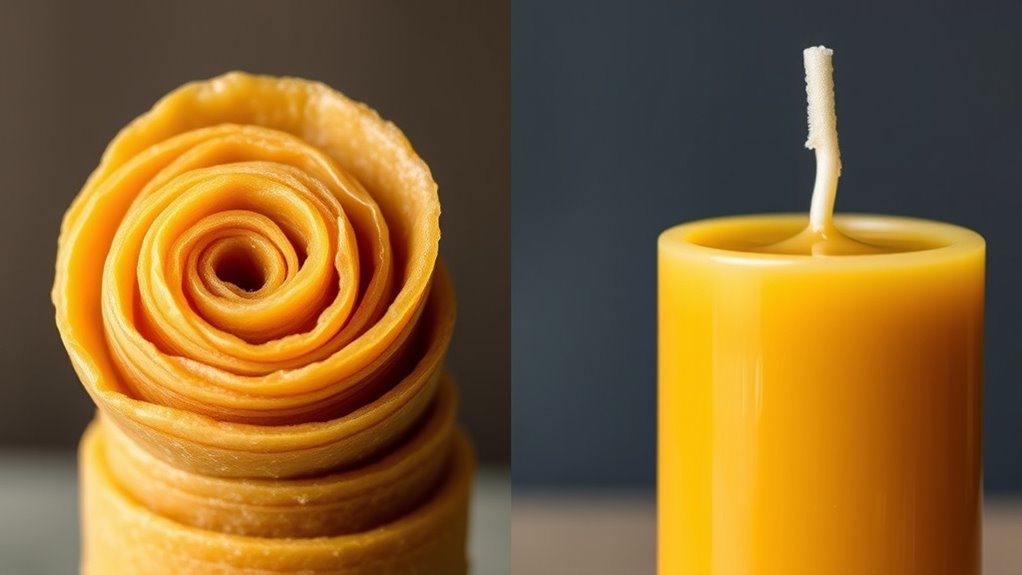
Comparing the Aesthetic and Design Options

When comparing the aesthetic and design options for DIY beeswax candles, you’ll find a wide variety of styles that can suit any decor. You can customize colors to match your space or create seasonal themes. Scent infusion allows you to add personal touches, making your candles not just decorative but aromatic. Consider these options:
- Color customization: Use natural dyes or mica powders to achieve vibrant or subtle hues.
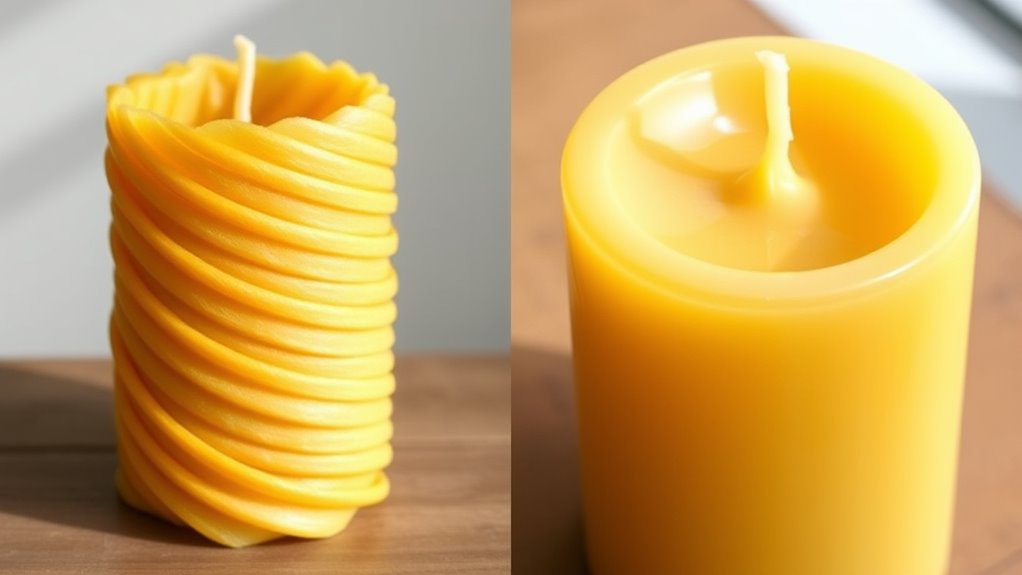
- Shape and size: Opt for simple rolled candles or pour into molds for elaborate designs.
- Finish and texture: Smooth surfaces or textured finishes can alter the visual appeal and tactile experience.
- Design versatility can be expanded through hackathons, which often showcase innovative approaches to craft and design projects.
Time and Skill Level for Each Technique

Creating beeswax candles varies in required skill level, from simple pouring to more intricate shaping. Some techniques need only basic tools and minimal practice, while others demand more precision and experience. Consider how much time you’re willing to invest and your comfort with new crafts as you choose your approach.
Required Skill Level
Making beeswax candles requires a moderate level of skill and some time commitment, especially if you’re aiming for polished results. For rolled candles, you’ll need steady hands for shaping and gift wrapping, which adds a decorative touch. Poured candles demand more precision in melting and pouring, requiring patience and attention to detail.
- Rolling candles involves basic shaping skills and an eye for neatness, especially if you want smooth edges.
- Poured candles require careful temperature control and pouring techniques to avoid cracks or air bubbles.
- Both methods benefit from practice—adding scent infusion or decorative wraps becomes easier as you gain experience.
Time Investment Needed
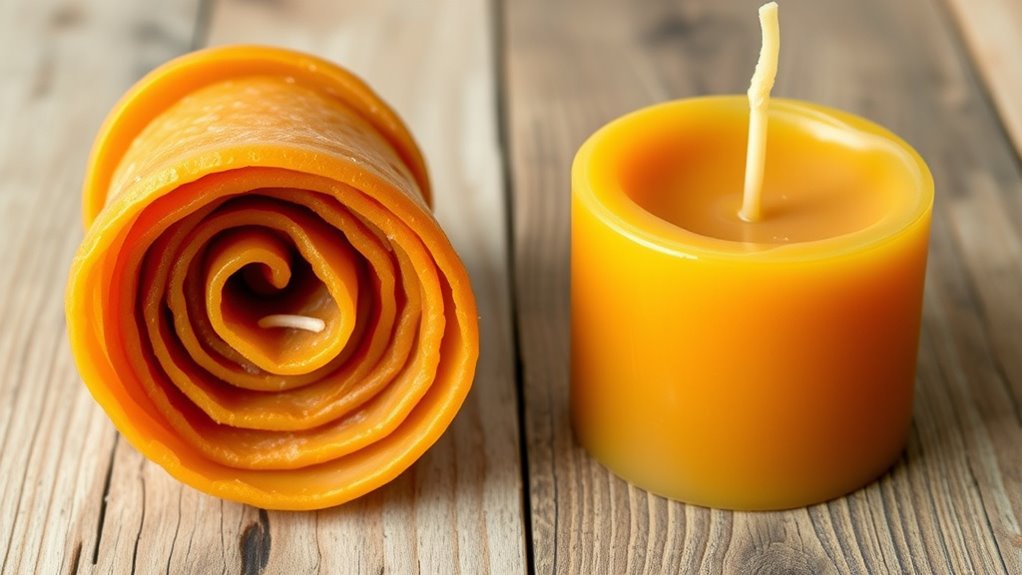
Both rolled and poured beeswax candles require a moderate time commitment, with the amount of time varying based on your experience and the complexity of the design. Rolled candles are generally quicker, as they involve wrapping wax sheets around wicks, making wax preservation straightforward. Poured candles take longer because you need to melt, pour, and allow the wax to cool properly, which also emphasizes candle safety during the process. If you’re experienced, you’ll work faster, but beginners should allocate extra time for precision and safety checks. Proper wax preservation is essential in both methods to prevent cracking or uneven surfaces. Overall, while rolled candles save time, poured candles offer a more polished finish, but both require patience and attention to detail to ensure safe, high-quality results.
Cost and Material Efficiency

When evaluating the cost and material efficiency of DIY beeswax candles, it’s important to take into account the price of beeswax and other supplies relative to the size and quality of the finished candles. A careful cost comparison helps you determine which method offers better value.
- Rolled candles typically use less beeswax, making material usage more economical for small quantities.
- Poured candles often require more beeswax but allow for larger, more uniform shapes, which can impact overall costs.
- Consider the wastage and reusability of materials, as poured candles may involve more excess wax during pouring, affecting overall efficiency.
Common Challenges and Troubleshooting Tips

Creating DIY beeswax candles can present several common challenges, but most are easy to troubleshoot with some basic tips. One issue is difficulty with fragrance incorporation; beeswax’s natural properties can repel certain scents. To improve scent retention, melt the wax slowly and add fragrance at the right temperature, usually just before pouring. Wick selection is also essential—using a wick that’s too small can cause poor burning, while a wick that’s too large may produce excessive soot. Make sure your wick is properly centered and securely attached. If your candle tunnels or doesn’t burn evenly, check your wick size and placement. Also, avoid adding fragrance oils that aren’t compatible with beeswax. With these tips, you can overcome common hurdles and craft beautiful, fragrant candles with confidence.
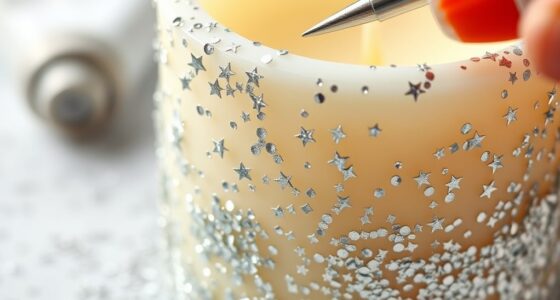
Tips for Finishing and Personalizing Your Candles
Finishing and personalizing your beeswax candles adds a unique touch that reflects your style. To enhance their appearance, consider these finishing techniques.
- Add decorative touches like dried flowers, herbs, or essential oils on the surface for personalized flair.
- Create clean edges by trimming wicks neatly and smoothing any rough spots with a hot knife or hairdryer.
- Incorporate personalization ideas such as engraving initials or painting designs with safe, candle-compatible paints.
These tips help elevate your candles from simple to special. Experiment with different decorating techniques and personalization ideas to match your decor or gift-giving needs. Proper finishing not only improves appearance but also ensures a polished, professional look that showcases your creativity.
Frequently Asked Questions
Can I Use Alternative Waxes for Rolled or Poured Candles?
Yes, you can use alternative wax options for rolled or poured candles. When exploring candle wax comparisons, keep in mind that different waxes like soy, paraffin, or palm each have unique burning qualities and textures. For rolled candles, softer waxes work best, while poured candles often need a more stable option. Always test your chosen wax to guarantee it melts, sets, and burns properly for your DIY project.
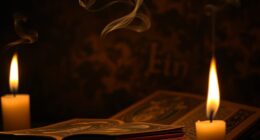
How Long Does Each Candle Type Typically Burn?
Think of your beeswax candles as marathon runners—each has a stamina limit. Rolled candles usually burn for about 10-15 hours, offering good durability, while poured candles tend to last 12-20 hours, depending on size and wick. The burn time reflects their durability; thicker, well-made candles last longer. Keep your wicks trimmed and avoid drafts to maximize burn time and enjoy your candle’s steady glow longer.
Are There Safety Concerns Specific to Rolled or Poured Methods?
You should be aware of fire hazards and chemical exposure when making rolled or poured beeswax candles. For rolled candles, guarantee the wick is properly centered and avoid overheating the wax, which can increase fire risk. Poured candles require careful temperature control to prevent wax splatters or burns. Always work in a well-ventilated space, use heat-resistant tools, and never leave melting wax unattended to minimize safety concerns.
Can I Make Scented Beeswax Candles With These Techniques?
Yes, you can make scented beeswax candles with these techniques. While rolled candles often incorporate scented additives by pressing them into the wax or embedding them, poured candles allow you to directly mix fragrance oils into the melted wax for better fragrance integration. The key is to add your scent after melting but before pouring or rolling, ensuring your candles smell delightful without compromising the wax’s natural beauty.
What Are Environmental Impacts of Each Candle-Making Process?
You’ll find that rolled beeswax candles often have a lower environmental impact due to sustainable sourcing, as they typically use less wax and generate less waste. Poured candles may involve more energy and materials, potentially increasing pollution. Both methods can reduce pollution if you choose eco-friendly ingredients and production practices. To minimize environmental impact, prioritize sustainable sourcing and efficient techniques, regardless of whether you opt for rolled or poured candles.
Conclusion
Whether you choose rolling or pouring, crafting beeswax candles is a rewarding creative journey that transforms simple materials into stunning, fragrant masterpieces. With patience and practice, you’ll master techniques that could brighten your home more than a thousand suns. So pick your method, gather your supplies, and start creating—your personalized candles will not only illuminate your space but also warm your soul in ways no store-bought candle ever could.