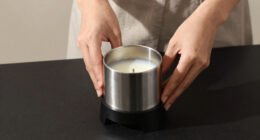
Have you ever been frustrated when the flame of your favorite candle extinguishes, leaving you in darkness? Do not worry! We are excited to share a straightforward solution with you: replacing the wick in a candle.
By following a few easy steps, we can help you bring back the warm glow that you love so much. Together, we’ll gather the necessary tools, remove the old wick, measure and cut the new wick, and prepare it for insertion.
Then, with gentle precision, we’ll insert the new wick into the candle and secure it in place. Finally, we’ll trim the wick to the desired length and relight the candle, allowing you to bask in its cozy embrace once again.
Let’s get started!
Key Takeaways
- Gather the necessary tools such as sharp scissors, wick trimmer, wick holder, and tweezers.
- Remove the old wick by loosening and twisting it counterclockwise, pulling it upwards, and scraping away any residue.
- Choose from different wick replacement options like pulling the wick out, cutting it close to the base, or burning and trimming it.
- Measure and cut the new wick half an inch above the candle container, considering factors like candle size and desired burn time.

VEVOR 20Lbs Wax Melter for Candle Making, 10 L Extra Large Electric Wax Melting Pot, with Easy Pour Spout and 9-Level Temp Control, Easy Clean for Candle Soap Cream Beauty Bulk Production Business
Quick Heating: This wax melting pot with easy pour spout can quickly heat and melt wax with 1100W...
As an affiliate, we earn on qualifying purchases.
Gather the Necessary Tools
First, we gather the tools we’ll need to put a new wick in a candle. Wick maintenance is essential for safe and efficient candle burning. To ensure candle safety, it’s important to have the necessary tools on hand. Here’s a step-by-step guide on gathering the required tools for wick replacement:
- Scissors: A pair of sharp scissors will be needed to trim the wick to the desired length.
- Wick trimmer: This specialized tool helps cut the wick without leaving any debris inside the candle.
- Wick holder: A wick holder keeps the wick centered and upright during the pouring of melted wax.
- Tweezers: Tweezers are useful for removing the old wick from the candle.
- New wick: Finally, make sure to have a new wick that’s the appropriate size for your candle.

FAIRYELF Candle Making Kit for Adults with Soy Wax Wax Melter, Complete Candle Making Supplies, DIY Starter Scented Candle Wax Kit, Perfect as Home Decorations
Best Candle Making Kits - Complete Candle Making Kit includes 500W electronic hot plate, candle melting pot, 4...
As an affiliate, we earn on qualifying purchases.
Remove the Old Wick
Now that we’ve gathered the necessary tools, it’s time to remove the old wick from the candle. There are a few techniques you can use to do this successfully.
Once the old wick is removed, you’ll need to consider your options for replacing it with a new one.
Let’s delve into the details of wick removal and replacement options.

Wick Removal Techniques
To remove the old wick from a candle, we need to carefully loosen it using a pair of tweezers. Wick removal tools are essential for this task.
Start by grasping the wick firmly with the tweezers and gently twisting it counterclockwise. This will loosen the wick from the wax and make it easier to remove. Slowly pull the wick upwards, taking care not to damage the surrounding wax. If the wick is stubborn, continue twisting and pulling until it comes free.
Wick replacement challenges may arise if the old wick is tightly embedded in the wax or if there’s leftover residue. In such cases, use a toothpick or a small knife to carefully scrape away any remaining wick or wax.
With the old wick successfully removed, it’s now time to explore wick replacement options.

Wick Replacement Options
To replace the old wick in a candle, we’ve several options for removing it and preparing for the new one. Here are the steps you can take to remove the old wick and get ready for the replacement:
- Option 1: Gently pulling the wick out
- Start by grasping the wick firmly between your fingers near the base of the candle.
- Slowly and gently pull the wick upwards, being careful not to break it.
- Continue pulling until the entire wick is removed from the candle.
- Option 2: Cutting the wick
- Use a pair of scissors or a wick trimmer to cut the wick as close to the base of the candle as possible.
- Dispose of the old wick in a safe manner.
- Option 3: Burning the excess wick
- Light the candle and allow it to burn until the excess wick is consumed.
- Use a wick trimmer to trim the remaining burnt wick, leaving a small amount for the new wick to attach to.
By following these steps, you can easily remove the old wick and prepare for the replacement.
Wick replacement benefits include a cleaner and more efficient burn, while wick material options can range from cotton to hemp, depending on your preference.

SoftOwl Premium Soy Candle Making Kit - Full Set - Soy Wax, Big 7oz Jars & Tins, 7 Pleasant Scents, Color Dyes & More - Perfect as Home Decorations - DIY Starter Scented Candles Making Kit
🧡 THE ULTIMATE SET FOR BEGINNERS: The natural soy wax candle making kit comes in a beautiful giftable...
As an affiliate, we earn on qualifying purchases.
Measure and Cut the New Wick
We’ll start by measuring and cutting the new wick for the candle. Proper wick sizing is crucial for a well-functioning candle.

To determine the appropriate length, hold the wick up to the candle container, ensuring it extends about half an inch above the top. Use sharp scissors to cut the wick at this length.
It’s important to note that wick cutting techniques may vary depending on the type of candle and personal preference. For example, some people prefer to trim the wick at an angle to improve ignition.
Considerations such as the size of the candle, the type of wax, and the desired burn time also come into play. Taking the time to measure and cut the new wick accurately will help ensure a successful candle replacement.

SAEUYVB Candle Making Kit for Adults with Hot Plate, DIY Starter Soy Candle Making Supplies/Kit - Perfect as Home Decorations(Black)
【A Complete Candle Making Kit】LED display wax melting pot 500 ml x 1(Wax Heater Color Random),1.5 Pounds Soy...
As an affiliate, we earn on qualifying purchases.
Prepare the Wick for Insertion
To prepare the wick for insertion, we need to secure it to a metal wick sustainer. This step ensures that the wick stays in place and burns evenly throughout the candle’s lifespan.

Here are some wick preparation techniques to follow:
- Choose the right wick size: The size of the wick determines how well the candle burns. A wick that’s too small may result in a weak flame, while a wick that’s too large can cause excessive smoke. Consider the diameter of your candle and consult a wick size chart to select the appropriate wick size.
- Cut the wick to the desired length: Before securing the wick to the sustainer, trim it to the desired length. A general rule of thumb is to leave about 1/4 inch of wick above the candle’s surface.
- Attach the wick to the sustainer: Place one end of the wick through the hole in the sustainer and pull it until the sustainer is snug against the bottom of the wick. Ensure that the wick is centered and straight.
Insert the New Wick Into the Candle
To insert the new wick into the candle, we’ll carefully thread it through the pre-made hole or create a small hole in the center of the candle using a wick pin. This step is crucial for ensuring proper wick placement and a successful burn.
Here are some wick insertion techniques to help you along the way:
- Threading through a pre-made hole: If your candle already has a hole in the center, gently push the new wick through it until about half an inch sticks out from the bottom.
- Creating a hole with a wick pin: If your candle doesn’t have a pre-made hole, use a wick pin to create one. Insert the pin into the center of the candle, twist it slightly, and pull it out. Now you have a small hole for the wick.
- Troubleshooting wick placement: If the wick isn’t centered or positioned correctly, use a toothpick or a wick centering tool to adjust its position. Make sure the wick is straight and standing upright before moving on to the next step.
Secure the Wick in Place
To secure the wick in place, we need to carefully tie a knot at the bottom of the wick, using a small weight or clip to hold it down. This step is crucial in preventing wick displacement and ensuring a steady burn.
Here’s how to properly secure the wick:
- Start by cutting the wick to the desired length, leaving a few inches extra for the knot.
- Thread the wick through the wick hole at the bottom of the candle, making sure it’s centered.
- Fold the excess wick over itself to create a loop.
- Carefully tie a knot at the base of the loop, ensuring it’s tight but not too tight to prevent the flow of wax.
- Attach a small weight or clip to the looped end of the wick, gently pulling it downward to keep it taut.
- Trim any excess wick protruding from the knot, leaving about ¼ inch for optimal burning.
Trim the Wick to the Desired Length
Now that we’ve secured the wick in place, the next step is to trim it to the desired length. The length of the wick is important for proper candle burning.
To trim the wick, you’ll need a pair of scissors or wick trimmers. Carefully measure the desired length and cut the wick, ensuring that it isn’t too long or too short.
Wick Length Importance
We need to trim the wick to the desired length using a pair of sharp scissors. Wick length is important for a clean and efficient burn.

Here are some reasons why wick maintenance and troubleshooting wick issues are essential:
- Preventing excessive soot: A properly trimmed wick ensures that the flame isn’t too large, reducing the amount of soot produced.
- Avoiding tunnelling: Trimming the wick helps prevent the candle from tunnelling, ensuring an even burn and maximizing the lifespan of the candle.
- Reducing smoking: A long wick can cause smoking, which isn’t only unpleasant but can also be a fire hazard.
By maintaining the wick length, you can enjoy a longer-lasting, cleaner-burning candle.
Now, let’s move on to the next section, where we’ll discuss the tools needed for wick trimming.
Tools for Wick Trimming
To trim the wick to the desired length, our go-to tool is a pair of sharp scissors. Proper wick trimming techniques are essential for maintaining a clean and efficient burn in your candles. Here’s how to trim the wick effectively:
- Start by extinguishing the candle and allowing it to cool completely.
- Gently remove any debris or ash from the candle’s surface.
- Take the sharp scissors and carefully trim the wick to about 1/4 inch in length.
- Make sure to cut the wick straight across to avoid any uneven burning.
- Dispose of the trimmed wick in a safe manner, such as placing it in a tissue or trash bin.
- Remember, regular wick maintenance is crucial for preventing excessive smoke, soot, and mushrooming.
Wick Placement Techniques
When trimming the wick to the desired length, we recommend using a pair of sharp scissors to ensure precise wick placement.
Here are some techniques for wick placement:
- Measure the wick: Before trimming, measure the wick to ensure it’s the correct length for your candle. A good rule of thumb is to have the wick extend about ¼ inch above the wax surface.
- Trim with precision: Hold the candle steady and carefully trim the wick using the sharp scissors. Make a clean, straight cut to prevent fraying or uneven burning.
- Avoid wick issues: Troubleshooting wick issues such as smoking, flickering, or uneven burning can be avoided by maintaining the wick properly. Regularly trim the wick to the recommended length and ensure it’s centered in the candle for even heat distribution.
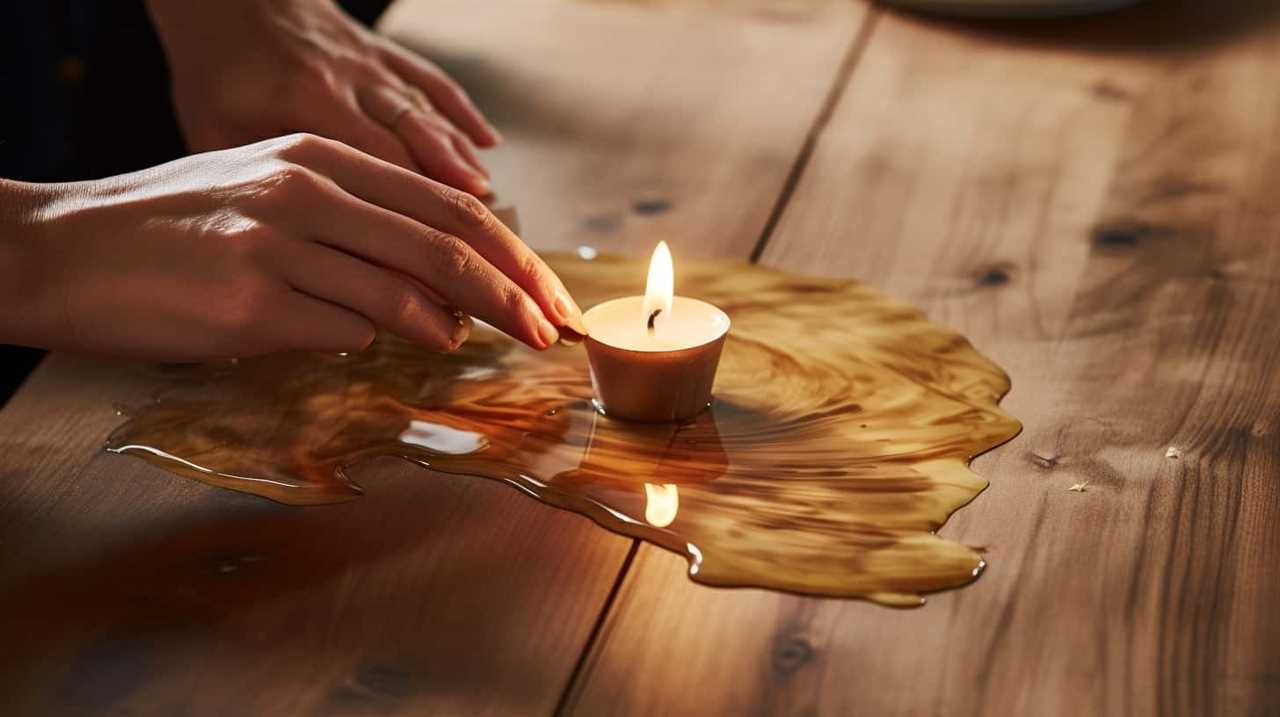
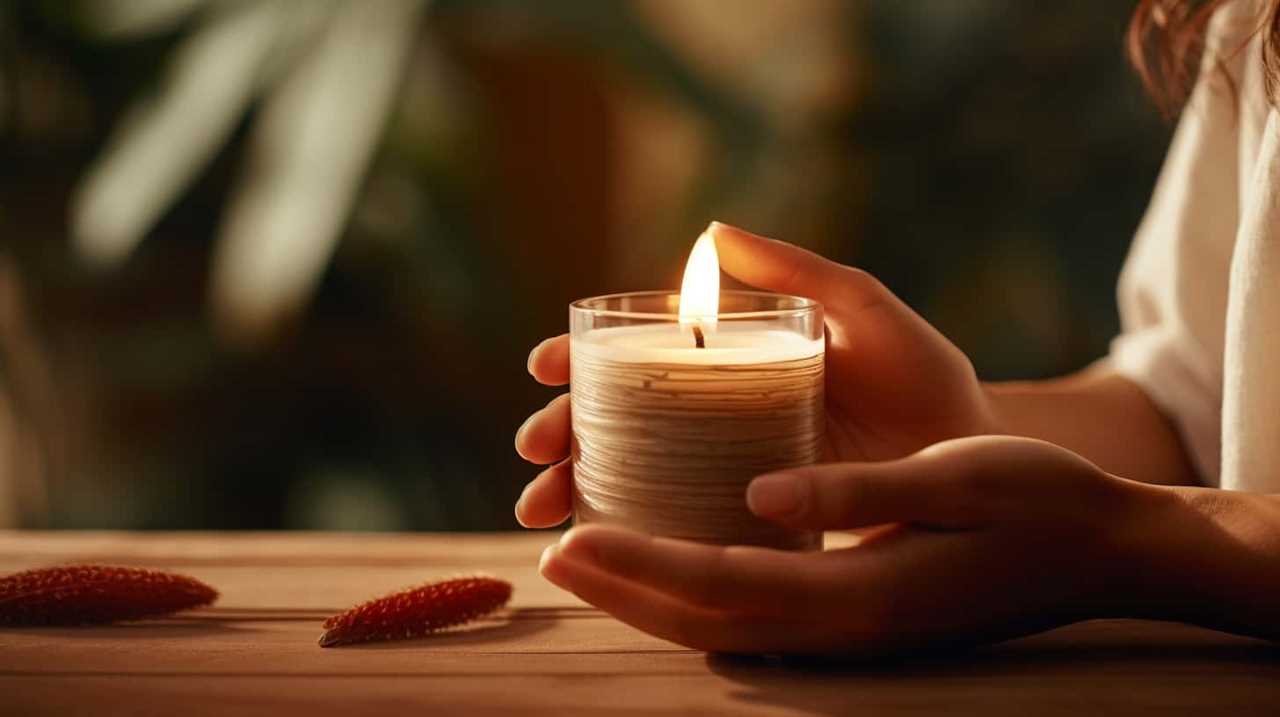
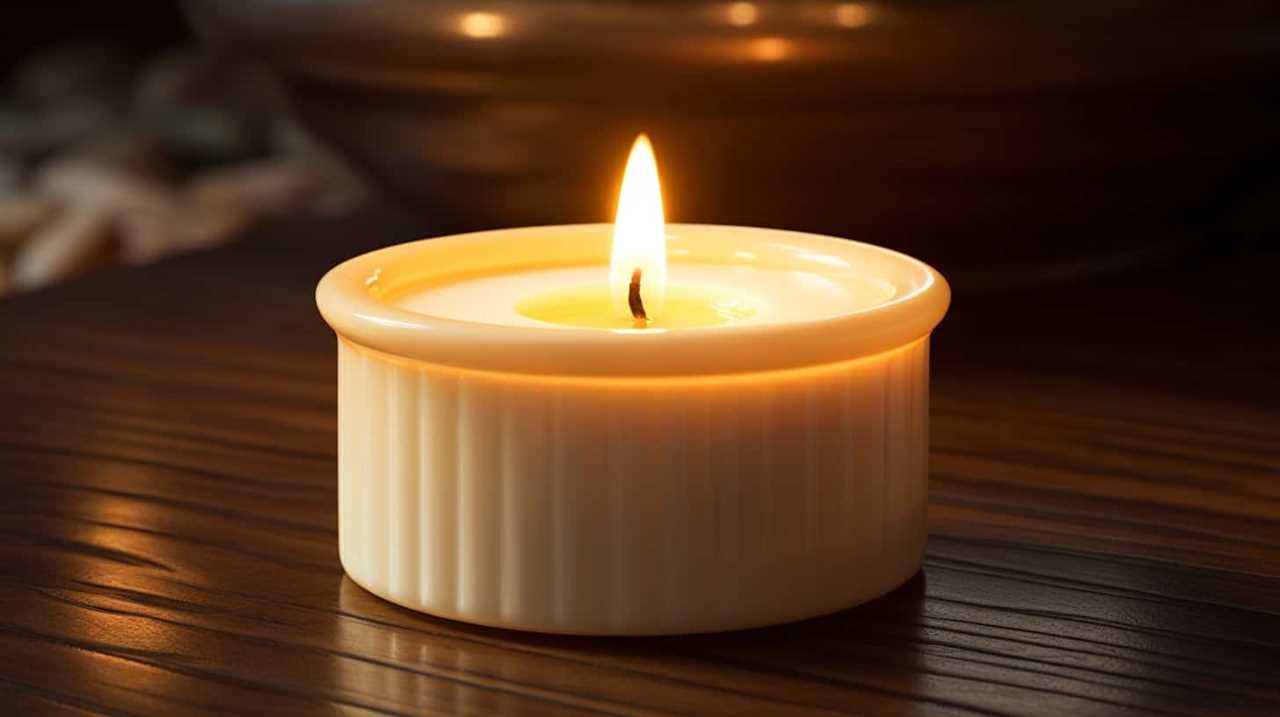
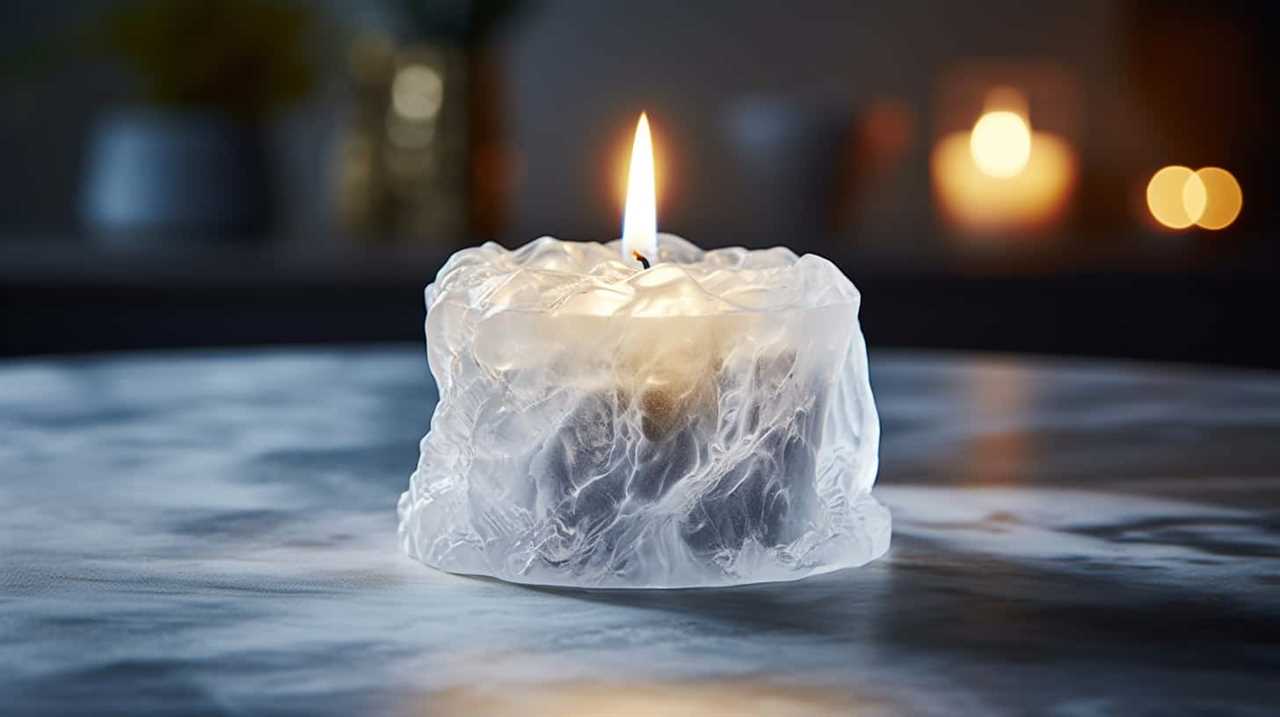
Light the Candle and Enjoy!
After inserting the new wick into the candle, simply light it and savor the warm glow and gentle flicker. Before doing so, it’s important to ensure proper wick maintenance and practice candle safety. Here’s how to safely light your newly-wicked candle:
- Find a safe and stable surface: Place your candle on a heat-resistant and non-flammable surface, away from any flammable objects or materials.
- Trim the wick: Before lighting the candle, trim the wick to about 1/4 inch. This helps to prevent excessive smoke and ensures a clean burn.
- Use a lighter or matches: Hold the flame source near the base of the wick and light it. Avoid using paper or other flammable objects to light the candle.
- Monitor the candle: Keep an eye on the burning candle and never leave it unattended. Make sure it’s placed away from drafts and out of reach of children or pets.
Frequently Asked Questions
How Long Should the New Wick Be Cut?
When putting a new wick in a candle, it’s important to consider the wick length. To ensure optimal burning, trim the wick to about a quarter of an inch before lighting the candle.

Can I Reuse the Old Wick?
Certainly! When it comes to reusing a wick, we recommend caution. While it may seem like a cost-saving option, it’s important to consider alternative wick options for optimal safety and performance.
How Do I Remove Leftover Wax From the Candle Jar?
First, let’s tackle the issue of removing leftover wax from the candle jar. To do this, place the jar in the freezer for a few hours. Once the wax is frozen, use a butter knife or a spoon to gently pry it out. Now, what can you do with that leftover wax? There are actually many alternative uses for it. You can melt it down and pour it into a new candle jar, or you can use it to make wax melts for a wax warmer. You can even use it to seal envelopes or lubricate squeaky hinges. The possibilities are endless!
What Type of Wick Is Recommended for Different Candle Sizes?
When considering the type of wick for different candle sizes, factors like wick material and candle size should be taken into account. It’s important to choose the right wick to ensure optimal burning and a longer-lasting candle.
How Long Should I Let the Candle Dry Before Lighting It?
Before lighting the candle after putting in a new wick, it’s important to let it dry completely to ensure a safe burn. The drying time depends on the wick length and the type of wax used in the candle.
Conclusion
And there you have it! Putting a new wick in a candle is as easy as pie. Who knew such a small task could bring so much joy and light into our lives?
So go ahead, grab your tools and get ready to embark on this wick-replacing adventure. Trust me, the satisfaction of a well-lit candle will be worth every step.
Happy candle-making!