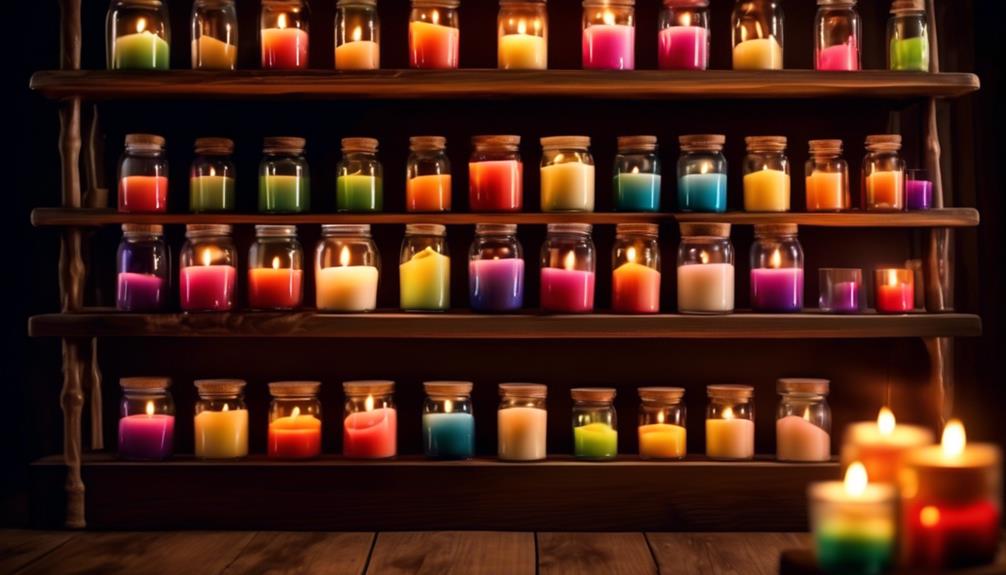
Are you aware that aside from using a traditional wax melter, there are alternate methods for melting candle wax on the stove?
Exploring alternative ways to melt wax can offer flexibility and convenience, especially if you're looking to use items you might already have in your kitchen.
By trying out these different techniques, you may find a method that suits your needs better or helps you achieve a specific result.
Let's uncover some of these lesser-known methods and how they can elevate your candle-making experience.
Key Takeaways
- Always use a double boiler for safe and even heating.
- Monitor wax temperature closely to prevent overheating and fire hazards.
- Follow appropriate methods and materials for melting wax.
- Use thermometers and adjust heating times for desired consistency and results.

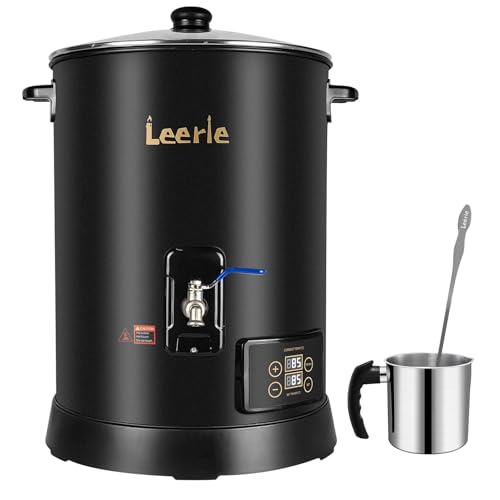
VEVOR 20Lbs Wax Melter for Candle Making, 10 L Extra Large Electric Wax Melting Pot, with Easy Pour Spout and 9-Level Temp Control, Easy Clean for Candle Soap Cream Beauty Bulk Production Business
Quick Heating: This wax melting pot with easy pour spout can quickly heat and melt wax with 1100W...
As an affiliate, we earn on qualifying purchases.
Safety Precautions for Melting Wax
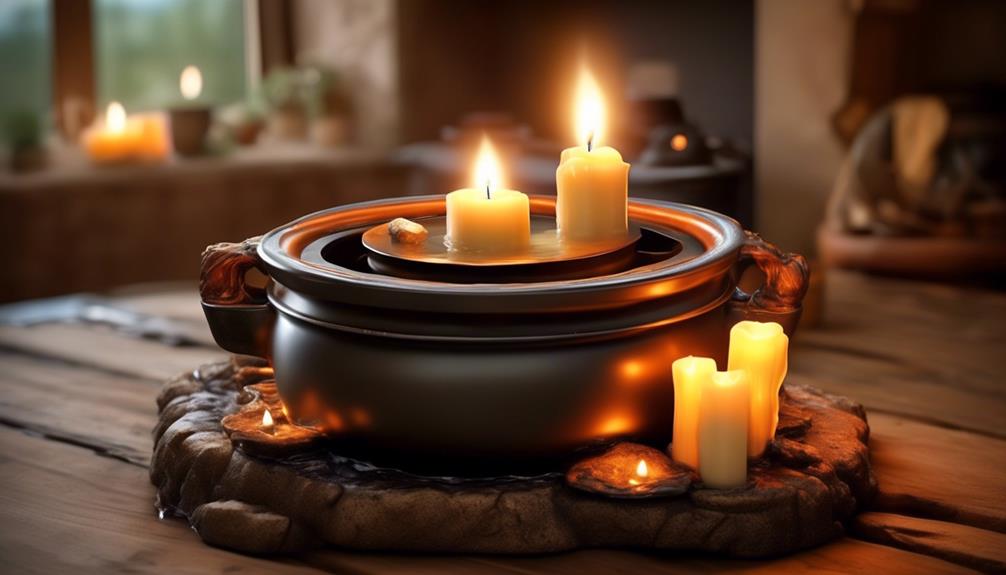
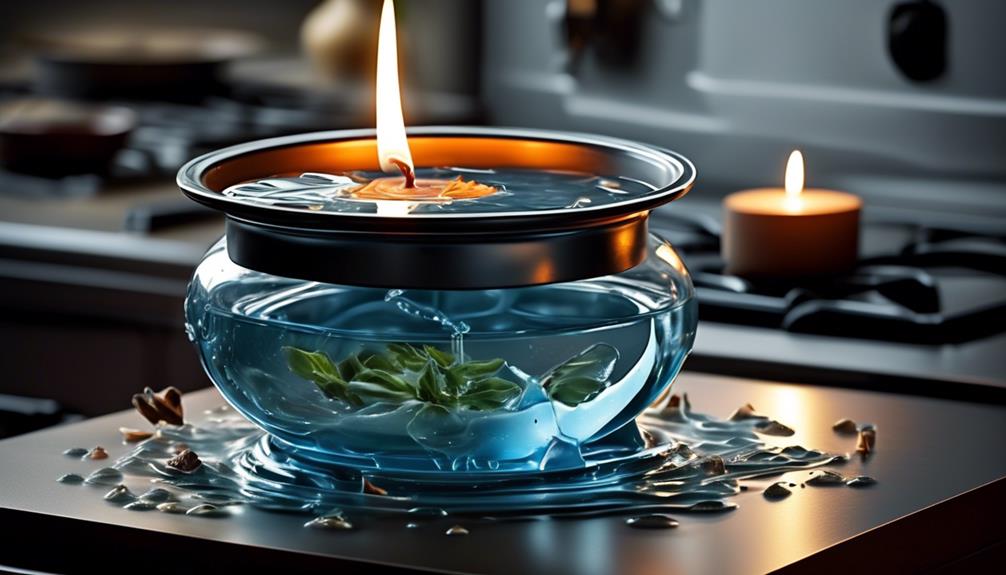
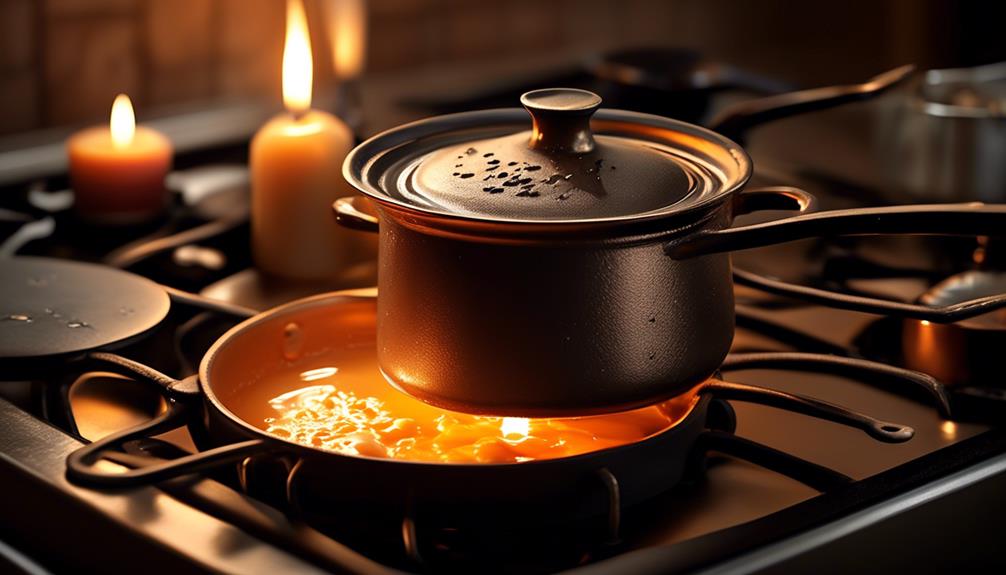
When melting wax, we always recommend using a double boiler to ensure even heating and prevent accidental fires. This method involves placing a heat-safe container with the wax inside another pot filled with water. The water in the outer pot heats gently, transferring heat to the inner container with the wax. This indirect heat prevents the wax from scorching or catching fire, making it a safer option than direct heat sources like stovetops or microwaves.
Additionally, it's crucial to never leave melting wax unattended. Wax can quickly reach its flashpoint and ignite if exposed to high temperatures for too long. Always keep a close eye on the melting process and have a fire extinguisher nearby for added safety.
Furthermore, ensure the workspace is clean and free of any flammable materials that could pose a fire hazard. By following these safety precautions when melting wax, you can enjoy the process without worrying about potential risks.
Leerie 30Lbs Digital Commercial Wax Melter for Candle Making - D15 Large Candle Wax Melting Pot with Accurate Temperature Control & Holds 30Lbs Melted Wax for Candle Making Business
✔ MELT MORE, SELL MORE—30LBS AT ONCE : Scale up without slowing down. Designed for professional makers, the...
As an affiliate, we earn on qualifying purchases.
Required Materials for Melting Wax
We'll need a heat-resistant pouring container, a large pot or saucepan, and water for the double boiler method.
Additionally, microwave-safe containers are necessary for the microwave method, while a wax melter or wax melter pot is required for the wax melter method.
Having the right materials ensures a smooth and safe wax melting process.
Materials Needed
To begin melting wax effectively, gather the necessary materials listed below.
| Materials | Description | Importance |
|---|---|---|
| Wax | Preferably soy or coconut wax | Essential for creating candles |
| Heat-resistant pouring container | Glass or metal container | Ensures safe pouring of melted wax |
| Double boiler | Large pot or saucepan filled with water | Provides indirect heat to melt candle wax efficiently |
| Microwave-safe containers | Containers suitable for heating in the microwave | Alternative method for melting candle wax |
| Wax melter | Specifically designed for melting wax | Convenient tool for melting candle wax |
Safety Precautions
Ensuring the safety of the melting process requires utilizing specific materials designed to prevent accidents and promote efficient wax melting. When melting wax for candles on the stove, safety precautions are paramount.
Start by gathering a dedicated double boiler or a heat-resistant container for the wax. Use a thermometer to monitor the wax temperature and prevent overheating, aiming for around 170-180°F (77-82°C).
Heat-resistant gloves are essential for handling hot containers or any spills. Additionally, have a fire extinguisher nearby as a precaution. Protective eyewear can shield your eyes from splashes, and an apron can protect your clothing.
Prioritize a well-ventilated area to avoid inhaling fumes.
Melting Wax Process
When preparing to melt wax, it's essential to select the appropriate method and gather the necessary materials for a smooth and efficient process.
If you choose the double boiler method, you'll need a large pot filled with water and a heat-resistant pouring container that can sit on top without touching the water. For this method, ensure you have a thermometer to monitor the wax temperature, and stir sticks to mix in any fragrance oils if desired.
Other methods like the microwave or wax melter will require microwave-safe containers or specific wax melting equipment.
Remember to prepare the wax by placing it in the designated container or pot, monitor the temperature closely, and follow the appropriate steps to stir or pour out the melted wax safely for your candle-making endeavors.

TOAUTO 30Lbs Commercial Wax Melter for Candle Making Large Electric Wax Melting Pot for Candle Making Business with Temperature Control & Quick Pour Spout
Fast Melt 60 Candles for You: Achieving a rush order for a bulk order was made easy. TOAUTO...
As an affiliate, we earn on qualifying purchases.
Setting up a Double Boiler
As we prepare to set up a double boiler for melting candle wax, begin by filling a large pot or saucepan with about an inch or two of water. Setting up a double boiler is crucial for melting wax efficiently and safely. Here's a step-by-step guide to help you through the process:
- Ensure Proper Heat Distribution: Placing the pouring container with wax inside the large pot or saucepan helps distribute heat evenly, preventing scorching or hot spots in the wax.
- Temperature Control: Using a thermometer to monitor the water temperature is essential for maintaining a consistent heat level. This ensures that the wax melts slowly and uniformly without overheating.
- Ideal for Large Quantities: A double boiler setup is ideal for melting large quantities of wax at once, making it a time-saving method for candle making or other wax-related projects.
- Safe Melting Process: By setting up a double boiler, you create a safe environment for melting wax, reducing the risk of accidental fires or burns commonly associated with direct heat sources.
Mastering the art of setting up a double boiler will elevate your wax melting process, providing you with control and precision over your candle-making endeavors.

Leerie 20Lbs Commercial Wax Melter for Candle Making, L10 Extra Large Electric Wax Melting Pot Kit for Candle Making Business with Heating Core Brass Spout & Temp Control & Heat Resistant Handle
✔MAXIMIZE YOUR PRODUCTIVITY - With the Leerie L10 Wax Melter generous 10qts/20 lbs capacity(10L Inner), you can produce...
As an affiliate, we earn on qualifying purchases.
Preparing the Wax for Melting
Before melting candle wax, we need to gather our supplies.
Next, we should chop the wax into small pieces for faster melting.
Additionally, we need to set up a double boiler for a gentle and uniform heat.
This process ensures that the wax melts evenly and prevents scorching or burning.
Proper preparation is key to a successful candle-making experience.
Gather Necessary Supplies
For efficient preparation of the wax for melting, ensure you have selected a heat-resistant pouring container. When gathering necessary supplies for candle making, consider the following:
- Choose the Right Container: Opt for a heat-resistant pouring container to safely melt the wax.
- Use a Large Pot: Select a large pot or saucepan to create a water bath for melting the wax evenly.
- Prepare the Water Bath: Fill the pot with about an inch or two of water before placing the pouring container inside.
- Maintain the Temperature: Keep the water at a gentle simmer to prevent overheating the wax.
Chop Wax Into Pieces
When preparing the wax for melting, our first step involves chopping the candle wax into small, uniform pieces around 1 inch in size using a sharp knife. Ensuring uniformity in the wax pieces is crucial as it helps the melted wax to heat evenly and melt consistently. Precision in cutting the wax will also aid in speeding up the melting process.
It's important to handle the knife carefully to prevent accidents or injuries during this step. Once the wax is chopped into pieces, you're now ready to proceed with melting it using your preferred method. Properly chopped wax sets the foundation for a smooth and efficient melting process, leading to well-melted wax for your candle-making endeavors.
Use Double Boiler
To prepare the wax for melting using the double boiler method, ensure you have a heat-resistant pouring container ready for the process. Here are some essential tips to keep in mind:
- Controlled Heating:
Monitor the water temperature in the large pot or saucepan to ensure it doesn't boil rapidly, which can lead to overheating the wax.
- Even Melting:
Stir the wax occasionally while it melts in the double boiler to ensure even heating throughout the process.
- Safety First:
Be cautious when handling the pouring container as it may become hot during the melting process. Consider using heat-resistant gloves.
- Precision Handling:
Once the wax has melted, carefully remove the pouring container from the double boiler to avoid any spills or burns, using a heat gun if needed.
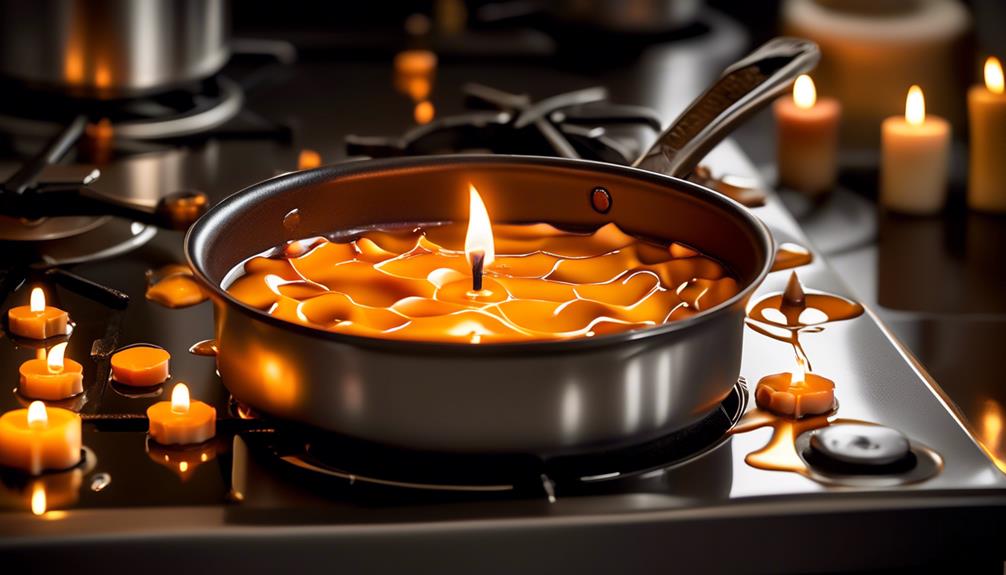
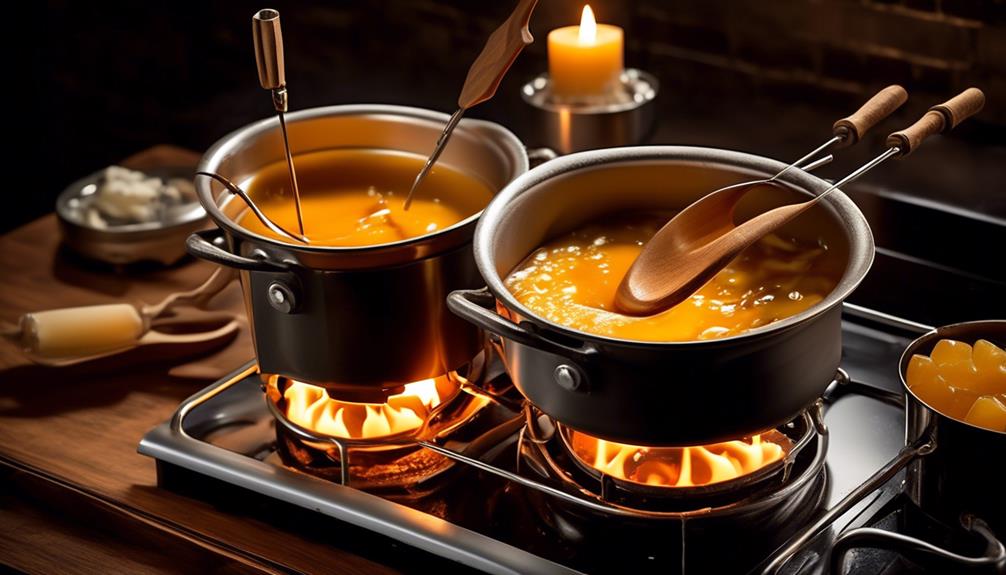
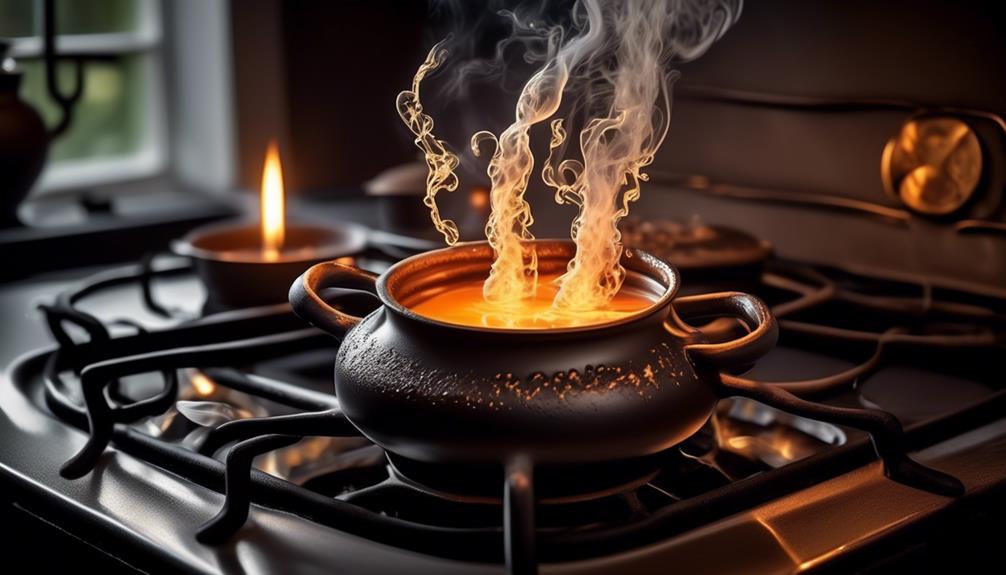
Melting Wax on the Stove
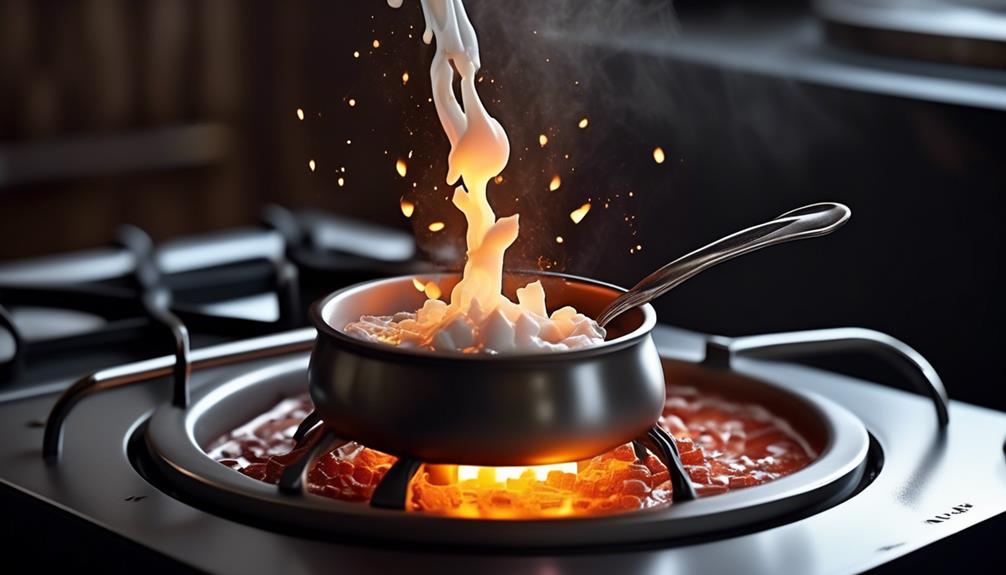
When melting wax on the stove, ensure that the temperature doesn't exceed 250°F for safe and efficient results. Maintaining the proper temperature is crucial to prevent the wax from overheating and potentially causing a fire hazard.
To melt wax on the stove, you can use a double boiler method by placing a heat- and water-resistant pouring container inside a large pot filled with water. This indirect heat method ensures a gentle and even melting process without direct exposure to high temperatures.
Another option is to utilize a wax melter specifically designed for melting wax. Place the solid wax directly into the melter pot, set the temperature accordingly, and monitor it closely to prevent overheating.
If you encounter any unmelted wax stuck on the sides of the container, gently use a heat gun or a hair dryer held about 6 inches above the wax surface to encourage complete melting.
Following these steps will help you efficiently melt wax on the stove while ensuring safety and optimal results.
Monitoring the Wax Temperature
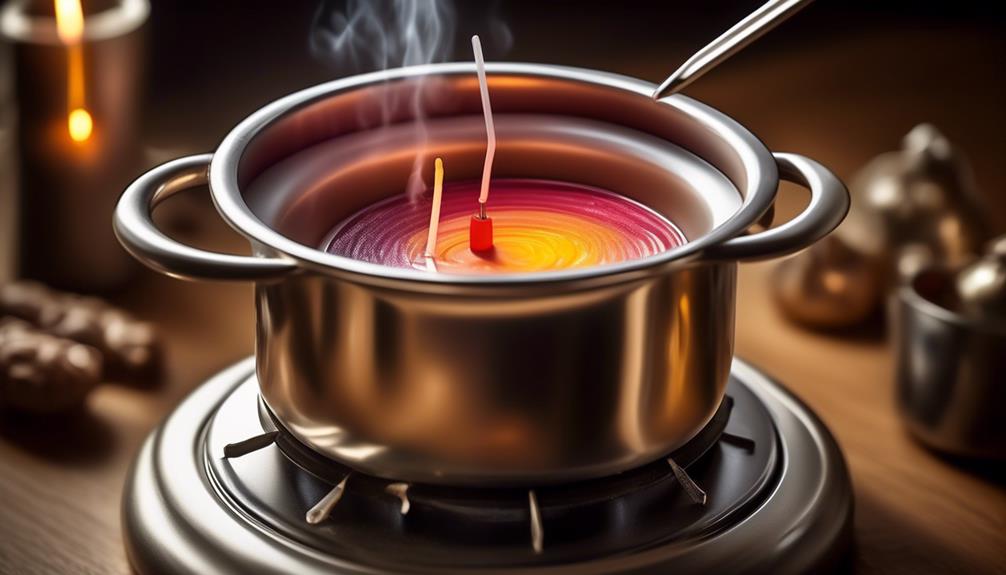
When melting candle wax on the stove, it's crucial to monitor the wax temperature consistently to achieve the desired results.
Using a thermometer accurately helps us keep track of the wax's temperature and ensure it remains below 250°F.
Check Wax Consistency
Monitoring the wax temperature is crucial when melting candle wax on the stove to ensure a smooth and consistent melting process. To check wax consistency effectively, follow these steps:
- Use a Candy or Candle Thermometer: This tool helps maintain the optimal temperature for melting without overheating.
- Maintain Consistent Temperature: Avoid fluctuations in heat to prevent issues like discoloration or scorching.
- Stir Occasionally: Ensure even heating throughout the wax to maintain consistency.
- Adjust for Amount of Wax: If melting a large amount of wax, adjust heating times accordingly to achieve the desired consistency without overheating or cooling too quickly.
Use Thermometer Accurately
Carefully placing the thermometer in the pouring container is essential for accurately monitoring the wax temperature while using the double boiler method.
To monitor the temperature effectively, stir the wax regularly. This ensures even heating and prevents hot spots.
It's crucial to keep the wax temperature within the specified range for the type of wax you're melting. Adjust the stove heat as needed to maintain a steady and accurate temperature. Consistent monitoring allows you to make timely adjustments.
Once the wax reaches the desired temperature, remove the pouring container from the heat source promptly to prevent overheating.
Adding Colorants and Fragrances
To enhance your candle-making experience, carefully select colorants and fragrances specifically crafted for this craft. When adding colorants and fragrances to your melted wax, follow these steps to ensure a successful outcome:
- Choose Quality Ingredients: Opt for colorants and fragrances that are intended for making candles. This will guarantee better results and a professional finish to your candles.
- Slow and Steady Addition: Add colorants to the melted wax in small increments, stirring thoroughly after each addition. This method allows you to control the intensity of the color and achieve the desired shade.
- Balanced Fragrance: For fragrances, add a few drops of fragrance oil per ounce of melted wax, adjusting to your personal preference. Ensure you stir the fragrance oil into the wax adequately for an even distribution of scent throughout the candle.
- Test Before Pouring: Before adding colorants and fragrances to the entire batch, pour a small amount of wax into a mold or container to test the color and scent. This step prevents any surprises and allows you to make adjustments if needed.
Stirring the Melted Wax
Stir the melted wax gently in a circular motion using a heat-resistant spoon or stir stick to ensure even distribution of heat and avoid scorching or clumping. Continuous stirring is crucial to prevent any parts of the wax from overheating or burning. Remember to scrape the sides and bottom of the container to integrate any unmelted wax and prevent clumping. This process helps in achieving a smooth and uniform consistency throughout the melted wax.
As you stir the wax, pay close attention to its texture and appearance. The goal is to create a homogeneous mixture that's free from any lumps or inconsistencies. If you're adding fragrance oils or other additives, ensure that they're thoroughly mixed into the wax. This thorough mixing ensures that the fragrance is evenly distributed throughout the candle, enhancing its overall scent.
Pouring the Wax Into Molds
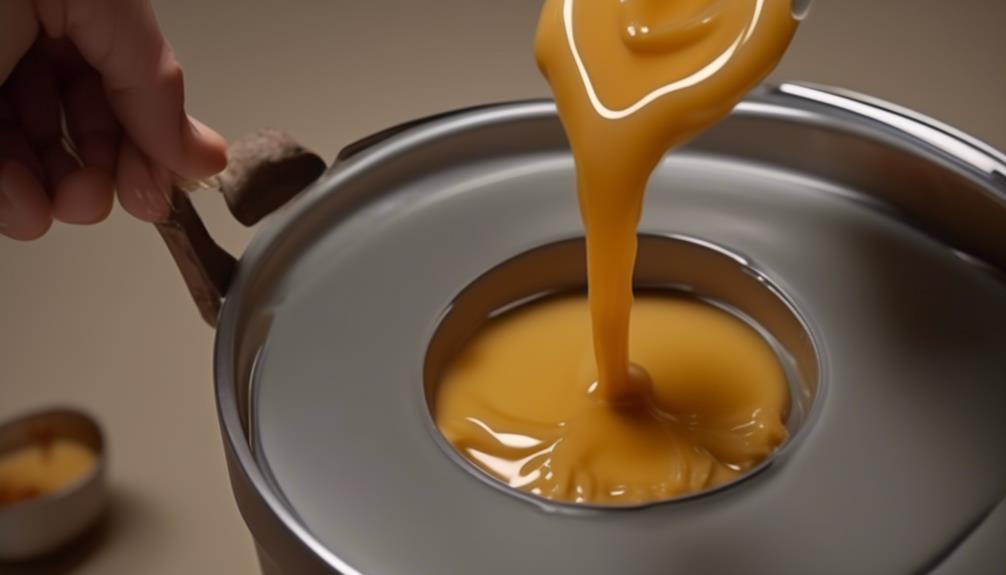
When it comes to pouring melted candle wax into molds, selecting appropriate molds is crucial for achieving the desired candle shape.
Filling the molds carefully ensures that the wax sets evenly and reduces the risk of air bubbles forming.
Allowing the wax to set completely before removing it from the molds is essential for a successful candle-making process.
Selecting Appropriate Molds
For optimal results in candle making, it's essential to carefully select molds that are heat-resistant and appropriate for the specific candle type you intend to create. When choosing molds, consider these key points:
- Material Matters: Opt for heat-resistant materials like silicone or metal.
- Flexibility is Key: Silicone molds are popular for their flexibility, making it easier to remove hardened wax.
- Temperature Tolerance: Metal molds can withstand high temperatures, ideal for pillar or votive candles.
- Size and Shape: Select molds that match the desired candle shape and size to ensure a perfect finish.
Filling Molds Carefully
Having carefully selected the appropriate molds for your candle making project, the next crucial step is filling them with melted wax in a meticulous and controlled manner.
Before pouring the wax, ensure that the molds are clean and dry to prevent any imperfections in your candles.
Slowly pour the melted wax into the molds, taking care to avoid splashing or spills that can create uneven surfaces. Leave a small amount of space at the top of the mold to accommodate shrinkage during cooling.
To eliminate air bubbles, tap the molds gently on a flat surface.
Finally, allow the wax to fully cool and harden before removing it from the molds to preserve the integrity of your candles.
Mastering this careful pouring process is essential for achieving professional-looking candles.
Allowing Wax to Set
After carefully pouring the melted wax into the molds, the next crucial step is to allow the wax to set completely before removing the candles. Here are some essential tips to ensure your candles turn out perfectly:
- Patience is Key: Resisting the urge to rush the process is vital. Letting the wax set for the recommended time will ensure a professional-looking finish.
- Room Temperature Matters: Ensure the candles are left in a room with a stable temperature. Sudden changes can affect the setting process.
- Optimal Amount of Wax: Using the correct amount of wax in each mold is crucial. Too much or too little wax can impact how well the candle sets.
- Avoid Disturbances: Try not to move or disturb the candles while they're setting. This can lead to uneven surfaces or air bubbles.
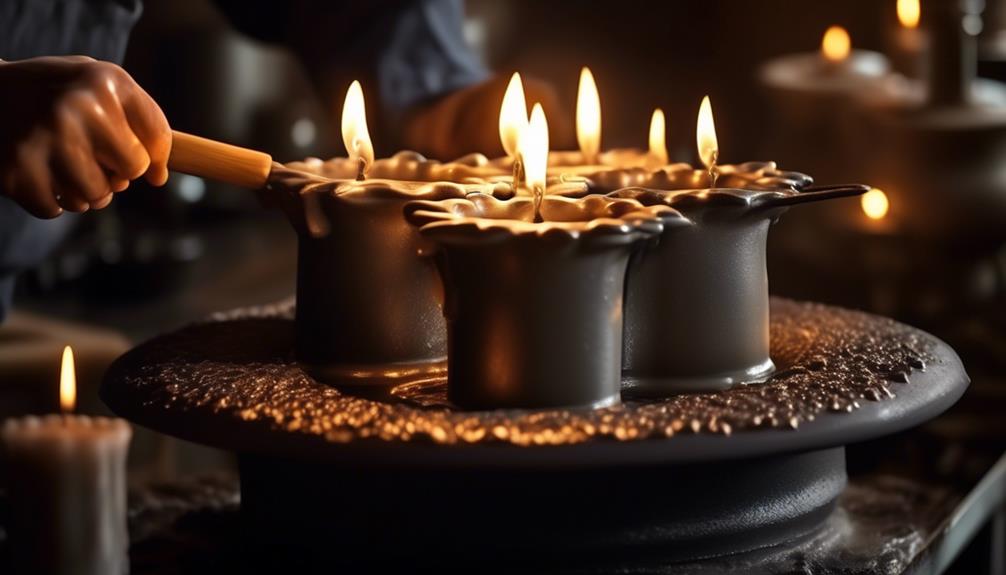
Allowing the Candles to Cool
To ensure safe handling, it's crucial to allow the candles to cool completely before any further steps are taken. Placing the candles in a large, cool, and draft-free area is essential to facilitate even cooling. This environment promotes a steady cooling pace, preventing any sudden temperature changes that could lead to cracks in the wax. It's important to exercise caution during this process and refrain from touching the hot wax to avoid burns. While it may be tempting to speed up the cooling process by placing the candles in the refrigerator or freezer, this should be avoided as it can have adverse effects on the wax.
Once the candles have cooled down entirely, typically within a few hours, it's recommended to trim the wicks to about ¼ inch in length before lighting them. This step ensures a clean and steady burn, preventing excessive flickering and soot formation. By allowing the candles to cool properly, you aren't only ensuring your safety but also preserving the quality of the candles for future use.
Removing the Candles From Molds
Once the candles have cooled and hardened completely in the mold, the next step is to gently tap the mold on a hard surface to loosen the wax.
To successfully remove the candles from the molds, follow these steps:
- Assess the Amount of Wax: Before attempting to remove the candle from the mold, take note of the amount of wax used. This will help you gauge the force needed to release it without damaging the candle.
- Carefully Pry the Edges: Use your fingers or a blunt object to carefully pry the edges of the mold away from the wax. This gentle approach helps prevent any cracks or breaks in the candle.
- Apply Even Pressure: Slowly and carefully pull the mold away from the wax, applying even pressure. This ensures that the candle comes out smoothly without any distortions.
- Use the Freezer Method if Needed: If the wax is still stuck, place the mold in the freezer for a few minutes to help release it. The cold temperature will contract the wax slightly, making removal easier.
Trimming the Wicks
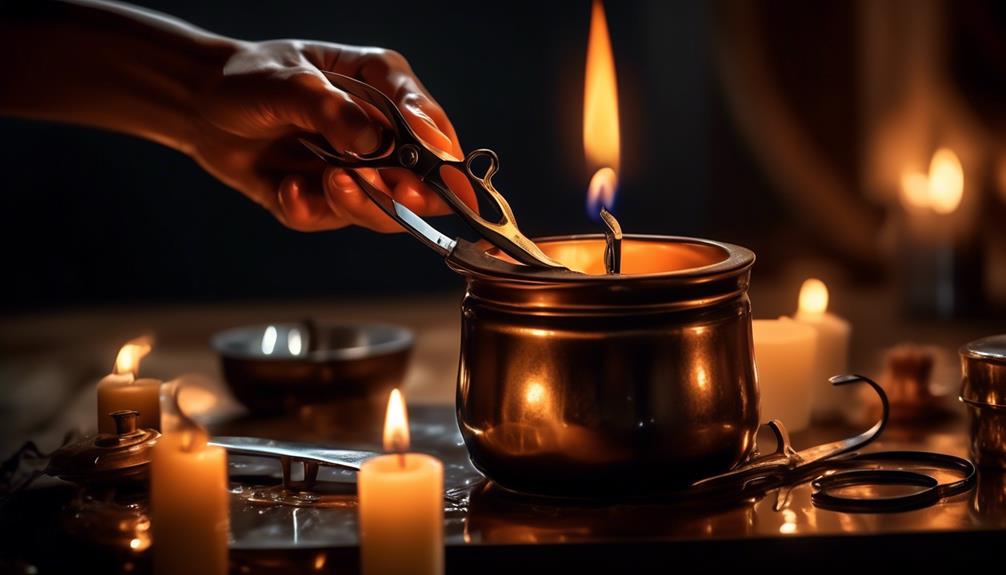
Upon completing the candle removal process from the molds, the next essential step is to trim the wicks to ensure optimal burning performance. Trimming the wicks is crucial as it helps control the amount of wax that's consumed during each burn. Wicks that are too long can lead to excessive burning, causing the candle to produce more smoke and soot. To trim the wicks, use sharp scissors or a wick trimmer to cut them to about a quarter of an inch in length. This length is ideal for most candles and will help achieve a steady flame and even burn.
When trimming the wicks, make sure to trim them when the candle is cool and solid. Removing any charred parts of the wick will also prevent the candle from producing a smoky flame. Properly trimmed wicks not only enhance the candle's burning performance but also extend its overall lifespan.
Storing the Homemade Candles
When storing homemade candles, it's essential to ensure they've cooled completely before proceeding. Once the candles have cooled, follow these important steps to preserve their quality and scent:
- Store in the Right Conditions: Place the candles in a cool, dry area away from direct sunlight to prevent them from melting or losing their shape due to heat exposure.
- Use Airtight Containers: Seal the candles in airtight containers or wrap them in plastic to protect them from dust and moisture, ensuring they maintain their fragrance and appearance.
- Keep Away from Heat Sources: Avoid storing candles near heaters or flames as this can cause them to soften, warp, or even ignite unexpectedly.
- Label for Identification: Label the containers or packaging with the scent and date of the candles. This will help you easily identify each candle and know when it was made, ensuring you use them before the scent diminishes or the wax degrades.
Cleaning up After Wax Melting
To effectively clean up after melting wax, ensure the melted wax has completely cooled and solidified before beginning the removal process. Once the wax is solid, you can start the cleaning process by scraping off any excess wax using a plastic scraper or a credit card. After removing as much wax as possible, use a paper towel or cloth to wipe down the surface and eliminate any remaining residue. For stubborn residue, gently scrub the area with a mixture of mild detergent or soap and warm water. Ensure you rinse the surface thoroughly with clean water and dry it completely before using it again.
| Cleaning Step | Description |
|---|---|
| Scrape off excess wax | Use a plastic scraper or credit card to remove excess wax. |
| Wipe down the surface | Use a paper towel or cloth to wipe the surface and remove any remaining residue. |
| Use mild detergent and warm water for residue | For stubborn residue, gently scrub the area with mild detergent or soap and warm water. |
Troubleshooting Common Wax Melting Issues
After cleaning up the melted wax residue, troubleshooting common wax melting issues becomes crucial to ensure safe and efficient candle-making processes. Here are some key points to consider:
- Monitor the Wax Temperature: Check the temperature regularly to prevent it from exceeding 250°F, which can make the wax volatile and unsafe.
- Avoid Direct Heat: Don't melt wax directly on the stove or in direct heat to avoid uneven heating and potential fire hazards.
- Never Leave Unattended: Always stay present while melting wax as it can quickly reach flammable temperatures, posing a danger if left alone.
- Handle the Right Amount of Wax: Ensure you're melting an appropriate amount of wax for the container size to prevent overflow or overheating issues that could lead to accidents.
Frequently Asked Questions
Can You Melt Candle Wax Directly on Stove?
Yes, we can melt candle wax directly on the stove, but it's important to follow safety guidelines.
Never exceed 250°F when heating the wax and avoid direct heat by using a double boiler or a heat-safe container in a pot of water.
Stay vigilant and never leave melting wax unattended. Keep pets and children away from the area, and always use potholders or oven mitts when handling hot items to prevent burns.
What Is the Best Way to Melt Candle Wax?
The best way to melt candle wax is by using a double boiler method. This involves placing a heat-safe container with the wax inside another pot filled with water.
The water is heated, gently melting the wax without direct heat. This method ensures even melting and prevents the wax from overheating.
Remember to never leave the wax unattended and always use caution when handling hot materials.
Is Boiling Water Hot Enough to Melt Candle Wax?
Boiling water alone isn't hot enough to melt candle wax efficiently. It's best to utilize a double boiler method or a microwave for the task.
The double boiler technique involves placing the wax in a heat-resistant pouring container within a pot of simmering water.
On the other hand, when using the microwave, heat the wax in short intervals, stirring in between until it's fully melted.
These methods ensure a safe and effective way to melt candle wax.
How Do You Melt Candle Wax in a Saucepan?
Sure thing!
When melting candle wax in a saucepan, we recommend using a double boiler method to ensure a safe and controlled melting process. This involves placing the wax in a heat-resistant pouring container inside a pot or saucepan filled with water.
Conclusion
As we finish up the process of melting candle wax on the stove, it's crucial to remember the importance of safety precautions and proper handling.
Stay tuned for our next article where we explore creative ways to customize your homemade candles with unique scents and colors. Get ready to elevate your candle-making skills and create stunning masterpieces that will light up any room!
Stay tuned for more candle-making tips and tricks!