Are you prepared to discover the process of creating pillar candles? While you may believe it to be a challenging and time-consuming task, we are here to demonstrate that it is, in fact, simple and gratifying.
In this guide, we’ll walk you through the step-by-step process of creating your very own pillar candles. From choosing the right wax to troubleshooting common issues, we’ve got you covered. So grab your supplies and let’s get started on this fun and creative journey.
By the end, you’ll have stunning homemade pillar candles that you can proudly display or even sell. Let’s dive in and discover the art of candle making together!
Key Takeaways
- The choice of wax affects the overall quality and performance of the candle.
- The mold material can impact factors like heat conduction and ease of release.
- The size of the mold determines the final dimensions of the pillar candle.
- Gathering essential candle making tools and finding the right tools is crucial for successful candle making.

TOPYS 6 Holes Long Cylinder Silicone Candle Molds, Pillar Cylinder Shape Mold for Aromatherapy Candle Soy Wax Soap Clay Craft Plaster Resin Handmade Crafts Gifts Birthday Cake Decor(5.9in)
【High-quality Material 】The modle resin mold is made of high-quality silicone, which is durable and not easily deformed,...
As an affiliate, we earn on qualifying purchases.
Choosing the Right Candle Wax
First, we need to decide on the appropriate type of candle wax for our pillar candle-making project. The choice of candle wax is crucial as it affects the overall quality and performance of the finished product.
There are various types of candle wax available, each with its own unique characteristics and melting points. The temperature at which the wax melts is an important factor to consider, as it determines the burning time and the scent throw of the candle.
Paraffin wax, for example, has a lower melting point, making it suitable for beginners. Beeswax, on the other hand, has a higher melting point and produces a longer-lasting candle. Soy wax is a popular choice for those seeking an eco-friendly option.
It’s essential to select the right type of wax based on your preferences and the desired outcome of your pillar candle.

2 Pack 6 Inch Cylinder Candle Mold Pillar Candle Molds Taper - Resin Casting Silicone Molds for Home Decor & Candle Making Wave Spiral Mold
[High Quality] This Mold made from food grade silicone, flexibility and durable to reuse. Smooth interiors to demold.
As an affiliate, we earn on qualifying purchases.
Selecting the Perfect Candle Mold
When it comes to selecting the perfect candle mold, there are a few key points to consider.
First, you’ll want to think about the material of the mold. Options include silicone, metal, and plastic, each with their own pros and cons.
Next, take into account the size of the mold. Consider the dimensions of your desired pillar candle and choose a mold that will accommodate the volume of wax needed.
Lastly, don’t forget to explore the various design variations available. From smooth and straight-sided molds to intricate and textured ones, the design of the mold can greatly impact the final look of your pillar candle.
Mold Material Options
We prefer using silicone as our mold material for making pillar candles. Silicone is a versatile and durable material that offers several advantages over other mold materials.

However, there are different mold materials available, and the best mold material for beginners may vary depending on personal preferences and specific project requirements. Some other popular mold materials include plastic, metal, and rubber.
Plastic molds are affordable and easy to use, making them a good option for beginners.
Metal molds, such as aluminum or stainless steel, provide excellent heat conduction and can withstand high temperatures.
Rubber molds, on the other hand, are flexible and allow for easy release of the finished candle.
Ultimately, the choice of mold material depends on factors such as budget, skill level, and desired candle design.
Mold Size Considerations
After considering mold material options, our next step is to carefully consider the size of the mold when selecting the perfect candle mold. The mold size is an important factor to take into account as it will determine the final dimensions of your pillar candle.
When choosing a mold, you’ll come across a variety of mold size options. These options can range from small molds that produce petite pillar candles to larger molds that create taller and more substantial candles. It’s essential to consider the desired size of your candle and the mold material durability. Ensure that the mold size you choose can accommodate the amount of wax needed for your desired candle size.
With the mold size considerations in mind, let’s now move on to discussing mold design variations.

Mold Design Variations
To select the perfect candle mold, we need to consider the various design variations available. When it comes to candle design inspiration, the possibilities are endless. Here are some design variations to consider:
- Classic Shapes: Traditional pillar candle molds come in various shapes, such as round, square, or hexagonal. These classic shapes add a touch of elegance and sophistication to any space.
- Unique Patterns: For those looking to create a statement piece, molds with intricate patterns can provide a visually striking result. From floral motifs to geometric designs, these molds add a creative touch to your candles.
- Alternative Mold Materials: In addition to the traditional metal molds, there are also alternative mold materials available, such as silicone or polyurethane. These materials offer flexibility and ease of use, allowing for more intricate candle designs.

Large Silicone Cylinder Candle Mold - Pillar Candle Making Mold (16.9cm x 9.5cm/6.5" x 3.74")
Large Silicone Candle Mold: You will get 1 pack long cylinder candle making mold, great for for you...
As an affiliate, we earn on qualifying purchases.
Gathering Essential Candle Making Tools
Now that we’ve covered selecting the perfect candle mold, let’s move on to gathering the essential tools you’ll need for making pillar candles.
There are a few must-have tools that will make the process much easier and more efficient.
We’ll also discuss where you can find these tools to ensure you have everything you need to get started.

Must-Have Candle Making Tools
To gather the essential tools needed for candle making, we start by acquiring a variety of must-have candle making tools. These tools are crucial for ensuring the success of your candle making endeavors and for practicing proper candle making techniques and candle making safety. Here are three essential tools that every candle maker should have:
- Double boiler: This tool is used to melt the wax gently and evenly, preventing it from scorching or burning. It consists of a large pot filled with water, with a smaller pot or heat-resistant container placed inside to hold the wax.
- Thermometer: A thermometer is essential for monitoring the temperature of the wax. Maintaining the correct temperature is crucial for achieving the desired results and preventing accidents.
- Wick trimmer: A wick trimmer is used to trim the wick to the appropriate length before lighting the candle. This helps ensure a clean and even burn and prevents excessive smoke and soot.
Where to Find Tools
After acquiring the must-have candle making tools mentioned earlier, we can now explore where to find these essential tools to begin our candle making journey.
Finding affordable tools can be easily done by searching online tool suppliers. There are numerous websites that specialize in selling candle making supplies, and they offer a wide range of tools at different price points. Some popular online tool suppliers include Amazon, Etsy, and specialty candle making websites. When searching for tools online, make sure to read customer reviews and compare prices to ensure you’re getting the best deal.
Additionally, consider checking local craft stores or hobby shops, as they may carry candle making tools as well.

Now that we know where to find the tools, let’s move on to prepping our workspace for candle making.

Large Cylinder Mold for Candle Making, 2x3Inch 2x6Inch 2x8Inch Cylinder Silicone Candle Mold, 3 Pcs Long Pillar Epoxy Resin Casting Mold for Wax Candle Resin Craft Making
Large Cylinder Candle Mold: You will get 3 pack of large pillar silicone candle molds, measuring approx. 20.3...
As an affiliate, we earn on qualifying purchases.
Prepping Your Workspace for Candle Making
We gather all the necessary materials and clear our workspace before starting to make pillar candles. Workspace organization is essential to ensure a smooth and efficient candle-making process. Here are some safety precautions to consider:
- Clean and declutter: Clear away any unnecessary items from your workspace to create a clutter-free area. This will help prevent accidents and allow for easy access to your materials.
- Proper ventilation: Ensure that your workspace is well-ventilated to prevent the buildup of fumes from the candle-making process. Open windows or use a fan to circulate the air.
- Fire safety: Keep a fire extinguisher nearby in case of emergencies. Additionally, have a heat-resistant surface to place hot materials on.
Melting and Pouring the Candle Wax
Now that we’ve prepped our workspace, let’s move on to the next step: melting and pouring the candle wax.
There are different techniques for melting wax, such as using a double boiler or a microwave. It’s important to control the pouring temperature to ensure a smooth and even burn.
We’ll also discuss some tips to avoid any wax spills during the pouring process.
Let’s get started!
Wax Melting Techniques
The efficiency of the wax melting process significantly impacts the quality of our pillar candles. To ensure a safe and successful wax melting experience, it’s important to follow proper wax melting safety guidelines.
Here are some key steps to consider:
- Choose the appropriate type of candle molds for your pillar candles. There are various options available, such as metal molds, silicone molds, and plastic molds. Each type has its own advantages and considerations.
- Prepare the wax by measuring the required amount and placing it in a double boiler or a melting pot. This helps to melt the wax evenly and prevents it from scorching or burning.
- Heat the wax slowly and gently, stirring occasionally to ensure even melting. Avoid overheating, as this can lead to discoloration or the formation of air bubbles in the finished candles.
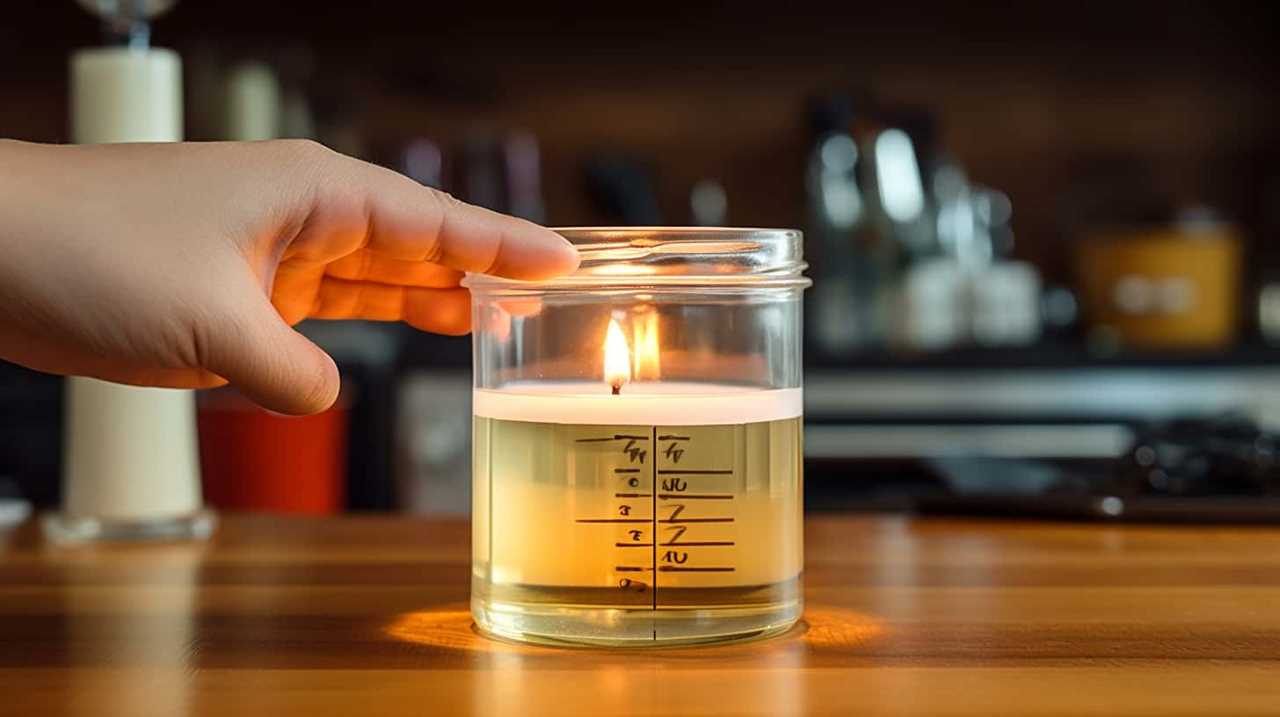
Pouring Temperature Control
To ensure optimal results, it is crucial to carefully control the pouring temperature when melting and pouring the candle wax. Proper pouring techniques and temperature control tips play a significant role in creating high-quality pillar candles. Here are some key points to consider:
| Pouring Technique | Temperature Control Tips |
|---|---|
| Slow Pouring | – Heat the wax to the recommended melting temperature. |
| – Allow the wax to cool slightly before pouring. | |
| – Pour the wax slowly and steadily into the mold. | |
| – Avoid sudden movements or pouring from a great height. | |
| – Maintain a consistent pouring speed throughout. |
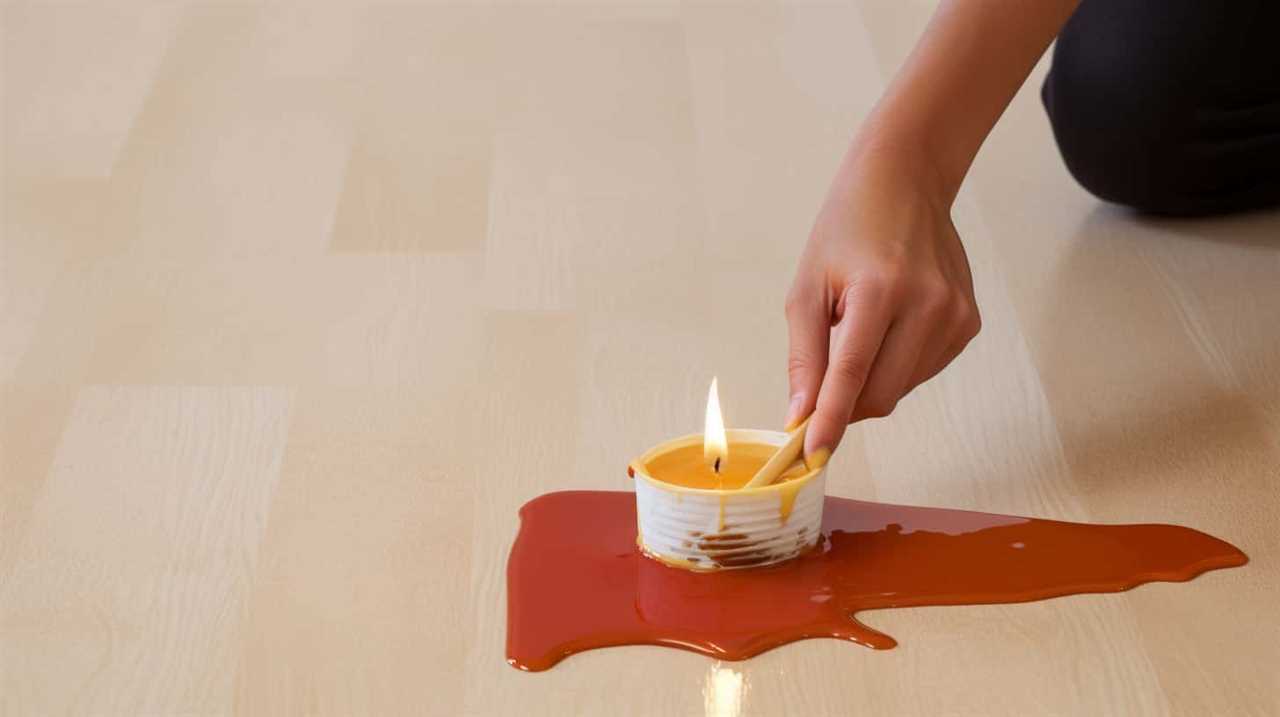
Avoiding Wax Spills
To avoid wax spills when melting and pouring the candle wax, we need to use proper techniques and take necessary precautions. Here are some tips to prevent wax spills and ensure a clean and mess-free candle-making process:
- Keep a steady hand: When pouring the melted wax into the candle mold, maintain a steady hand to avoid any sudden movements that might cause spills.
- Use a pouring pitcher: Opt for a pouring pitcher with a spout to have better control over the pouring process. This will help minimize the chances of wax spills.
- Protect your workspace: Place a layer of newspaper or a protective mat under your work area to catch any potential spills. This will make it easier to clean up any wax that may accidentally spill.
In case wax spills do occur, it’s important to know how to clean them up properly. Use a paper towel or cloth to blot the spilled wax, then apply heat from a hairdryer to melt and absorb the remaining wax. Finally, clean the area with warm soapy water to remove any residue.
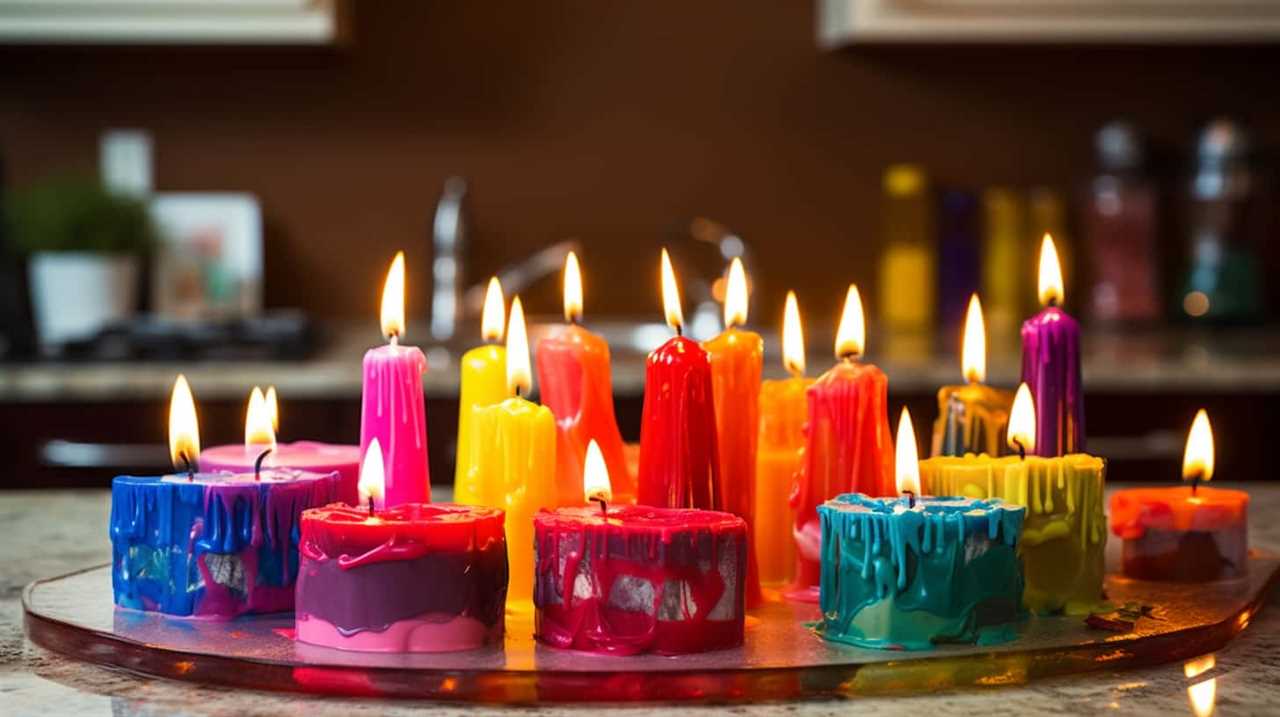
Adding Fragrance and Color to Your Candle
We enhance our pillar candles by incorporating fragrance and color.
When it comes to fragrance selection, it’s important to choose scents that complement the overall theme or mood of your candle. Consider using essential oils or fragrance oils specifically designed for candle making. Start by adding a few drops of the chosen fragrance to the melted wax and stir well to ensure even distribution. Remember to follow the recommended fragrance load guidelines for optimal scent throw.
As for color mixing techniques, you can use liquid or powdered candle dyes. Start with a small amount and gradually add more until you achieve the desired color. Mix well and adjust as needed. Keep in mind that some fragrances may alter the color of the wax, so it’s best to test beforehand.
Inserting the Wick Into the Candle
First, we’ll need to measure and cut the wick for our pillar candle. The length of the wick will depend on the height of your candle. It’s important to choose the right wick size for optimal burning.
To insert the wick into the candle, follow these steps:
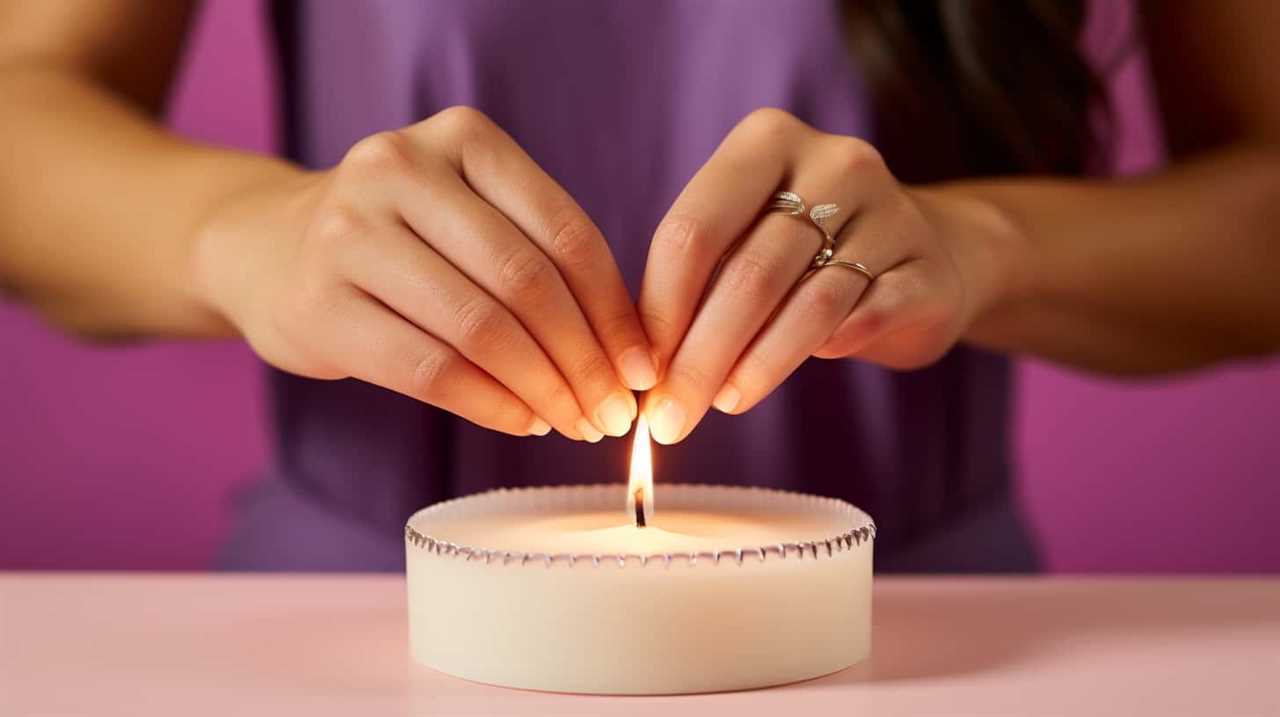
- Place the wick at the center of the candle mold or container. Ensure it’s straight and aligned with the mold’s opening.
- If using a mold, use a wick holder or pencil to keep the wick centered and upright.
- If using a container, you can use a wick sticker or a bit of melted wax to secure the wick to the bottom.
Allowing the Candle to Cool and Set
Now that we’ve inserted the wick into the candle, it’s important to allow the candle to cool and set properly.
This step is crucial to ensure a quality pillar candle.
First, we need to consider the cooling time required for the specific type of pillar candle being made.
Additionally, we must make sure the candle is set at the appropriate temperature to avoid any issues with premature release.
Let’s dive into these points and make sure our pillar candles turn out perfectly.
Cooling Time for Pillar
After pouring the melted wax into the mold, we need to give the pillar candle ample time to cool and set. Proper cooling is crucial to ensure that the candle solidifies properly and maintains its shape. The ideal temperature for cooling a pillar candle is around 60-70 degrees Fahrenheit.
Here are a few reasons why proper cooling is essential:
- Prevents cracking: Allowing the candle to cool gradually helps to prevent cracks from forming on the surface.
- Enhances scent throw: Proper cooling allows the fragrance to fully infuse the wax, resulting in a stronger and longer-lasting scent.
- Improves burn time: When the candle cools at the right temperature, it ensures an even distribution of wax, which leads to a longer burn time.
Once the pillar candle has cooled and set, we can move on to the next step: ensuring the proper setting temperature.
Proper Setting Temperature
To ensure the pillar candle cools and sets properly, we need to maintain the appropriate setting temperature. Proper temperature control is crucial in preventing overheating, which can result in a variety of issues such as cracking, uneven surfaces, and structural weakness.
The ideal setting temperature for pillar candles is typically around 100 to 120 degrees Fahrenheit (38 to 49 degrees Celsius). This allows the wax to cool gradually and evenly, ensuring a smooth and flawless finish.
To achieve the proper setting temperature, you can use a thermometer specifically designed for candle making. Simply place the thermometer in the melted wax and monitor the temperature closely. Once the desired temperature is reached, remove the candle from the heat source and allow it to cool and set naturally.
By maintaining the proper setting temperature, you can avoid common problems and achieve professional-looking pillar candles.

Now, let’s move on to the next step of avoiding premature candle release.
Avoiding Premature Candle Release?
We ensure proper cooling and setting of the pillar candle to avoid premature candle release. After pouring the melted wax into the mold and adding the wick, it’s important to allow the candle to cool and set completely. This step is crucial in preventing candle cracking and ensuring even burning.
Here are three key points to remember:
- Patience is key: Resist the temptation to remove the candle from the mold too soon. Allow it to cool naturally for at least 24 hours.
- Find a cool, dry place: Choose a location away from direct sunlight and drafts to prevent uneven cooling and potential cracking.
- Check for firmness: Gently press the top of the candle with your finger. If it feels firm and solid, it’s ready to be released from the mold.
Removing the Candle From the Mold
Once the candle has fully cooled, the next step is carefully removing it from the mold. To prevent the candle from sticking to the mold, gently tap the sides of the mold with a rubber mallet or use a soft cloth to loosen the edges.
Slowly and steadily, apply even pressure to push the candle out of the mold. If you encounter resistance, stop and tap the mold again to loosen the candle. Be patient and avoid pulling or forcing the candle out, as this may cause it to break or deform.
Additionally, while removing the candle, inspect for any air bubbles that may have formed during the cooling process. If you spot any, use a sharp tool to gently puncture them and smooth out the surface of the candle.
Trimming the Wick for a Clean Burn
After the candle has been removed from the mold, we need to trim the wick for a clean burn. Trimming the wick is an essential part of wick maintenance that helps in achieving an even burn.
Here’s how you can do it:
- Gather the necessary tools: a pair of wick trimmers or sharp scissors.
- Ensure that the candle is completely cool before proceeding.
- Hold the candle upright and gently trim the wick to about 1/4 inch in length. Be careful not to cut it too short or leave it too long.
- Dispose of the trimmed wick debris.
- Before lighting the candle again, make sure there are no loose wick trimmings in the wax pool.
- Trimming the wick regularly will help prevent soot and mushrooming, ensuring a longer-lasting and cleaner burn.
Regular wick maintenance is crucial for achieving an even burn and maximizing the lifespan of your pillar candle.
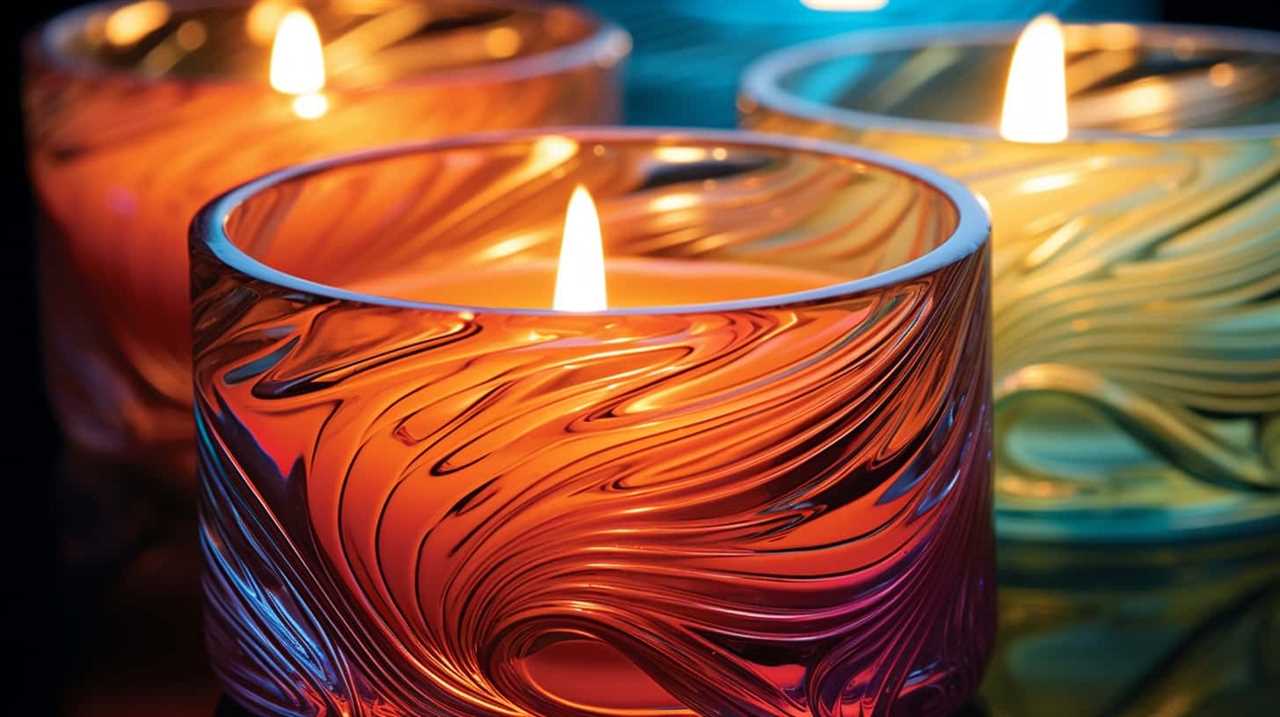
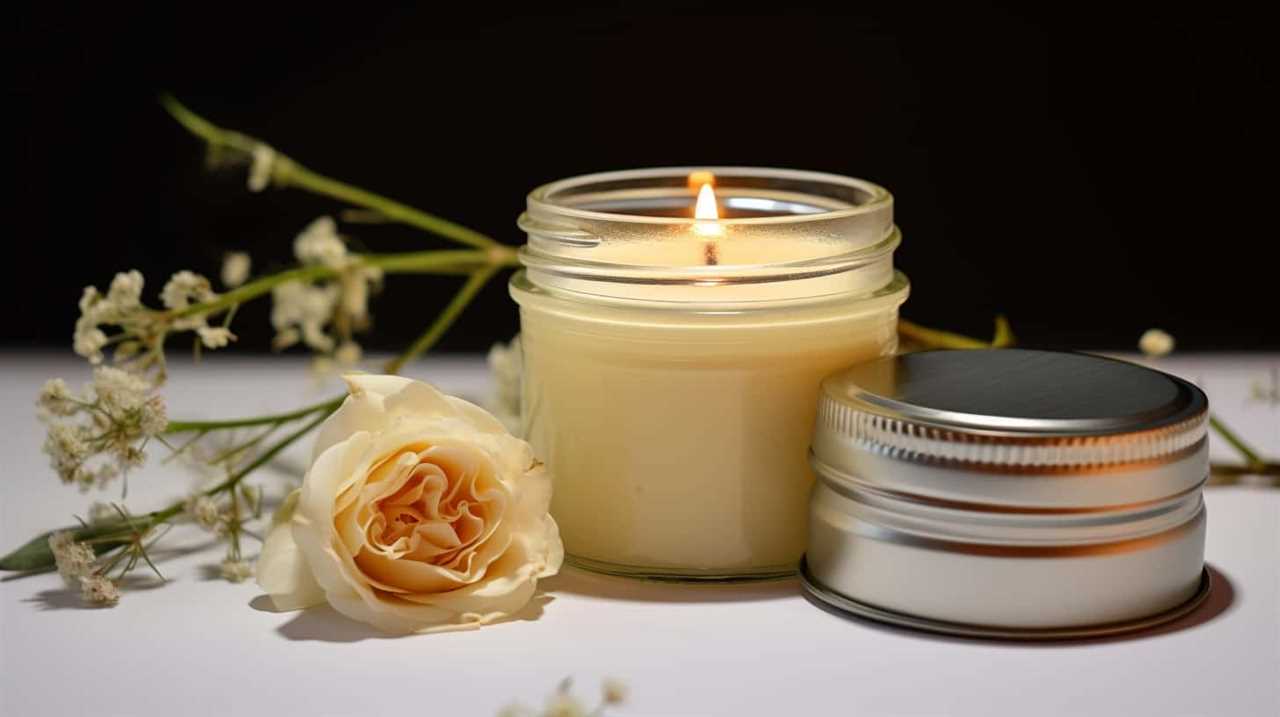
Decorating and Personalizing Your Pillar Candle
To personalize and decorate our pillar candle, we can use various techniques and materials.
There are many personalizing techniques that can make our pillar candle unique and eye-catching. One popular method is to use decorative wax sheets. These sheets come in a variety of colors and designs, and can be cut into shapes or wrapped around the candle to create a personalized look.
Another technique is to use candle dyes or paints to add color and patterns to the surface of the candle.
We can also incorporate unique candle decorations such as ribbons, beads, or dried flowers. These can be glued or tied onto the candle to add a special touch.
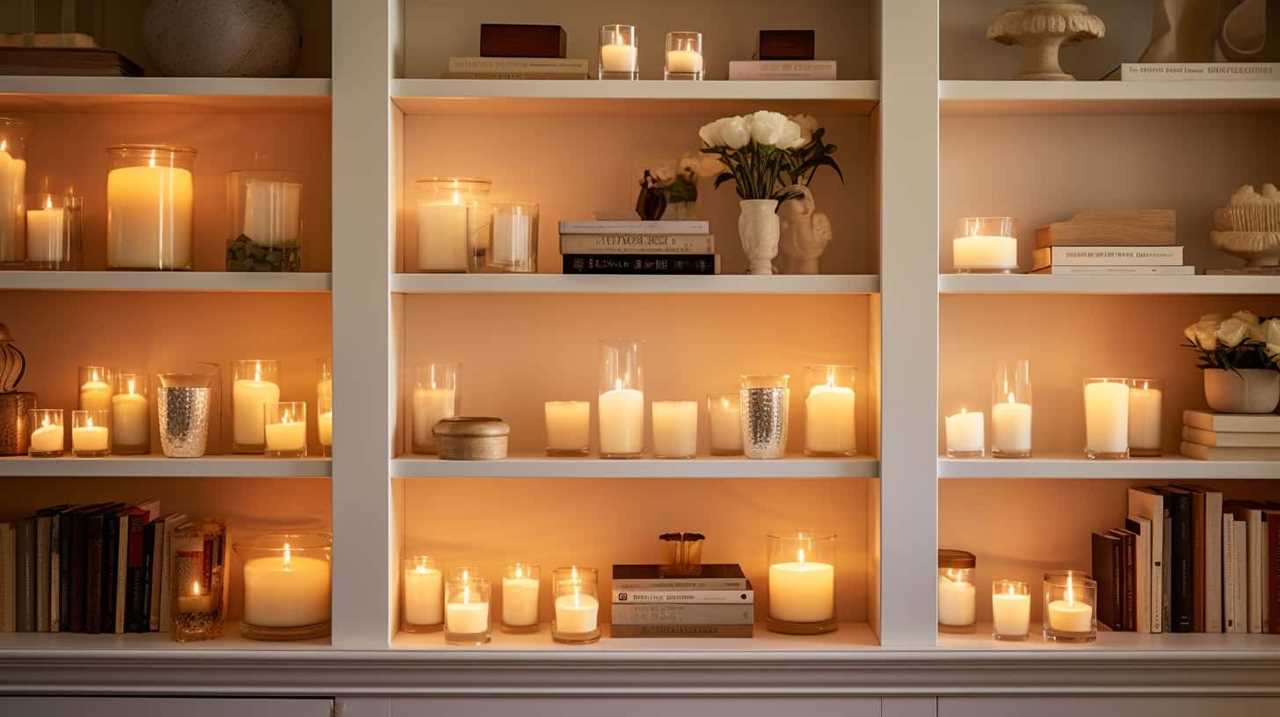
Storing and Caring for Your Homemade Pillar Candles
We store and care for our homemade pillar candles by ensuring proper temperature and humidity control. This is essential for prolonging the shelf life of our candles and maintaining their quality. Here are some storing techniques to follow:
- Keep them in a cool, dry place: Exposing candles to heat can cause them to warp or melt, while moisture can lead to mold growth. Find a spot away from direct sunlight and humidity.
- Use airtight containers: Storing candles in airtight containers helps prevent dust and dirt from accumulating on the surface, keeping them clean and ready for use.
- Avoid stacking or overcrowding: Placing candles too close together can cause them to become misshapen or damaged. Allow enough space between candles to prevent any physical contact.
Troubleshooting Common Candle Making Issues
To address any potential issues that may arise during the candle making process, it is important to be well-informed and prepared. Two common problems that candle makers often encounter are tunneling and air bubbles. Tunneling refers to the uneven burning of a candle, where a hole forms in the middle while the wax remains untouched at the edges. To prevent tunneling, it is crucial to properly trim the wick and allow the candle to burn long enough for the entire top layer to melt. Troubleshooting air bubbles involves using a heat gun or blow dryer to melt the surface of the candle slightly and then poking the bubbles with a pin to release the trapped air. By following these steps, you can ensure that your candle making process goes smoothly and your candles turn out perfect.
| Common Issues | Causes | Solutions |
|---|---|---|
| Tunneling | Improper wick trimming | Trim wick to 1/4 inch before each burn and allow the candle to burn long enough for the wax to melt evenly across the top layer. |
| Air Bubbles | Trapped air during pouring | Use a heat gun or blow dryer to slightly melt the surface of the candle. Then, carefully poke the bubbles with a pin to release the trapped air. |
| Wax cooling too quickly | Pour the wax at a slightly higher temperature and avoid drafts that may cause rapid cooling. |
Creating Variations With Different Wax Types
How can we create variations with different wax types when making pillar candles?

There are several ways to experiment with different wax types to achieve unique and personalized pillar candles. Here are some ideas to inspire you:
- Try different color options: Use different colored waxes or add colorants to create candles in a variety of shades. From vibrant and bold to soft and pastel, the possibilities are endless!
- Experiment with fragrance: Add scented oils or essential oils to your wax to create beautifully fragrant pillar candles. Choose from a wide range of scents such as floral, fruity, or even exotic options to create a delightful sensory experience.
- Combine different wax types: Mix different types of waxes, such as soy wax and beeswax, to create candles with unique textures and characteristics. This can add an interesting visual element to your candles as well.
Tips for Selling Your Homemade Pillar Candles
After exploring different wax types and techniques, we’ve created unique and personalized pillar candles. Now, it’s time to focus on selling our homemade creations.
To attract customers, it’s important to consider our candle packaging ideas. Eye-catching and well-designed packaging can make a significant difference in sales. We can opt for elegant boxes or bags that reflect the style and aesthetic of our candles.
Additionally, marketing strategies play a crucial role in reaching our target audience. Utilizing social media platforms, such as Instagram and Facebook, can help showcase our candles to a wider audience. Collaborating with influencers or bloggers in the home decor or self-care niche can also increase exposure.

Moreover, participating in local craft fairs or markets can provide opportunities for face-to-face interactions and instant sales.
Frequently Asked Questions
How Can I Prevent Air Bubbles From Forming in My Pillar Candle?
To prevent air bubbles in our pillar candles, we can take a few steps. First, ensure that the wax is melted completely and pour it slowly into the mold. Additionally, tapping the mold gently can help release any trapped air.
What Is the Best Way to Clean Candle Wax Spills From My Workspace?
To clean candle wax spills from our workspace, we recommend using a few cleaning techniques. First, scrape off excess wax with a dull knife. Then, place a brown paper bag over the spill and iron over it to melt the remaining wax. Finally, clean any residue with warm soapy water.
Can I Use Essential Oils Instead of Fragrance Oils to Scent My Pillar Candle?
Yes, we can use essential oils instead of fragrance oils to scent our pillar candles. Essential oils offer a natural and aromatic option, and they have various benefits such as promoting relaxation and enhancing mood.

How Long Should I Let My Pillar Candle Cool Before Removing It From the Mold?
Precautions, tips and tricks for removing a pillar candle from the mold: Allow it to cool completely before attempting to remove it to avoid any damage. Gently tap the mold to release the candle.
What Can I Do if My Pillar Candle Is Not Burning Evenly?
If your pillar candle isn’t burning evenly, try troubleshooting techniques like trimming the wick, ensuring proper ventilation, and rotating the candle periodically. Alternatively, you could experiment with different types of candle wicks for a more consistent burn.
Conclusion
In conclusion, making pillar candles can be a fun and rewarding craft. By following the step-by-step instructions outlined in this article, you can create beautiful homemade candles that will add warmth and ambiance to any space.
Did you know that the global candle market is projected to reach a value of $13.4 billion by 2026? This statistic highlights the popularity and demand for candles, making it a great opportunity to sell your homemade creations.

So, get creative and start making your own pillar candles today!