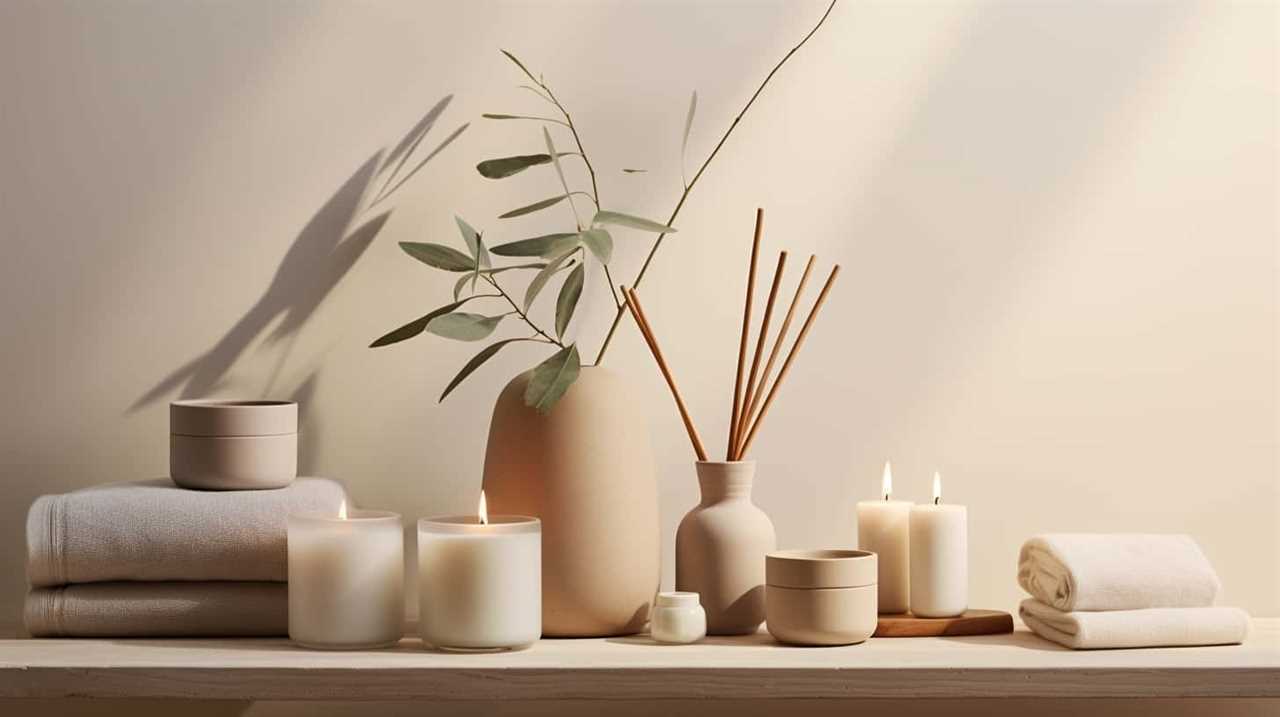
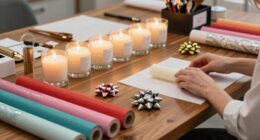
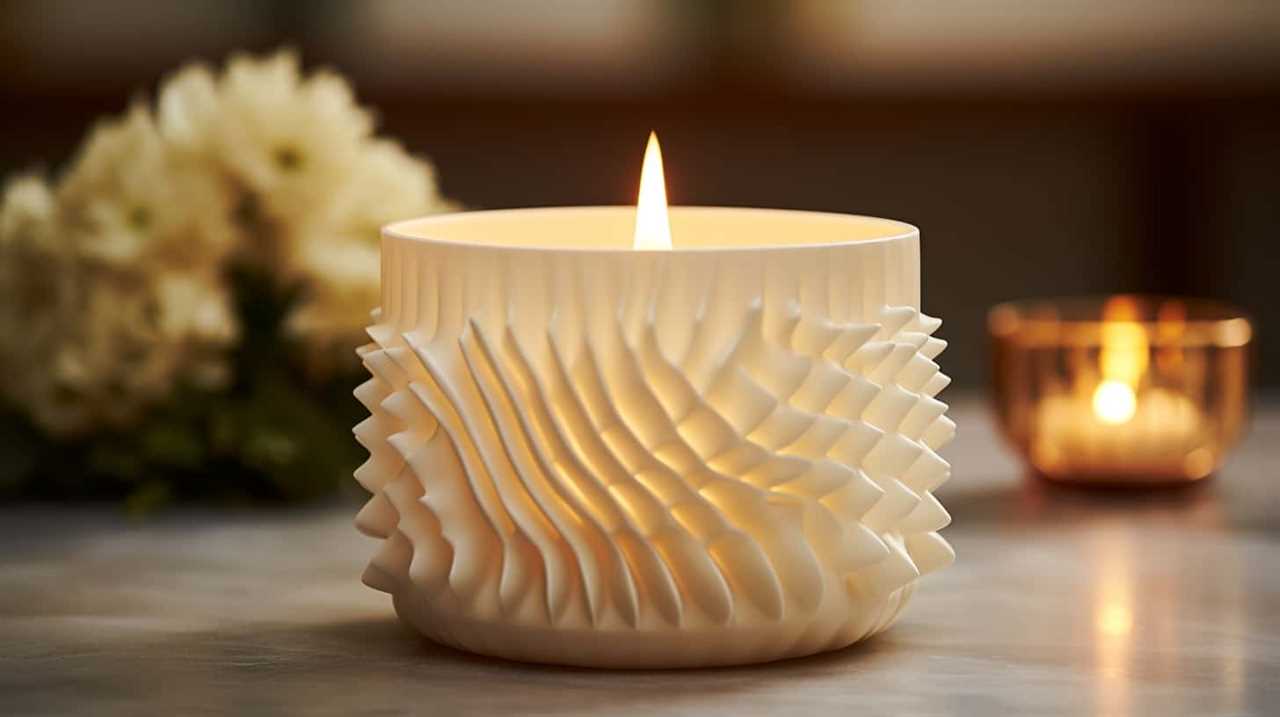
Are you aware that candles are one of the top choices for home decor?
Well, today we’re going to show you how to make your very own marble candle.
It’s a fun and easy project that will add a touch of elegance to any room.
So, let’s gather our materials and get started!

Key Takeaways
- Choose a container for the candle, such as glass or ceramic
- Use soy wax or beeswax for a cleaner burn and longer burn time
- Experiment with different scents and colors using fragrance oils and candle dyes
- Create a marble effect by dropping diluted acrylic paints onto water and dipping the candle

SAEUYVB Candle Making Kit with Wax Melter, Candle Wax for Candle Making – DIY Candle Making Supplies, Including 2lbs Soy Wax Flakes, Melting Pot, Electric Stove,Candle Kit for Adults, Beginnner
- Complete Candle Making Kit: Includes wax, wicks, tools, and hot plate
- Natural Soybean Wax: 100% soy wax for clean, even burning
- Electric Hot Plate: Adjustable temperature with 1-5 gears
As an affiliate, we earn on qualifying purchases.
As an affiliate, we earn on qualifying purchases.
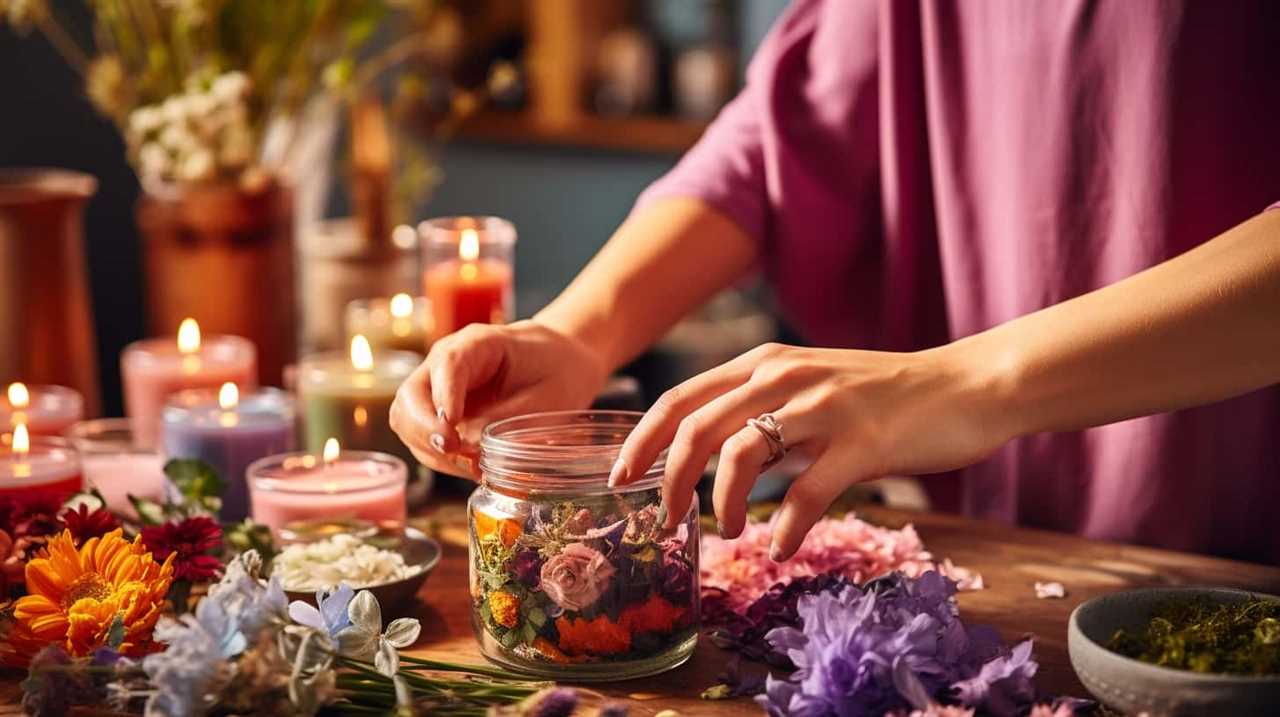
Gather Your Materials
To begin making a marble candle, we’ll gather all the necessary materials.
The first step is to choose the right materials for marble candles. You’ll need a container for the candle, preferably made of glass or ceramic, as these materials can withstand the heat of the candle. Next, you’ll need wax, which can be either soy wax or beeswax. Soy wax is a popular choice as it burns cleaner and has a longer burn time. Be sure to also gather your desired fragrance oils and candle dyes to add scent and color to your marble candle. Additionally, you’ll need wicks, a thermometer, and a heat source such as a double boiler or a microwave.
Now that we’ve gathered all the necessary materials, let’s move on to preparing our work area.
Prepare Your Work Area
Now let’s set up our work area for making the marble candle. It’s important to have a well-organized work area to ensure smooth progress and avoid any mishaps. Here are a few steps to prepare your work area:

- Clear the space: Remove any unnecessary clutter and ensure you have enough room to work comfortably.
- Gather your supplies: Organize all the materials you’ll need for the project, such as the candle wax, dye, fragrance, molds, and tools, in one place.
- Set up a heat-resistant surface: Place a heat-resistant mat or tray on your work surface to protect it from any spills or heat damage.
Safety precautions are also essential during the preparation stage:
- Wear protective gear: Put on heat-resistant gloves to protect your hands from hot wax and any potential spills.
- Keep a fire extinguisher nearby: In case of any accidents or emergencies, it’s crucial to have a fire extinguisher within reach.
- Ensure good ventilation: Work in a well-ventilated area or use a fan to keep the air circulating and prevent the buildup of fumes.
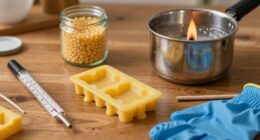
Melt the Wax
We’ll begin by melting the wax. This step is crucial in the candle making process. To ensure the wax melts properly, it’s important to follow candle making safety guidelines.
First, gather all the necessary supplies, including a double boiler or a heat-resistant container and a thermometer. Place the wax in the double boiler or container and heat it gradually over low to medium heat. Stir occasionally to ensure even melting. Keep an eye on the temperature using the thermometer, as different waxes have different melting points.
Once the wax reaches the desired temperature, usually around 180-190 degrees Fahrenheit, remove it from the heat source. Be cautious while handling hot wax to prevent burns.
With the wax melted, we can move on to the next step in creating our beautiful marble candle.
Add Color and Fragrance
After melting the wax, we can enhance our marble candle by incorporating color and fragrance. Here’s how to do it:
- Choose your coloring method:
- Dye blocks: These are easy to use and come in a variety of vibrant colors. Simply shave off a small amount and mix it into the melted wax.
- Liquid dye: This is a more precise option as you can control the intensity of the color by adding drop by drop.
- Natural coloring: If you prefer a more organic approach, consider using natural ingredients like beet juice or turmeric powder.
- Select your scent:
- Essential oils: These are popular choices for candle making due to their potent fragrances. Experiment with different scents like lavender, vanilla, or citrus to find the perfect one for your marble candle.
- Fragrance oils: These oils are specifically formulated for candle making and offer a wide range of scents to choose from.
Create a Marble Effect
To create a marble effect on our candle, we will need to follow these steps. First, gather the necessary materials: a candle, acrylic paints in different colors, a container of water, and toothpicks. Next, prepare the paints by diluting them with a few drops of water to create a watery consistency. Fill the container with water and drop a few drops of each paint color onto the surface. Use a toothpick to gently swirl and mix the colors together, creating a marble pattern. Once the pattern is to your liking, carefully dip the candle into the water, ensuring the wax is fully submerged. Slowly pull the candle out and allow it to dry. Repeat the process if desired, using different colors or techniques to create unique marble effects. This marble painting technique is a fun and easy DIY project for anyone interested in marble crafts.
| Step | Instructions |
|---|---|
| 1 | Gather materials: candle, acrylic paints, container of water, toothpicks |
| 2 | Dilute paints with water to create watery consistency |
| 3 | Fill container with water, drop paint colors onto surface |
| 4 | Swirl and mix colors with toothpick to create marble pattern |
| 5 | Dip candle into water, ensuring wax is fully submerged |
| 6 | Slowly pull candle out and allow it to dry |
| 7 | Repeat process with different colors or techniques for unique effects |
Prepare the Candle Mold
Now let’s talk about preparing the candle mold.
When it comes to selecting a mold, there are a few tips to keep in mind.
We’ll also discuss techniques for preparing the mold to ensure a smooth and successful candle-making process.
Mold Selection Tips
One important step for making a marble candle is selecting an appropriate mold. Here are some tips to help you choose the right mold material and candle pouring technique:
- Mold Material:
- Silicone molds are a popular choice for candle making due to their flexibility and durability. They allow for easy removal of the finished candle and can be reused multiple times.
- Metal molds are another option, especially if you prefer a more traditional look. They’re sturdy and can withstand high temperatures, making them suitable for hot wax pouring.
- Glass molds provide a unique aesthetic appeal and allow you to see the marble effect as the candle sets. However, they require careful handling to prevent breakage.
- Candle Pouring Technique:
- For a marbled effect, consider using a layered pouring technique. Pour alternating colors of melted wax into the mold, allowing each layer to partially set before adding the next one.
- Another option is to create swirls by pouring different colored wax simultaneously. Use a skewer or toothpick to gently swirl the colors together, creating a marbled pattern.
Now that you have selected the right mold material and pouring technique, let’s move on to the next step: mold preparation techniques.
Mold Preparation Techniques
Let’s begin by preparing the candle mold using the following techniques. Before pouring the wax, it’s essential to ensure that the mold is clean and free from any debris or residue. Here are some mold cleaning techniques to follow:
- Soap and Water: Gently wash the mold with warm water and mild soap. Rinse thoroughly and allow it to air dry.
- Vinegar Solution: Create a mixture of equal parts white vinegar and water. Apply it to the mold, scrubbing gently with a soft brush. Rinse and dry the mold completely.
- Alternative Mold Options: If you don’t have a specific candle mold, you can get creative and use alternative options such as silicone molds, mason jars, or even empty food containers.
Pour the Wax Into the Mold
Now that the candle mold is prepared, it’s time to pour the wax into it.
There are a few important points to consider during this step. First, make sure the mold size and shape are suitable for the amount of wax you have.
Next, be mindful of the wax melting temperature to ensure it’s not too hot or too cool.
Lastly, you can add color or fragrance to the wax for a personalized touch.
Let’s get started!
Mold Size and Shape
After preparing the wax mixture, we can begin pouring it into the chosen mold, considering the size and shape that will best suit our desired marble candle. When selecting a mold, we should take into account the mold material and candle making techniques we intend to use.
Here is a step-by-step guide to help you choose the right mold size and shape:
- Consider the candle’s purpose and location: Determine whether you want a small decorative candle or a larger one for burning.
- Assess the mold material: Different materials, such as silicone or metal, offer varying degrees of flexibility and ease of removal.
- Explore mold shapes: Choose from a variety of shapes like cylinders, squares, or even novelty molds to achieve the desired aesthetic.
Wax Melting Temperature
Once we’ve prepared the wax mixture, we can proceed to pour it into the chosen mold at the appropriate wax melting temperature. Wax melting techniques and temperature control are crucial for achieving the desired results in candle making.
To begin, we need to determine the correct melting temperature for the specific type of wax being used. Different waxes have different melting points, so it’s essential to follow the manufacturer’s instructions. We can use a double boiler or a wax melter to heat the wax gently and evenly. It’s important to monitor the temperature closely, as overheating can lead to discoloration or even combustion.
Once the wax reaches the recommended melting temperature, we can carefully pour it into the mold, ensuring that no air bubbles are trapped. Following these wax melting techniques and maintaining temperature control will help us create beautiful and flawless marble candles.
Adding Color or Fragrance
To add color or fragrance to our marble candle, we can pour the wax into the mold. Here’s how we can do it:
- Prepare the wax: Melt the wax in a double boiler until it reaches the recommended temperature.
- Choose fragrances: Select your desired fragrance oil or essential oils. Consider blending different scents to create a unique aroma.
- Add color: If you want a colored candle, choose a dye suitable for candle making. Mix different colors to achieve the desired shade. Remember to follow the manufacturer’s instructions for proper usage.
- Pour the wax: Carefully pour the melted wax into the mold, leaving a small gap at the top to prevent overflow. If you’re making a marble effect, pour layers of different colored wax in a swirling pattern.
- Transition: Once the wax is poured, it’s time to let the candle set and cool down before removing it from the mold.
Now that we’ve added color and fragrance, let’s move on to the next step of letting the candle set.
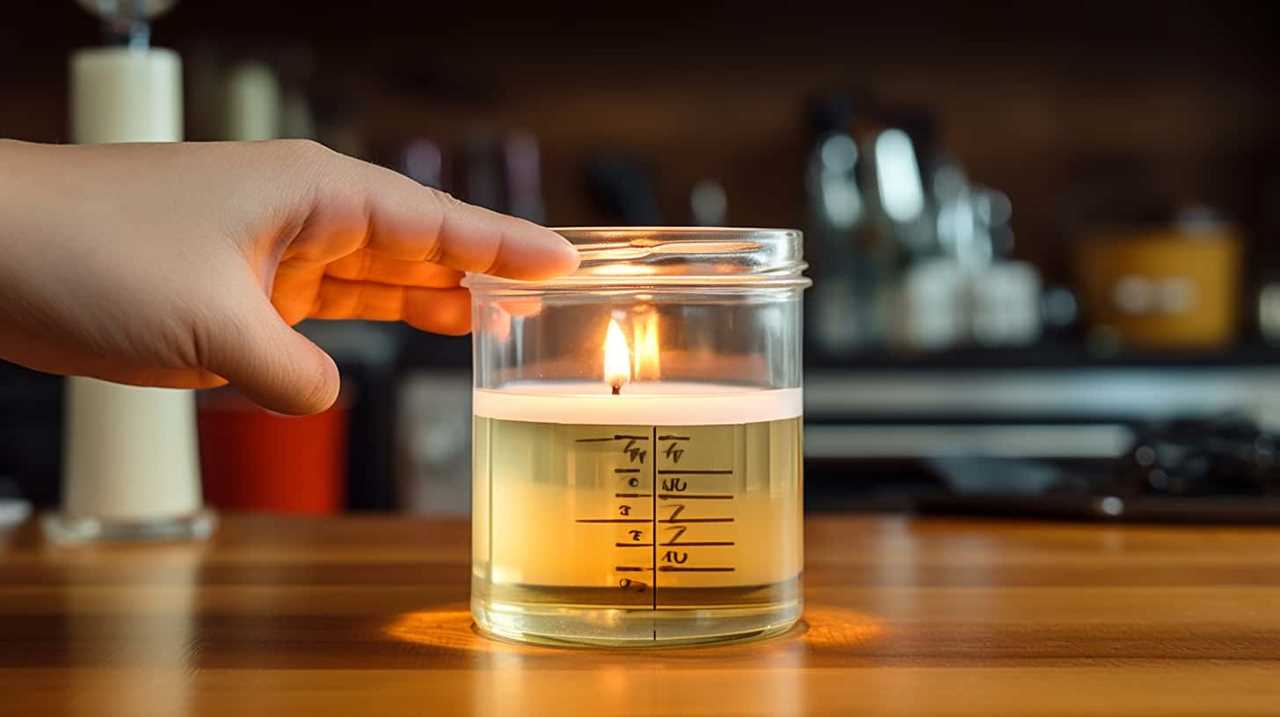
Let the Candle Set
As we wait for the candle to set, we can begin preparing the next steps in making the marble candle. Once you have poured the melted wax into the mold and added the color or fragrance, it’s important to let the candle cool and harden completely. This process usually takes a few hours, but it’s worth the wait to ensure a beautiful and long-lasting marble effect.
During this time, it’s essential to resist the temptation to move or disturb the candle, as it may ruin the marble pattern. Instead, find a safe and undisturbed spot for the candle to set undisturbed.
Once the candle has set, we can move on to the next step: trimming the wick.
Trim the Wick
After the candle has set, we can proceed to trim the wick using a pair of scissors or wick trimmers. Proper wick trimming techniques are crucial for maintaining a safe and efficient burn.
Here are the steps to trim the wick effectively:
- Gather your materials: scissors or wick trimmers and a clean surface.
- Ensure the candle is completely cooled and solidified.
- Position the candle on the clean surface to catch any trimmed wick debris.
- Hold the scissors or trimmers at a slight angle, parallel to the candle surface.
- Trim the wick to approximately ¼ inch in length.
- Dispose of the trimmed wick debris in a safe manner.
- Remember to always follow candle safety precautions, such as keeping the candle away from flammable objects and never leaving it unattended.
Enjoy Your Homemade Marble Candle
Now that you have successfully made your marble candle, it’s time to enjoy the fruits of your labor.
One of the great things about homemade candles is that they allow you to create unique designs that can add a personalized touch to your home decor.
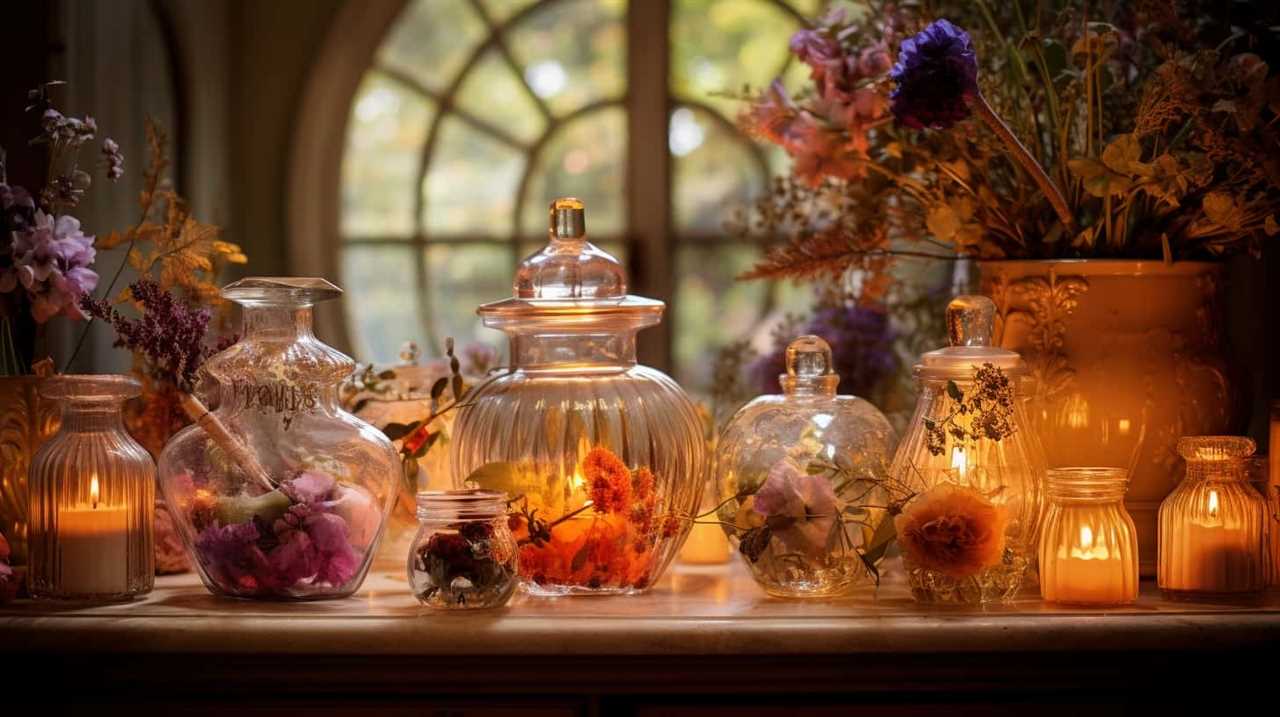
Whether you choose to keep the candle for yourself or give it as a gift, you can take pride in knowing that you’ve created something special and beautiful.
Unique Candle Designs
We love the unique candle designs, and we can’t wait to enjoy our homemade marble candle. There are so many creative ways to make candles, and experimenting with different designs can be a lot of fun.
Here are three unique candle designs that you can try:
- Embedding: This technique involves placing small objects, such as flowers or seashells, into the melted wax before pouring it into the mold. This creates a beautiful, decorative effect when the candle is lit.
- Layering: With this technique, you can create candles with different colored layers. Simply pour one layer of melted wax into the mold, let it cool and solidify, and then pour another layer of a different color on top. Repeat this process until you achieve the desired number of layers.
- Sculpting: For those who are artistically inclined, sculpting candles can be a great way to showcase your talent. You can use a soft wax to mold intricate designs or shapes, such as flowers or animals, directly onto the candle.
Personalized Home Decor
As we incorporate these unique candle designs into our homemade marble candle, we can now personalize our home decor with a beautiful and customized touch. Custom candle making allows us to create candles that not only provide a warm and cozy ambiance but also serve as decorative pieces that reflect our personal style. By making our own candles, we have the freedom to choose the colors, scents, and designs that best suit our taste. With DIY home decor, we can create a cohesive and personalized look throughout our living spaces. Whether it’s a minimalist, bohemian, or modern aesthetic, our homemade marble candles can be a standout element that ties everything together. Let’s take a look at this table showcasing different ways we can incorporate our custom candles into our home decor.
| Style | Placement | Effect |
|---|---|---|
| Minimalist | On a sleek, white shelf | Adds a touch of elegance |
| Bohemian | On a woven rattan tray | Enhances the eclectic vibe |
| Modern | On a mirrored coffee table | Creates a chic focal point |
Frequently Asked Questions
What Are Some Alternative Materials That Can Be Used to Create a Marble Effect on the Candle?
Alternative techniques for creating a marble effect on a candle include using nail polish, acrylic paint, or a marbling kit. Apply the chosen material in a swirling motion, layering colors for depth. Experiment and have fun! Tips and tricks: protect your work surface and use gloves for easy cleanup.
Can I Use Essential Oils Instead of Fragrance Oils to Scent the Candle?
Can we use essential oils instead of fragrance oils to scent the candle? Yes, we can. Using essential oils as an alternative method has its advantages, such as natural scents, but also disadvantages, like weaker scent throw.
How Long Does It Typically Take for the Candle to Set and Solidify Completely?
It usually takes a few hours for the candle to set and solidify completely. To achieve a smooth marble effect, make sure to mix the colors well and pour the wax at the right temperature.
Is It Necessary to Use a Specific Type of Candle Mold for Making Marble Candles?
Using different types of candle molds for marble candles can yield different results. Silicone molds are popular for their flexibility and ease of use, while metal molds provide a more traditional feel. Consider the pros and cons of each material when creating a marble effect on candles.

Are There Any Safety Precautions I Should Take While Melting the Wax?
When melting wax, we must prioritize safety. Always use a double boiler or a heat-resistant container to prevent accidents. Avoid overheating and keep a fire extinguisher nearby. Remember, there are alternative techniques to achieve a marble effect on candles.
Conclusion
In just a few simple steps, you can create a stunning marble candle that will add a touch of elegance to any space. With the right materials and a little creativity, you can melt the wax, add color and fragrance, and create a beautiful marble effect.
Pour the wax into the mold, let it set, trim the wick, and voila! You now have a homemade marble candle ready to light up your life.
Enjoy the warm glow and the sense of accomplishment that comes with creating something truly unique.