Are you prepared to explore the realm of crafting candles?
In this guide, we will show you how to make jelly candles, which are as fun and delightful as a bowl of colorful jelly beans.
We’ll walk you through the process step by step, making it easy for all of us to create these beautiful and aromatic candles together.
With just a few simple materials and a little bit of creativity, you’ll be amazed at the stunning results you can achieve.
So, let’s roll up our sleeves and get started on this exciting journey of making our very own jelly candles!
Key Takeaways
- Choose heat-resistant glass or metal containers for the jelly candle.
- Use protective gloves and goggles to ensure safety while working with hot wax and chemicals.
- Experiment with different fragrances and natural dyes for unique scents and colors.
- Allow the jelly candles to fully set and avoid rushing the process to prevent uneven cooling and air bubbles or cracks.

Etienne Alair Organic Soy Candle Wax for Candle Making, 10 lbs Natural Candles Making Supplies, Beeswax-Free, Paraffin-Free, Pure Soy Wax Flakes Perfect for Candles, Tealights and Melts
All-In-One Starter Kit – Everything you need to dive into candle making! Our Etienne Alair soy candle wax...
As an affiliate, we earn on qualifying purchases.
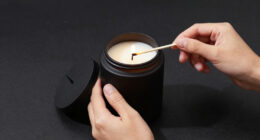
Gathering the Materials
First, we need to gather the materials for making our jelly candle. Choosing the right container is crucial to ensure the candle sets properly and burns safely. Look for heat-resistant glass or metal containers that are wide enough for the jelly to melt evenly.
Next, let’s discuss the safety precautions during the process. Always work in a well-ventilated area to avoid inhaling fumes. Use protective gloves and goggles to protect your skin and eyes from hot wax and chemicals. Keep a fire extinguisher nearby in case of any accidents. Also, ensure that you have a stable work surface and keep flammable materials away from the candle-making area.

American Soy Organics Freedom Soy Wax Beads for Candle Making - Natural Candle Making Supplies - Paraffin-Free, Beeswax-Free Candle Wax for Container Candles, Tealights and Wax Melts, 25 lbs
NATURAL SOY WAX BEADS - Best candle making supplies make the best soy candles! These safe, ethically produced,...
As an affiliate, we earn on qualifying purchases.
Preparing the Jelly Mixture
To prepare the jelly mixture, we’ll need to gather the necessary ingredients and follow a simple step-by-step process. Here’s how to do it:
- Gather the ingredients:
- Gelatin powder
- Water
- Fragrance oil
- Coloring dye
- In a saucepan, mix the gelatin powder with water according to the package instructions. Stir well to ensure the gelatin is fully dissolved.
- Place the saucepan on the stove and heat the mixture over low heat. Continuously stir the mixture to prevent any lumps from forming.
- Once the mixture is completely melted and well-mixed, remove it from the heat.
- Allow the mixture to cool slightly before adding fragrance oil and coloring dye. Stir well to evenly distribute the fragrance and color.
Now that the jelly mixture is prepared, we can move on to the next step of adding fragrance and color to create a beautiful and aromatic jelly candle.

VEVOR 20Lbs Wax Melter for Candle Making, 10 L Extra Large Electric Wax Melting Pot, with Easy Pour Spout and 9-Level Temp Control, Easy Clean for Candle Soap Cream Beauty Bulk Production Business
Quick Heating: This wax melting pot with easy pour spout can quickly heat and melt wax with 1100W...
As an affiliate, we earn on qualifying purchases.
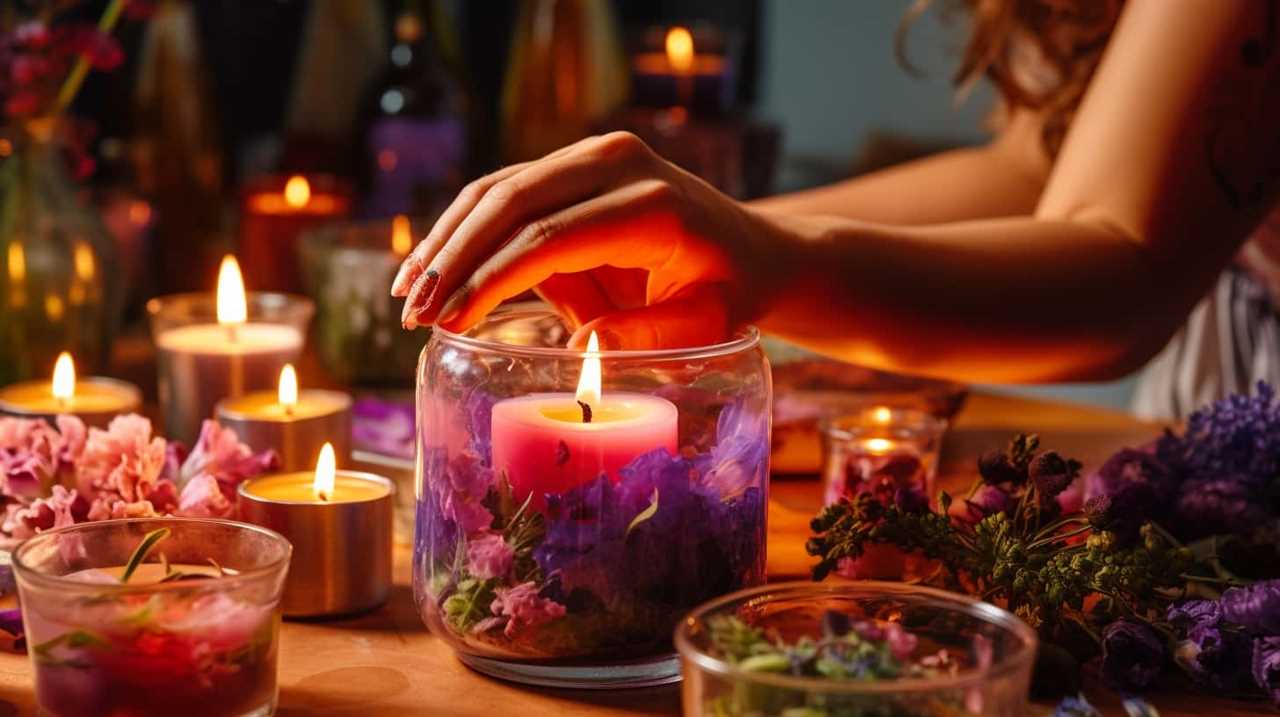
Adding Fragrance and Color
Now that we have prepared the jelly mixture, let’s move on to adding fragrance and color to create a beautiful and aromatic jelly candle. Choosing the right fragrance is crucial in creating a pleasant and inviting ambiance. You can opt for essential oils like lavender, vanilla, or citrus, which not only emit a delightful scent but also have calming or energizing properties. When it comes to coloring your jelly candle, using natural dyes is a great option. These dyes are derived from plants, fruits, and vegetables, making them safe and eco-friendly. You can experiment with ingredients like beetroot powder, turmeric, or spirulina to achieve different hues. Below is a table showcasing some popular fragrances and natural dyes you can use:
| Fragrance | Natural Dye |
|---|---|
| Lavender | Beetroot powder |
| Vanilla | Turmeric |
| Citrus | Spirulina |

YJHSS 24-Pack 8oz Candle Tins with Lids, Metal Candle Jars for Candle Making, Bulk Empty Containers for Beginners & DIY Storage -Black
Capacity: 8oz =235ml; Dimensions : 3.15" (Diameter) x 2.35" (Height); Each candle tins are made of premium tinplate,...
As an affiliate, we earn on qualifying purchases.
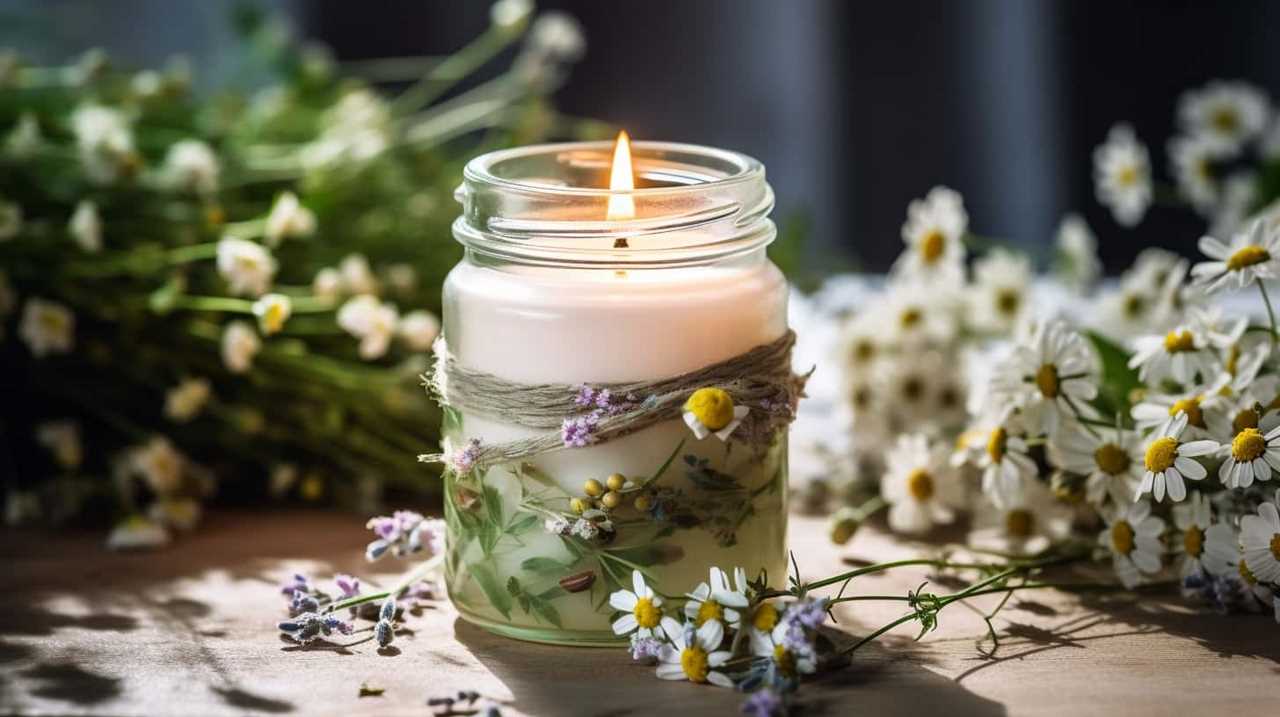
Pouring the Jelly Mixture Into Containers
After adding fragrance and color to the jelly mixture, we’re ready to pour it into our chosen containers. Here’s how you can do it:
- Prepare your containers: Clean and dry the containers you’ll be using for your jelly candles. Ensure they’re heat-resistant and suitable for candle-making.
- Choose your container options: You have various container options to choose from, such as glass jars, mason jars, or heat-resistant molds. Select containers that will complement your desired aesthetic.
- Pour the jelly mixture: Slowly pour the jelly mixture into the containers, leaving a small gap at the top. Be careful not to spill or overfill the containers.
- Troubleshooting common problems: If you encounter any issues like air bubbles in the jelly mixture, gently tap the containers to release them. If the mixture solidifies before you finish pouring, reheat it slightly until it becomes pourable again.
Allowing the Candles to Set
Once the jelly mixture has been poured into the containers, we need to allow the candles to set. The setting process is crucial in ensuring that the candles solidify properly and achieve the desired texture.
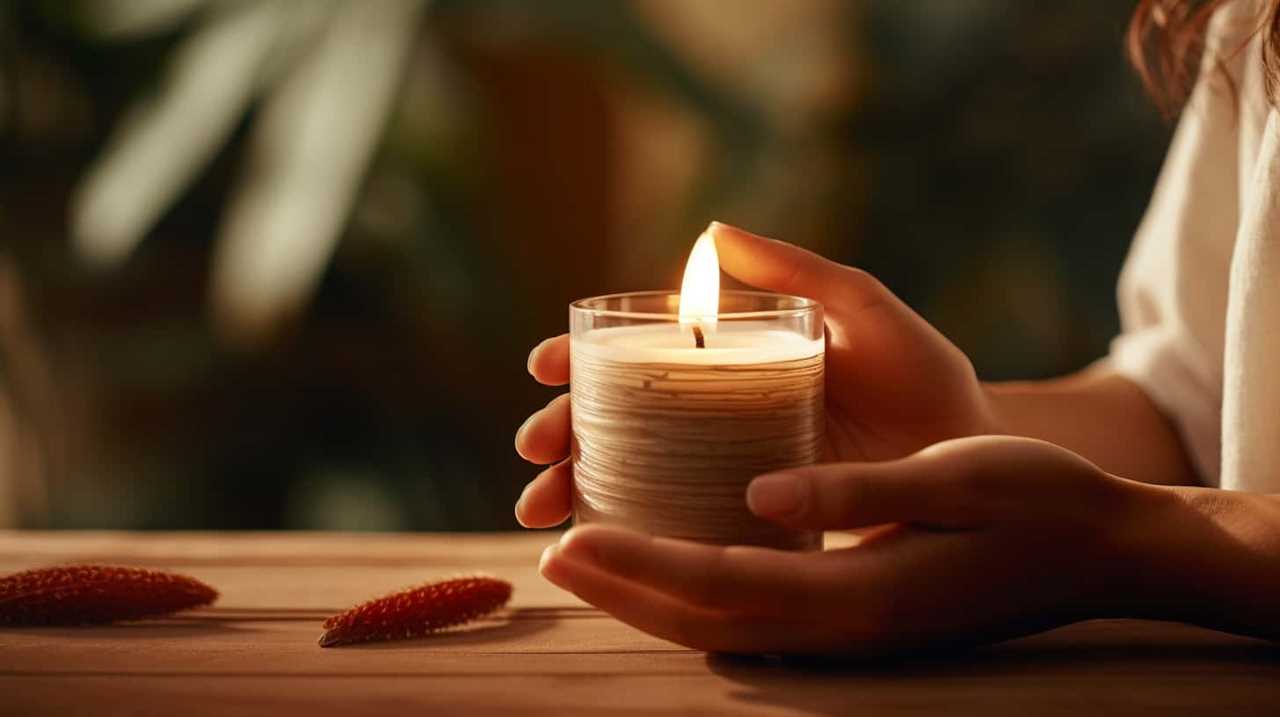
So, how long does it take for jelly candles to set, and why is this important? Typically, it takes around 4 to 6 hours for the candles to fully set. This timeframe allows the gel wax to cool down and harden, resulting in a stable and long-lasting candle. Rushing the setting process may lead to uneven cooling and the formation of air bubbles or cracks.
However, if you’re looking to speed up the setting process, you can place the candles in the refrigerator for about 2 hours. The colder temperature helps accelerate the cooling and solidification of the gel wax. Just make sure to handle the containers with care to avoid any accidental damages.
Frequently Asked Questions
How Long Does It Take for the Jelly Candles to Fully Set and Harden?
Jelly candle making tips include troubleshooting the setting process. It typically takes a few hours for jelly candles to fully set and harden. Make sure to follow the instructions carefully and be patient for the best results.
Can I Use Essential Oils Instead of Fragrance Oils for the Scent?
Yes, you can use essential oils instead of fragrance oils for the scent. However, it’s important to take safety precautions when using essential oils in candle making, such as ensuring proper dilution and testing for skin irritation.

What Type of Containers Are Best for Pouring the Jelly Mixture Into?
For pouring the jelly mixture, glass jars or silicone molds work best. Glass jars are perfect for a classic and elegant look, while silicone molds offer more creative shapes and designs.
Can I Use Food Coloring Instead of Candle Dye for Coloring the Jelly Candles?
Using food coloring instead of candle dye for coloring jelly candles is possible, but there are pros and cons. Food coloring may not produce vibrant colors and could stain. Candle dye is specifically designed for candles and provides better results.
How Long Do Jelly Candles Typically Burn For?
Jelly candles typically burn for several hours, but the exact burn time can vary depending on factors such as the size of the candle, the type of wax used, and the thickness of the jelly layer.
Conclusion
In conclusion, making jelly candles is a fun and creative activity that can be easily done at home. By following the simple steps outlined in this article, you can create beautiful and fragrant candles that will light up your space and fill it with a delightful aroma.
Just like a burst of sunshine on a gloomy day, these jelly candles will add a touch of warmth and charm to any room.
So go ahead, give it a try and let your creativity shine!