Are you ready to become a master at making floating candles?
We will show you how to create these mesmerizing beauties in just a few simple steps.
First, gather all the materials you’ll need.
Next, choose the perfect wax for your candles. Don’t forget to add fragrance and color for that extra touch of elegance.
Then, prepare the wicks to ensure a smooth burning experience.
Once everything is ready, it’s time to melt the wax and pour it into your chosen molds, allowing your creativity to shine through in unique designs.
Finally, float your candles in water and bask in the warm, enchanting glow they create.
Get ready to elevate your candle-making skills and impress everyone with your stunning floating creations.
Let’s get started!
Key Takeaways
- Gather alternative materials for containers, such as small glass jars or citrus fruit shells.
- Choose the right wax, considering options like paraffin wax, soy wax, and beeswax.
- Enhance the scent and appearance of your candles with fragrance oil and liquid candle dye.
- Take important safety precautions when working with open flames and regularly maintain the wicks for a successful and long-lasting burn.

Vtopmart 25 PCS Clear Plastic Drawer Organizers Set, 4-Size Versatile Bathroom and Vanity Drawer Organizer Trays, Storage Bins for Makeup, Bedroom, Kitchen Gadgets Utensils and Office
- Versatile Drawer Organizer Set: Fits various home drawers and spaces
- Includes 25 Bins in 4 Sizes: Customizable storage options for different items
- Non-Slip and Durable Design: Silicone pads prevent slipping, sturdy plastic construction
As an affiliate, we earn on qualifying purchases.
Gathering the Materials
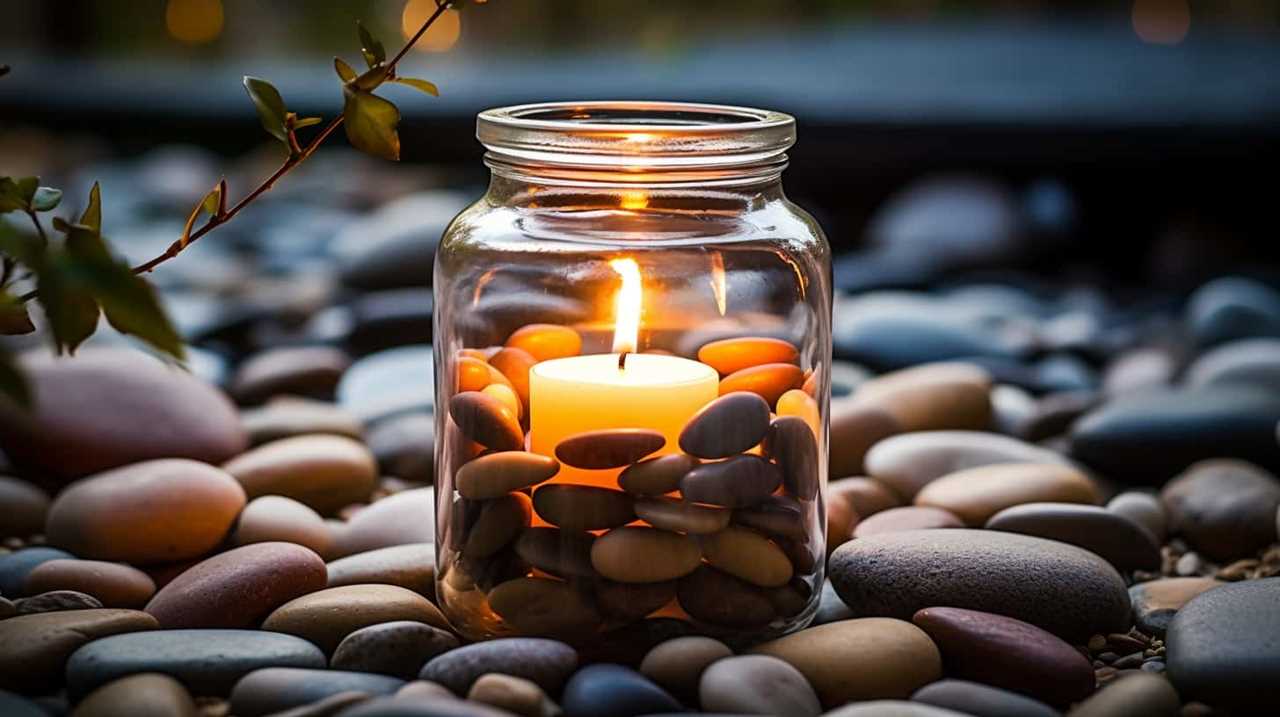
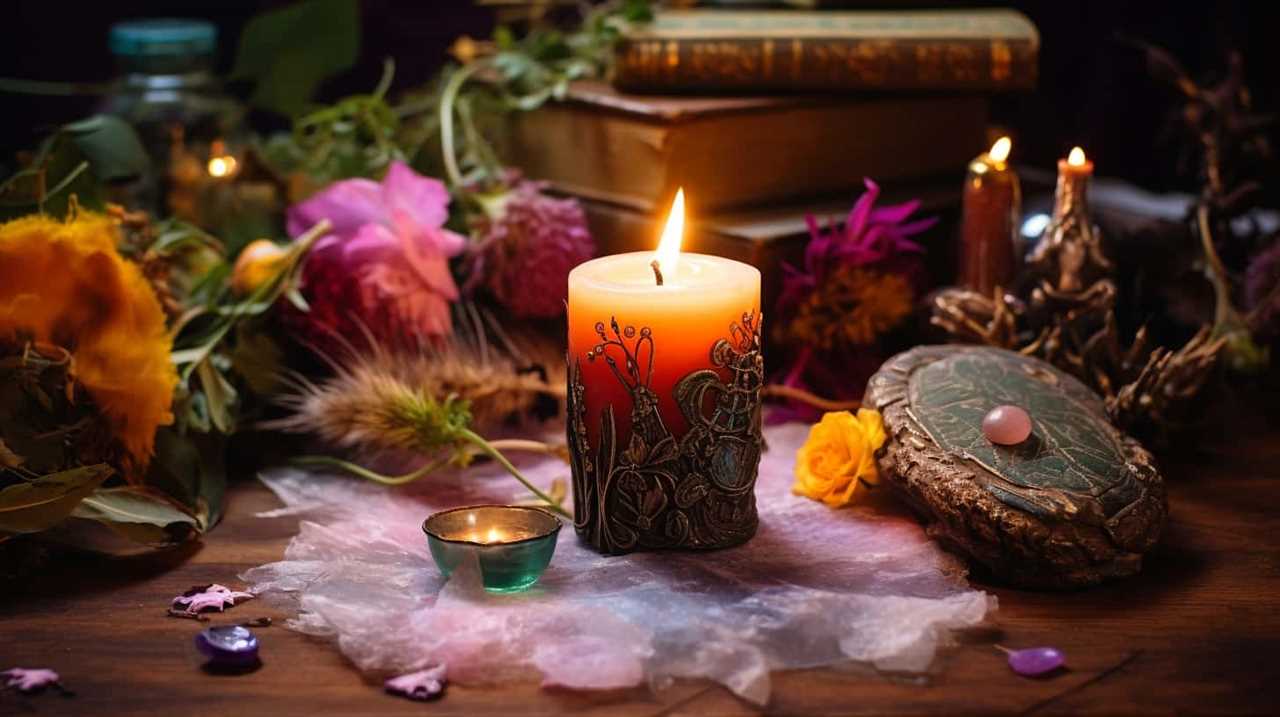
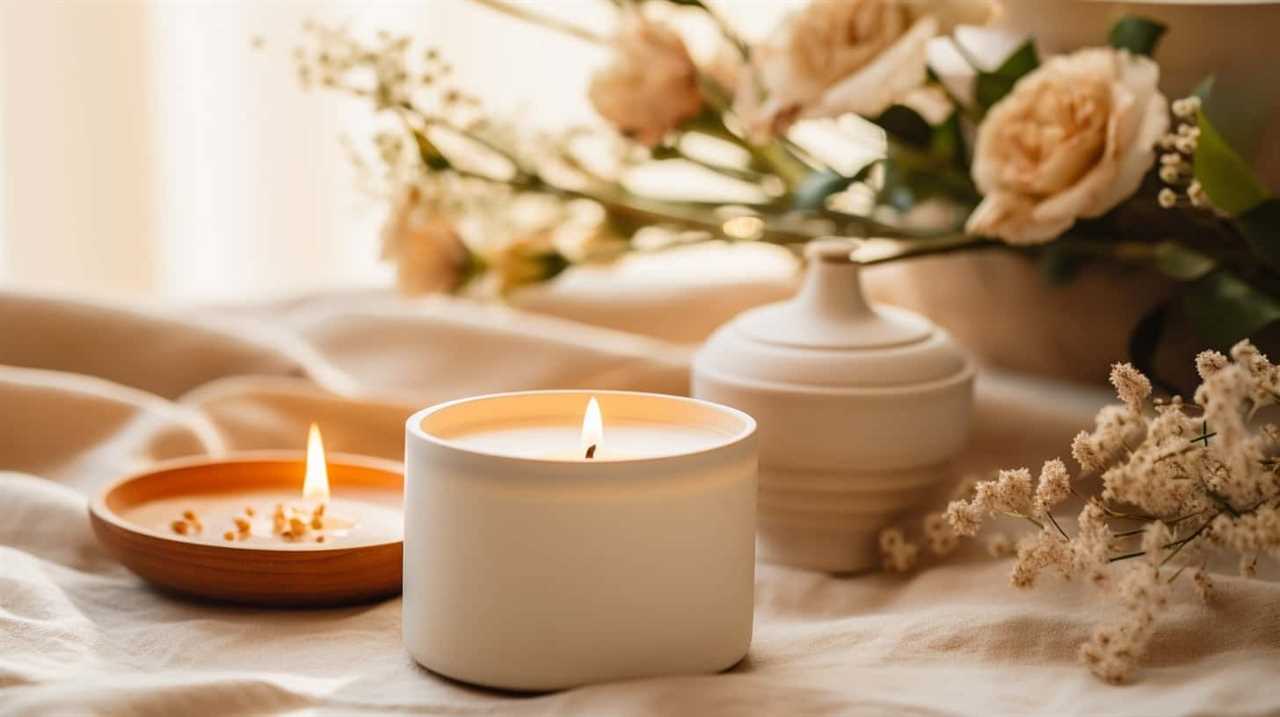
First, we gather the materials needed to make a floating candle. When it comes to creative ideas, the possibilities are endless. Instead of using traditional candle molds, we can think outside the box and explore alternative materials. For example, we can use small glass jars or even citrus fruit shells as unique containers for our floating candles.
Other materials we need include wicks, candle dye or color blocks, fragrance oils, and a heat-resistant container for melting the wax. By gathering these materials, we’re setting ourselves up for success in creating beautiful and functional floating candles that will add ambiance to any space.
Now that we’ve our materials ready, let’s move on to the next step: choosing the right wax.
Choosing the Right Wax
Once we’ve gathered the materials, it’s important to consider the appropriate wax to use for making floating candles. The type of wax you choose will determine the quality and performance of your candles.
There are several options available, such as paraffin wax, soy wax, and beeswax. Paraffin wax is the most commonly used wax due to its affordability and ease of use. It has a low melting point and can be easily shaped into different forms.
Soy wax, on the other hand, is a natural and renewable alternative. It has a higher melting point and offers a cleaner burn. Beeswax is another natural option that gives a delightful honey scent.
When choosing the wax, it’s also crucial to consider melting techniques and experimenting with additives to enhance the appearance and scent of your floating candles.
Adding Fragrance and Color
To enhance the scent and appearance of our floating candles, we can add a small amount of fragrance oil and a few drops of liquid candle dye. Fragrance options are vast, and you can choose scents that range from calming lavender to invigorating citrus. Adding fragrance not only creates a pleasant aroma but also adds to the overall ambiance of your space. When it comes to color combinations, you have endless possibilities. By using different shades of dye, you can create a striking visual effect. To help you visualize the various color combinations, here’s a table that showcases some popular options:
| Color Combination | Description |
|---|---|
| Pink + White | Soft and romantic |
| Blue + Green | Cool and refreshing |
| Purple + Gold | Regal and luxurious |
Experiment with different fragrances and colors to create unique floating candles that perfectly complement your style and mood.
Preparing the Wicks
Now let’s talk about preparing the wicks for our floating candles. Safety is paramount when working with open flames, so it’s important to take necessary precautions.
We’ll also explore how to choose the right wick for your candles, considering factors like the size of the container and burn time.
Lastly, we’ll learn the step-by-step process of preparing the wicks to ensure a successful and long-lasting burn.
Wicks and Safety Precautions
After gathering our materials and selecting the appropriate wicks, we begin preparing them for our floating candles by following necessary safety precautions. Choosing the right wick is crucial to ensure a successful and safe burning experience. The wick should be made of a material that burns evenly and doesn’t produce excessive smoke or soot. Cotton wicks are commonly used for floating candles as they meet these requirements.
Before using the wick, it’s important to trim it to the recommended length, usually about a quarter-inch. This ensures a steady flame and prevents the candle from producing too much heat or dripping wax. Regular maintenance of the wick is essential to maintain optimal burning conditions. Trim the wick before each use to remove any carbon buildup and maintain a clean burn.
Choosing the Right Wick
Once we’ve gathered our materials and trimmed the wicks to the recommended length, we’re ready to move onto the next step of choosing the right wicks for our floating candles.
The type and size of the wick are crucial factors in ensuring a successful and long-lasting burn. When it comes to wick types, there are several options to consider. For a floating candle, it’s best to choose a wick that’s specifically designed for this purpose. These wicks are generally made from cotton or a combination of cotton and other materials to ensure buoyancy.
As for wick size, it’s important to select a wick that matches the diameter of your candle. A wick that’s too small may result in an incomplete burn, while a wick that’s too large can cause excessive smoke and soot. It’s recommended to consult a wick size chart or seek guidance from experienced candle makers to determine the appropriate wick size for your specific candle size.
Preparing Wicks for Use
To prepare the wicks for use in making floating candles, we need to take a few important steps.
First, let’s consider the different wick types available. Cotton wicks are a popular choice due to their clean burn and minimal soot. However, if you prefer a longer burn time, consider using a braided wick.
Once you have chosen the right wick, it’s time to prepare it for placement. Start by cutting the wick to the desired length, making sure it’s long enough to reach the bottom of your candle container.
Next, dip the wick in melted wax to prime it. This helps the wick absorb the wax and ensures a steady flame.
Finally, carefully position the wick in the center of your candle mold or container, securing it in place with a wick holder or adhesive.
Melting and Pouring the Wax
We melt the wax and pour it to create the floating candle. When it comes to melting the wax, there are a few options available. One method is to use a double boiler, where you place the wax in a heatproof container and then place that container in a larger pot filled with simmering water.
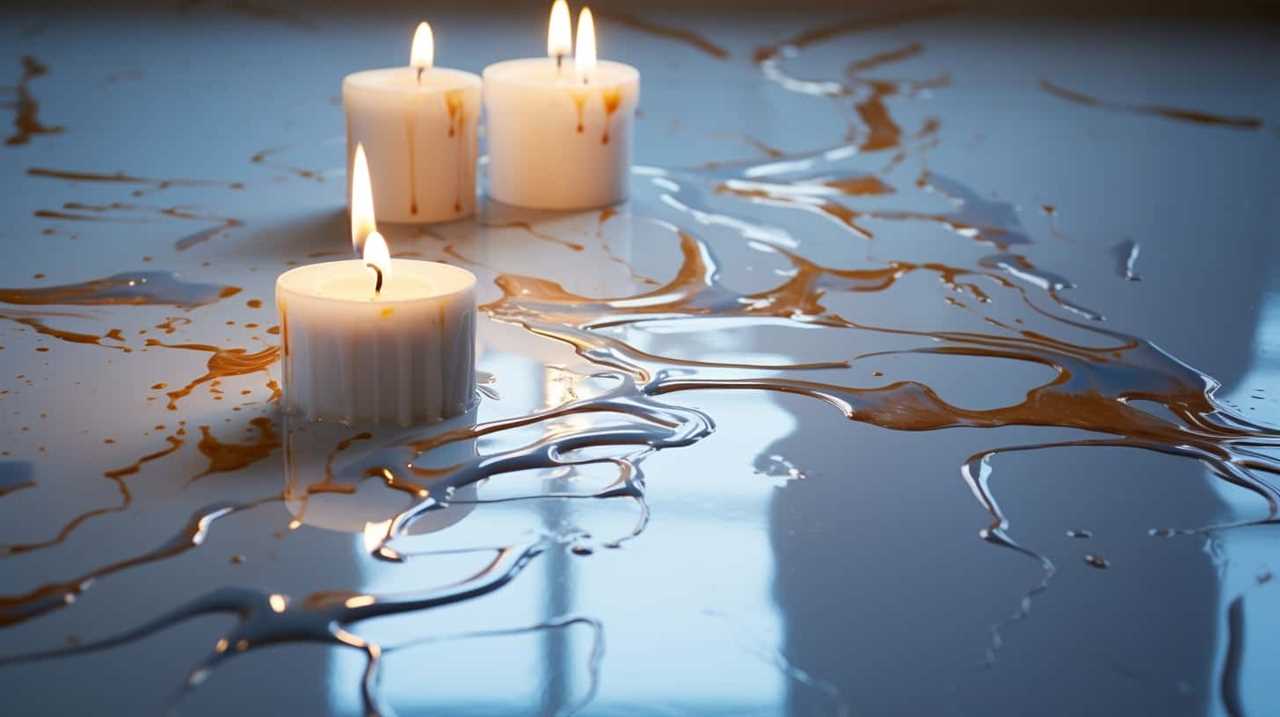
Another option is to use a microwave-safe container and heat the wax in short intervals, stirring in between to ensure even melting. Once the wax is melted, you can add dye to achieve your desired color. There are various dyeing techniques you can try, such as using liquid dyes or dye chips. If you encounter any issues, troubleshooting tips include adjusting the temperature or adding more dye.
As we pour the melted wax into the mold, it’s important to do so slowly and steadily to prevent air bubbles from forming. This will help ensure a smooth and professional-looking finished product.
Now that we’ve covered the process of melting and pouring the wax, let’s move on to the next step of creating unique designs for our floating candle.
Creating Unique Designs
First, let’s explore different techniques for creating unique designs for our floating candle. Design inspirations can come from various sources, such as nature, art, or even personal experiences. To help you get started, here are some ideas for creating visually stunning floating candles:

| Technique | Description | Design Inspiration |
|---|---|---|
| Layered Colors | Pour different colored wax layers to create a beautiful gradient effect. | Sunset |
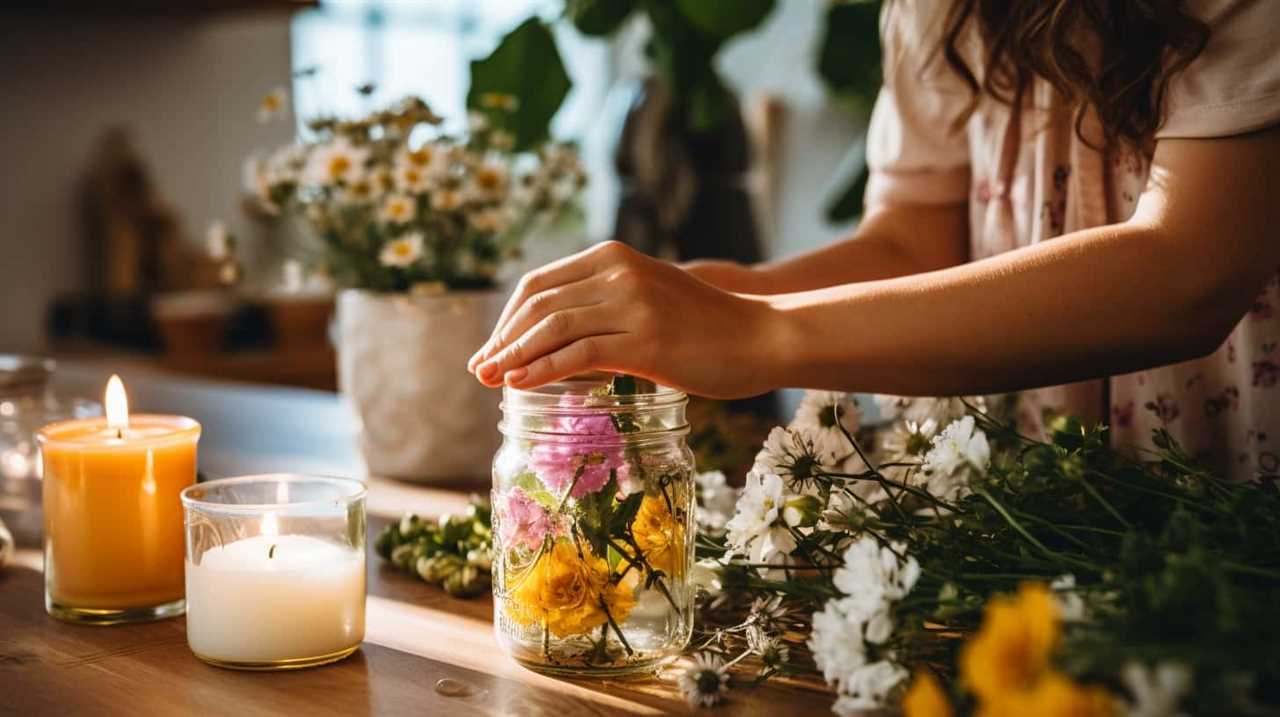
| Embedded Objects | Place small decorative objects, like flower petals or seashells, inside the wax for a whimsical touch. | Beach |
| Marbling | Swirl different colored waxes together to achieve a marbled pattern. | Galaxy |
In addition to these techniques, you can also think outside the box and use alternative candle holders, such as hollowed-out fruits or glass jars filled with water and floating flowers. These unique designs will surely impress your guests and create a magical ambiance. Now that we have our creative designs, let’s move on to the next step of floating the candles and enjoying the glow.
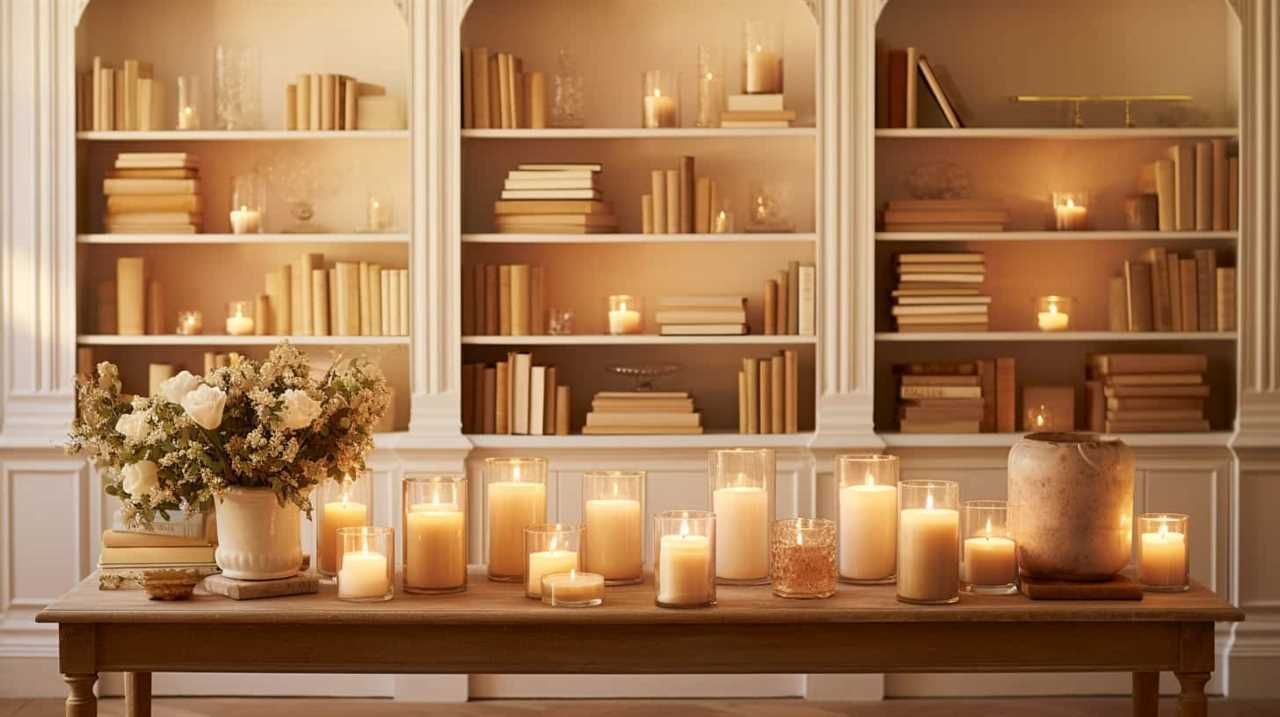
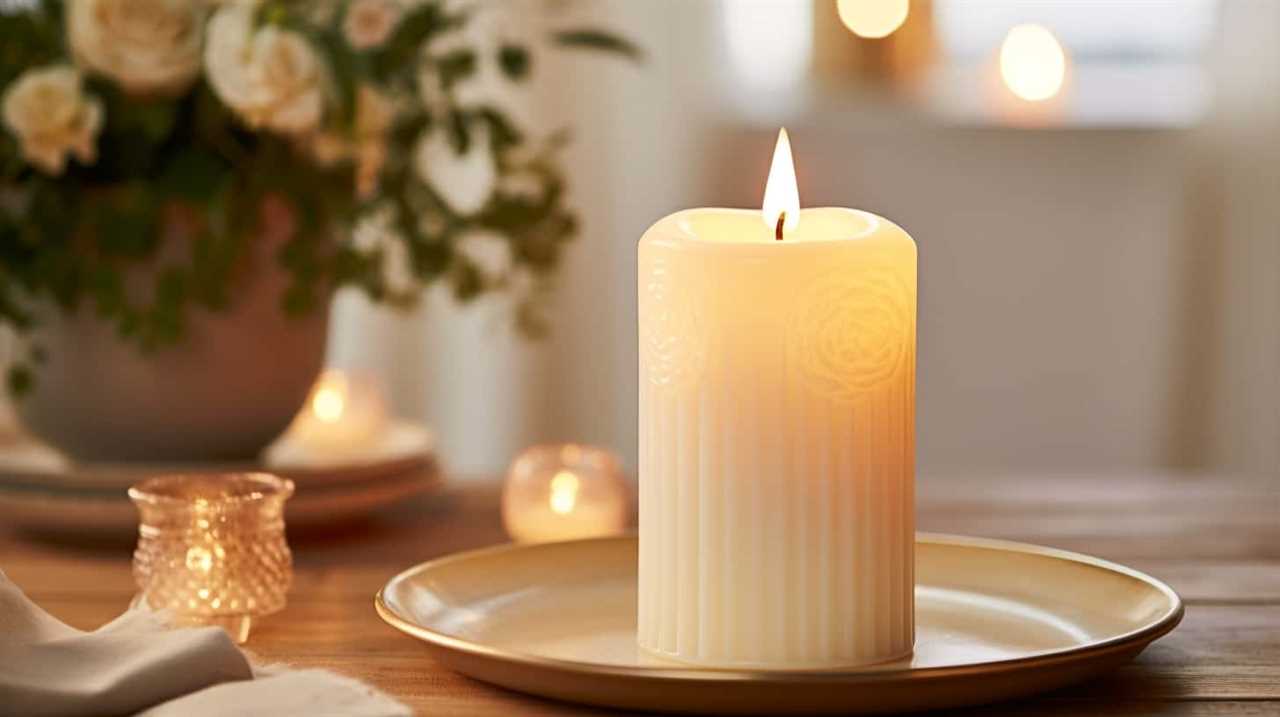
Floating the Candles and Enjoying the Glow
Now let’s delve into the process of floating our beautifully designed candles and basking in their radiant glow.
After creating unique designs for our floating candles, it’s time to showcase them in our favorite decorating ideas.
To begin, choose a suitable container that’s wide and shallow, such as a glass bowl or a decorative plate. Fill the container with water, leaving enough room for the candles to float without tipping over.
Gently place the candles onto the water’s surface, taking care not to splash or extinguish the flames. As the candles float, their soft flickering light will create a mesmerizing ambiance.
Remember to follow safety tips, such as never leaving the candles unattended and keeping them away from flammable materials.
With these precautions in mind, you can enjoy the tranquil beauty of your floating candles while adding a touch of elegance to any space.
Frequently Asked Questions
How Long Will the Floating Candles Last Once Lit?
Once lit, the floating candles will burn for approximately 3-4 hours. However, the burning time may vary depending on factors such as the size of the candle and the materials used. Alternative materials like soy wax can provide longer burning times.
Can I Use Regular Candles Instead of Floating Candles for This Project?
Yes, you can reuse regular candles as an alternative to floating candles for this project. Simply melt the bottom of the candle slightly and press it onto a small, flat object that floats.
What Are Some Safety Precautions to Keep in Mind When Making Floating Candles?
Fire safety is of utmost importance when making floating candles. Always ensure proper candle placement, away from flammable materials. Use a sturdy container to hold the candle and never leave it unattended.
Can I Reuse the Floating Candles After They Have Burned?
Yes, we can reuse floating candles after they have burned. There are several alternative uses for them, such as melting the remains to make new candles or repurposing them as decorative elements in crafts.
How Can I Prevent the Candles From Tipping Over or Extinguishing in Water?
To prevent the candles from tipping over or extinguishing in water, we can take a few precautions. First, ensure that the candle base is stable and wide enough. Second, place the candles in a container with enough water to keep them afloat but not too much to put out the flame.
Conclusion
Now that you have learned how to make floating candles, you can add a touch of elegance to any occasion.
Did you know that candles have been used for centuries for various purposes? In fact, it’s estimated that the global candle market will reach a value of $6.76 billion by 2026.
So why not join the trend and create your own beautiful floating candles to light up your home or give as thoughtful gifts?
Get creative and enjoy the warm glow of your handmade creations.