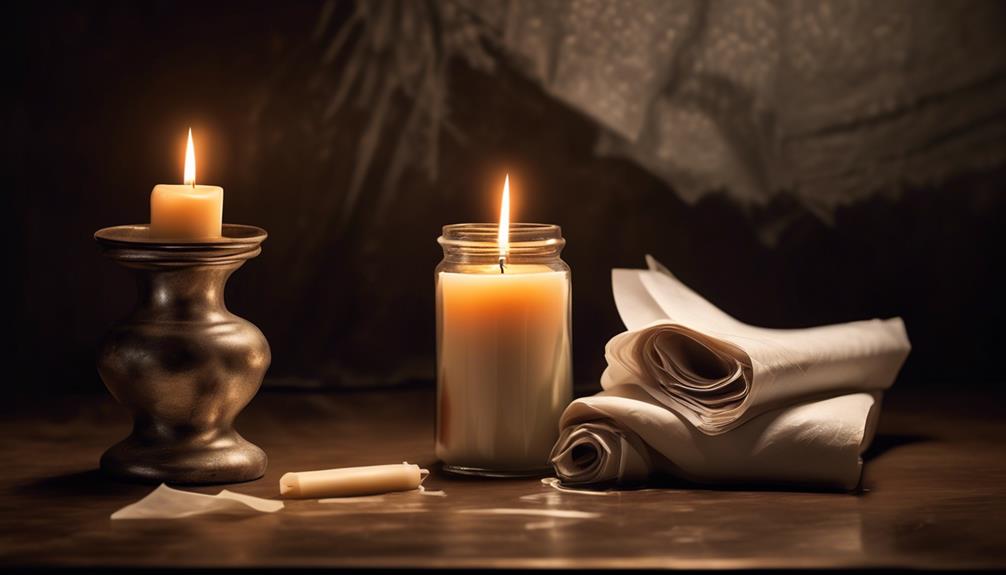
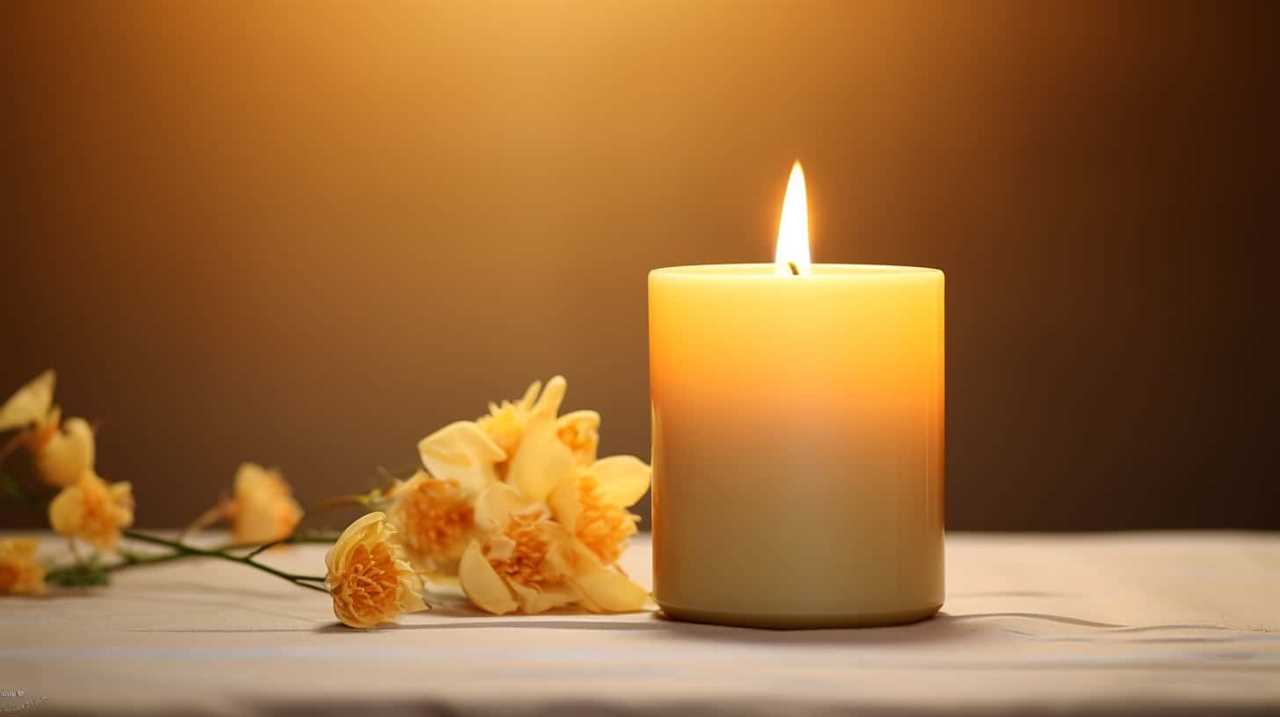
Are you ready to elevate your ordinary mason jars into stunning candle holders? Explore this tailored tutorial just for you!
Making candle holders out of mason jars is a simple and creative way to add a touch of elegance to any space. With just a few supplies and some easy steps, you’ll have beautiful candle holders that will impress your guests and create a cozy atmosphere.
So, let’s roll up our sleeves and get started on this fun and rewarding DIY project. Trust us, once you see the end result, you’ll be amazed at how something so simple can make such a big impact.
Let’s dive in and create some magic!
Choose the Right Mason Jars
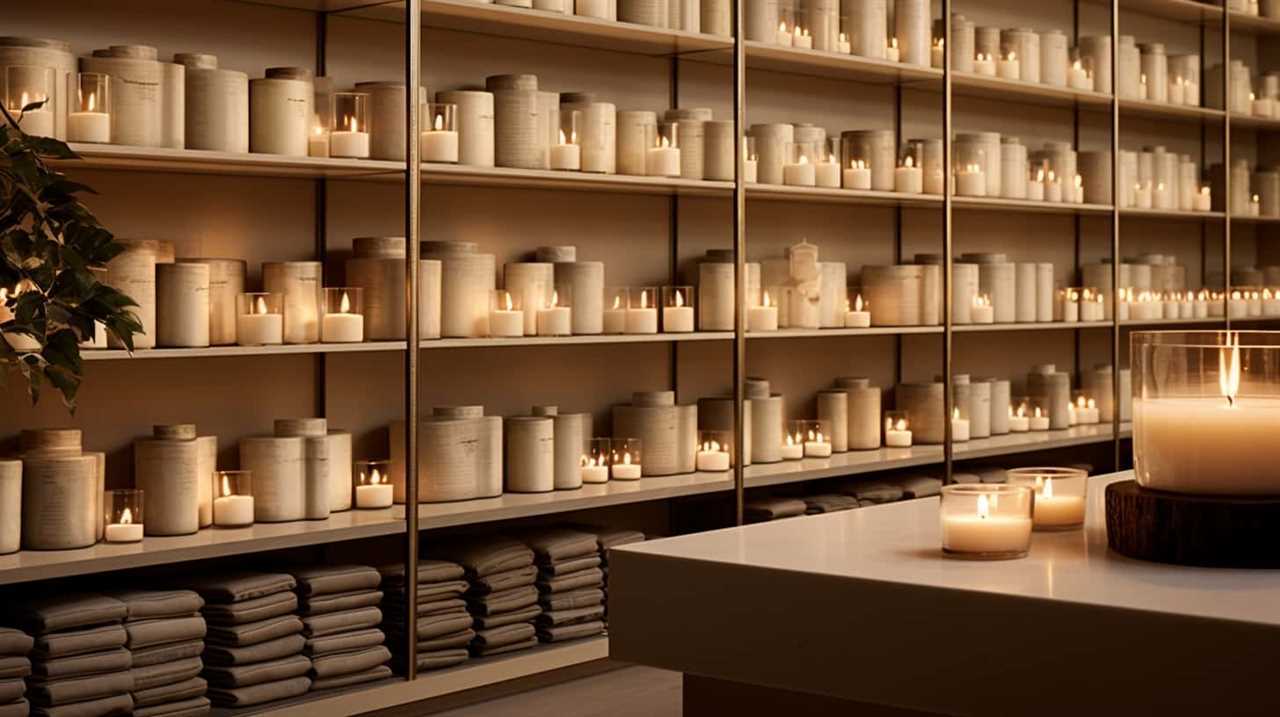
We recommend selecting a variety of mason jars in different sizes, shapes, and styles to create unique and visually appealing candle holders. When it comes to mason jar decorating ideas, the possibilities are endless.
For a rustic and charming look, choose vintage mason jars with embossed patterns or aged glass. If you prefer a more modern and sleek style, opt for clear, smooth glass jars in various shapes. To add a touch of elegance, consider mason jars with metallic finishes or decorative lids.
Don’t be afraid to mix and match different sizes and styles to create a captivating centerpiece or an eye-catching display.

UDIKEFO Gifts for Dad, Fathers Day Christmas Birthday Dad Gifts from Daughter Son - Sandalwood Scented Candle
FUNNY GIFTS FOR DAD- This sandalwood candle with a humorous saying: Dad, Please Light This Candle.It is a...
As an affiliate, we earn on qualifying purchases.
Gather Your Supplies
Now that we’ve chosen the right mason jars, it’s time to gather our supplies.

First, we need to consider the different sizes of mason jars available. This will determine the size of our candle holders and the amount of supplies we need.
Next, we can start thinking about the candle holder designs we want to create. This could be anything from simple and elegant to more intricate and decorative.
Lastly, we should keep in mind how we plan to decorate with our candles once they’re finished. Whether it’s for a cozy dinner party or a relaxing bath, the purpose will influence our choice of supplies.
Mason Jar Sizes
To gather the necessary supplies for making candle holders out of mason jars, one must first consider the different sizes of mason jars available. Mason jars come in various sizes, ranging from small to large. The size you choose will depend on your personal preference and the purpose of the candle holder.
Smaller mason jars are perfect for creating individual candle holders that can be placed on tables or used as decorative accents. They’re also great for creating unique gifts for loved ones.
On the other hand, larger mason jars can be used to create centerpiece candle holders or to hold multiple candles at once. These larger sizes are ideal for creating a warm and cozy atmosphere during gatherings or special occasions.
Candle Holder Designs
To create a variety of candle holder designs with mason jars, we need to gather our supplies. When it comes to candle holder materials, we have several options to choose from. Glass gems, twine, ribbon, and decorative paper are just a few examples of materials that can be used to add a unique touch to our candle holders. As for candle holder techniques, we can try painting the jars with glass paint, decoupaging them with tissue paper, or even etching designs onto the glass. To help you visualize the possibilities, here is a table showcasing different candle holder designs using mason jars:
| Design | Materials | Techniques |
|---|---|---|
| Rustic | Twine, Burlap | Wrapping, Tying |
| Elegant | Lace, Ribbon | Gluing, Tying |
| Bohemian | Feathers, Beads | Attaching, Stringing |
| Vintage | Antique Paper, Lace | Mod Podge, Gluing |
| Nature-Inspired | Dried Flowers, Leaves | Pressing, Gluing |
With these supplies and techniques, we can create beautiful and personalized candle holders that will add warmth and charm to any space.
Decorating With Candles
To gather our supplies for decorating with candles, we’ll need to gather the necessary materials. Candle decorating trends have evolved over the years, offering a wide array of options to enhance the ambiance of any room.
When it comes to incorporating candles into your home decor, there are several benefits to consider. Not only do candles provide soft, warm lighting, but they also create a calming and cozy atmosphere. They can be used to create a focal point in a room or as accent pieces to complement existing decor. Additionally, candles come in various scents, allowing you to choose fragrances that promote relaxation or energize your space.

Homsolver Dad Gifts from Daughter Son, Gift for Dad Who Wants Nothing, Birthday Fathers Day Christmas for Stepdad Adoptive Father, Dad's Last Nerve Sandalwood Scented Candle
Dad's Gifts from Daughter: This black cedarwood juniper and sandalwood candle with a humorous saying "Dad's last nerve...
As an affiliate, we earn on qualifying purchases.
Clean and Prepare the Jars
Before we can start transforming our mason jars into beautiful candle holders, we need to ensure they’re clean and ready for the project.
The first step is to remove any labels effectively, using hot water and dish soap or rubbing alcohol.
Next, we should choose the proper jar size for our candles, making sure they fit securely and allow enough space for the flame to burn safely.
Lastly, we must remember to take safety precautions while cleaning, such as wearing gloves and handling the jars with care to avoid any accidents.
Remove Labels Effectively
One effective way to remove labels from mason jars is by using a mixture of hot water and dish soap. This method is safe and easy to do at home. Here are some safety tips to keep in mind while removing labels from mason jars:
- Fill a sink or basin with hot water and add a few drops of dish soap.
- Place the mason jars in the soapy water, ensuring that the labels are fully submerged.
- Let the jars soak for about 15-20 minutes to loosen the adhesive.
- Use a sponge or scrub brush to gently scrub off the labels.
- Rinse the jars thoroughly with clean water to remove any soap residue.
- Dry the jars completely before using them for your candle holders.
In addition to the hot water and dish soap method, there are alternative methods you can try to remove labels from mason jars. Here is a table comparing different methods:
| Method | Pros | Cons |
|---|---|---|
| Vinegar and Baking Soda | Natural ingredients | Requires overnight soaking |
| Rubbing Alcohol | Removes labels quickly | Strong odor |
| Goo Gone | Effective on stubborn labels | Contains chemicals |
| Lemon Essential Oil | Pleasant citrus scent | May require multiple attempts |
Remember to always follow the safety tips and choose the method that works best for you.
Choose Proper Jar Size
Let’s start by selecting the appropriate size of mason jars and preparing them for candle holder making.
- Choosing appropriate jar size: Consider the purpose of your candle holders. If you want to create small, intimate ambiance, opt for smaller jars. For larger events or outdoor gatherings, larger jars may be more suitable.
- Cleaning the jars: Before beginning any decoration, ensure that the jars are thoroughly clean. Remove any labels or sticky residue by soaking them in warm soapy water. Use a scrub brush or sponge to gently scrub away any remaining residue. Rinse the jars well and allow them to dry completely.
- Decorating jar lids: To add a special touch to your candle holders, consider decorating the jar lids. You can paint them in a complementary color or use decorative paper or fabric to cover them. Add a ribbon or twine for an extra touch of elegance.
- Preparing the jars: Once the jars are clean and dry, you can begin the candle holder making process. Remove the lids and set them aside. Make sure the jar opening is wide enough to accommodate the candle you plan to use.
Safety Precautions While Cleaning
To ensure our safety while cleaning and preparing the jars, we need to take some precautions. First and foremost, it’s important to gather all the necessary cleaning supplies before starting. You’ll need mild dish soap, warm water, a sponge or soft cloth, and a towel for drying. It’s also crucial to work in an area with proper ventilation to avoid inhaling any fumes from the cleaning products.
Before cleaning the jars, make sure to remove any labels or stickers. Soak the jars in warm soapy water for a few minutes, then gently scrub away any residue with a sponge or cloth. Rinse the jars thoroughly and dry them with a clean towel.
Now that our jars are clean and ready, we can move on to the next step: selecting our candle type.
Homsolver Gift for Dad, Fathers Day Christmas Birthday Dad Gifts from Daughter Son - Sandalwood Scented Candle (7OZ)
FUNNY GIFTS FOR DAD- This black cedarwood juniper & sandalwood candle with a humorous saying: Dad, Please Light...
As an affiliate, we earn on qualifying purchases.
Select Your Candle Type
We will now choose the candle type for our Mason jar candle holders. When selecting the perfect candles, consider the fragrance and colors that will enhance the ambiance of your space. Here are some factors to consider:
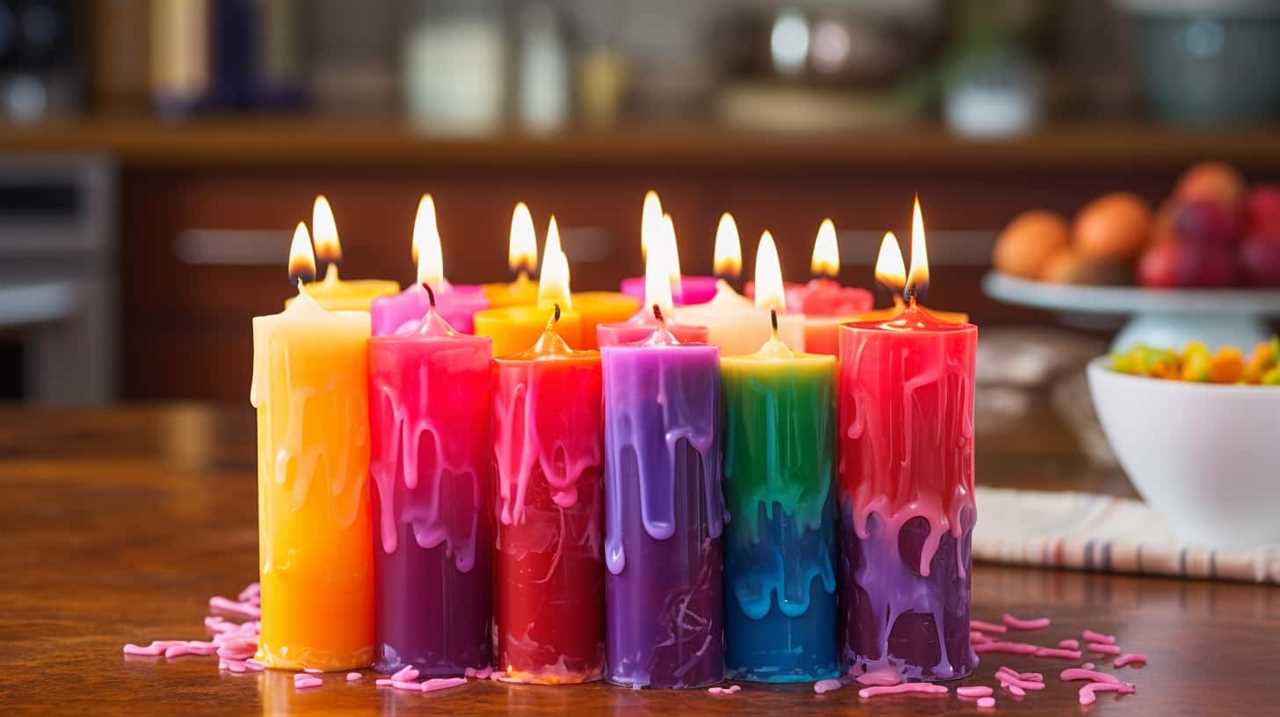
- Candle fragrance: Choose a scent that matches the mood or theme you want to create. Whether it’s a calming lavender for relaxation or a refreshing citrus for an energizing atmosphere, the right fragrance can elevate your candle holder.
- Choosing candle colors: Select colors that complement your decor or evoke a specific mood. Soft pastels can create a soothing environment, while vibrant hues add a pop of color and excitement. Consider the season or occasion when deciding on the candle colors.
- Size and shape: Ensure that the candles fit well inside the Mason jars without touching the sides. Tapered candles or tea lights are great options for smaller jars, while pillar candles work well in larger ones.
- Burn time: Consider the length of time you want the candles to burn. Longer burn times are ideal for events or occasions, while shorter burn times are perfect for everyday use.

Dad Gifts from Daughter Son - Fathers Day Gift for Dad, Funny Daddy Birthday Gifts - Dad’s Last Nerve Scented Candle, Black
FUNNY GIFTS FOR DAD: Humorous quote "Dad's Last Nerve, Oh Look...It's on Fire" makes this a memorable gag...
As an affiliate, we earn on qualifying purchases.
Measure and Cut the Wick
When it comes to making candle holders out of Mason jars, one important step is to measure and cut the wick. Getting the right wick length and placement is crucial for a successful candle.
To do this, you’ll need a few tools like scissors or a wick trimmer. However, it’s important to always follow safety precautions when cutting the wick to prevent accidents or injuries.
Wick Length and Placement
In this step, we’ll determine the appropriate length for the wick and then proceed to cut it accordingly. To ensure that our candle burns properly and evenly, it’s crucial to get the wick length and placement just right. Here’s what you need to know:
- Measure the height of your mason jar: Use a ruler or measuring tape to determine the height of your jar. This will help you determine the ideal length for your wick.
- Choose the right wick size: Different candle sizes require different wick thicknesses. Check the wick packaging or consult a candle-making guide to find the recommended wick size for your jar’s diameter.
- Cut the wick to size: Once you have determined the appropriate wick length, use a pair of scissors to cut it to size. Make sure to leave a little extra length for attaching it to the metal base.
- Place the wick in the center: Carefully place the cut wick in the center of the jar, ensuring that it stands straight and upright. You can use a wick holder or a dab of melted wax to keep it in place.
Tools for Cutting Wick
To cut the wick for your mason jar candle holders, gather the necessary tools. You’ll need a pair of sharp scissors or wire cutters, a ruler or tape measure, and a pen or marker. These tools will help you achieve the perfect length for your wick.
When it comes to wick cutting techniques, it’s important to measure the height of your mason jar and add a few extra inches to ensure the wick reaches the bottom of the jar. Use the ruler or tape measure to get an accurate measurement, and mark the desired length with the pen or marker.
While cotton wicks are the most common choice, there are also alternative wick materials available, such as hemp or wood. These materials can add a unique touch to your candle holders and provide a different burning experience.

Safety Precautions for Cutting
After gathering the necessary tools for cutting the wick, we must now take safety precautions to ensure a smooth and accident-free process. Here are some safety tips for cutting mason jars without getting hurt:
- Always wear safety goggles to protect your eyes from flying glass shards.
- Use a glass cutter or diamond-tipped scorer specifically designed for cutting glass.
- Score the glass gently and avoid applying excessive pressure to prevent it from shattering.
- Place a piece of masking tape along the scored line to guide the glass cutter and provide additional stability.
By following these safety guidelines for cutting mason jars, you can prevent injuries and stay safe while creating your beautiful candle holders.
Remember to take your time and use proper cutting techniques and safety measures throughout the process. With these precautions, you can enjoy crafting without worrying about accidents or harm.
Secure the Wick in Place
We can secure the wick in place by attaching it to the bottom of the mason jar.
There are several wick securing techniques you can use to ensure that the wick stays in place while the candle burns.
One option is to use a small amount of hot glue to adhere the metal tab of the wick to the bottom of the jar. This will provide a strong bond and keep the wick centered.
Another option is to use a wick sticker, which is a double-sided adhesive specifically designed for attaching wicks to candle holders. Simply peel off the backing and press the sticker onto the bottom of the jar, then attach the metal tab of the wick to the sticker.
Now that the wick is securely in place, we can move on to the next step of adding decorative elements (optional).

Add Decorative Elements (Optional)
Now let’s enhance the aesthetic appeal of our candle holders by incorporating decorative elements. Adding creative embellishments to your mason jar candle holders can transform them into personalized pieces that reflect your style and personality. Here are some ideas to inspire you:
- Ribbons and lace: Wrap a colorful ribbon or delicate lace around the mouth of the jar for a charming and romantic touch.
- Paint and stencils: Use acrylic paint and stencils to create intricate designs or patterns on the glass surface, giving your candle holder a unique and artistic look.
- Natural elements: Collect small twigs, leaves, or dried flowers and glue them onto the jar, bringing a touch of nature indoors.
- Beads and charms: String colorful beads or attach small charms to a thin wire and wrap it around the jar, creating a whimsical and playful effect.
These creative embellishments will elevate your candle holders from simple to extraordinary, making them personalized keepsakes that will bring joy and warmth to any space.
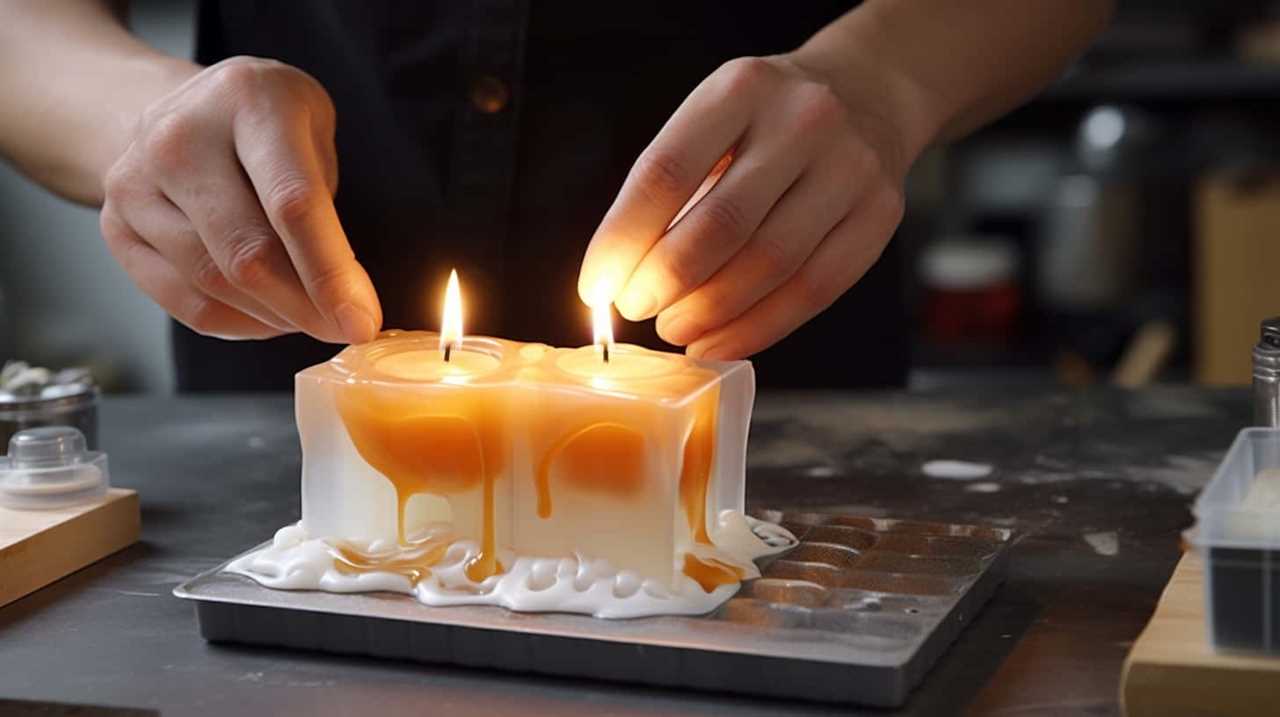
Melt the Wax
To proceed with creating our mason jar candle holders, we’ll need to melt the wax. Begin by setting up a double boiler system, using a heat-resistant glass bowl placed over a pot of simmering water. Pour your wax flakes or blocks into the glass bowl and let them gradually melt, stirring occasionally to ensure even heating.
While the wax is melting, prepare your mason jars by placing the wicks in the center. You can use a small amount of melted wax to secure the wicks to the bottom of the jars.
Once the wax is completely melted, it’s time to pour it into the jars. Be careful not to pour too quickly, as this can cause air bubbles to form. Instead, pour slowly and steadily, starting from the center and working your way towards the edges. This will help to achieve a smooth, even surface.
Allow the candles to cool and set completely before trimming the wicks to the desired length.
Pour the Wax Into the Jars
Using a heat-resistant glass bowl placed over a pot of simmering water, we can now pour the melted wax into the prepared mason jars. This step will complete the process of making our beautiful candle holders. Here’s how to do it:
- Step 1: Place the heat-resistant glass bowl on top of a pot filled with simmering water. This will create a double boiler effect, ensuring that the wax melts evenly and safely.
- Step 2: Carefully pour the melted wax into the mason jars, making sure to leave some space at the top for the wick and any additional decorations.
- Step 3: As you pour the wax, ensure that the wicks are centered in each jar. This will help the candles burn evenly and prevent any accidents.
- Step 4: Allow the wax to cool and solidify completely before trimming the wicks to the desired length.
By following these steps, you’ll have beautifully crafted candle holders ready to illuminate any space with warmth and charm.

Enjoy the process of creating something special for yourself or to give as a thoughtful gift.
Let the Wax Cool and Set
After pouring the melted wax into the mason jars, we need to allow it to cool and set completely. This step is crucial for ensuring that our candle holders turn out perfectly. While waiting for the wax to cool, it’s important to take safety precautions to avoid accidents. Keep the jars away from any flammable objects and make sure they are placed on a heat-resistant surface. To add a touch of creativity to this process, let’s imagine ourselves sitting in a cozy room, surrounded by the gentle glow of our homemade candle holders. Picture the warm flickering light casting shadows on the walls, creating a soothing and peaceful ambience. As we patiently wait for the wax to cool and solidify, we can explore alternative wax melting methods, such as using a double boiler or a slow cooker. These methods provide a safer and more controlled environment for melting the wax. Once the wax has completely cooled and set, we can move on to the next step of our candle-making journey: trimming the wick.
| Benefits of Letting the Wax Cool and Set | Emotional Response |
|---|---|
| Ensures the candle holders turn out perfectly | Satisfaction and pride in the final result |
| Prevents accidents and promotes safety | Relief and peace of mind |
| Provides an opportunity to explore alternative wax melting methods | Curiosity and excitement |
| Sets the stage for a cozy and peaceful ambience | Comfort and relaxation |
Now that our wax has cooled and set, it’s time to trim the wick and prepare our candle holders for use.
Trim the Wick
Once the wax has completely cooled and set in our mason jar candle holders, we can now move on to the next step of trimming the wick. Proper wick maintenance is essential to ensure a clean and efficient burn for your candles.
Here are some trimming techniques to keep in mind:
- Trim the wick to about ¼ inch before lighting.
- Use sharp scissors or a wick trimmer for a clean cut.
- Remove any excess wick debris from the jar.
- Trim the wick each time before lighting to prevent soot buildup.
By regularly trimming the wick, you can avoid black smoke and extend the life of your candle.
Now that we’ve mastered wick maintenance, let’s move on to the exciting part – lighting and enjoying your beautiful candle holders.
Light and Enjoy Your Candle Holders
Now that we’ve trimmed the wick and ensured proper maintenance, let’s light up our mason jar candle holders and enjoy the cozy ambiance they create.
When it comes to candle holder placement, you have endless possibilities. You can line them up on a mantel, scatter them across a dining table, or even hang them from tree branches for an outdoor gathering. Experiment with different arrangements to find what suits your space and aesthetic best.
As you light the candles, take a moment to appreciate the warm glow and soothing flicker they emit. This creates a cozy ambiance that instantly transforms any room into a haven of relaxation and comfort. So, grab a blanket, settle into your favorite chair, and let the calming glow of your mason jar candle holders envelop you.
Now, let’s move on to some tips and variations to enhance your candle holder experience.
Tips and Variations
To enhance your candle holder experience, we can explore some helpful tips and creative variations. Here are a few ideas to customize your candle holders and display them in creative ways:
- Paint and decorate: Use acrylic paint or spray paint to add color and patterns to your mason jar candle holders. You can also glue on decorative items like beads or ribbon for an extra touch.
- Etch or stencil: Create unique designs on your candle holders by etching or stenciling patterns onto the glass. This can be done using glass etching cream or adhesive stencils and spray paint.
- Add handles or hooks: Attach handles or hooks to your candle holders to hang them from trees, hooks, or other surfaces. This adds a whimsical touch and allows you to display them in unexpected places.
- Use different sizes and heights: Mix and match mason jars of different sizes and heights to create a visually appealing display. Arrange them in clusters or line them up to create a stunning centerpiece.
With these tips and variations, you can customize your candle holders and showcase them in creative ways that will impress your guests and add a touch of warmth and beauty to any space.
Frequently Asked Questions
Can I Use Any Type of Jar for Making Candle Holders?
Yes, you can use alternative jars for making candle holders. DIY candle crafts allow for creativity to shine. Explore unique options like vintage glassware or repurposed containers to add a personal touch to your candle decor.
How Long Does It Take for the Wax to Cool and Set?
To prevent air bubbles in the cooling wax, we recommend slowly pouring it into the jar and gently tapping the sides to release any trapped air. For creative decorations, try using twine, lace, or even painting the jars with unique designs.
Can I Add Essential Oils to the Wax for Fragrance?
Sure, we can definitely add essential oils to the wax for fragrance! Using scented oils for candle holders can create a soothing and aromatic ambiance. The benefits of using essential oils in candles are numerous, from relaxation to stress relief.
What Is the Best Type of Candle to Use for Mason Jar Candle Holders?
For mason jar candle holders, the best types of candles are scented ones that fit securely inside the jars. To remove wax residue, place the jar in hot water until the wax softens, then wipe it clean.
Are There Any Safety Precautions I Need to Take When Making and Using These Candle Holders?
When making and using mason jar candle holders, it’s important to prioritize safety. Fire safety measures, such as keeping flammable objects away, and ensuring proper ventilation are crucial. Let’s keep things lit safely!
Conclusion
In conclusion, creating candle holders out of mason jars is a fun and easy DIY project that adds a cozy ambiance to any space.
By choosing the right jars, cleaning and preparing them, and selecting the perfect candle type, you can create unique and beautiful candle holders.
Don’t forget to measure and cut the wick, let the wax cool and set, and trim the wick for optimal burning.
So go ahead, light up your space and enjoy the warmth and glow of your homemade candle holders.