Are you prepared to learn the secrets to achieving candle frosting? We are here to help you out!
In this guide, we will show you step-by-step how to create beautifully frosted candles. From gathering all the necessary materials to decorating your finished candles, we’ll walk you through the entire process.
No need to worry, we’ll keep it simple and straightforward.
So, let’s get started and bring a touch of elegance to your candle collection.
Key Takeaways
- Choosing the right frosting agent is important for achieving the desired effect.
- Proper application techniques and types of candle frosting can create different textures and appearances.
- Mixing the wax and frosting agent, as well as adding color and scent, enhances the aesthetic appeal and atmosphere of frosted candles.
- Safety precautions, proper pouring and cooling techniques, and cleaning up the work area are crucial steps in making candle frosting.

VEVOR 20Lbs Wax Melter for Candle Making, 10 L Extra Large Electric Wax Melting Pot, with Easy Pour Spout and 9-Level Temp Control, Easy Clean for Candle Soap Cream Beauty Bulk Production Business
Quick Heating: This wax melting pot with easy pour spout can quickly heat and melt wax with 1100W...
As an affiliate, we earn on qualifying purchases.
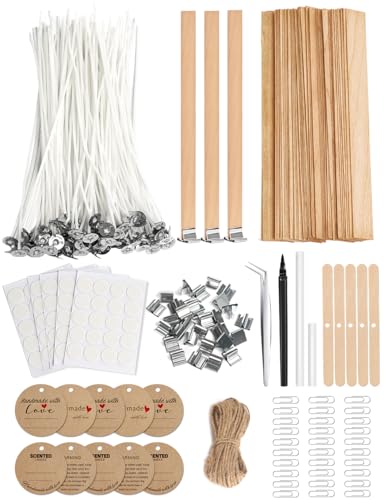
Gather Your Materials
To make candle frosting, we need to gather our materials.
The first step is to choose the right frosting agent. There are various candle frosting techniques that require different ingredients. One popular option is using soy wax flakes as the frosting agent. Soy wax is eco-friendly and produces a smooth and creamy texture.
You’ll also need a double boiler or a microwave-safe container to melt the wax. Additionally, gather a thermometer to monitor the temperature, a stirring utensil, and fragrance or essential oils for scenting the candles.
Don’t forget to have a selection of candle containers and wicks ready as well.
Once all the materials are gathered, we can move on to preparing our work area.

Etienne Alair Organic Soy Candle Wax for Candle Making, 10 lbs Natural Candles Making Supplies, Beeswax-Free, Paraffin-Free, Pure Soy Wax Flakes Perfect for Candles, Tealights and Melts
All-In-One Starter Kit – Everything you need to dive into candle making! Our Etienne Alair soy candle wax...
As an affiliate, we earn on qualifying purchases.
Prepare Your Work Area
Now that we’ve gathered our materials, it’s important to prepare our work area to ensure a safe and efficient candle frosting process.
As beginners, we need to take safety precautions seriously, such as wearing protective gloves and using a well-ventilated space.
In addition, we should gather the necessary materials and tools, including a heat-resistant surface, a double boiler or microwave-safe container, and a thermometer to monitor the temperature.

Safety Precautions for Beginners
We will begin by preparing our work area to ensure safety while making candle frosting.
As beginners, it’s important to be aware of common mistakes and potential hazards that could arise during the process. Here are a few safety precautions to keep in mind:
- Clear the workspace: Remove any clutter or unnecessary objects from your work area to prevent accidents or spills.
- Ventilate the room: Make sure you have proper ventilation to avoid inhaling any fumes or smoke that may occur while melting wax.
- Open windows or use a fan to circulate fresh air.
- Consider wearing a mask or working in a well-ventilated area.
By taking these precautions, you can minimize the risk of accidents and ensure a safe candle frosting experience.
Now that our work area is prepared, let’s move on to the materials and tools needed for making candle frosting.

Materials and Tools Needed
After clearing the workspace and ensuring proper ventilation, it is important for us to gather the necessary materials and tools for preparing our work area in making candle frosting. To create beautiful candle frosting, we need a few key items. Here is a table that outlines the materials and tools needed:
| Materials | Tools |
|---|---|
| Soy wax flakes | Double boiler |
| Candle dye | Thermometer |
| Fragrance oil | Whisk or stir stick |
| Candle wicks | Heat-resistant container |
The soy wax flakes will serve as the base for our candle frosting. Candle dye will add color to the wax, while fragrance oil will give it a pleasant scent. Candle wicks are essential for lighting our candles, and a double boiler will help melt the wax evenly. A thermometer ensures that the wax reaches the right temperature, while a whisk or stir stick is used to mix the ingredients. Lastly, a heat-resistant container is needed to hold the melted wax. If you prefer alternative frosting materials, you can experiment with beeswax or paraffin wax.

American Soy Organics Freedom Soy Wax Beads for Candle Making - Natural Candle Making Supplies - Paraffin-Free, Beeswax-Free Candle Wax for Container Candles, Tealights and Wax Melts, 25 lbs
NATURAL SOY WAX BEADS - Best candle making supplies make the best soy candles! These safe, ethically produced,...
As an affiliate, we earn on qualifying purchases.
Melt the Candle Wax
With the candle wax ready, we can begin by melting it using a double boiler method. This technique ensures that the wax is heated gently and evenly, preventing any accidental fires or burns. Here are a couple of safety precautions and melting techniques to follow:
Safety Precautions:
- Always melt the wax in a well-ventilated area to avoid inhaling any fumes.
- Use heat-resistant gloves and goggles to protect yourself from potential accidents.
- Keep a fire extinguisher nearby in case of emergencies.
Melting Techniques:
- Fill the bottom pot of the double boiler with water and place it on the stove.
- Place the wax in the top pot and set it over the boiling water.
- Stir occasionally until the wax completely melts and becomes smooth.
By following these safety precautions and using the double boiler method, you can safely melt the candle wax without any mishaps.
Now, let’s move on to the next step: adding the frosting agent.
130 Pcs Candle Wicks for Candle Making Kit: 100 Cotton & 30 Wood Wicks with Complete Tool Set (Wick Holders, Wick Stickers, Candle Tabs, Tweezers, Pen), for Soy Beeswax DIY Candles
Ultimate Candle Making Kit - Includes 100 pre-waxed cotton wicks (6"), 30 wooden wicks (5"), 5 wick holders,...
As an affiliate, we earn on qualifying purchases.
Add the Frosting Agent
Now that we’ve melted our candle wax, it’s time to add the frosting agent.

There are several options to choose from, including stearic acid, beeswax, or soy wax.
The proper application technique is crucial to achieving the desired frosted effect, and it’s important to consider the effects the frosting agent will have on the overall appearance of the candle.
Let’s explore these points in more detail to create beautifully frosted candles.
Frosting Agent Options
To achieve the desired candle frosting effect, we can incorporate a frosting agent into the candle-making process. There are several frosting agent alternatives available, each with its own benefits and characteristics.
Here are two options to consider:
- Beeswax: Adding beeswax to your candle mixture can create a beautiful frosted appearance. Beeswax not only gives the candle a natural, rustic look but also enhances its scent throw and burn time.
- Stearic Acid: Another popular choice is stearic acid, which can produce a smooth and even frosting effect. Stearic acid also helps to harden the wax, making the candle more durable and reducing melting issues.
By using these frosting agent alternatives, you can enhance the visual appeal of your candles while enjoying the benefits of candle frosting.
Now that we’ve explored the options, let’s move on to the next section and learn about the proper application techniques to achieve the best results.
Proper Application Techniques
We can add the frosting agent to the candle mixture to achieve the desired candle frosting effect. When it comes to proper application techniques, it’s important to follow a few key steps.

First, ensure that the candle mixture is at the right temperature for the frosting agent to adhere properly. This is usually around 125-130°F.
Next, slowly pour the frosting agent into the mixture while stirring gently. Be sure to evenly distribute the agent throughout the mixture to achieve a consistent frosting effect.
If you encounter any issues, such as clumping or uneven application, try warming the mixture slightly or using a whisk to break up any clumps. Troubleshooting tips include adjusting the amount of frosting agent used and experimenting with different application techniques.
By mastering these proper application techniques, you can achieve a beautifully frosted candle.
Now, let’s explore the effects on candle appearance.
Effects on Candle Appearance
To enhance the appearance of the candle, we can now introduce the frosting agent into the mixture. The addition of the frosting agent will create a unique texture and visual effect on the surface of the candle.
There are several candle frosting techniques that can be used, each resulting in a different type of frosting. Here are two sub-lists to explore:
Types of Candle Frosting:

- Frosting Powder: This type of frosting agent is a fine powder that’s added to the melted wax. It creates a delicate and powdery frosted look on the candle surface.
- Frosting Spray: This technique involves spraying a frosting agent onto the cooled candle. The spray creates a textured and uneven frosted appearance.
Effects on Candle Appearance:
- Visual Appeal: The frosting agent adds depth and dimension to the candle, making it visually interesting and appealing.
- Aesthetic Variety: Different types of frosting can be applied to create various looks, allowing for a wide range of customization options.
Mix the Wax and Frosting Agent
After gathering the necessary materials, we begin by carefully melting the wax and incorporating the frosting agent. The frosting agent is what gives the candle its unique frosted appearance. There are several alternatives to choose from when it comes to frosting agents, such as stearic acid, beeswax, or even coconut oil. Each frosting agent has its own distinct properties that can affect the final look of the candle.
To mix the wax and frosting agent, we use different techniques depending on the type of agent we are using. For stearic acid or beeswax, we melt them together with the wax in a double boiler. This ensures that the ingredients blend evenly and create a smooth mixture. If we are using coconut oil as the frosting agent, we can simply melt it with the wax in the microwave or on the stove.
Below is a table that summarizes the frosting agent alternatives and the corresponding mixing techniques:
| Frosting Agent | Mixing Technique |
|---|---|
| Stearic Acid | Double Boiler |
| Beeswax | Double Boiler |
| Coconut Oil | Microwave/Stove |
Optional: Add Color or Scent
To enhance the aesthetic appeal and atmosphere of our frosted candles, we can choose to incorporate color or scent into the mixture. Adding color gives the candles a vibrant and eye-catching look, while adding scent creates a delightful and inviting ambiance.
Here are a couple of ways to add color and scent to your candle frosting:
- Add color:
- Use candle dye chips or liquid dye to achieve the desired hue. Start with a small amount and gradually add more until you achieve the desired color intensity.
- Experiment with different color combinations to create unique and personalized candles.
- Add scent:
- Use fragrance oils specifically formulated for candle making. Choose scents that complement the theme or purpose of your candle.
- Start with a small amount of fragrance oil and gradually increase until you achieve the desired scent strength.
By adding color and scent to our frosted candles, we can create a visually appealing and aromatically pleasing experience.
Now, let’s move on to the next step and prepare the candle containers.

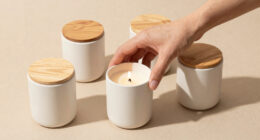
Prepare the Candle Containers
Now that we’ve covered adding color or scent to our candles, let’s move on to preparing the candle containers.
Choosing the right container is essential for a successful candle frosting project. We’ll provide you with some helpful tips on selecting the perfect containers and also discuss important safety precautions to keep in mind when working with candle containers.
Container Selection Tips
For choosing the right container for our candle making project, we consider various factors such as size, material, and aesthetics. To help you in your container selection process, here are some tips:
- Size:
- Consider the size of your candle. Ensure that the container has enough space to accommodate the wax and allow for proper burning.
- If you want to create a visually appealing candle, choose a container that’s proportional to the size of the candle.
- Material:
- Opt for heat-resistant materials such as glass or metal to prevent the container from cracking or melting.
- Glass containers allow for better visibility of the candle and can enhance the aesthetics.
Considering these factors won’t only ensure the success of your candle frosting techniques but also help you create beautiful and functional candles.
Safety Precautions for Containers
When preparing the candle containers, we should take certain safety precautions in order to ensure a successful and safe candle making process.
Container safety is of utmost importance to prevent any accidents or mishaps.
Firstly, it’s crucial to select containers that are specifically designed for candle making. These containers should be heat-resistant, non-flammable, and able to withstand the heat of the burning candle.
Additionally, proper handling of the containers is essential. Always handle the containers with clean, dry hands to avoid any oil or moisture residue on the surface. This will prevent any potential accidents caused by slippery containers.
It’s also important to avoid overfilling the containers to prevent overflowing wax, which can cause fires.
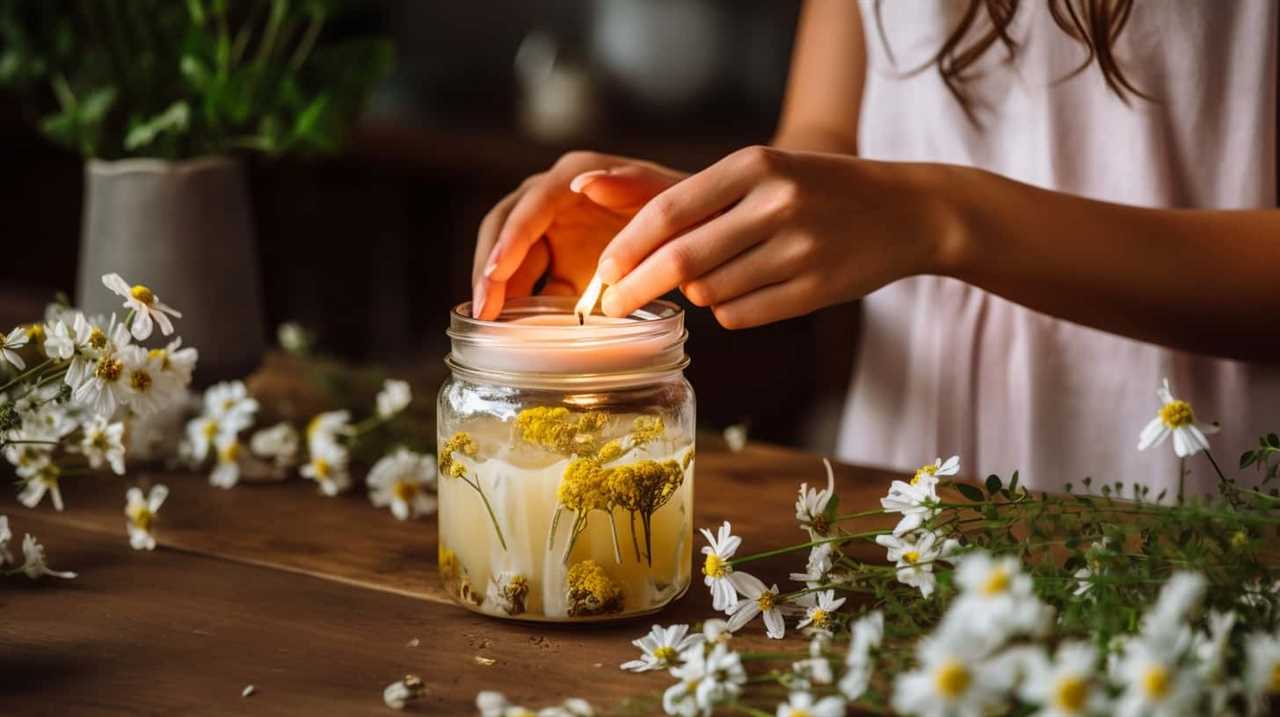
Pour the Frosted Wax Into the Containers
We pour the frosted wax into our containers. This step is crucial in creating beautiful and unique candle frosting effects. Here’s how we do it:
- Prepare the containers:
- Choose containers that are heat-resistant and suitable for candle making.
- Clean and dry the containers thoroughly to ensure a smooth finish.
- Pour the frosted wax:
- Heat the frosted wax until it reaches a liquid state, following the manufacturer’s instructions.
- Slowly pour the melted wax into the containers, filling them to the desired level.
- Be careful not to overflow or spill the wax, as it can be difficult to clean up.
- Allow the wax to cool and solidify completely before moving or handling the containers.
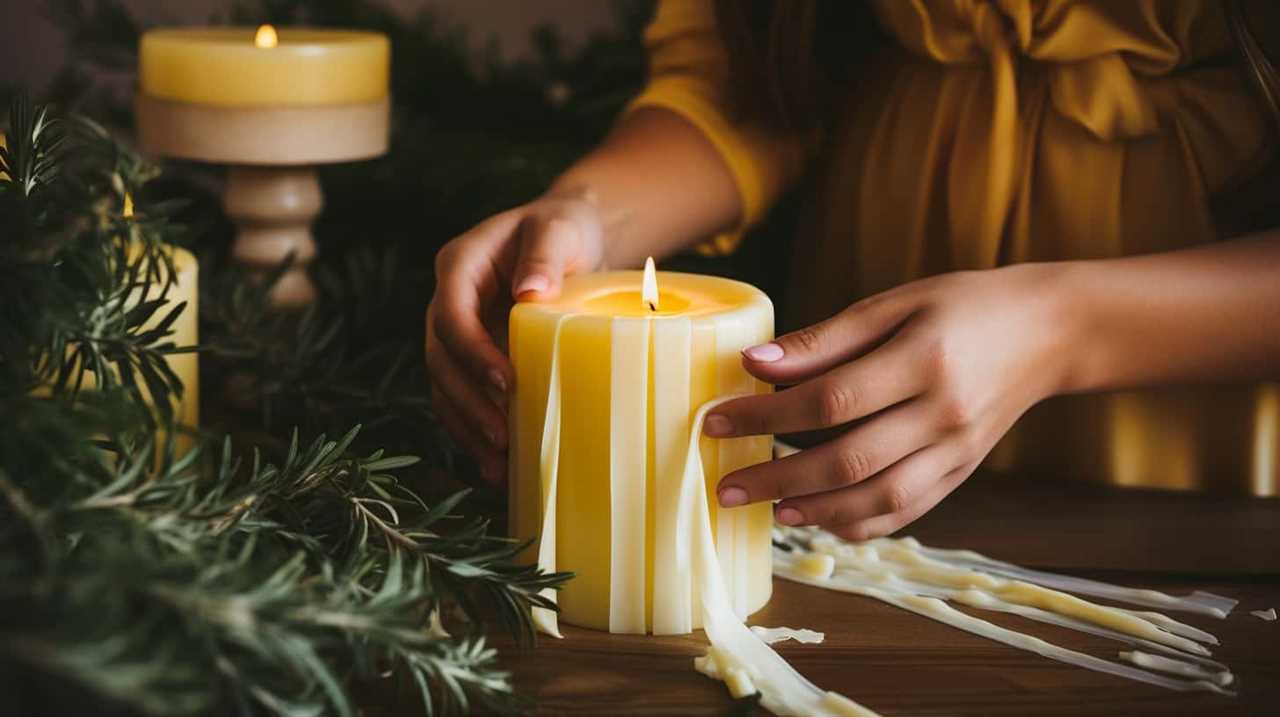
Create Texture With a Spoon or Fork
To create texture with a spoon or fork, we gently press the utensil against the cooled and solidified frosted wax in the containers. This technique allows us to create different textures and add depth to our candles. By experimenting with various pressure and movement, we can achieve unique designs that enhance the overall aesthetic of our candles.
To give you an idea of the possibilities, here are some alternative frosting techniques you can try using a spoon or fork:
| Technique | Description |
|---|---|
| Swirling | Gently swirl the utensil in circular motions to create a delicate, swirled pattern. |
| Zigzag | Make quick, back-and-forth motions to create a zigzag pattern that adds a playful touch. |
| Dotted | Tap the utensil lightly against the wax to create a dotted texture resembling tiny bubbles. |
| Lines | Drag the utensil in straight lines to create parallel lines or crisscrossing patterns. |
| Curved Strokes | Use the utensil to create curved strokes, giving the appearance of gentle waves or ripples. |
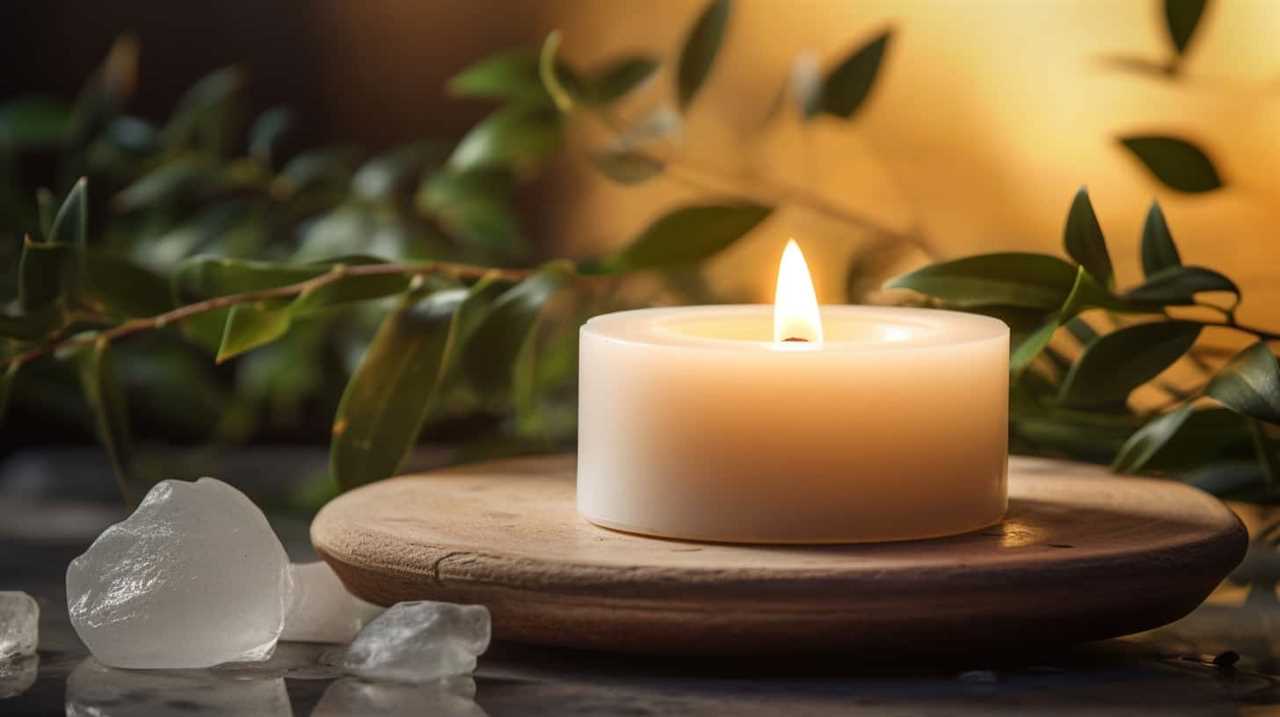
Let the Candles Cool and Set
After frosting the candles, we need to allow them to cool and set before handling them further. This step is crucial to ensure that the frosting hardens and adheres properly to the candle surface. Here are some candle cooling tips and setting time recommendations to follow:
- Avoid touching the candles: It’s important to resist the urge to touch the candles while they cool. Touching them too soon can disrupt the frosting texture and ruin all your hard work.
- Provide ample time for cooling: Depending on the type of wax used, candles generally need at least 2-4 hours to cool and set completely. Be patient and give them enough time to solidify.
- Consider refrigerating: If you’re short on time, you can speed up the cooling process by placing the candles in the refrigerator for about 30 minutes. However, avoid placing them in the freezer as extreme temperature changes can cause cracking.
Trim the Wick
To trim the wick after frosting the candles, we will need a pair of scissors or a wick trimmer. Proper wick trimming techniques are essential for preventing wick mushrooming, which can lead to an uneven burn and excessive smoke. When trimming the wick, it is important to follow these guidelines:
| Technique | How to do it |
|---|---|
| Straight Cut | Hold the wick taut and trim it straight across, about ¼ inch above the wax surface. |
| Diagonal Cut | Trim the wick at a 45-degree angle, ensuring that it is still about ¼ inch above the wax surface. |
| Wick Trimmer | Use a wick trimmer to easily reach and trim the wick, maintaining the proper length. |
Clean Up Your Work Area
Now let’s tidy up our work area by clearing away any debris or excess wax. Cleaning up after making candles is just as important as the actual process itself. Here are some cleaning and organizing tips to help you maintain a neat work area:
- Clearing debris:
- Use a scraper or paper towel to remove any leftover wax or residue from your work surface.
- Dispose of the debris properly to avoid any potential mess or hazards.
- Organizing supplies:
- Sort and store your candle-making tools, such as molds, wicks, and fragrance oils, in designated containers or drawers.
- Label each container to ensure easy access and quick identification of supplies.
Following these cleaning and organizing tips won’t only keep your work area clean, but it will also make your candle-making process more efficient and enjoyable.

Happy candle making!
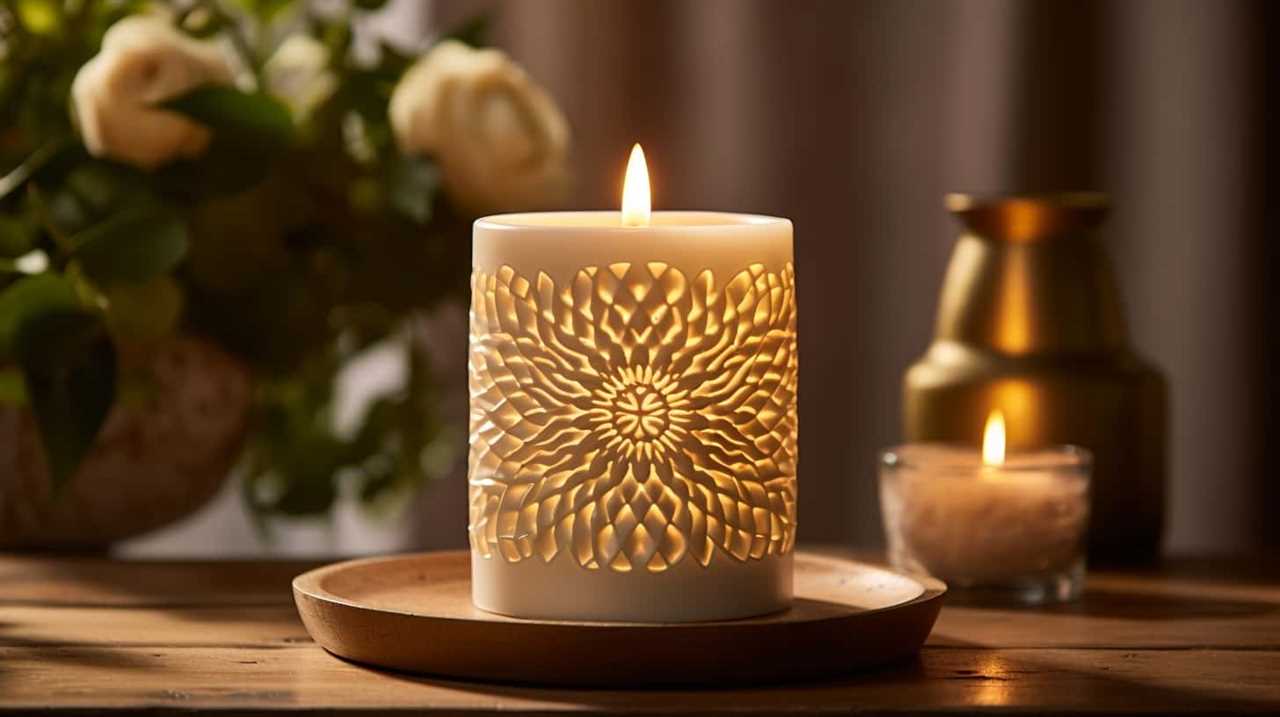
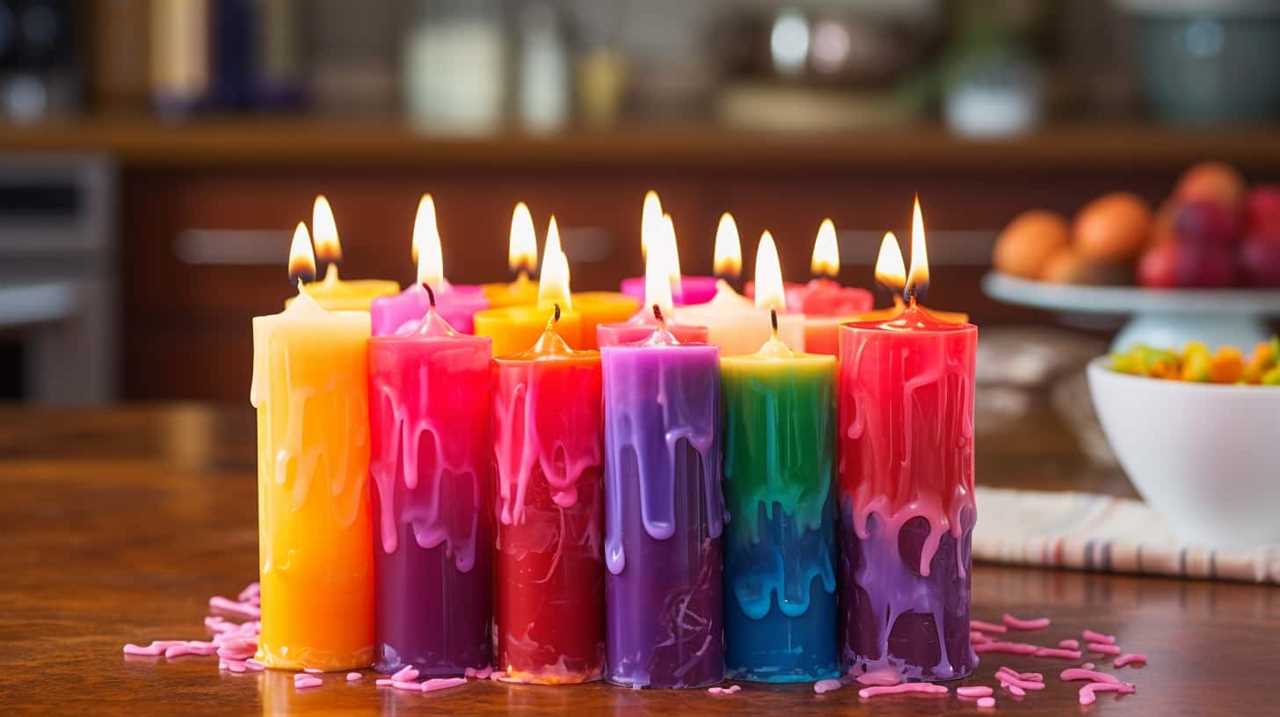
Decorate Your Frosted Candles
Now that we’ve mastered the art of creating beautifully frosted candles, let’s move on to the fun part – decorating them!
With endless possibilities, you can unleash your creativity and design unique candle masterpieces. From using different colors of wax to creating intricate patterns, the sky’s the limit when it comes to DIY candle embellishments.
Creative Candle Designs
Let’s explore various ways to decorate our frosted candles with creative designs. Decorating frosted candles can be a fun and rewarding activity that allows you to personalize your candles and create unique pieces for your home or as gifts. Here are some ideas to get you started:

- Hand-painted Designs: Use acrylic paint or specialized candle paints to create intricate designs on the frosted surface. You can paint flowers, patterns, or even landscapes to add a touch of artistry to your candles.
- Embedded Decorations: Embed small items like dried flowers, seashells, or beads into the frosted wax to create a textured and visually appealing design. You can arrange them in patterns or create a mosaic-like effect.
- Finishing Touches: Add ribbons, bows, or charms around the base of the candle or tie them around the wick for a decorative touch. You can also use lace or fabric strips to wrap around the candle to create a cozy and elegant look.
DIY Candle Embellishments
To enhance the beauty of our frosted candles, we can explore various DIY candle embellishments that allow us to personalize and decorate them in unique and creative ways. By incorporating these DIY candle decorations, we can transform ordinary frosted candles into stunning pieces of art. Here are some ideas to get you started:
| Embellishment | Materials Needed | Technique |
|---|---|---|
| Ribbon Wrap | Ribbon in desired color and pattern | Wrap the ribbon around the base of the candle and tie it into a bow. |
| Glitter Accent | Mod Podge, Glitter, Paintbrush | Apply a thin layer of Mod Podge to the desired area of the candle and sprinkle glitter on top. Shake off excess glitter and let it dry. |
| Flower Adornment | Fake flowers, Hot glue gun | Remove the stem from the fake flowers and attach them to the candle using a hot glue gun. |
These DIY candle decorations will add a touch of elegance and personalization to your frosted candles. Get creative and have fun experimenting with different techniques and materials to create your own unique candle designs.
Store or Gift Your Finished Candles
We can store or gift our finished candles by carefully packaging them in protective containers or creative gift boxes. Here are some store options and packaging ideas to consider:
- Store Options:
- Find a cool, dry place away from direct sunlight and extreme temperatures to store your candles. This will help preserve their fragrance and color.
- Consider using airtight containers or storage bags to protect the candles from dust and moisture.
- Packaging Ideas:
- Wrap each candle individually in tissue paper or bubble wrap before placing them in a gift box. This will prevent any damage during transportation.
- Personalize the gift boxes with ribbons, bows, or handwritten notes to add a special touch.
By taking these storage and packaging precautions, you can ensure that your finished candles remain in pristine condition whether they’re stored for later use or given as thoughtful gifts.

Now, let’s move on to some helpful tips and troubleshooting to enhance your candle-making experience.
Tips and Troubleshooting
To ensure a smooth candle-making process and address any potential issues, we can rely on some handy tips and troubleshooting techniques.
When it comes to achieving smooth frosting on your candles, there are a few things to keep in mind. First, make sure your candles are completely cooled before attempting to frost them. If the wax is still warm, it won’t hold the frosting properly.
Additionally, using a higher quality wax can help prevent frosting issues. Cheaper waxes often contain additives that can cause frosting. Another tip is to avoid over-pouring the wax. Pouring too much wax into the container can lead to uneven frosting.

Lastly, if you do encounter frosting, you can try using a heat gun or blow dryer to smooth out the surface. By following these troubleshooting tips, you can achieve beautifully frosted candles every time.
Frequently Asked Questions
How Long Does It Take for the Candles to Cool and Set?
When making candle frosting, it’s important to allow enough time for the candles to cool and set. We’ve found that it typically takes about 2-3 hours for the frosting to fully harden, but this can vary depending on factors like temperature and humidity.
Can I Use a Different Type of Wax for Frosting Candles?
Using a different type of wax for frosting candles can provide many benefits. It allows for unique textures and finishes, enhances scent throw, and offers a wider range of color options.
Can I Add Multiple Colors or Scents to the Frosting Agent?
Adding multiple colors and scents to the frosting agent can create stunning and aromatic candles. However, it’s important to consider the pros and cons. To achieve desired effects, start with small amounts and experiment with different combinations.
How Do I Create Different Textures on My Frosted Candles?
To create different textures on frosted candles, we experiment with various frosting techniques. By using natural ingredients for candle frosting, we can achieve unique effects like smooth, glossy finishes or textured, matte surfaces.
What Are Some Common Issues That May Occur During the Candle Frosting Process and How Can I Troubleshoot Them?
When making candle frosting, it’s important to know common issues and how to troubleshoot them. We have some troubleshooting tips to help you prevent frosting issues and ensure your candles turn out perfect.
Conclusion
In conclusion, making candle frosting is a fun and creative way to add a personal touch to your candles.
Did you know that candles aren’t only used for relaxation and ambiance, but they can also help reduce stress and anxiety?

So, why not try making your own frosted candles and enjoy the benefits of a soothing and personalized atmosphere in your home.
Get creative and let your candles be an expression of your unique style and personality.