Are you in need of a straightforward yet fulfilling DIY project?
Well, have you ever wondered how to make a soy candle with essential oil? Look no further!
In this guide, we will show you the step-by-step process to create your very own homemade soy candle infused with the calming scent of essential oils.
We’ll walk you through gathering your supplies, melting the soy wax, adding the essential oil, and preparing the candle container.
Once poured, all that’s left to do is let the candle set, trim the wick, and voila!
You’ll have a beautiful and fragrant soy candle to enjoy.
So, let’s get started on this delightful and aromatic journey!
Key Takeaways
- The process of making a soy candle with essential oil involves gathering supplies and melting the soy wax using a double boiler or microwave.
- Adding essential oil to the melted wax can be done by mixing it into the wax or adding it directly to the candle container.
- When preparing the candle container, consider decorating it for a personal touch and choosing the right wick that matches the container size and burn time.
- Pouring the melted wax requires a heat-resistant pitcher and a steady hand to achieve a smooth and even pour. Once the candle has set, trim the wick regularly and enjoy the therapeutic benefits of the homemade soy candle.

Syntic 40 Pack Small Glass Jars with Cork Lids, 7oz Empty Mason Jars for Making Candles, Yogurt Container with PE Lids for Wedding Favors, Baby Shower, Candy, Spices with Twine, Labels
Candy Bottles with 6 Kinds of Accessories - Perfectly satisfying your daily lifestyle demands. 40 PE lids +...
As an affiliate, we earn on qualifying purchases.
Gather Supplies
First, we gather the supplies needed to make a soy candle with essential oil. To begin, we ensure we’ve the following items on hand: soy wax flakes, a candle wick, a container or mold, a double boiler or a heat-resistant container, a thermometer, a stirring utensil, and essential oils of our choice.
It’s crucial to prioritize safety precautions during this process. We wear protective gloves and eyewear to shield ourselves from potential accidents. Additionally, we work in a well-ventilated area to avoid inhaling any fumes.
Now that we’ve gathered our supplies and taken the necessary safety measures, we’re ready to move on to the next step: melting the soy wax.

YJHSS 24-Pack 8oz Candle Tins with Lids, Metal Candle Jars for Candle Making, Bulk Empty Containers for Beginners & DIY Storage -Black
Capacity: 8oz =235ml; Dimensions : 3.15" (Diameter) x 2.35" (Height); Each candle tins are made of premium tinplate,...
As an affiliate, we earn on qualifying purchases.
Melt the Soy Wax
Now let’s talk about melting the soy wax for your candle.
It’s important to consider the heating temperature and equipment you’ll be using to ensure a safe and effective melting process.
Additionally, the melting time and consistency of the wax will play a role in the overall quality of your candle.
Heating Temperature and Equipment
To melt the soy wax for your homemade soy candle, we will need to heat it to the appropriate temperature using the necessary equipment. When it comes to heating techniques, there are a few options to consider. The most common method is to use a double boiler. This involves placing a heat-resistant container filled with soy wax into a larger pot filled with water. The water is heated, which in turn melts the wax gently and evenly. Another option is to use a microwave-safe container and heat the wax in short intervals, stirring in between to ensure even melting. Whichever method you choose, it is essential to follow safety precautions. Always use heat-resistant gloves and handle hot equipment with care. Keep a fire extinguisher nearby and never leave the melting wax unattended. Safety should always be a top priority when working with heat and hot wax.
| Heating Techniques | Safety Precautions |
|---|---|
| Double Boiler | Use heat-resistant gloves and handle hot equipment with care |
| Microwave | Keep a fire extinguisher nearby and never leave the melting wax unattended |
Melting Time and Consistency
When melting the soy wax for our homemade soy candle, we heat it to the appropriate temperature using the necessary equipment and ensure the melting time and consistency are just right. Achieving the perfect melting time and consistency is crucial for creating a high-quality soy candle.
Here are some melting techniques and troubleshooting tips to help you along the way:
- Use a double boiler or a heat-resistant container placed in a pot of boiling water to melt the soy wax slowly and evenly.
- Stir the wax occasionally to promote even melting and prevent any clumps or uneven consistency.
- If the wax becomes too hot and starts to smoke or discolor, remove it from the heat immediately and let it cool down slightly before continuing the melting process.

QAPPDA 8oz Amber Candle Jars Set of 30,Round Glass Jars with Black Lids,Empty 250ml Glass Candle Making Jar Bulk Thick Small Food Storage Jar for Spice,Candy,Powder
Amber Glass Jar with Airtight Lid-Each set includes 30 pack rounded amber glass jars with black screw-on metal...
As an affiliate, we earn on qualifying purchases.
Add Essential Oil
After melting the soy wax and letting it cool, we can now enhance the scent of the candle by adding essential oil. There are several benefits to using essential oils in candles. Not only do they provide a pleasant aroma, but they also have therapeutic properties that can promote relaxation and relieve stress.
When it comes to adding essential oils to soy candles, there are different methods you can use. One option is to simply mix the oil into the melted wax before pouring it into the container. Another method is to wait until the wax has cooled slightly and then add a few drops of essential oil directly into the candle container before pouring the wax. Both methods work well, so choose the one that’s most convenient for you.
Now that we’ve added the essential oil, it’s time to prepare the candle container for pouring.

Etienne Alair Organic Soy Candle Wax for Candle Making, 10 lbs Natural Candles Making Supplies, Beeswax-Free, Paraffin-Free, Pure Soy Wax Flakes Perfect for Candles, Tealights and Melts
All-In-One Starter Kit – Everything you need to dive into candle making! Our Etienne Alair soy candle wax...
As an affiliate, we earn on qualifying purchases.
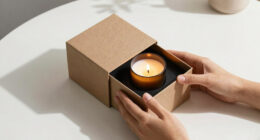
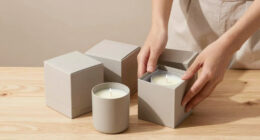
Prepare the Candle Container
Now that we’ve added the essential oil, let’s move on to preparing the candle container for pouring. Decorating the candle container not only adds a personal touch but also enhances the overall aesthetic appeal of the finished product. Here are some ideas to inspire you:
- Use ribbons or twine to tie a bow around the container.
- Attach dried flowers or herbs to the outside of the container using hot glue.
- Paint the container with acrylic paint in a design or pattern of your choice.
Choosing the right wick is crucial for a successful soy candle. The size of the container and the desired burn time will determine the appropriate wick thickness. A thicker wick is suitable for larger containers, while a thinner wick works well for smaller ones. It’s also important to select a wick made from natural materials, such as cotton, to ensure a clean burn.
Take your time to consider both the decorative elements and the wick when preparing the candle container for pouring.
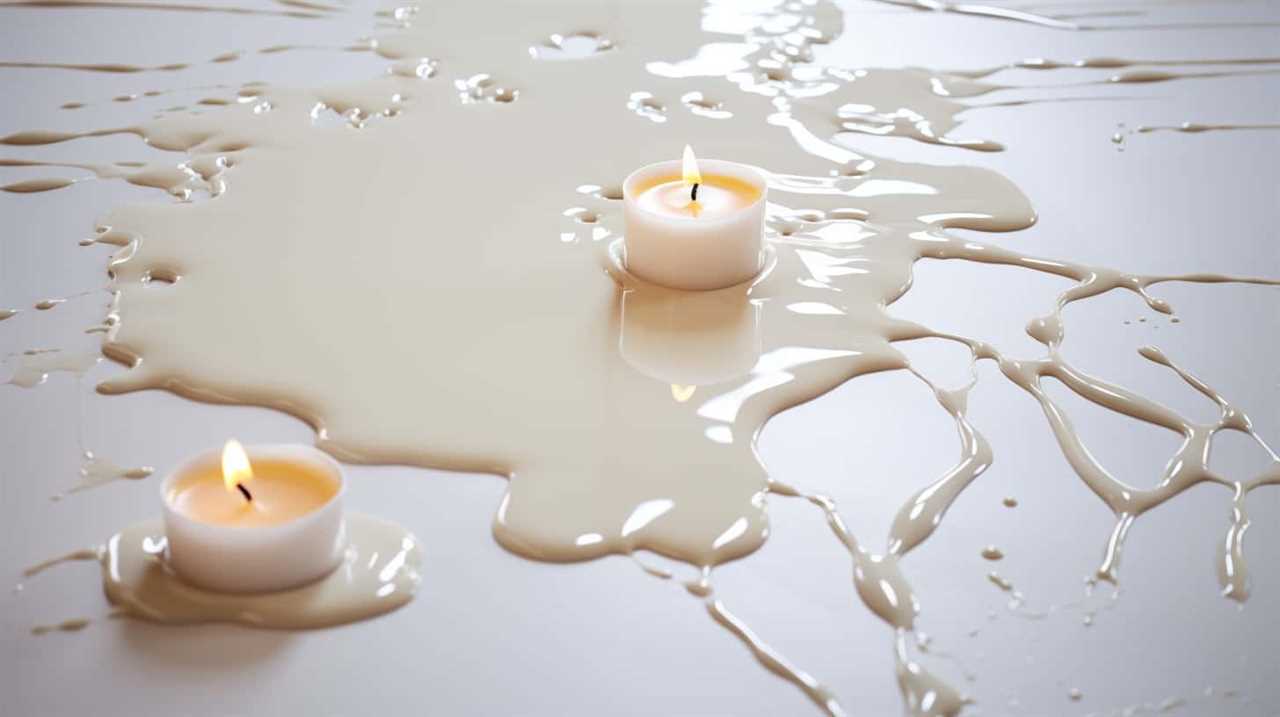
Pour the Melted Wax
Using a heat-resistant pitcher, we carefully pour the melted soy wax into the prepared candle container. This step is crucial in candle making as it requires precision and a steady hand.
The pouring technique plays a vital role in achieving a smooth and even finish for your soy candle. As you pour the wax, make sure to do it slowly and steadily to prevent any air bubbles from forming.

It’s also important to pour the wax at the right temperature, as pouring it too hot can cause the fragrance to evaporate and pouring it too cold may result in uneven melting.
Keep in mind these candle making tips to ensure a successful pour and a beautifully crafted soy candle.
Insert the Wick
We carefully place the wick into the center of the melted soy wax in the prepared candle container. This step is crucial for ensuring a successful and well-functioning soy candle.
Here are some wick insertion techniques and troubleshooting tips to help you achieve the perfect placement:
- Gently lower the wick into the melted wax, making sure it reaches the bottom of the container.
- Use a wick holder or pencil to keep the wick centered and straight while the wax solidifies.
- Ensure that the wick stands upright and isn’t leaning or touching the sides of the container.
Properly inserting the wick ensures even burning and a steady flame. If you encounter any issues with wick placement, such as the wick coming loose or the flame flickering, try adjusting the wick’s position or trimming it to the recommended length.
Let the Candle Set
After inserting the wick, we need to allow the candle to set and solidify before moving on to the next step. This is an important stage in the candle-making process as it ensures that the candle holds its shape and burns properly. To make the waiting time more enjoyable, you can use this time to plan the candle decoration. Consider adding dried flowers, herbs, or colorful wax chips to enhance the aesthetic appeal of your soy candle. However, it’s important to remember some candle safety precautions. Never leave a burning candle unattended, keep it away from flammable materials, and place it on a heat-resistant surface. By following these precautions, you can enjoy the beauty and ambiance of your homemade soy candle without any worries.
| Candle Decoration | Candle Safety Precautions |
|---|---|
| Dried Flowers | Never leave a burning candle unattended |
| Herbs | Keep the candle away from flammable materials |
| Colorful Wax Chips | Place the candle on a heat-resistant surface |
Trim the Wick
To maintain the optimal burn of the candle, regularly trim the wick to a length of about 1/4 inch. Wick trimming techniques can vary depending on the type of wick material used.
Here are some tips to help you trim the wick effectively:
- Use sharp scissors or wick trimmers to cut the wick.
- Trim the wick before each use to prevent excessive smoke and soot.
- Avoid trimming the wick too short, as this can cause the flame to flicker or extinguish.
Different types of wick materials, such as cotton, hemp, or wood, may require different trimming techniques. For cotton wicks, snip off the excess wick carefully. Hemp wicks may need a bit more trimming as they tend to fray. Wood wicks should be trimmed to maintain a flat, even surface.
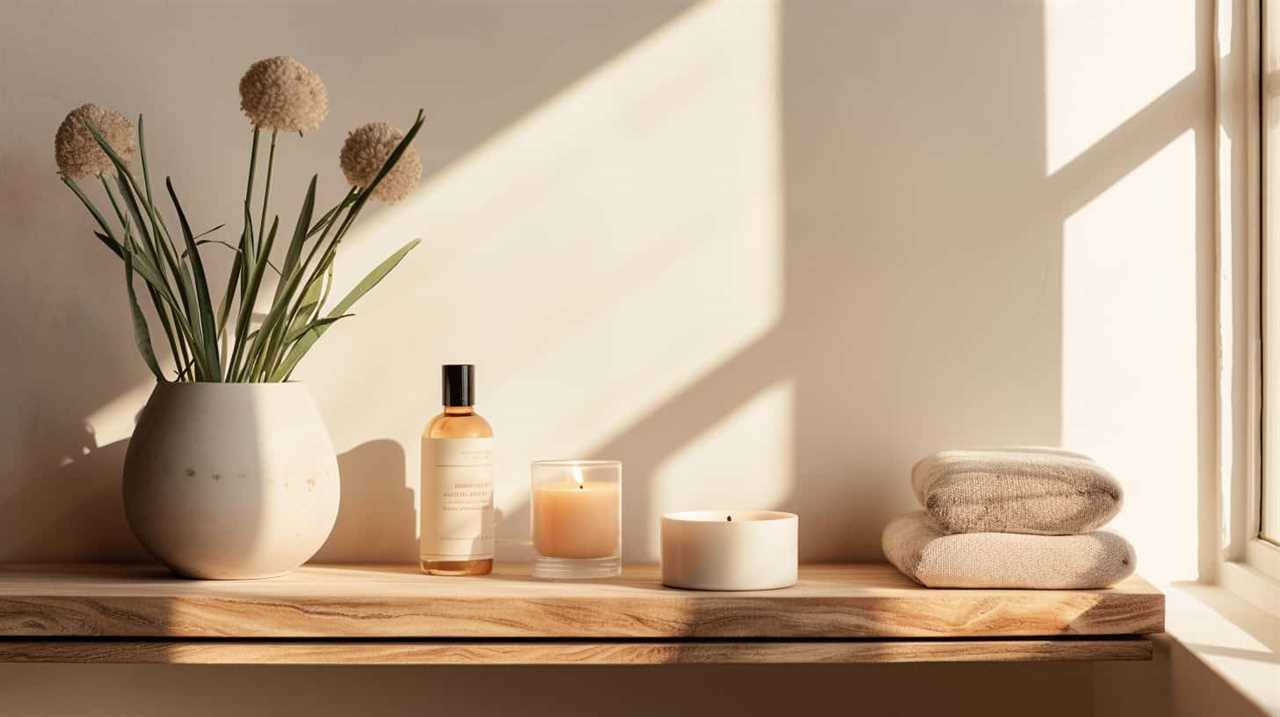
Enjoy Your Homemade Soy Candle
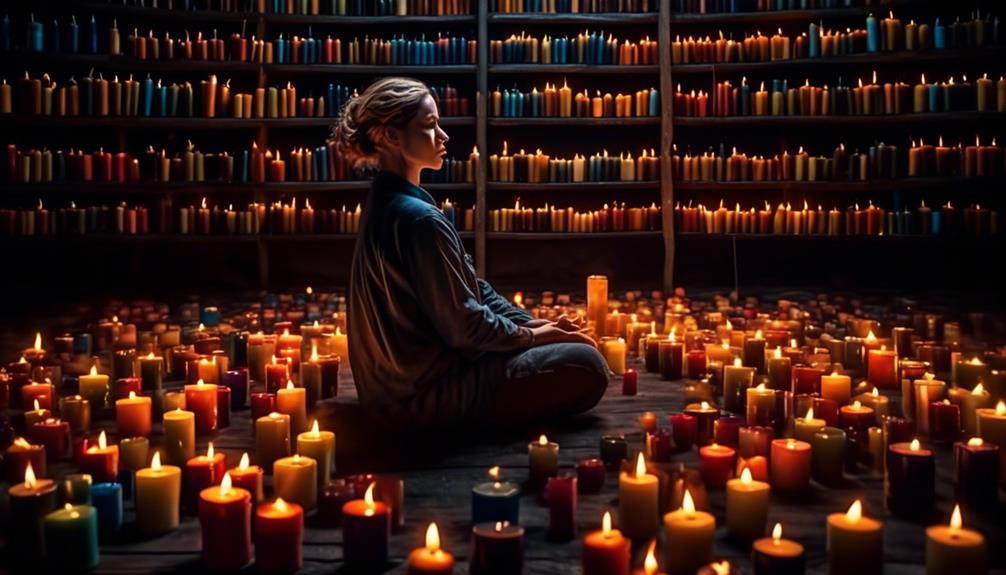
- There are three simple steps to enjoy your homemade soy candle. First, find a quiet and comfortable space where you can relax and unwind. Light your soy candle and let the soothing aroma fill the room. As the candle burns, you can practice relaxation techniques such as deep breathing or meditation to enhance the calming effects.
- The second step is to take advantage of the aromatherapy benefits that your homemade soy candle offers. Different essential oils can provide various therapeutic effects. Lavender oil, for example, promotes relaxation and helps to reduce stress and anxiety. Eucalyptus oil can clear your mind and relieve congestion. Experiment with different blends to find the perfect combination that suits your needs.
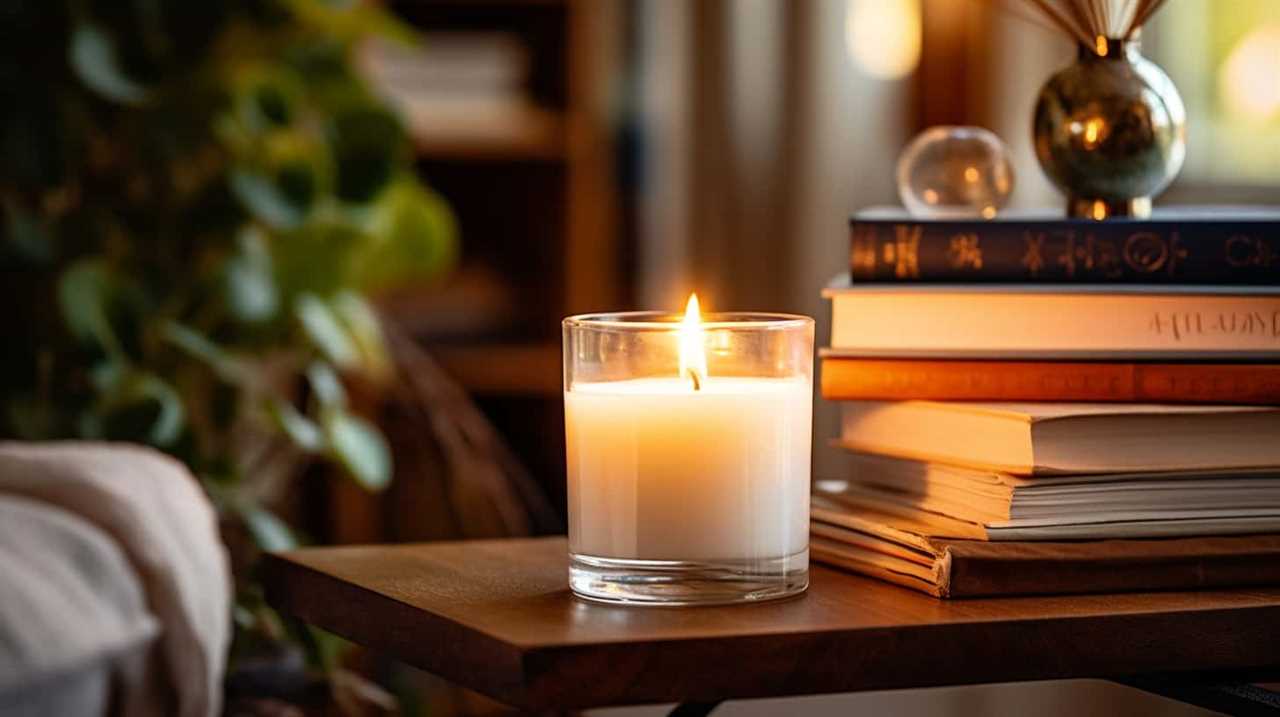
- Lastly, allow yourself to fully indulge in the ambiance created by your homemade soy candle. Take this time to disconnect from technology and focus on self-care. Enjoy a good book, take a warm bath, or simply sit back and let the flickering candlelight and gentle scent create a peaceful atmosphere.
Now, let’s delve into the exciting world of experimenting with different essential oil blends.
Experiment With Different Essential Oil Blends
Now, let’s explore the exciting world of experimenting with different blends of essential oils for your homemade soy candle. Creating unique scent combinations can add a personal touch to your candle-making experience.
Here are some experiment ideas and scent combinations to inspire you:
- Citrus Delight: Combine equal parts of lemon, orange, and grapefruit essential oils for a fresh and uplifting aroma.
- Floral Harmony: Mix lavender, rose, and ylang-ylang essential oils for a calming and floral scent that promotes relaxation.
- Spiced Warmth: Blend cinnamon, clove, and vanilla essential oils to create a cozy and inviting atmosphere with a hint of sweetness.
Remember, the possibilities are endless when it comes to essential oil blends. Feel free to explore and create your own unique combinations to suit your preferences and mood.
Happy experimenting!
Frequently Asked Questions
How Long Does It Take for the Soy Wax to Melt?
It takes about 1-2 hours for the soy wax to completely melt. During this time, you can experiment with different essential oil scents to create unique and alternative aromas for your soy candles.
Can I Use Any Type of Essential Oil for My Soy Candle?
Yes, you can use any type of essential oil for your soy candle. Different essential oils offer various benefits, so you can experiment with alternative oils to create unique scents and enjoy the therapeutic effects they provide.

What Kind of Container Should I Use for My Soy Candle?
When it comes to choosing the perfect container for your soy candle, there are a few factors to consider. From glass jars to tin cans, the options are endless. Get creative and personalize your candle container to make it truly unique.
How Long Does It Take for the Candle to Set?
It usually takes a soy candle with essential oil a few hours to set and dry completely. The exact time can vary depending on factors like the size of the candle and the temperature of the room.
Can I Reuse the Leftover Melted Wax for Another Candle?
Yes, you can absolutely reuse leftover melted wax for another candle! It’s a great way to minimize waste and save money. Plus, you can get creative and explore alternative uses for the wax, like making wax melts or fire starters.
Conclusion
In conclusion, making your own soy candle with essential oils is a fun and rewarding project.

Did you know that the global market for candles is expected to reach $6.7 billion by 2025?
By creating your own unique scents, you can join in on this growing trend and enjoy the benefits of a homemade candle that’s both relaxing and aromatic.
So why not give it a try and start creating your own personalized soy candles today?