We wanted to find a way to relax and de-stress, and we stumbled upon the ideal answer – creating our very own Ribbonwick candle! We were ecstatic about our discovery!
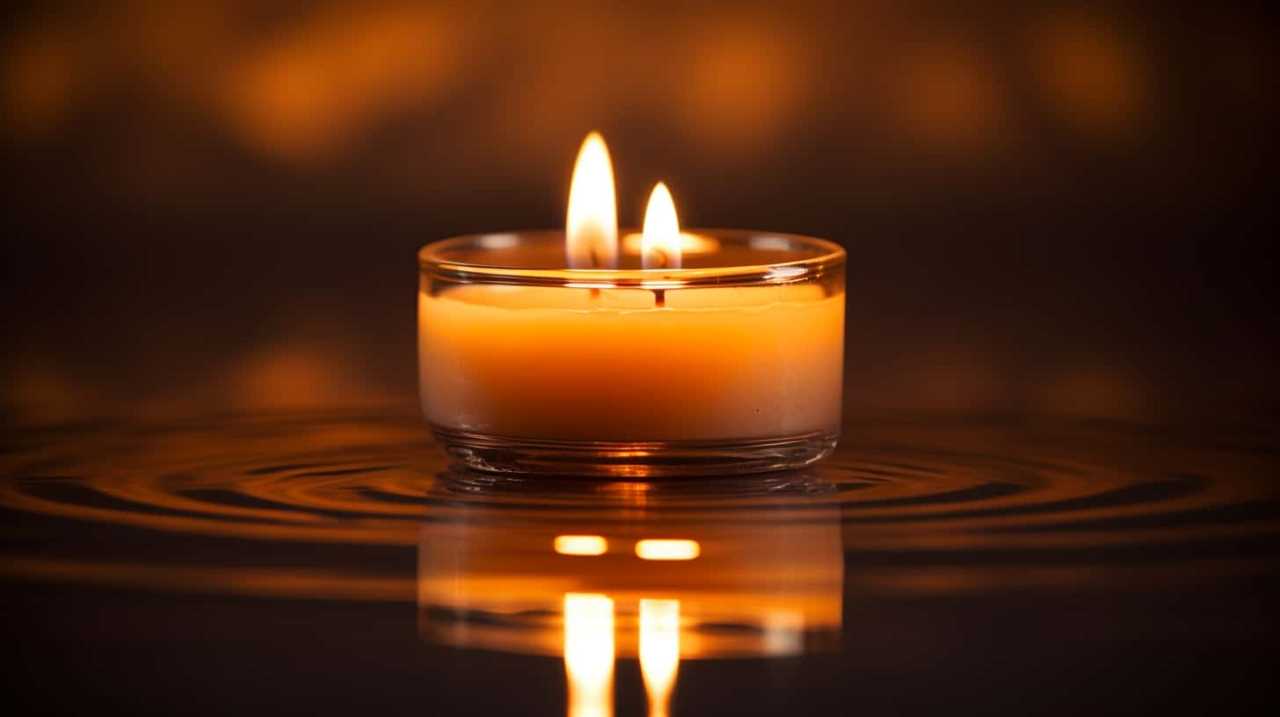
And let us tell you, this candle is not your ordinary one. With its mesmerizing dancing flame and elegant ribbon-like wick, it creates a calming and enchanting ambiance in any room.
In just a few simple steps, we’ll show you how to make your very own Ribbonwick candle. From gathering the materials to pouring the wax, we’ll guide you through the process.
So, let’s get started and create a beautiful, soothing candle that will bring warmth and tranquility to your space.
Key Takeaways
- Choose a ribbonwick design that complements the size and shape of your candle container.
- Gather all necessary materials before starting the candle-making process.
- Melt the wax in a double boiler or melting pot and add fragrance for a personalized touch.
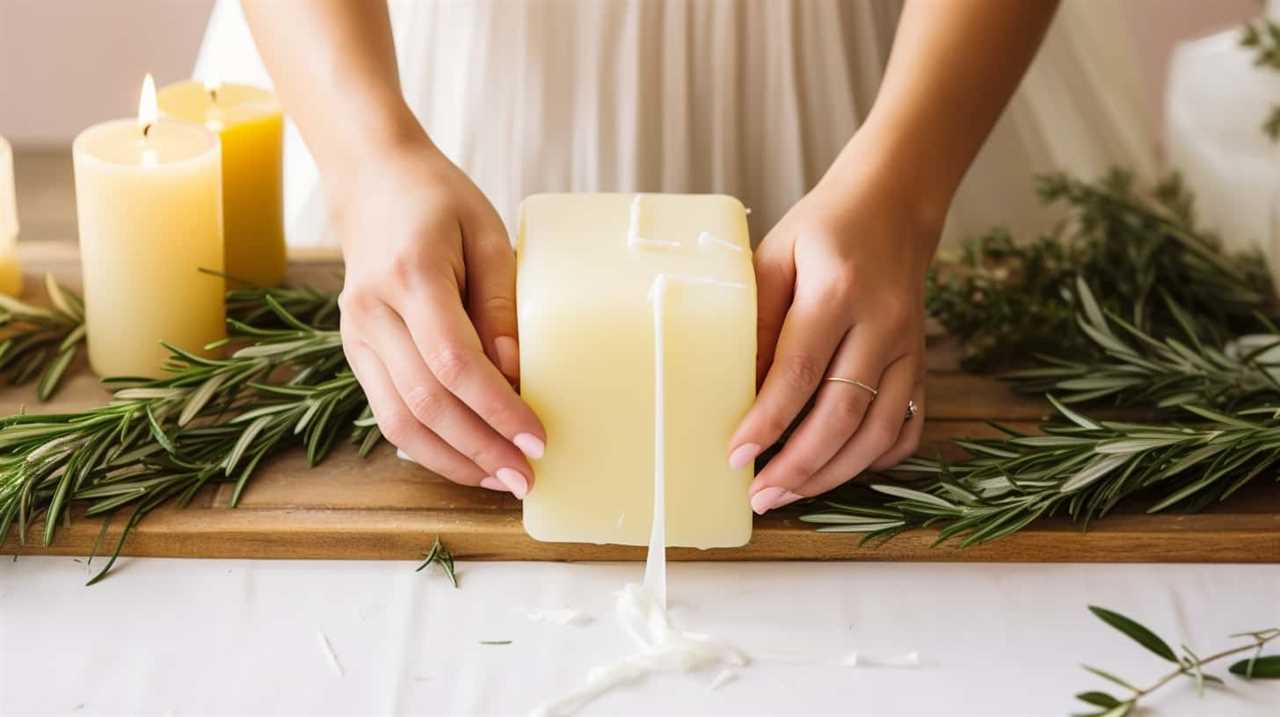
- Pour the melted wax slowly into a heat-resistant container, leaving space at the top for the ribbonwick effect.
Top picks for "make ribbonwick candle"
Open Amazon search results for this keyword.
As an affiliate, we earn on qualifying purchases.
Gather Your Materials
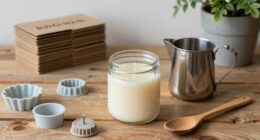
To begin making a Ribbonwick Candle, we need to gather all the necessary materials. The first step is to choose the right ribbonwick design. There are various designs available, each offering a unique aesthetic and burn pattern. Consider the size and shape of your candle container when selecting a design.
Once you have chosen the design, gather the following materials: wax, wick, wick sustainer, fragrance oil, coloring dye, and a heat-resistant container.
Troubleshooting common ribbonwick candle issues may be necessary during the crafting process. Some common issues include uneven burning, excessive smoke, and poor scent throw. We’ll discuss these issues further in the troubleshooting section.
Now that we’ve gathered our materials, it’s time to move on to the next step: preparing the wick and base.
Prepare the Wick and Base
We will now prepare the wick and base for our Ribbonwick Candle.
When it comes to choosing the right ribbonwick design, it’s important to consider the size and shape of your candle. A larger candle may require a thicker ribbonwick to ensure a steady and even burn.
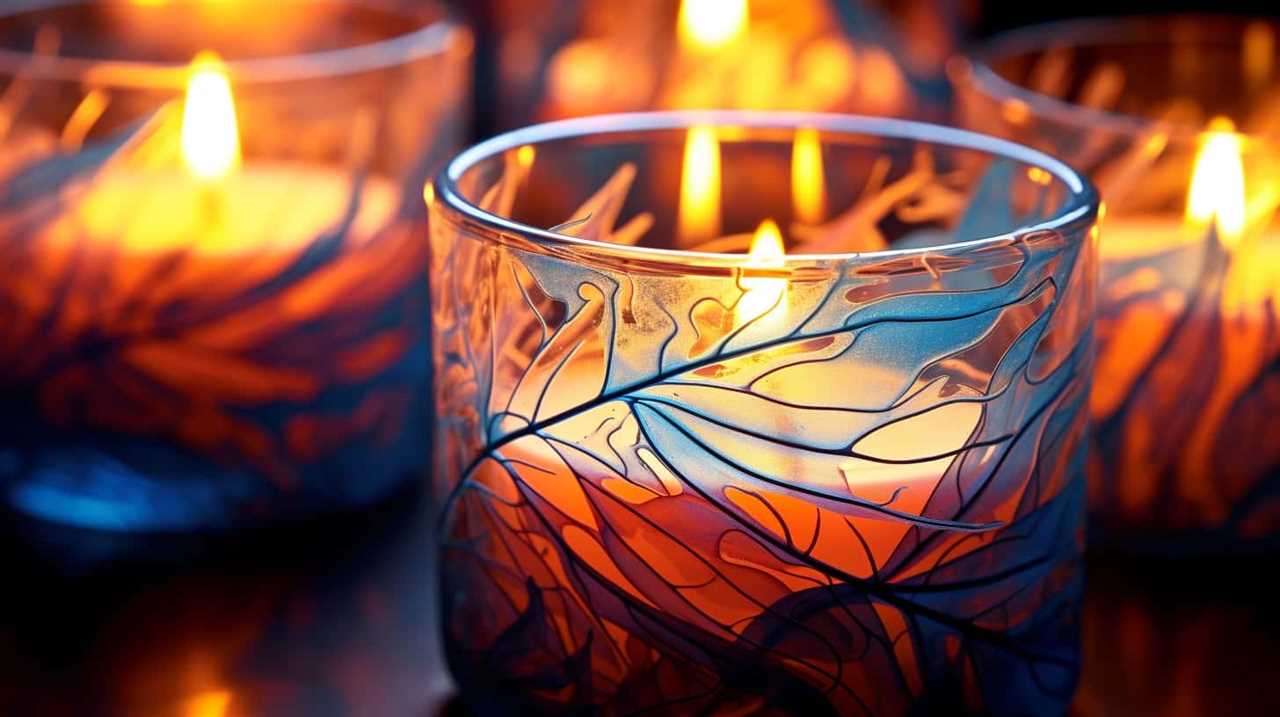
For a unique touch, you can experiment with different patterns on the base of your candle. One technique is to use a toothpick or skewer to create swirls or waves in the wax before it hardens. Another option is to press objects, such as flowers or leaves, into the soft wax to create imprints.
These techniques will add visual interest and make your Ribbonwick Candle truly one-of-a-kind.
Melt the Wax and Add Fragrance
After preparing the wick and base, it’s time for us to melt the wax and add fragrance to our Ribbonwick Candle.
To start, we need to melt the wax in a double boiler or a melting pot. It’s important to use a heat-resistant container and heat the wax slowly and evenly. Once the wax is completely melted, we can add color to it if desired. There are various candle dyes available in the market that can be used to add a touch of color to the melted wax.
Next, we need to choose the right fragrance for our candle. There are countless options available, from floral and fruity scents to warm and cozy aromas. It’s important to consider the theme or purpose of your candle when selecting the fragrance.
Pour the Wax Into the Container
Once the wax is fully melted, we can proceed with pouring it into the container. Here’s how you can do it:
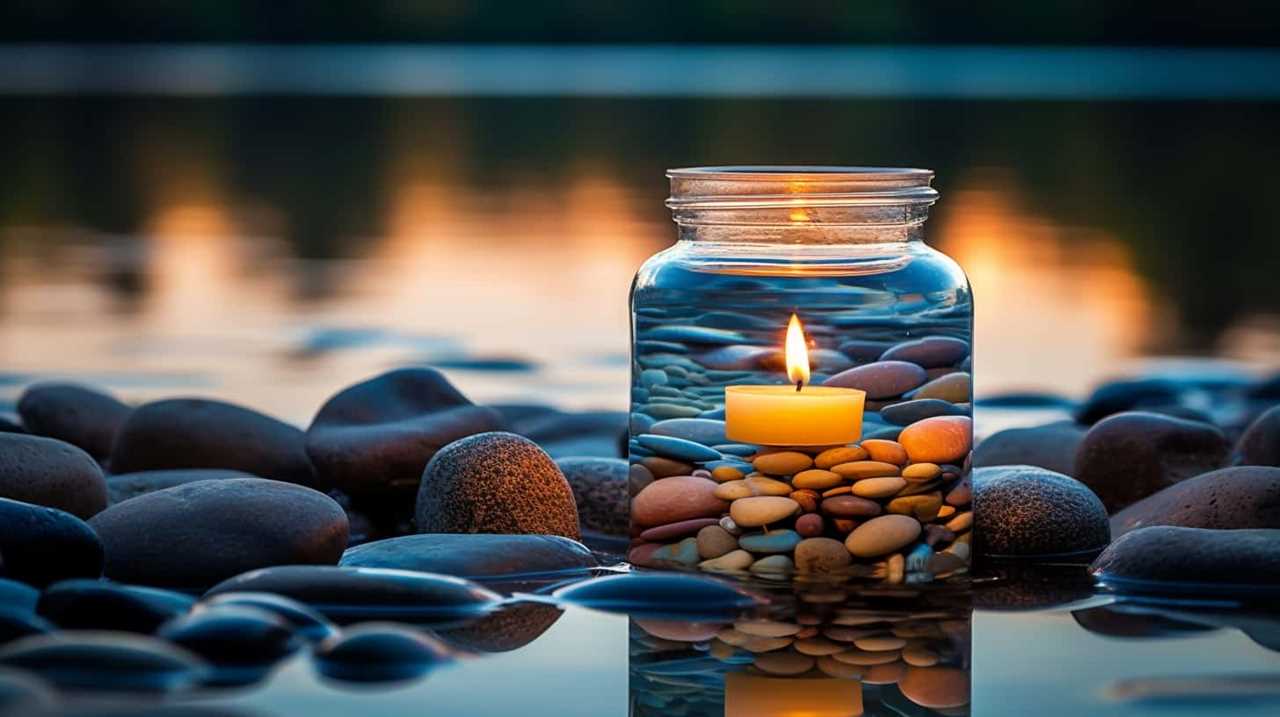
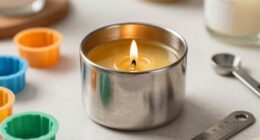
- Choose from a variety of different types of candle containers, such as glass jars, ceramic pots, or metal tins. The container should be heat-resistant and have enough space to accommodate the amount of wax you have melted.
- Ensure you have selected the appropriate type of candle wax for your ribbonwick candle. Options include soy wax, beeswax, and paraffin wax. Each type has its own unique qualities and burn characteristics.
- Carefully position the wick in the center of the container, using a wick holder or pencil to keep it upright. Make sure the wick is long enough to reach the bottom of the container.
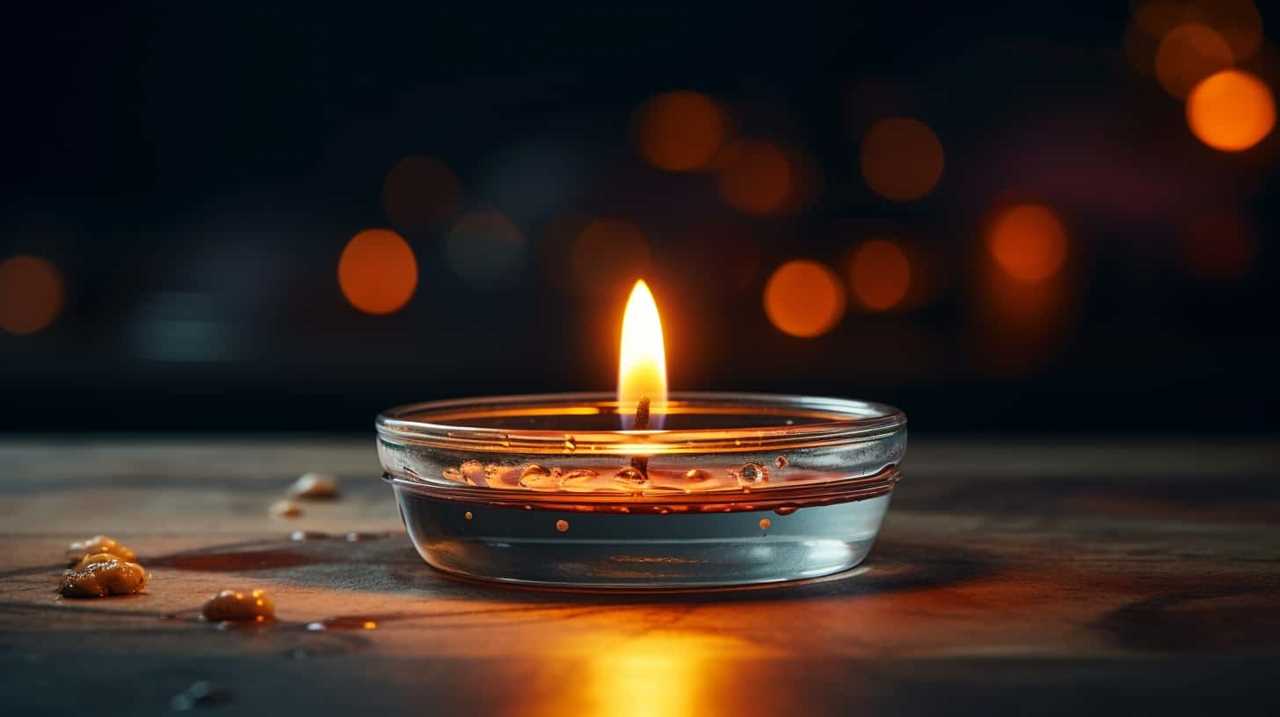
- Slowly pour the melted wax into the container, taking care not to spill. Fill the container to the desired level, leaving some space at the top for the ribbonwick effect.
Now that the wax is poured into the container, we’re ready to move on to the next step: trimming the wick and enjoying your beautiful ribbonwick candle.
Trim the Wick and Enjoy Your Ribbonwick Candle
Now let’s trim the wick and start enjoying our beautiful ribbonwick candle. Wick maintenance is essential for ensuring a clean and long-lasting burn. Here are some candle burning tips to help you get the most out of your ribbonwick candle:
- Trim the Wick: Before lighting the candle, trim the wick to approximately 1/4 inch. This will prevent excessive smoking, soot, and uneven burning.
- Avoid Drafts: Place your ribbonwick candle away from drafts to prevent the flame from flickering and creating an uneven burn.
- Burn Time: Allow the candle to burn for at least 2-3 hours on the first use. This will help the wax pool to reach the edges of the container and prevent tunneling.
- Extinguish Properly: Use a snuffer or gently blow out the flame to avoid splattering hot wax.
- Enjoy Safely: Always keep candles within sight and away from flammable objects. Never leave a burning candle unattended.
Frequently Asked Questions
How Long Does It Typically Take for a Ribbonwick Candle to Burn?
Typically, a Ribbonwick candle burns for about 20-30 hours, but this can vary depending on factors such as the size of the candle, the type of wax used, and the environment in which it is burned.
Can I Use a Different Type of Wax Instead of the One Specified in the Article?
Yes, you can use a different type of wax for your ribbonwick candle. There are various alternative wax options available, each with their own pros and cons. It’s important to consider factors like burn time, scent throw, and overall candle performance when choosing a different wax type.
What Kind of Fragrance Oils Are Safe to Use in Ribbonwick Candles?
When it comes to fragrance oils for ribbonwick candles, there are different methods to safely add them. It’s important to consider the pros and cons of using different types, so you can create the perfect scented candle experience.
Can I Add Color to the Wax to Make the Candle More Visually Appealing?
Yes, you can add color to the wax to enhance the visual appeal of your ribbonwick candle. There are various techniques you can use to create stunning and vibrant candles that will catch everyone’s eye.
Is It Safe to Leave a Ribbonwick Candle Burning Unattended?
It is important to consider ribbonwick candle safety precautions when leaving one burning unattended. To safely enjoy a ribbonwick candle, we recommend never leaving it alone and always extinguishing it before leaving the room.
Conclusion
In conclusion, making a ribbonwick candle is a fun and rewarding project that anyone can do.
By gathering the materials, preparing the wick and base, melting the wax, and pouring it into the container, you can create a beautiful and fragrant candle.
Don’t forget to trim the wick before enjoying the mesmerizing flame.
So why not give it a try and add some cozy ambiance to your home with a homemade ribbonwick candle?