Do you desire to create a candle that is a piece of art? You’re in luck! This guide will teach you how to make a marbled candle that will bring a touch of sophistication to any room.
With just a few simple steps, you’ll be able to craft a beautiful, one-of-a-kind candle that will impress your friends and family. So, let’s gather our supplies, prepare our workspace, and get started on this creative journey.
Get ready to unleash your inner artist and create a stunning marbled candle that will bring warmth and beauty to any room. Let’s dive in!
Key Takeaways
- Choose complementary candle fragrances and experiment with alternative candle molds.
- Gather necessary supplies such as paraffin wax, dye chips, wicks, and a double boiler.
- Ensure a well-prepared workspace with essential tools and adequate ventilation.
- Utilize color psychology to evoke desired emotions and ambiance in the marbled candle.

Vtopmart 25 PCS Clear Plastic Drawer Organizers Set, 4-Size Versatile Bathroom and Vanity Drawer Organizer Trays, Storage Bins for Makeup, Bedroom, Kitchen Gadgets Utensils and Office
- Versatile Drawer Organizer Set: Fits various home drawers and spaces
- Includes 25 Bins in 4 Sizes: Customizable storage options for different items
- Non-Slip and Durable Design: Silicone pads prevent slipping, sturdy plastic construction
As an affiliate, we earn on qualifying purchases.
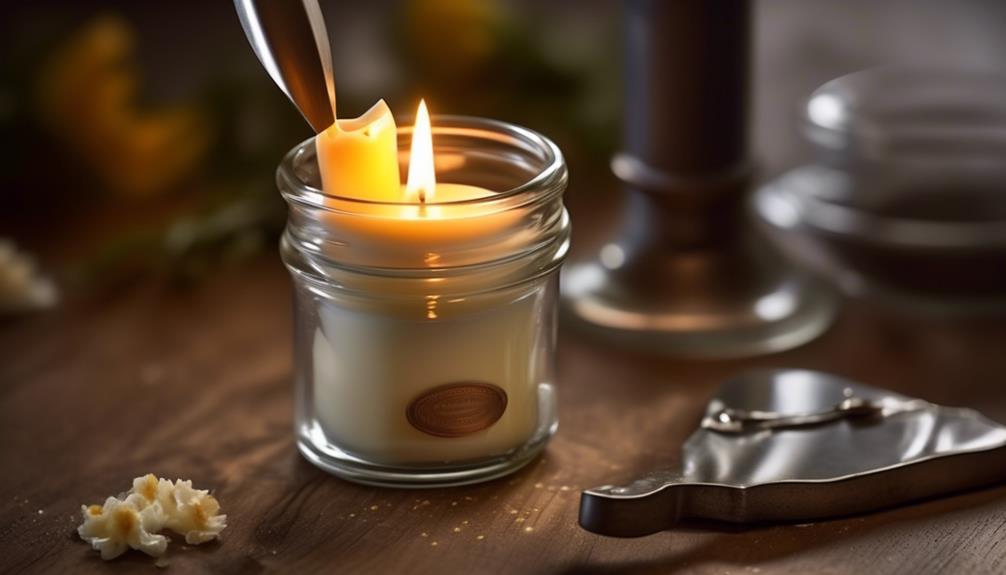
Gather Your Supplies
To begin making a marbled candle, we need to gather our supplies. The first step is choosing candle fragrances. Select scents that complement each other and create a harmonious blend. Popular options include lavender and vanilla, or citrus and mint.
Next, we should find alternative candle molds. While traditional cylindrical molds work well, experimenting with different shapes can add uniqueness to our candles. Consider using silicone molds in fun shapes like stars or flowers.
Additionally, we’ll need paraffin wax, dye chips, wicks, and a double boiler for melting the wax. Don’t forget about tools like a thermometer, stirring utensils, and a heat-resistant surface for pouring the hot wax.
With our supplies in hand, we’re ready to move on to the next step in creating our beautiful marbled candles.
Prepare Your Workspace
Now that we’ve gathered our supplies, let’s continue by preparing our workspace for making marbled candles. Workspace organization is crucial to ensure a smooth and efficient candle-making process. Here are some important safety precautions and steps to follow:
- Clear the area: Remove any unnecessary items from your workspace to create a clean and clutter-free environment.
- Protect the surface: Place a protective cover, such as a plastic sheet or old newspapers, on your work area to prevent any damage or stains.
- Adequate ventilation: Ensure that your workspace is well-ventilated by opening windows or using a fan. This will help to disperse any fumes or odors from the materials used.
- Safety equipment: Wear appropriate protective gear, such as gloves and safety goggles, to protect yourself from any potential hazards.
- Fire safety: Keep a fire extinguisher nearby and avoid using flammable materials near open flames or heat sources.
Melt the Wax
After preparing our workspace, we can now proceed to melting the wax for our marbled candle. Melting the wax is a crucial step in achieving the desired color and texture for our candle. There are various color melting techniques that can be used to create beautiful marbled effects. One technique involves melting different colored wax separately and then pouring them into the mold in a random pattern. Another technique involves melting the wax and adding color chips or dye to create a marbled effect when poured into the mold. It’s important to choose the right type of wax for melting, such as soy wax or beeswax, as each has its own melting point and characteristics. Additionally, alternative candle molds can be used to create unique shapes and designs. Here is a table showcasing some popular color melting techniques and alternative candle molds:
| Color Melting Techniques | Alternative Candle Molds |
|---|---|
| Layering | Silicone molds |
| Swirling | Glass jars |
| Dip dyeing | Teacups |
| Splatter | Tin cans |
| Marbling | Seashells |
Choose Your Colors
Now that we’re ready to choose our colors for the marbled candle, let’s explore some color combination ideas. The right color combination can create a visually stunning effect, so it’s important to consider colors that complement each other.
Additionally, it’s worth noting that different colors can evoke different emotions, so understanding a bit about color psychology can help us create candles that convey the desired mood or ambiance.
Let’s dive into the world of color and discover the perfect combinations for our marbled candles.
Color Combination Ideas
To begin selecting your color combination for the marbled candle, we’ll first gather inspiration and explore various options. Color symbolism plays a significant role in creating a visually appealing candle. Here are some techniques for achieving vibrant colors:
- Experiment with complementary colors: Combine colors that are opposite each other on the color wheel, such as blue and orange or green and red, to create a striking contrast.
- Use analogous colors: Choose colors that are adjacent to each other on the color wheel, such as blue and purple or yellow and orange, for a harmonious and soothing effect.
- Incorporate metallic accents: Add a touch of gold or silver to your color palette to create a luxurious and elegant look.
- Play with shades and tints: Experiment with different intensities of a color by adding white or black to create lighter or darker shades.
- Consider cultural associations: Explore color meanings across different cultures to add depth and symbolism to your design.
Color Psychology in Marbling
How can we harness the power of color psychology to choose the perfect colors for marbling our candle? Color symbolism and the impact of color on mood play a significant role in our choices. By understanding the meanings behind different colors, we can create a marbled candle that evokes the desired emotions and ambiance.
To help you choose the right colors, here is a table that outlines the symbolism and mood associated with common candle colors:
| Color | Symbolism | Mood |
|---|---|---|
| Red | Passion, energy | Excitement, intensity |
| Blue | Calmness, tranquility | Serenity, relaxation |
| Yellow | Happiness, positivity | Joy, optimism |
| Green | Nature, growth | Balance, harmony |
Now that we have a better understanding of color psychology, let’s move on to the next step: adding color to the wax.
In the subsequent section, we will explore how to add color to the wax, ensuring our marbled candle reflects the desired emotions and ambiance.
Add Color to the Wax
We will begin by adding a few drops of colored dye to the melted wax. This step is crucial in creating the vibrant marbled effect on your candle. Here’s how you can add color to the wax:
- Choose your desired color dye: You can use liquid candle dye or color blocks specifically made for wax.
- Start with a small amount: It’s better to start with a few drops and gradually add more if needed. Remember, you can always intensify the color later.
- Mix the dye thoroughly: Use a wooden stick or spoon to stir the dye into the melted wax until it’s evenly distributed.
- Experiment with color mixing techniques: You can create unique shades by blending different colored dyes together.
- Consider alternative wax coloring methods: If you prefer natural alternatives, you can use powdered spices or herbs to add color to the wax.
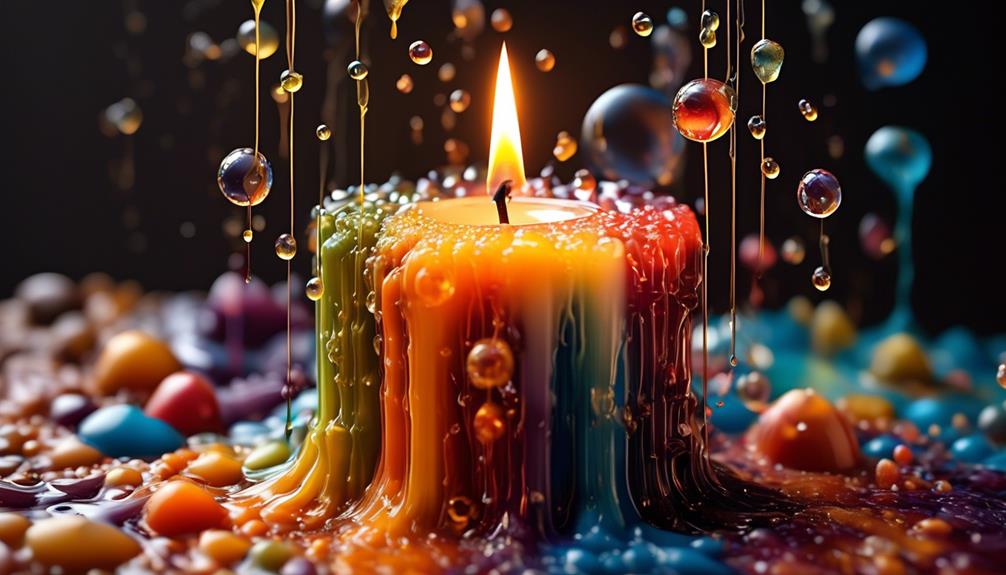
Create the Marbled Effect
To achieve the marbled effect on your candle, mix the colored wax with the plain wax using a swirling motion. This technique creates a beautiful and unique pattern that adds visual interest to your candle.
There are different marbling techniques you can try, such as the dip-dye method or the shaving cream method.
In the dip-dye method, simply dip the plain wax candle into a container of melted colored wax. As you lift it out, the colors will blend and create a marbled effect.
For the shaving cream method, spread a layer of shaving cream onto a flat surface and drop colored wax onto it. Use a toothpick or skewer to swirl the colors together, then roll the plain wax candle over the shaving cream to transfer the marbled pattern.
When it comes to color options, don’t limit yourself to traditional hues. Experiment with alternative color options like metallics, pastels, or even neon shades to create a unique and eye-catching marbled candle.
Now that you have created the marbled effect, it’s time to prepare the candle mold.
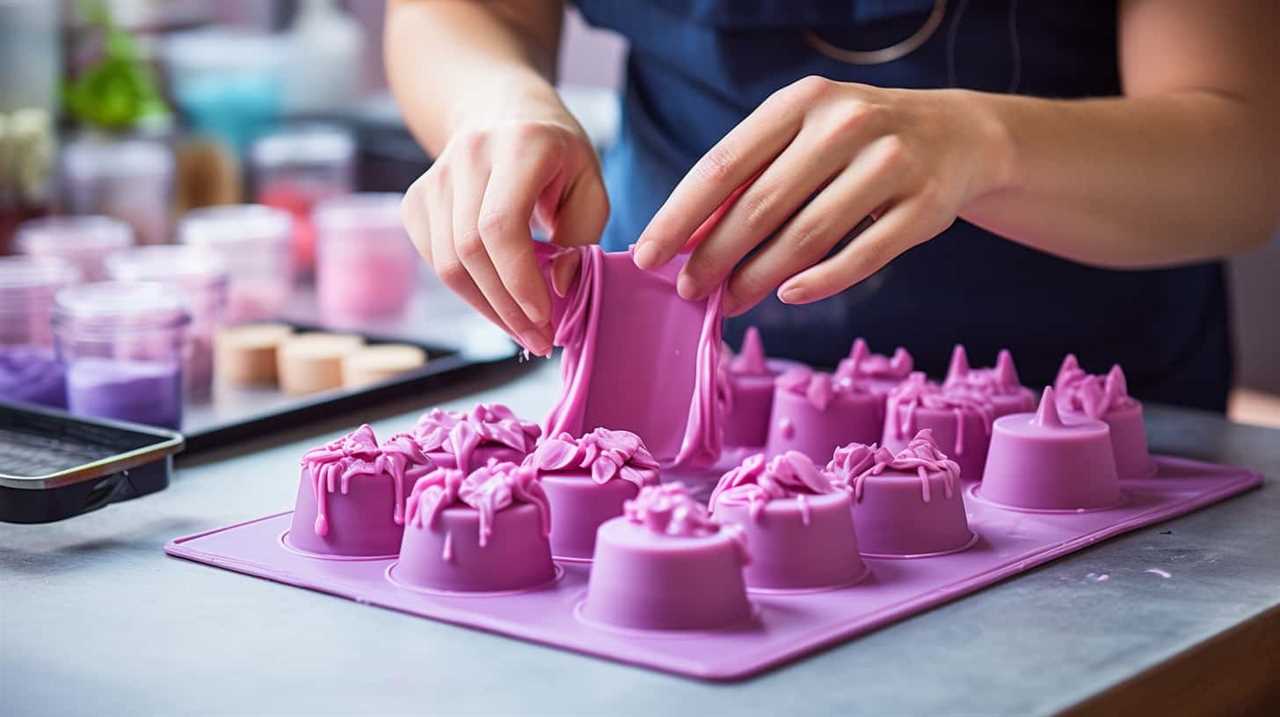
Prepare the Candle Mold
After achieving the desired marbled effect, our next step is to prepare the candle mold. The candle mold is an essential component in candle making, as it determines the shape and size of the finished product. There are various candle mold types available, such as silicone molds, metal molds, and plastic molds. Each type has its own advantages and disadvantages, so choose one that suits your needs.
To prepare the candle mold, follow these steps:
- Clean the mold thoroughly to remove any dust or debris.
- Apply a thin layer of mold release agent to ensure easy removal of the candle once it has set.
- Place a wick in the center of the mold, ensuring it’s straight and secure.
- Secure the wick by tying it to a pencil or chopstick and placing it across the top of the mold.
- Ensure the mold is level and stable before pouring in the melted wax.
By properly preparing the candle mold, you can ensure a successful candle making process and create beautiful marbled candles.
Remember to explore alternative candle making techniques and experiment with different mold types to achieve unique and stunning results.
Pour the Wax Into the Mold
Now that the candle mold is prepared, it’s time to pour the melted wax into it.
Before you begin, make sure to have a steady surface to work on and place a protective layer, such as a newspaper or wax paper, underneath the mold to catch any potential wax spills.
Carefully pour the melted wax into the mold, filling it to the desired level. Take your time to ensure an even distribution of wax and avoid any air bubbles.
If you accidentally spill wax on the sides of the mold, you can use mold removal techniques such as gently scraping it off with a butter knife or wiping it with a cloth soaked in rubbing alcohol.
Once you have poured the wax, let the candle cool and harden, which usually takes a few hours or overnight, before moving on to the next step.
Let the Candle Cool and Harden
Once we’ve poured the wax into the mold, we need to let the candle cool and harden for a few hours or overnight. This step is crucial in the candle hardening process as it allows the wax to solidify and take its final shape.
There are several benefits of letting the candle cool properly:
- Prevents deformation: Allowing the candle to cool completely ensures that it retains its desired shape and doesn’t warp or deform.
- Enhances fragrance release: Cooling the candle slowly helps the fragrance oils to disperse evenly, resulting in a more effective and longer-lasting scent throw.
- Reduces cracking: Rapid cooling can cause the candle to develop unsightly cracks. Allowing it to cool gradually minimizes the risk of cracking.
- Improves burn performance: Proper cooling ensures that the candle has a smooth and even burn, allowing for a longer and more enjoyable burn time.
- Increases durability: Cooling and hardening the candle thoroughly makes it more resistant to heat, which prevents it from melting too quickly during use.
Remove the Candle From the Mold
Now that the candle has cooled and hardened in the mold, it’s time to remove it.
There are a few techniques you can use to safely remove the candle without causing any damage.
We’ll discuss these techniques and provide tips on how to prevent any mishaps during the removal process.
Mold Removal Techniques
After allowing the candle to cool completely, we can begin the process of removing it from the mold. Here are the steps to effectively remove the candle from the mold:
- Gently tap the sides of the mold to loosen the candle.
- Place a clean towel or soft cloth on a flat surface to protect the candle.
- Hold the mold firmly with one hand and carefully twist and pull the candle out with the other hand.
- If the candle is still stuck, place the mold in the freezer for a few minutes to shrink it slightly and then try again.
- Once the candle is out of the mold, check for any excess wax or mold residue and gently remove it using a soft brush or cloth.
By following these mold removal techniques, you can ensure a smooth and successful process.
Now, let’s move on to the next section about preventing candle damage.
Preventing Candle Damage?
To prevent candle damage, we can ensure a smooth removal from the mold by gently tapping the sides to loosen the candle. This will help prevent any cracks or breakage during the removal process. Here are some tips for candle safety during the removal:
| Tips for Candle Safety | |
|---|---|
| 1. Prior to removing the candle from the mold, ensure that it has completely cooled down. Hot wax can be dangerous and cause burns. |  |
| 2. Use a soft, non-abrasive cloth or towel to hold the mold securely while tapping the sides. This will help maintain a firm grip and prevent any accidental slips. |  |
| 3. Gradually increase the intensity of the taps, starting with light taps and gradually increasing the force. This will help loosen the candle without applying excessive pressure. |  |
| 4. Once the candle feels loose, gently lift it out of the mold using your fingers or a small tool. Be careful not to twist or bend the candle, as this can cause damage. |  |
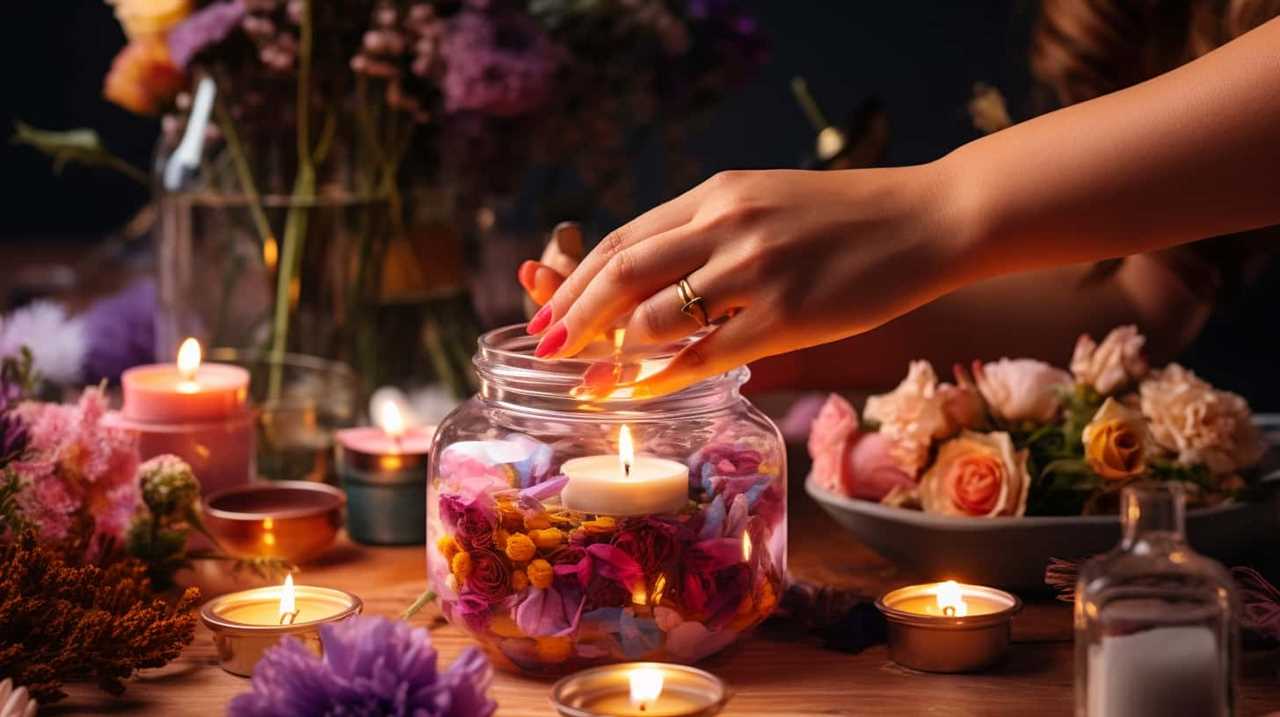
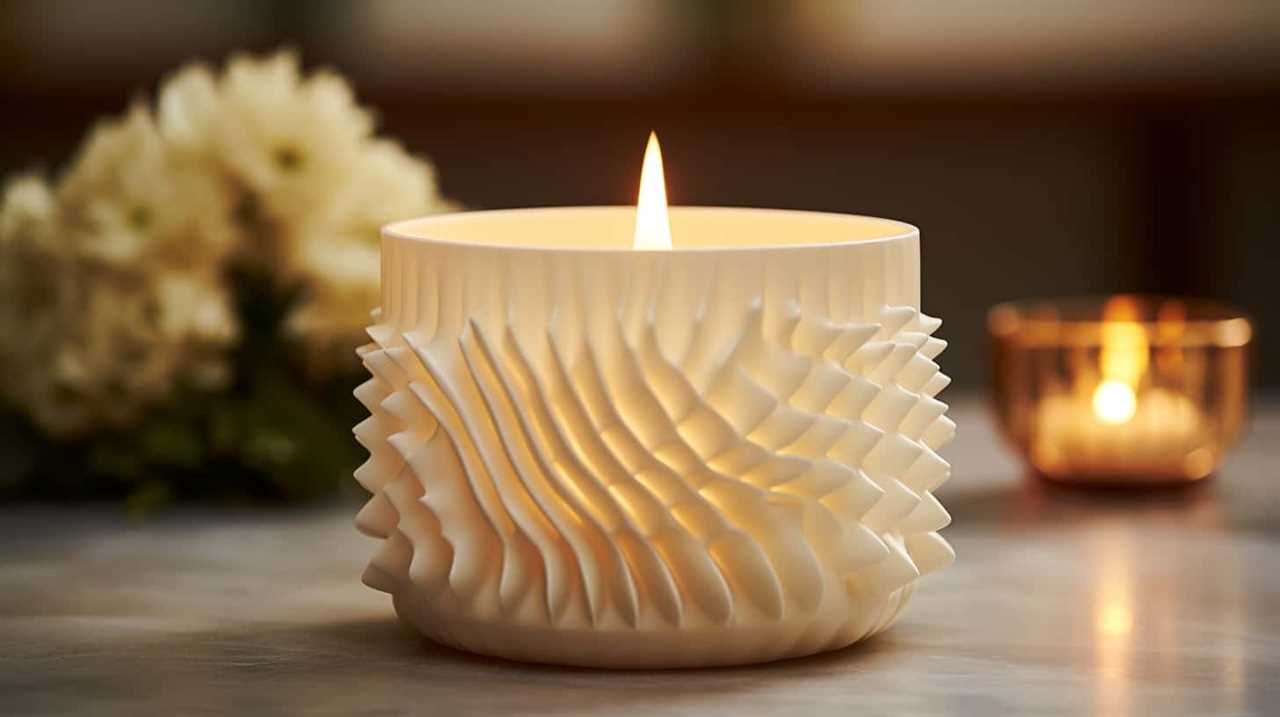
Enjoy Your Beautiful Marbled Candle
We love admiring the beauty of our marbled candle. After all the effort we put into creating a unique design, it’s rewarding to see the final product.
Here are some tips to make the most of your marbled candle:
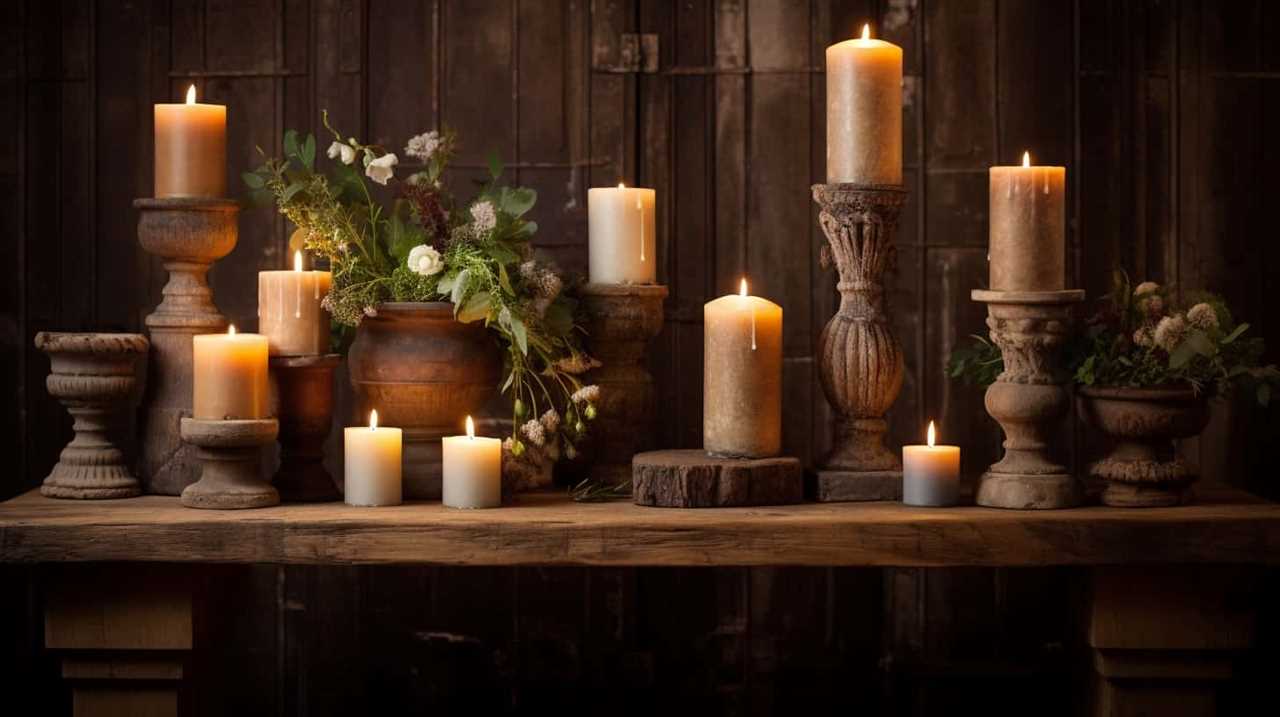
- Find a prominent place to display your candle, such as a coffee table or mantelpiece.
- Use complementary decor items like a tray or a decorative plate to enhance the visual appeal.
- Experiment with different lighting techniques, such as placing the candle near a mirror to create a glowing effect.
- Consider making a set of marbled candles and arrange them in a cluster for a stunning centerpiece.
- Capture the beauty of your candle by taking photos and sharing them on social media or with friends.
Frequently Asked Questions
How Long Does It Take for the Candle to Cool and Harden?
To speed up the cooling process for candles and achieve a smooth, glossy finish, it’s important to allow the candle enough time to cool and harden completely. Rushing this step could result in a flawed final product.
Can I Use Any Type of Wax for Making a Marbled Candle?
Yes, you can use different types of wax for making a marbled candle. Beeswax is great for a natural look, while soy wax gives a smooth finish. Experiment with different waxes for vibrant marbling effects.
Can I Use Food Coloring to Add Color to the Wax?
Yes, we can use food coloring to add color to the wax. However, there are other candle making techniques where using food coloring may not be suitable. In those cases, we can explore alternative ways to add color to the wax.
How Do I Prevent Air Bubbles From Forming in the Wax While Pouring It Into the Mold?
To prevent pesky air bubbles while pouring wax into molds, proper preparation is paramount. Prime the wax by warming it up and stirring gently. Patience is key, as a slow and steady pour is paramount for pristine results.
Can I Use a Different Type of Mold Instead of a Traditional Candle Mold?
We can definitely use alternative molds for creative candle making. By exploring different shapes and materials, we can create unique and beautiful candles that stand out. Let’s dive into the process step by step.
Conclusion
Now that you have completed your marbled candle, take a moment to bask in the beauty of your creation.
The vibrant swirls of color dancing across the surface are sure to evoke a sense of awe and wonder.
As you light your candle and watch the flickering flame, let it remind you of the creative power that lies within you.

Enjoy the soothing glow and the sweet scent that fills the air, knowing that you have made something truly special.