Have you ever desired to make a one-of-a-kind and stunning candle that can bring happiness to your loved ones?
Well, you’re in luck! Today, we’re going to show you how to make a marble candle.
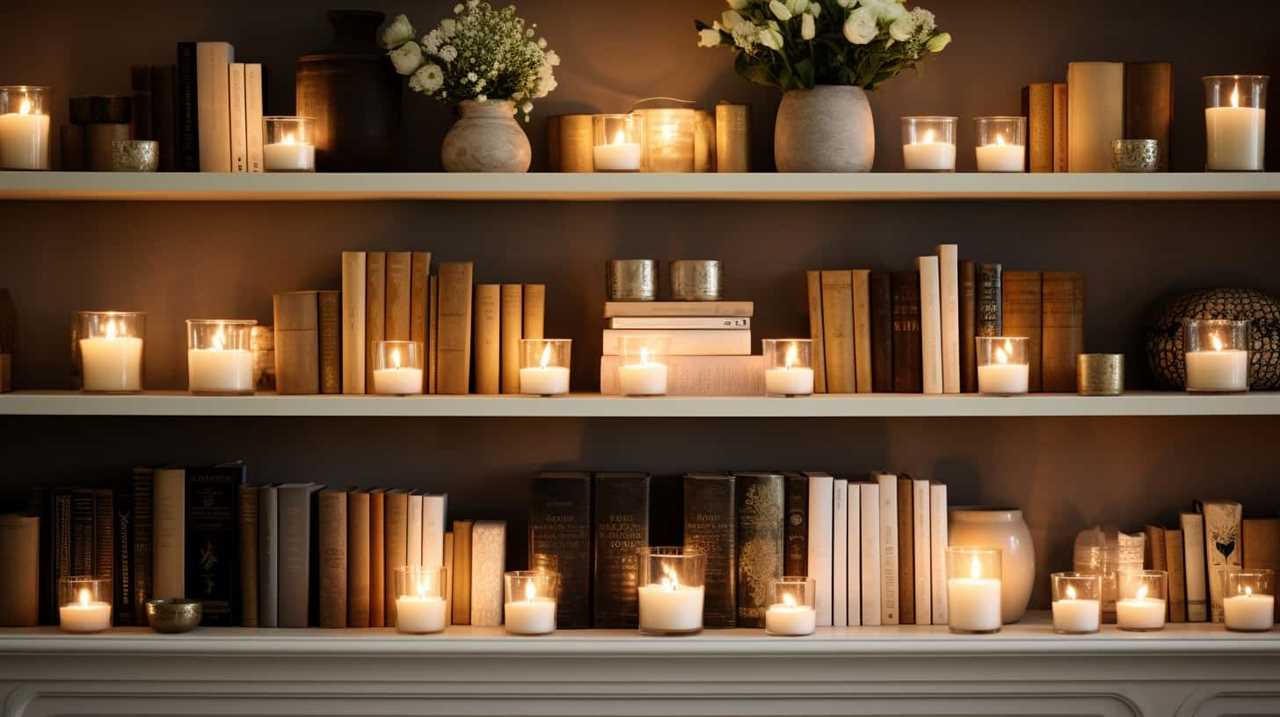
This simple yet stunning DIY project will not only fill your home with a warm, inviting glow but also make for a thoughtful gift for your loved ones.
We will guide you through each step, from gathering the materials to pouring the wax and adding the finishing touches.
So, let’s roll up our sleeves, get creative, and embark on this exciting journey of crafting a one-of-a-kind marble candle that will surely brighten someone’s day.
Let’s get started!
Key Takeaways
- Choose the right candle wicks based on the candle’s diameter
- Consider alternative candle container options like teacups or mason jars
- Add fragrance and color to the melted wax for a personalized touch
- Experiment with different color combinations and swirling techniques to achieve the desired marbled effect
Gather Materials
To begin making a marble candle, we need to gather all the necessary materials.
First, let’s talk about choosing the right candle wicks. The size of the wick will depend on the diameter of your candle. For a smaller candle, a thinner wick will suffice, while a larger candle will require a thicker wick. It’s important to select a wick that will burn evenly and not produce too much smoke.
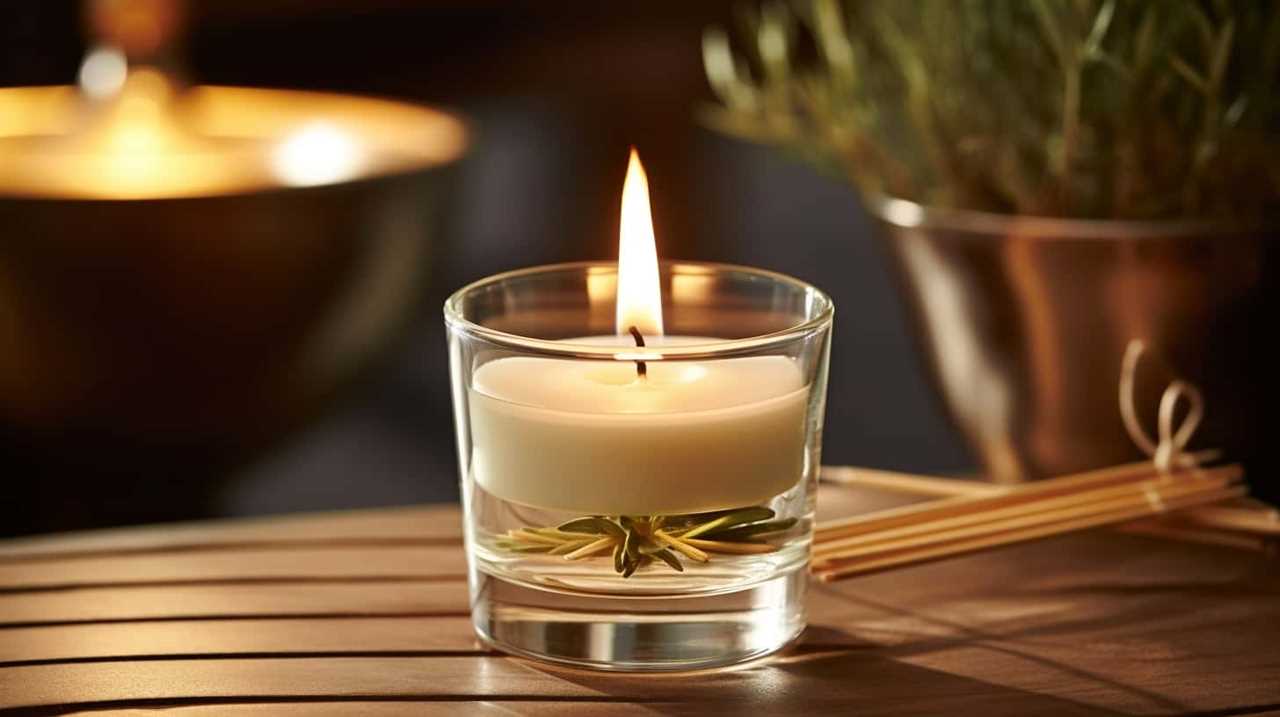
Next, let’s discuss finding alternative candle container options. While traditional glass jars are commonly used, you can get creative and use other containers like teacups, mason jars, or even vintage tins. Just ensure that the container is heat-resistant and won’t crack under the heat of the candle.
Once you have your wicks and containers ready, we can move on to the next step.
Prepare the Wax
Now that we’ve gathered all the materials, let’s move on to preparing the wax for our marble candle.
The first step is to melt the wax in a double boiler, ensuring that it reaches a smooth and liquid consistency.
Once the wax is melted, we can move on to the next steps of choosing the fragrance and adding color to the wax, giving our candle a unique and personalized touch.
Melting the Wax
We often melt the wax to prepare it for the marble candle-making process. Here are the techniques and safety precautions to follow:
- Choose the right wax: Opt for a high-quality wax that’s specifically made for candle-making. Be sure to check the melting point of the wax to ensure it suits your needs.
- Use a double boiler: Fill a large pot with water and place a smaller pot inside. Add the wax to the smaller pot and heat it over medium heat. This indirect heating method prevents the wax from burning or overheating.
- Stir gently: As the wax melts, use a wooden spoon to stir it gently. This helps distribute the heat evenly and prevents any hot spots.
- Maintain a safe temperature: Keep a thermometer handy to monitor the wax temperature. Most waxes should be melted between 160-180°F (71-82°C). Avoid exceeding the recommended temperature to prevent fire hazards.
Choosing the Fragrance
After melting the wax, we’re ready to choose the fragrance for our marble candle.
The fragrance selection is an important step in creating a candle that not only looks beautiful but also smells inviting. There are various scent options available, each offering a unique aroma that can enhance the ambiance of any space.
To choose the perfect fragrance, consider the purpose of your candle. Is it meant to create a relaxing atmosphere or to uplift your mood? Lavender and chamomile are great choices for a calming effect, while citrus scents like lemon and orange can energize and refresh. Floral fragrances like rose and jasmine bring a touch of romance, while vanilla and cinnamon evoke warmth and coziness.
Experiment with different combinations to create your own signature scent, and remember to trust your instincts when making the final decision.
Adding Color to Wax
To prepare the wax for adding color, it’s important to follow a few simple steps:
- Choosing the right dye: Start by selecting a dye that’s specifically made for candle making. Look for dyes that are vibrant and long-lasting to achieve the best results.
- Creating unique patterns: Before adding the dye to the wax, think about the type of pattern you want to create. You can choose to make a marble effect by blending different colors together or create a layered effect by pouring different colored wax at different intervals.
- Melt the wax: Begin by melting the wax in a double boiler. Make sure to stir it occasionally to ensure even melting. Once the wax is completely melted, remove it from the heat source.
- Add the dye: Carefully add the chosen dye to the melted wax. Start with a small amount and gradually increase until you achieve the desired color. Stir the wax thoroughly to evenly distribute the dye.
Add Color
To achieve a vibrant and marbled effect, mix a small amount of liquid dye into the melted candle wax. This step is crucial in creating a unique and eye-catching marble candle.
When it comes to color mixing ideas, the possibilities are endless. You can experiment with different combinations to create your desired look. For a classic marbled effect, try using contrasting colors like black and white or blue and yellow. If you’re feeling adventurous, you can even mix multiple colors together to create a more intricate pattern.
Remember to start with a small amount of dye and gradually add more if needed. Once the dye is mixed in, you’re ready to move on to the next step and create the marbled effect.
Create Marbled Effect
We mix the melted candle wax with a small amount of liquid dye to create a vibrant and marbled effect. To achieve the marbled effect, we’ll use the marble paint technique and marbling with nail polish.
Here’s how we do it:
- Prepare the work surface: Cover your work area with newspaper or a plastic tablecloth to protect it from any spills or drips.
- Add the dye: Take a small amount of liquid dye in a color of your choice and drop it into the melted candle wax. Use a spoon or a wooden stick to gently swirl the dye around, creating a marbled pattern.
- Dip the wick: Take the wick and dip it into the wax, making sure it’s fully coated. Allow any excess wax to drip off before placing the wick in the container.
- Repeat the process: Continue adding different colors of dye and swirling them in the wax until you achieve the desired marbled effect.
Prep the Candle Jar
Now that we’ve created our marbled effect, it’s time to move on to prepping the candle jar. When selecting a jar, keep in mind that transparency plays a key role in showcasing the marble design.
Layering colors in the jar can create a stunning visual effect, and don’t forget to enhance your candle by adding embellishments like ribbons or charms.
Let’s dive into the details of jar selection tips, layering color techniques, and adding those extra touches for a truly unique marble candle.
Jar Selection Tips
For the best results, consider the size and material of the candle jar when selecting one for your marble candle. Here are some tips to help you choose the perfect jar:
- Choosing the right size: Make sure the jar is large enough to hold the amount of wax you plan to use. It should also leave enough room for the marble effect.
- Material matters: Opt for a heat-resistant glass jar to ensure safety during the candle-making process. Mason jars or recycled glass containers work well.
- Decorating with ribbons and labels: After pouring the wax and creating the marble effect, you can enhance the jar’s appearance by adding ribbons or labels. Get creative and match them to the color scheme of your marble candle.
- Transitioning to layering color techniques: Once you have selected the perfect jar, it’s time to move on to layering color techniques to achieve the beautiful marble effect.
Layering Color Techniques
To achieve the desired marble effect, we’ll begin by preparing the candle jar with layering color techniques. Combining colors and utilizing blending techniques are key in creating a stunning marble pattern. Here’s how you can do it:
- Start by selecting two or three colors of candle wax that complement each other. For example, you can choose shades of blue and white for a classic marble look.
- Melt the first color of wax in a double boiler or a microwave-safe container. Once melted, pour a thin layer of this color into the bottom of the jar. Allow it to cool and solidify.
- Repeat the process with the second color, pouring it on top of the first layer. Use a spoon or a skewer to create swirls and patterns, blending the colors together.
- Continue layering and blending the colors until the jar is filled, leaving a small space at the top for the wick.
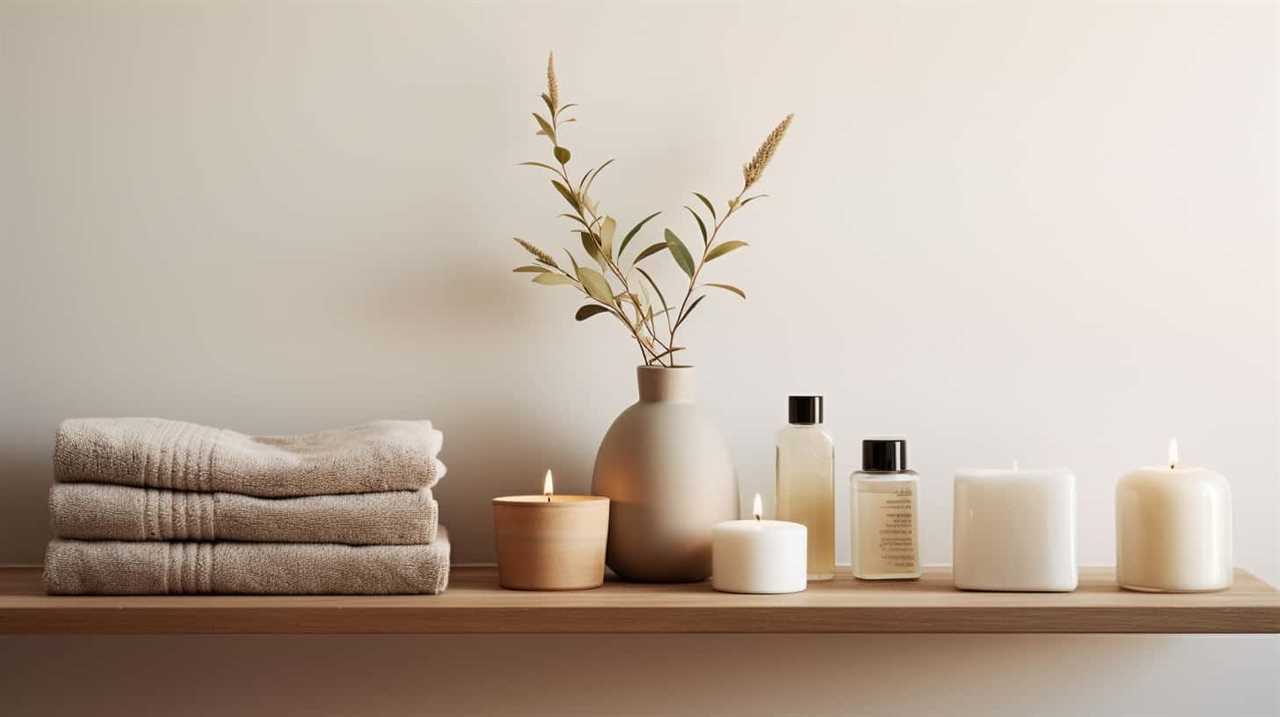
Enhancing With Embellishments
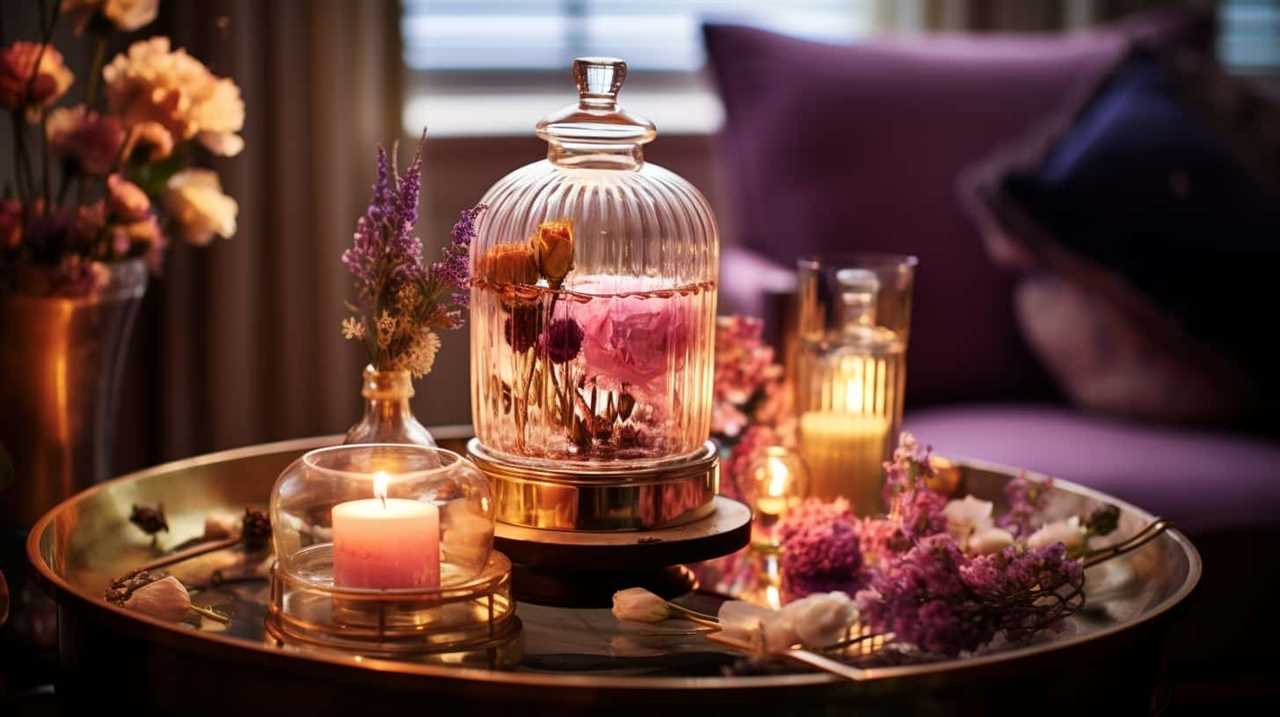
To further elevate the marble candle’s appearance, we can enhance the candle jar with various embellishments. Here are some creative design ideas and embellishment techniques to make your candle jar truly unique:
- Paint it: Use acrylic paint to add a pop of color to the jar. You can create patterns, motifs, or even paint a scenic landscape.
- Wrap it: Wrap the jar with decorative ribbons or lace to give it a textured and elegant look. You can also use washi tape or twine for a more rustic feel.
- Stencil it: Use stencils and spray paint to create intricate designs on the jar. Experiment with different patterns and colors to match your personal style.
- Add embellishments: Glue on gemstones, beads, or seashells to create a whimsical and eye-catching design. You can also attach charms or small trinkets that hold special meaning to you.
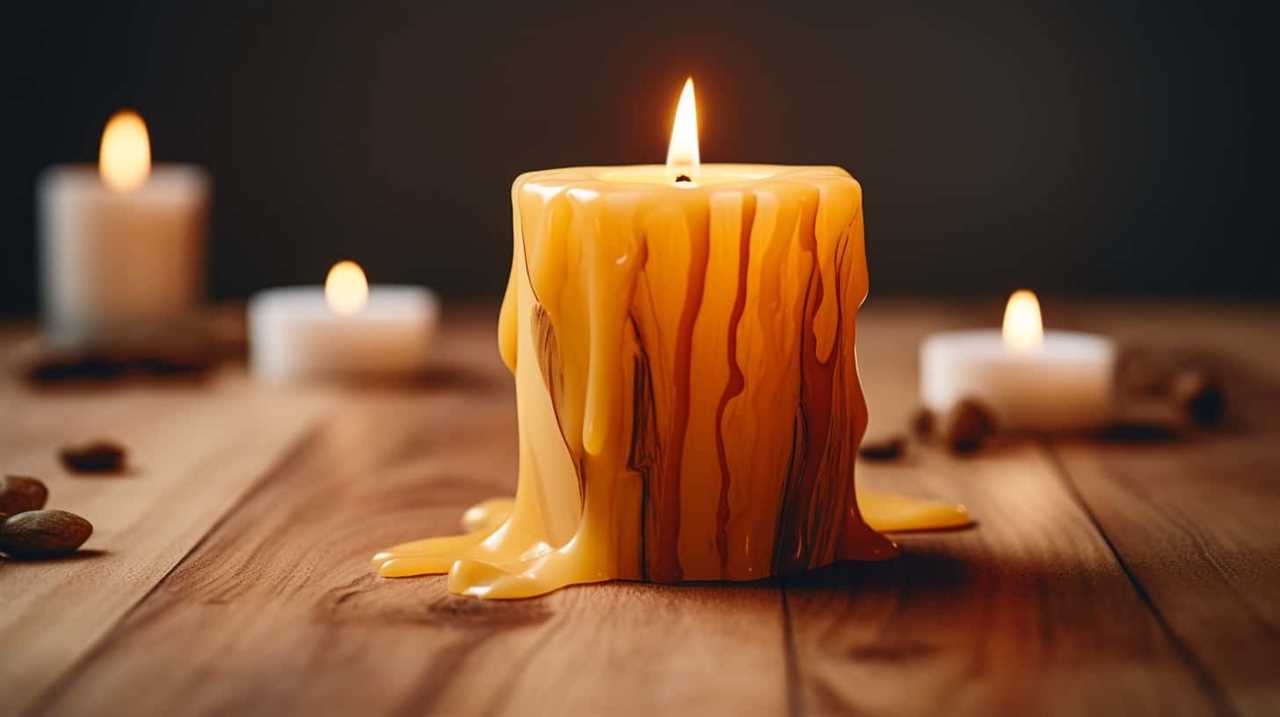
Pour the Wax
We begin by heating the wax until it reaches a liquid state. This step is crucial in achieving the marble technique for our candle. To add a creative twist, we can experiment with alternative colors for a more personalized touch.
Once the wax is melted, we carefully pour it into our chosen mold, making sure to leave a small gap at the top. This space will allow us to add the wick later on. As we pour the wax, we can gently swirl it around in the mold to create the marble effect. This technique will give our candle a beautiful and unique pattern.
After pouring the wax, we let it cool and solidify completely before moving on to the next step.
Finish and Enjoy
Once the wax has completely solidified, we can now finish our marble candle and enjoy its beautiful glow. Here’s what you need to do:
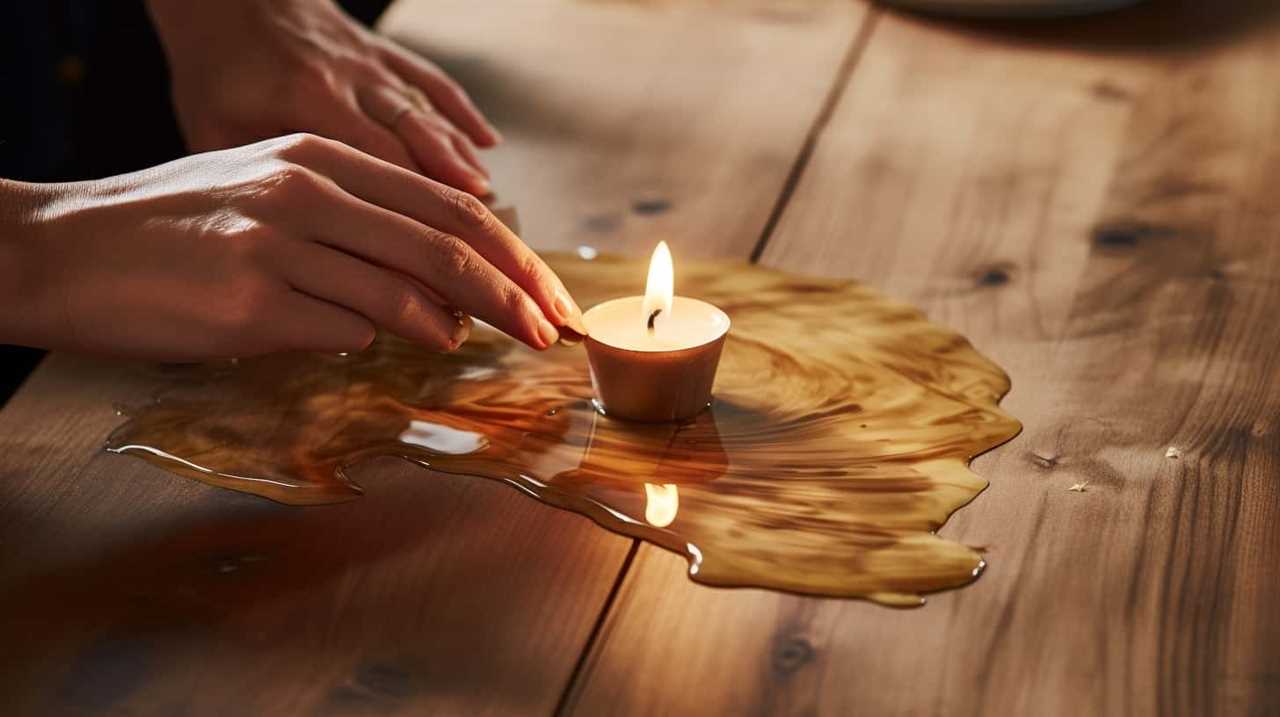
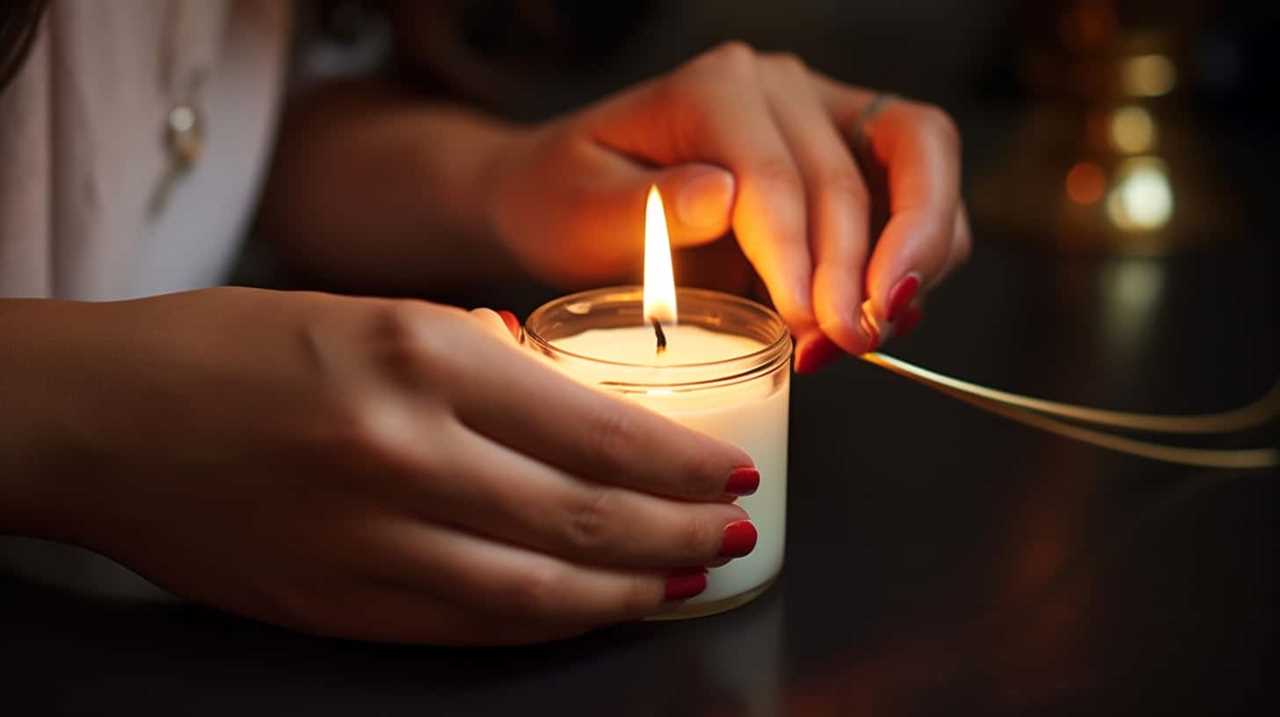
- Trim the wick: Use a pair of scissors to trim the wick to about ¼ inch. This will ensure a clean and even burn when you light the candle.
- Test the wick: Before lighting the candle, make sure the wick is centered and upright. This will prevent uneven burning and excessive smoke.
- Candle lighting techniques: To light the candle, hold a match or a lighter to the base of the wick and gently apply a flame. Avoid blowing out the candle, as this can cause hot wax to splatter.
- Candle safety precautions: Remember to never leave a burning candle unattended. Keep it away from flammable materials and out of reach of children and pets. Always place the candle on a heat-resistant surface and extinguish it before leaving the room.
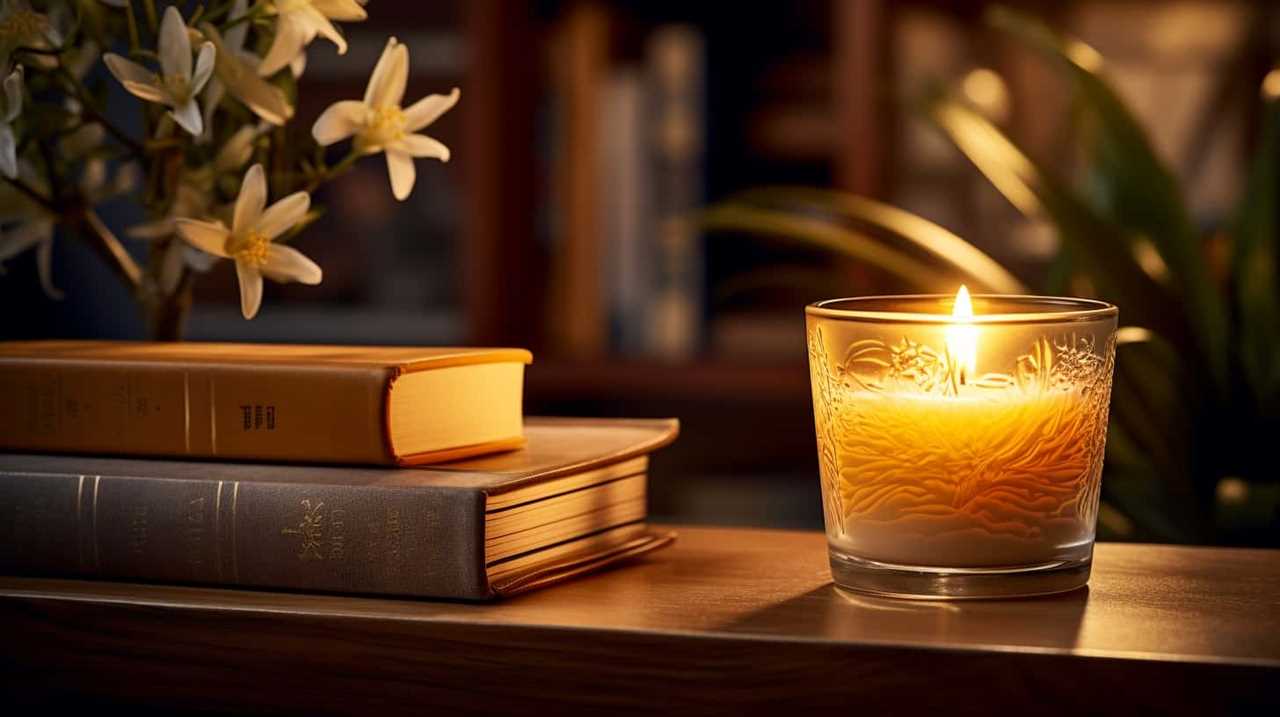
Now, sit back, relax, and enjoy the warm, comforting glow of your homemade marble candle while keeping these candle safety precautions in mind.
Frequently Asked Questions
How Long Does It Take for the Candle to Cool and Solidify After Pouring the Wax?
After pouring the wax, it takes some time for the candle to cool and solidify. The candle cooling time can vary depending on factors such as the size of the candle and the room temperature.
Can I Use Any Type of Wax to Make a Marble Candle?
Yes, you can use different types of wax to make a marble candle. By experimenting with alternative candle wax and employing various marble techniques, you can create unique and beautiful candles.
Can I Add Fragrance Oils to the Wax to Create Scented Marble Candles?
Yes, we can add fragrance oils to the wax for scented marble candles. It’s best to choose oils that are suitable for candle making. To achieve a marble effect, we can swirl or layer different colored waxes.
What Are Some Tips for Achieving a More Pronounced Marbled Effect in the Candle?
Choosing the right colors and experimenting with different swirling techniques are key to achieving a more pronounced marbled effect in the candle. It’s all about finding the perfect balance and creating a mesmerizing masterpiece.
How Long Does the Marble Effect Last in the Candle Before It Begins to Fade or Blend Together?
To maintain the marble effect in a candle, we recommend keeping it away from direct sunlight and excessive heat. Over time, the marble effect may fade or blend together, so it’s important to store the candle properly to preserve its unique design.
Conclusion
In just a few simple steps, you can transform ordinary candles into stunning marble masterpieces. With a touch of creativity and a dash of color, you’ll have beautiful candles that will add a touch of elegance to any room.
So why settle for boring candles when you can create your own unique and eye-catching designs? Get ready to immerse yourself in a world of swirling colors and mesmerizing patterns. Let your imagination run wild and enjoy the magical glow of your very own marble candles.