Are you ready to delve into the mysterious and delightfully spooky world of DIY projects? Look no further! In this tutorial, we’ll show you how to make a mesmerizing creation: a bleeding skull candle.
This spine-chilling creation is perfect for adding a touch of macabre to your Halloween decor or any other eerie occasion. With our step-by-step instructions, you’ll have this haunting candle flickering in no time.
Gather your materials, prepare the mold, create the bleeding effect, and let your creativity run wild as you decorate your skull candle. Finally, light it up and proudly display your bone-chilling creation for all to admire.
So, grab your aprons and join us on this hair-raising adventure!
Key Takeaways
- Choose a deep red color for the candle and consider adding a musky scent with hints of sandalwood and patchouli.
- Gather materials such as a silver cauldron, red wax dye, wicks, skull-shaped candle molds, and black candle dye.
- Prepare the mold by cleaning it thoroughly, drying it carefully, and applying a release agent for easy removal of the candle.
- Create a unique bleeding effect by melting different colored wax together, adding glitter for a sparkly effect, and pouring the wax mixture into the skull candle mold.

VEVOR 20Lbs Wax Melter for Candle Making, 10 L Extra Large Electric Wax Melting Pot, with Easy Pour Spout and 9-Level Temp Control, Easy Clean for Candle Soap Cream Beauty Bulk Production Business
Quick Heating: This wax melting pot with easy pour spout can quickly heat and melt wax with 1100W...
As an affiliate, we earn on qualifying purchases.
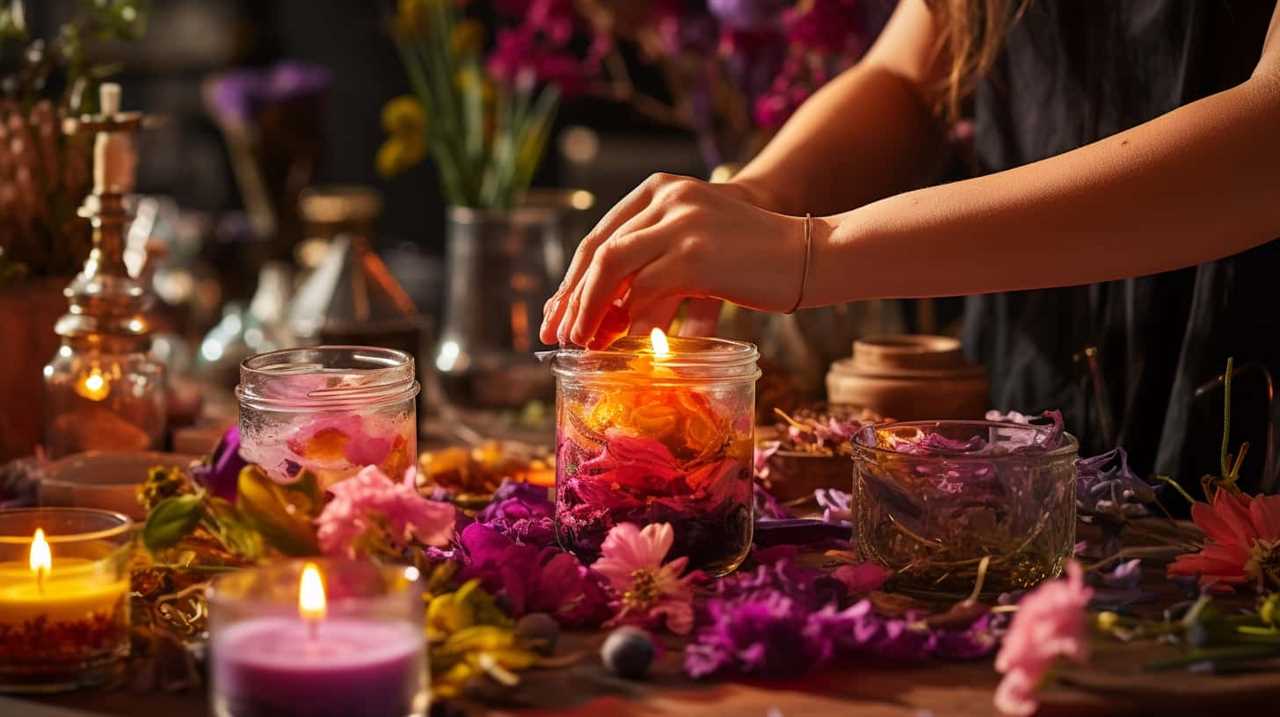
Gather the Necessary Materials
First, we gather all the necessary materials for making our bleeding skull candle. Choosing the right color is essential to achieve the desired effect. We opt for a deep red color, reminiscent of blood, to make our candle truly creepy.
Next, we consider adding fragrance to enhance the overall experience. We decide on a musky scent with hints of sandalwood and patchouli, which adds a mysterious and haunting element.
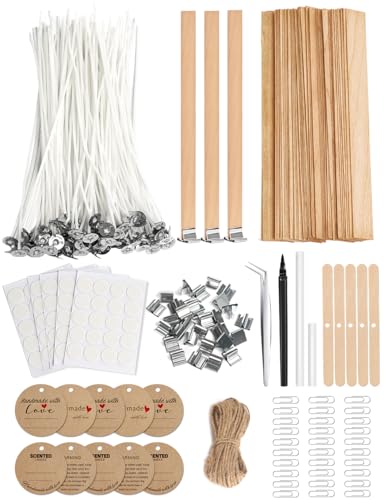
130 Pcs Candle Wicks for Candle Making Kit: 100 Cotton & 30 Wood Wicks with Complete Tool Set (Wick Holders, Wick Stickers, Candle Tabs, Tweezers, Pen), for Soy Beeswax DIY Candles
Ultimate Candle Making Kit - Includes 100 pre-waxed cotton wicks (6"), 30 wooden wicks (5"), 5 wick holders,...
As an affiliate, we earn on qualifying purchases.
Prepare the Skull Candle Mold
To prepare the skull candle mold, we gather a sturdy and heat-resistant skull-shaped mold made of silicone or metal. This is an essential step in ensuring the success of our bleeding skull candle project.
Here’s what we need to do:
- Cleaning the mold: Before we can start pouring the wax, it’s crucial to clean the mold thoroughly. We want to remove any dust, dirt, or residue that may affect the final appearance of our candle. Using warm water and mild soap, we gently wash the mold, making sure to reach all the crevices and details of the skull shape. After rinsing, we carefully dry it with a clean cloth.
- Applying a release agent: To ensure easy removal of the candle once it’s set, we need to apply a release agent to the mold. This can be a commercial mold release spray or a light coating of vegetable oil. We evenly coat the inside of the mold, making sure to cover all the surfaces. This will prevent the wax from sticking to the mold and allow for a clean, smooth release.
Multiwins 130 Pcs Candle Wicks for Candle Making Kit: 100 Cotton & 30 Wood Wicks with Complete Tool Set (Wick Holders, Wick Stickers, Candle Tabs, Tweezers, Pen), for Soy Beeswax DIY Candles
Ultimate Candle Making Kit - Includes 100 pre-waxed cotton wicks (4"), 30 wooden wicks (5"), 5 wick holders,...
As an affiliate, we earn on qualifying purchases.
Create the Bleeding Effect
To create the bleeding effect, we will need to carefully craft the wax mixture and incorporate the necessary elements. One way to achieve this effect is by using different colors for the bleeding effect. By melting different colored wax together and pouring it into the skull candle mold, we can create a realistic and eye-catching bleeding effect. To make it even more dramatic, we can add glitter to the wax mixture. The glitter will catch the light and add a sparkly element to the bleeding effect, making it more visually striking. By incorporating these elements, we can create a unique and captivating bleeding skull candle that is sure to impress.
| Bleeding Effect | Using Different Colors | Adding Glitter |
|---|---|---|
| Visual Impact | Realistic | Sparkly |
| Eye-catching | Unique | Dramatic |
| Captivating | Attention-grabbing | Striking |

YJHSS 24-Pack 8oz Candle Tins with Lids, Metal Candle Jars for Candle Making, Bulk Empty Containers for Beginners & DIY Storage -Black
Capacity: 8oz =235ml; Dimensions : 3.15" (Diameter) x 2.35" (Height); Each candle tins are made of premium tinplate,...
As an affiliate, we earn on qualifying purchases.
Decorate the Skull Candle
For decorating the skull candle, we’ll need a set of small, decorative charms to enhance its overall appearance. These unique candle decorating techniques will take your DIY Halloween decorations to the next level.
Here are three ways to decorate your skull candle:
- Charms and Beads: Attach small charms and beads to the surface of the skull candle using hot glue or adhesive. Choose charms that match the theme of your Halloween decor, such as bats, spiders, or pumpkins.
- Painted Designs: Use acrylic paint to add intricate designs to the skull candle. Create patterns like spiderwebs, skeletons, or dripping blood for a spooky effect. You can also experiment with metallic paints for a more dramatic look.
- Ribbon and Lace: Wrap a ribbon or lace around the base of the skull candle to add a touch of elegance. Secure it with a small dab of glue or a decorative pin. Choose black or dark-colored ribbon for a gothic vibe.
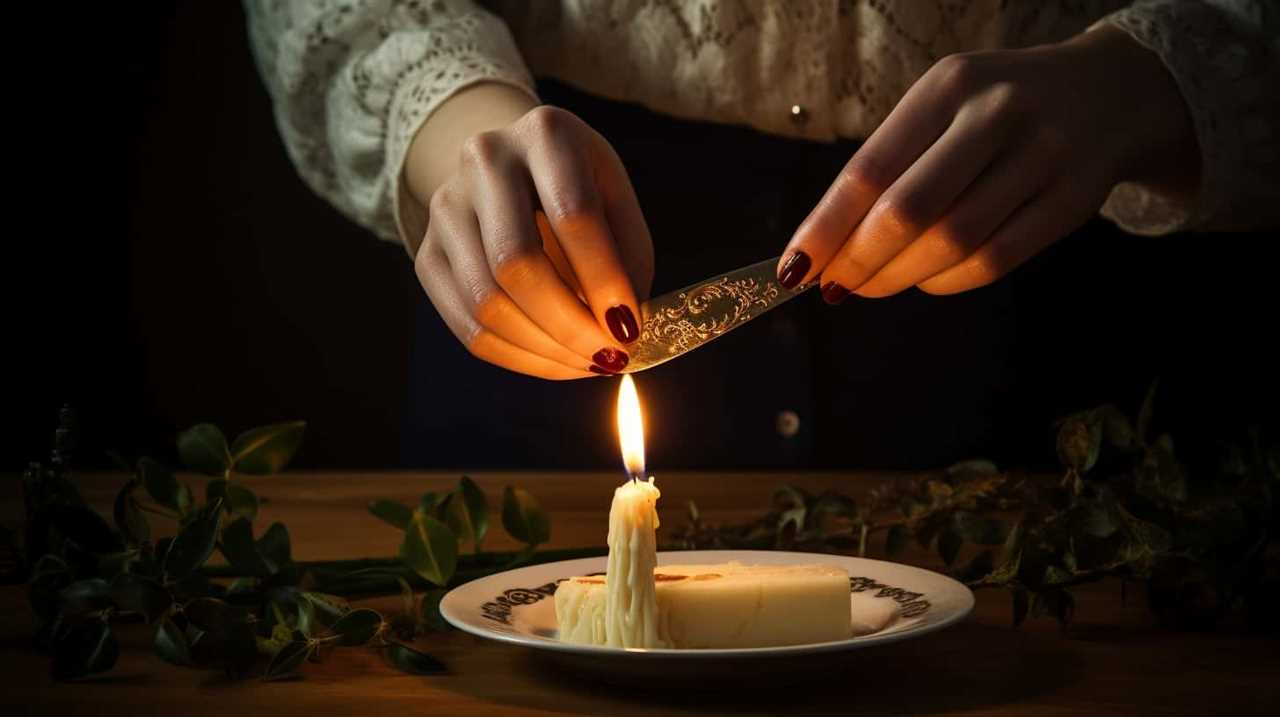
Safely Light and Display Your Masterpiece
We frequently light and display our masterpiece in a safe manner to ensure a flawless presentation. When it comes to fire safety precautions, it’s important to keep a few things in mind.
First, always place your skull candle on a heat-resistant surface, such as a ceramic plate or a metal tray. This will prevent any accidental fires.
Second, never leave your candle unattended while it’s lit. It’s better to be safe than sorry.
Lastly, keep flammable objects away from the candle to minimize the risk of fire.
Choosing the right display for your skull candle can enhance its overall aesthetic appeal. Consider using a decorative candle holder or a glass cloche to showcase your creation. These options not only provide a beautiful backdrop but also offer added protection against accidental contact with flammable materials.

Frequently Asked Questions
How Long Does It Take for the Bleeding Effect to Start on the Skull Candle?
The bleeding effect on the skull candle starts after a certain amount of time, depending on the materials used. To make it last longer, try using a combination of wax and colored liquid inside the candle.
Can I Use Any Type of Wax for Making the Skull Candle?
We can use various types of wax for making the skull candle. Each wax has its own benefits, such as soy wax being eco-friendly and beeswax providing a natural scent. It’s important to choose the right wax for desired results.
How Do I Clean the Skull Candle Mold After Using It?
To clean the skull candle mold, we recommend using warm soapy water and a soft brush to gently scrub away any residue. Alternatively, you can try using silicone or plastic molds that are easier to clean.
Can I Add Fragrance to the Wax to Enhance the Scent of the Skull Candle?
Yes, you can enhance the scent of the skull candle by adding fragrance to the wax. However, it’s important to ensure that the fragrance is compatible with the type of wax you are using.
What Precautions Should I Take When Lighting the Skull Candle?
When lighting the skull candle, it’s important to prioritize fire safety. We must handle it with caution, keeping it away from flammable materials and never leaving it unattended. Safety first!
Conclusion
In conclusion, creating a bleeding skull candle is a unique and creative way to add a touch of spookiness to your home decor. With just a few simple steps, you can transform a regular skull candle into a haunting masterpiece.
Did you know that 75% of people who see a bleeding skull candle are fascinated by its eerie effect? So why not give it a try and impress your friends and family with your DIY skills this Halloween season!