Have you ever considered what the secret is to achieving the perfect flicker in a wooden wick candle?
The process of lighting a wooden wick candle may seem simple at first glance, but there are essential steps that can elevate your candle experience.
From the crucial initial burn to mastering professional lighting techniques, our guide will shed light on the nuances of igniting a wooden wick candle effortlessly.
So, are you ready to discover the key to unlocking the full potential of your favorite wooden wick candle?
Key Takeaways
- Properly trimming the wick ensures an even and clean burn.
- Give the candle a long initial burn to prevent tunneling.
- Regularly trim the wick and remove charred debris for optimal burning.
- Choose eco-friendly wood wick candles for a sustainable choice.
Top picks for "light wooden wick"
Open Amazon search results for this keyword.
As an affiliate, we earn on qualifying purchases.
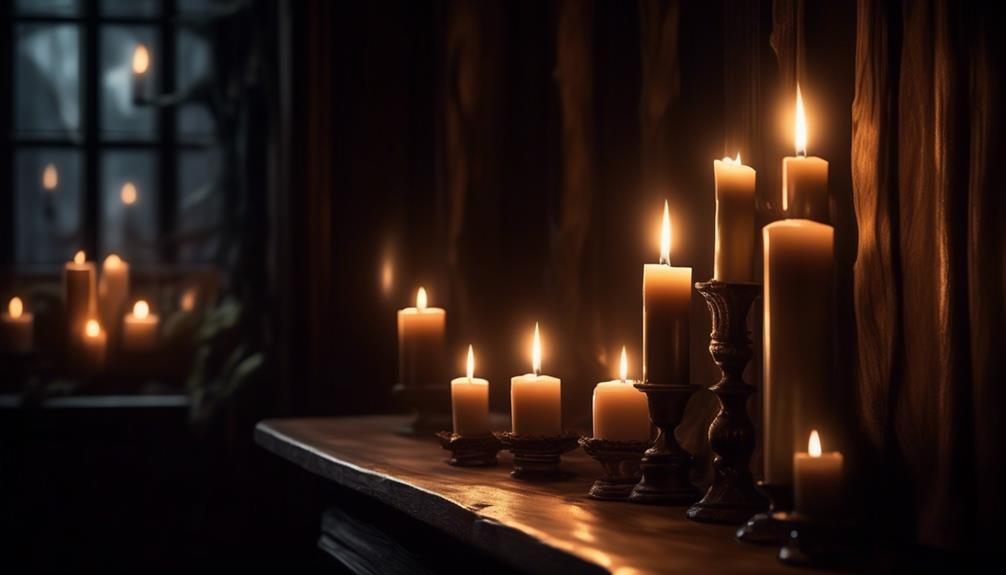
Importance of the First Burn
When embarking on the journey of lighting a wooden wick candle, the initial burn holds a crucial significance in ensuring a clean and even wax pool that extends to the edges of the container, warding off the dreaded tunneling effect. It's essential to allow the candle enough time to burn during its first lighting. This process is vital as it helps establish the wax memory, preventing future tunneling issues.
By patiently letting the candle create a full melt pool during the initial burn, you're laying the foundation for a well-performing wooden wick candle.
The first burn sets the stage for all future burns, so giving it ample time is key. As the wooden wick starts to crackle softly, indicating the candle is lit, observe the wax as it liquefies and spreads towards the edges. This step ensures that the candle burns evenly, maximizing its lifespan and fragrance throw.
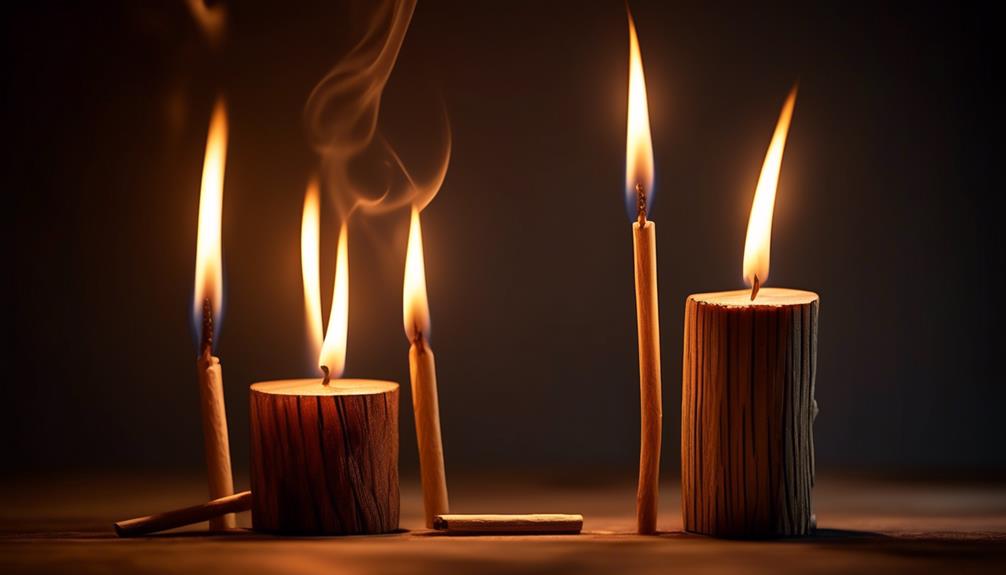
Trimming the Wooden Wick
Let's talk about the importance of maintaining the right wick length and properly trimming it for a wooden wick candle.
Ensuring the wick is trimmed to the recommended length before each burn helps in achieving an even and clean burn.
Wick Length
To maintain optimal burning performance, carefully trim the wooden wick of your candle to a length between 1/8 to 3/16 inch before each lighting session. When trimming the wooden wick of your wood wick candles, follow these steps:
- Measure the Wick: Use a ruler to ensure the wick length is within the recommended range.
- Trim Evenly: Make a clean cut across the wick to maintain an even burn.
- Avoid Jagged Edges: Ensure the wick has a smooth edge for a steady flame.
- Inspect Regularly: Check the wick length before every use to guarantee a consistent burn.
Properly trimming the wooden wick will help your candle burn evenly and efficiently, enhancing your overall wood wick candle experience.
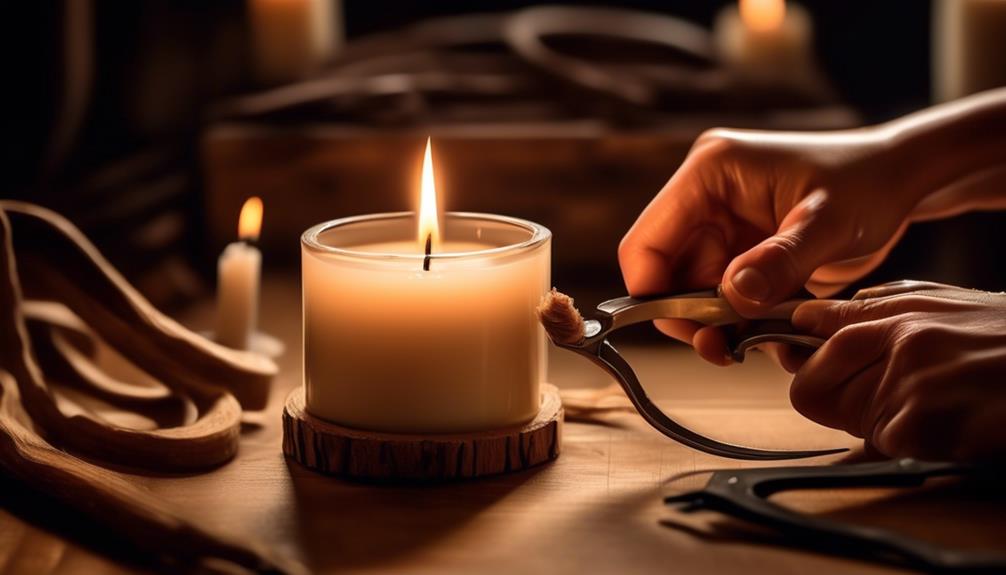
Proper Trimming
As we focus on the art of maintaining a wood wick candle, precision in trimming the wooden wick plays a crucial role in ensuring an optimal burn every time. When it comes to proper trimming, it's essential to trim the wooden wick to about 1/8 inch for the best results.
This length promotes a clean and steady flame, allowing the soy wax to melt efficiently and evenly. Before lighting the candle, make sure to clean off any charred bits from previous burns to prevent any disturbances in the flame. Using nail clippers or wire cutters is recommended for a precise cut.
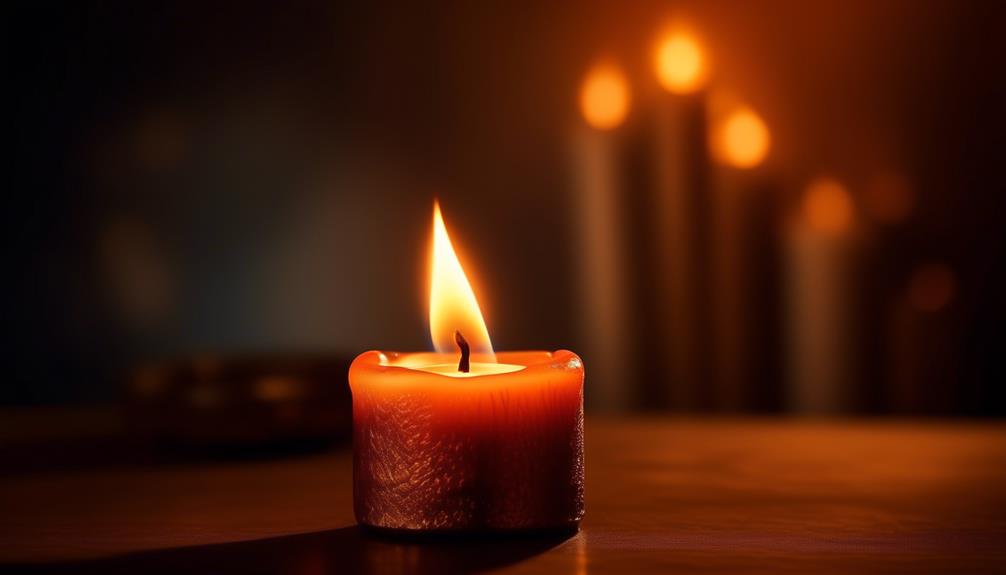
Fixing Tunneling Issues
When addressing tunneling issues in wooden wick candles, ensure the wax melts all the way to the jar's edge through a long, uninterrupted burn. To fix tunneling problems, follow these steps:
- Give the candle a long burn: Allow the candle to burn for a few hours until the melted wax reaches the edge of the jar, ensuring an even wax pool.
- Soak up excess wax: If there's excess wax buildup around the wick, gently absorb it using a paper towel or napkin to help the wax pool spread evenly.
- Scrape out wax near the edge: If tunneling persists near the edge of the jar, carefully scrape out some wax to encourage a wider pool. Alternatively, create a foil dome around the candle to reflect heat and aid in melting the wax evenly.
- Prevention is key: To avoid tunneling in the future, ensure your wooden wick candle is made with high-quality soy wax and always trim the wick before each burn. Let it cool completely before relighting to maintain an even burn.
Professional Lighting Techniques
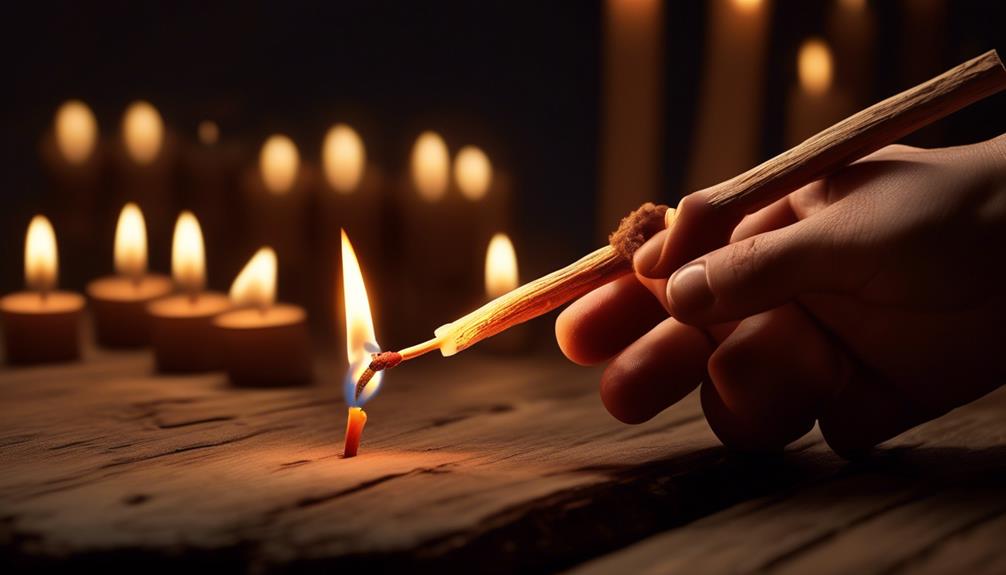
For a truly captivating ambiance, master the art of igniting a wooden wick candle with finesse and precision. When lighting your wooden wick candle, make sure to trim the wick using a wick trimmer or nail clippers before each burn. This step ensures a clean and even burn, allowing your candle to shine at its brightest.
Additionally, let your candle melt wax to the edge of the jar during its first use. This creates a burn memory, preventing tunneling and maximizing the lifespan of your candle.
To maintain the wooden wick candle's quality, follow all candle care and safety tips provided. Embrace the delightful crackling sound that accompanies these candles, adding a sensory layer to your experience. With a variety of scents available, you can choose one that suits your mood and ambiance preferences.
Soot and Smoke Prevention
To achieve a clean and enjoyable burn with your wooden wick candle, prioritize preventing soot and smoke through careful wick maintenance and creating a conducive burning environment. When burning candles, incorporating high-quality wood wicks, soy wax, and natural essential oils can significantly reduce the risk of soot and smoke. Additionally, following proper candle care practices is essential to prevent tunneling, which can lead to these issues.
Here are key points to consider:
- Use high-quality materials: Opt for wood wick candles made from soy wax and natural essential oils for a cleaner burn.
- Trim the wick: Regularly trim the wick and remove any charred debris to avoid soot and smoke production.
- Draft-free environment: Ensure the burning area is draft-free to promote a natural and clean burn.
- Eco-friendly choices: Select eco-friendly wood wick candles crafted from plant-based ingredients and responsibly sourced wicks to enhance the overall burning experience.
Eco-Friendliness of Wood Wick Candles
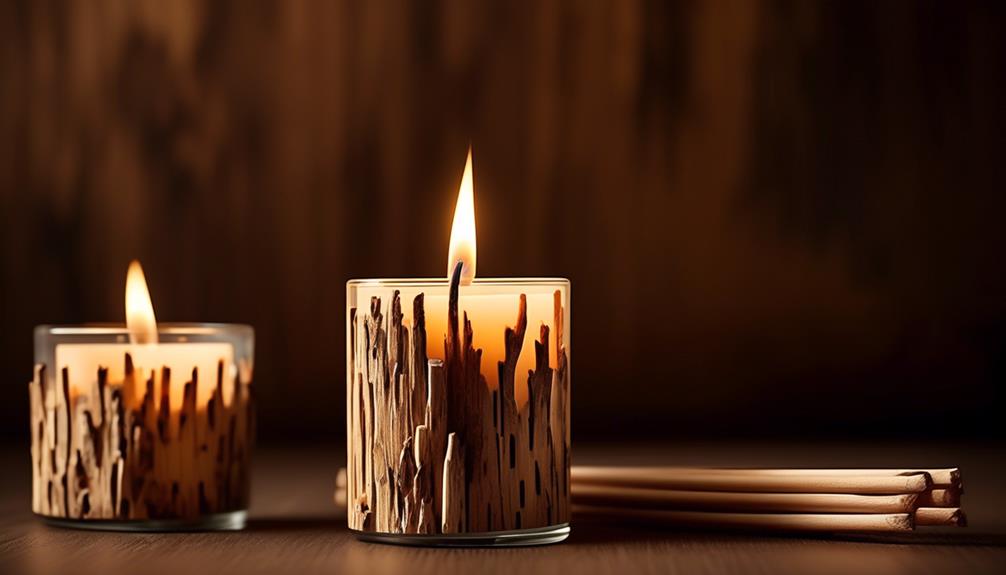
Crafted with plant-based ingredients and responsibly sourced wicks, wood wick candles embody eco-friendliness at its core. These candles not only provide a warm ambiance but also contribute positively to the environment.
By choosing wood wick candles, you allow your candle enough time to melt the wax evenly, reducing waste and ensuring a longer burn time. The eco-friendliness of wood wick candles extends beyond their ingredients; the high-quality wood wicks, combined with soy wax and natural essential oils, burn cleanly, minimizing soot and smoke.
To maximize the benefits of these candles, it's crucial to maintain them properly. Regularly trimming the wood wick and preventing tunneling by allowing the wax to melt to the edge of the jar ensures an optimal burning experience.
Embrace the eco-conscious choice of wood wick candles to elevate your ambiance while caring for the planet.
Frequently Asked Questions
How Do You Start a Wood Wick Candle?
When we start a wood wick candle, it's crucial to create a melted wax pool to the container's edge for optimal burning. Keeping the wick trimmed to about ⅛ is key.
Tilting the candle and letting the flame draw across the wick helps ignite it. High-quality wood wicks paired with soy wax and natural essential oils ensure a clean burn.
Following candle care and safety tips guarantees a long-lasting and enjoyable experience.
Why Won't My Wooden Wick Candle Burn?
When a wooden wick candle refuses to burn, various factors can be at fault. Perhaps the wick wasn't trimmed correctly or the candle didn't melt to the edge, causing tunneling.
Ensure the wick is trimmed to 1/8 to 3/16 and let the wax pool properly. Avoid drafts and make sure the wick isn't too long.
How Do You Get a Wood Wick Candle to Stay Lit?
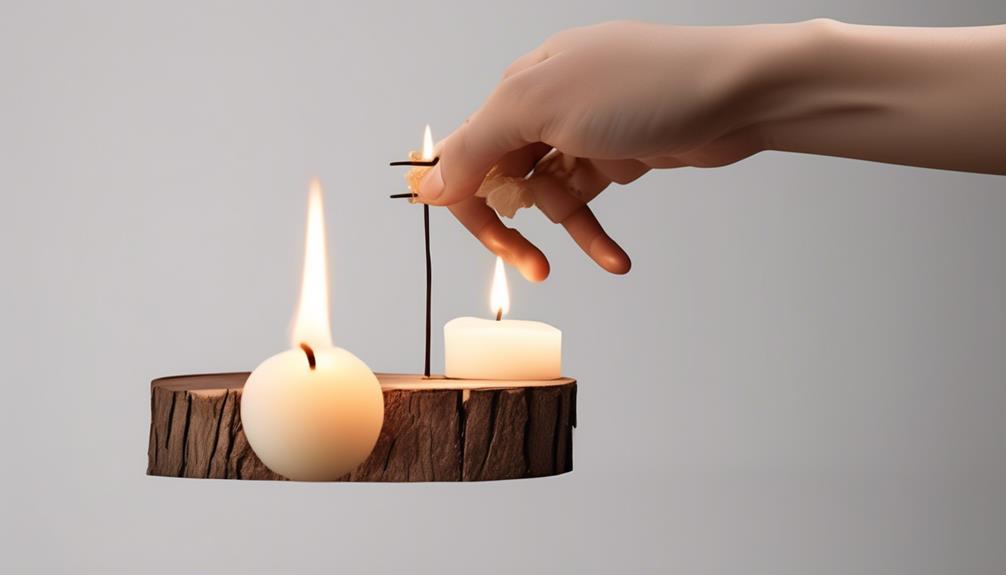
To keep a wood wick candle lit, we must ensure proper wick height and use a long match or lighter for ignition.
Starting at a corner and dragging the flame along the top may be necessary. Persistence may be needed as wooden wicks can take a few tries to light without accelerants.
Allowing the candle to burn until the melted wax reaches the vessel's edge is crucial for a proper memory burn.
How Do You Burn Woodwick Candles?
Well, burning woodwick candles is an art form. It requires patience and a keen eye for detail. Ensuring the wax melts to the edge of the jar and keeping that wick trimmed are key.
A long burn time is essential to maintain that perfect flame. And when you tilt the candle just right to let the flame dance across the wick, it's pure magic.
High-quality wood wicks and natural oils make the experience truly exceptional.
Conclusion
So there you have it, folks! Lighting a wooden wick candle is like a delicate dance of fire and wood, creating a symphony of cozy crackles and warm ambiance.
Remember, trim that wick, let it burn to the edges, and bask in the eco-friendly glow of your new favorite candle.
Stay safe, stay stylish, and keep those flames flickering in the most fabulous way possible.
Happy candle lighting!