Have you ever observed that there is a unique method to make sure a wooden wick candle burns evenly? Achieving that warm, radiant ambiance requires a little more care than simply lighting a standard wick.
We'll walk you through the steps to light your wood wick candle properly, starting with a crucial tip that many might not be aware of.
Stay tuned to discover how a simple adjustment can make all the difference in your candle-burning experience.
Key Takeaways
- Properly trim and position the wood wick for a steady and clean burn.
- Allow the melted wax to reach the jar's edge to prevent tunneling.
- Clean the wood wick after each use to maintain efficient burning.
- Store the wood wick candle in a cool, dry place to maximize longevity.

WFPLUS 100 Pcs Aluminum Tea Lights Cups, Empty Case Candle Wax Containers, Metal Tea Light Tins with 100 Pcs Candle Wicks Packaged in Carton Box, Candle Mold for DIY Candles Making Supplies
Size and Material: Round Tin Tea Light Cups Diameter: 3.7cm/1.5 Inch, Height: 1.5cm/0.6 Inch, made of aluminum, high...
As an affiliate, we earn on qualifying purchases.
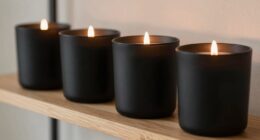
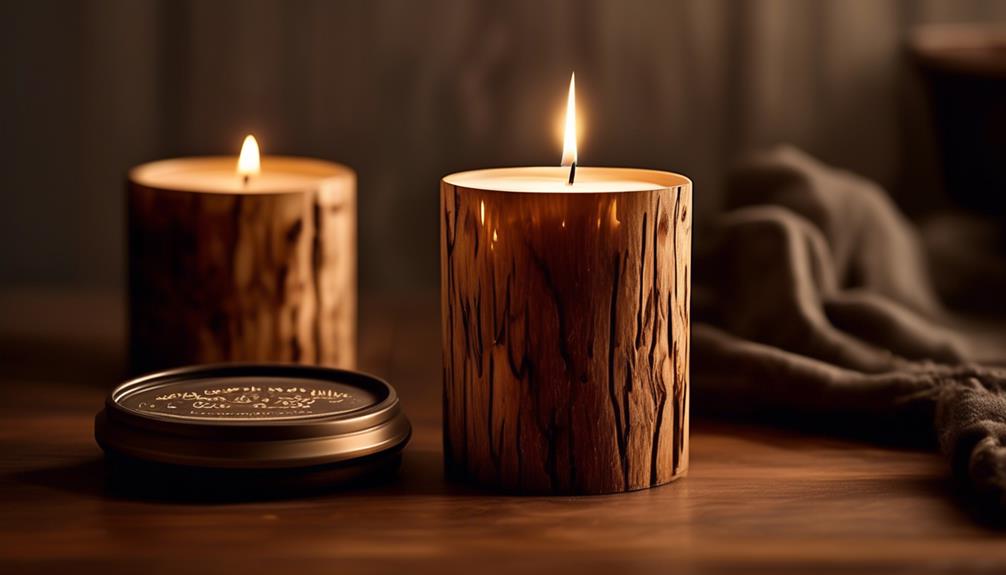
Benefits of Wood Wick Candles
When it comes to creating a cozy ambiance and embracing sustainability, wood wick candles stand out as a top choice for discerning candle enthusiasts. The allure of these candles lies not only in their aesthetic appeal but also in their eco-friendly composition. Crafted with wooden wicks and plant-based ingredients, wood wick candles offer a unique crackling sound that enhances the atmosphere of any space. The use of responsibly sourced wicks ensures a clean and sustainable burning experience, making them a popular choice for those who prioritize environmental consciousness.
One of the key advantages of wood wick candles is their ability to burn cleanly when made with high-quality soy wax, producing minimal soot or smoke. Additionally, by trimming the wooden wick to the proper length, candle lovers can ensure optimal burning with a low, steady flame. Taking the time to give the candle a good burn during the initial use not only prevents tunneling but also promotes an even melt pool, maximizing the longevity of the candle and enhancing the overall burning experience.

YINMIT Wooden Display Riser Stand, Tiered Perfume and Cologne Organizer Stand, 4 Tier Spice Rack Organizer, Rustic Display Shelf for Candles (4 Tier)
Vintage Appearance: Rustic and aesthetic wood grain that fits perfectly with the black matt paint. Simple and elegant...
As an affiliate, we earn on qualifying purchases.
Choosing the Right Wood Wick Candle
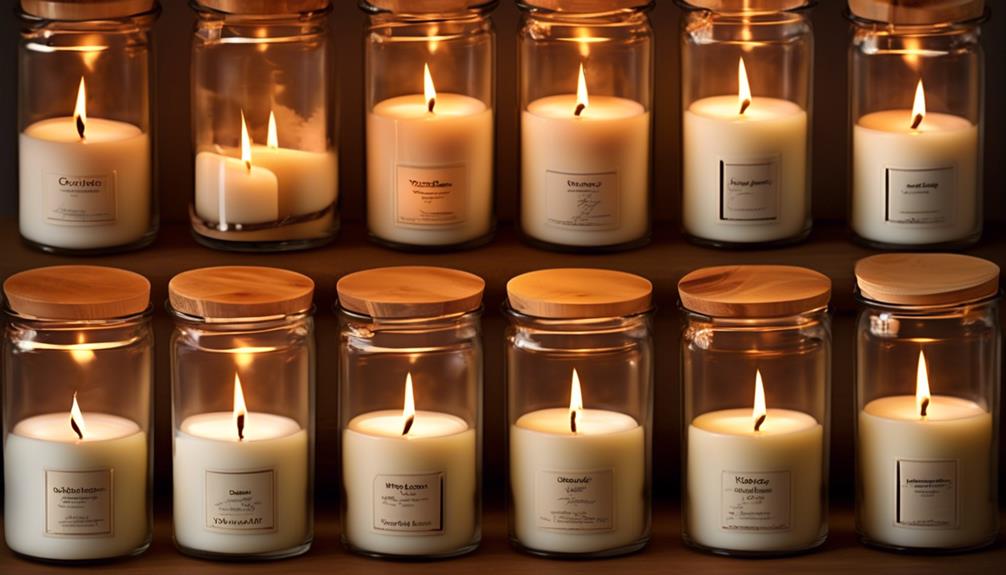
When considering the right wood wick candle, it's crucial to pay attention to the wick size and the type of wood used.
Selecting a candle with an appropriate wick size can help ensure a steady burn, while different wood types can offer varying crackling sounds and burning characteristics.
Understanding these factors can enhance your overall candle experience and create a cozy ambiance in your space.
Wick Size
Selecting the appropriate wick size is crucial when choosing the right wood wick candle for optimal burning performance. When considering the wick size, remember these essential points:
- Proper Fit: Ensure the wick fits snugly in the metal part to prevent flickering and uneven burning.
- Burn Rate: The wick size influences how fast the candle burns, affecting its longevity and scent throw.
- Flame Height: A well-sized wick maintains a consistent flame height, preventing soot and ensuring an even wax pool.
- Performance: The correct wick size promotes a clean burn, maximizing the wood wick candle's efficiency and enhancing the overall experience.
Understanding the significance of the wick size will help you achieve an optimal burning experience with your wood wick candle.
Wood Type
Choosing the appropriate wood type is essential when selecting the right wood wick candle for an optimal burning experience. The type of wood used in a candle can greatly impact its performance.
Woods like cherry, cedar, or birch are popular choices for wood wick candles due to their clean burn and pleasant crackling sound. Cherry wood wicks, for instance, provide a steady flame and a subtle, sweet aroma. Cedar wood wicks offer a robust burn and a woody scent, perfect for a cozy ambiance. Birch wood wicks are known for their bright flame and light, refreshing fragrance.
Understanding the characteristics of different wood types can help you choose a candle that suits your preferences and enhances your overall candle-burning experience.

SUPMIND 16oz 3 Wick Candle Jars 6 Pack - Large Empty Iridescent Wide Mouth Glass Candle Making Jars with Bamboo Lids and Stickers and Labels, Bulk Candle Containers for Making Candles
【Candle Making Supplies In Bulk】6 Pcs 16oz wide mouth empty candle making jars with lids, 6 candle label...
As an affiliate, we earn on qualifying purchases.
Preparing Your Candle Before Lighting
To ensure optimal performance, it's essential to meticulously groom the wooden wick of your candle before each lighting. Here are some key steps to prepare your candle before lighting:
- Trim the Wick: Make sure the wooden wick is 1/4 inch tall before lighting to promote a clean and even burn.
- Reach the Edge: Allow the melted wax to reach the edge of the jar during each burn to prevent tunneling and maximize the candle's lifespan.
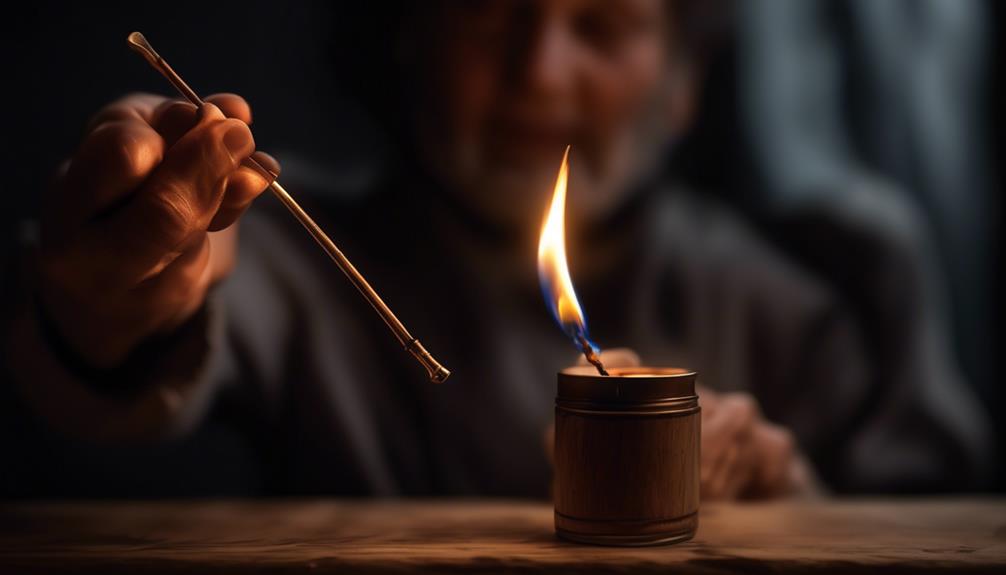
- Lighting Technique: Tilt the candle slightly and ignite the corner of the wood wick to initiate a steady flame and ensure proper burning.
- Cleaning the Wick: After each burn, use nail clippers to trim off any charred bits or soot on the wood wick to maintain a clear and efficient burn.
Following these steps diligently won't only enhance the performance of your wood wick candle but also elevate your overall candle experience.
Mastering the art of candle preparation is key to enjoying a consistent and beautiful burn every time.
Wick Centering Tool for Candlemaking | 4.53"/11.5 oz jar (3-Wick) | by Coda Fragrance
Candlemakers: get perfectly centered wicks on the first try every time!
As an affiliate, we earn on qualifying purchases.
Positioning the Wood Wick for Success

Having perfected the art of preparing your wood wick candle for optimal performance, now we turn our focus to positioning the wick for success in igniting a consistent and beautiful burn.
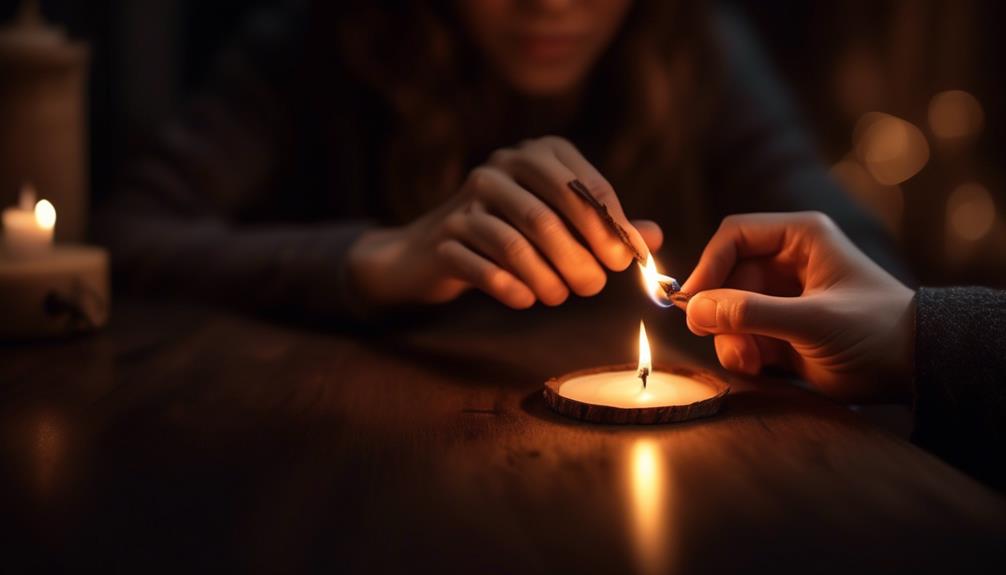
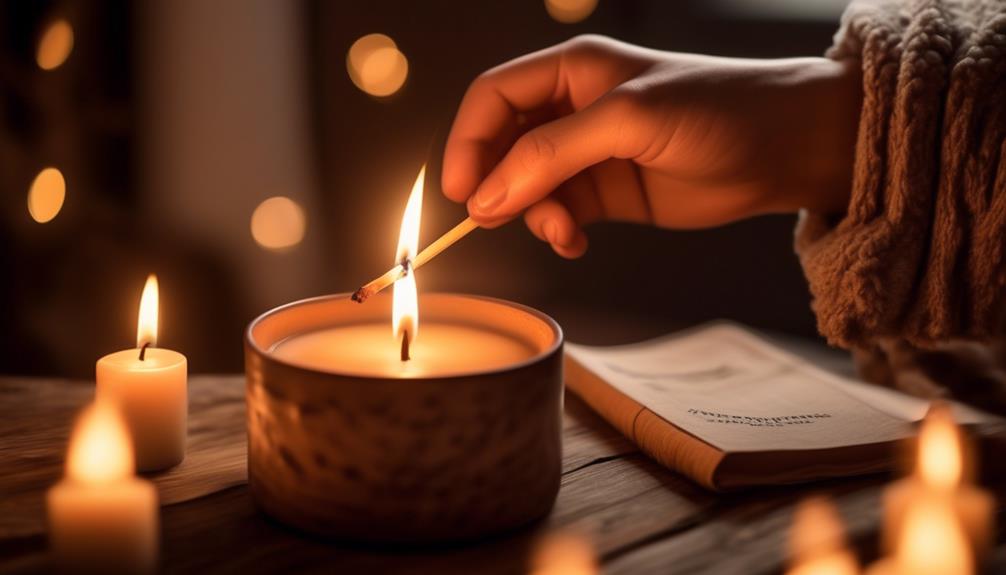
When positioning the wood wick, ensure it's trimmed to around 1/8 inch tall using scissors, nail clippers, or wire cutters. This length is ideal for a steady and even burn.
To light the wood wick effectively, tilt the candle jar on its edge and ignite the corner of the wood wick closest to the surface. This method encourages a clean and efficient burn.
After each use, clean the wood wick to eliminate any black soot or charred debris, allowing for a fresh burn every time.
Additionally, during the first burn, allow the candle to create a full, edge-to-edge melt pool. This practice prevents tunneling and ensures consistent burning in future uses.
Lighting the Wood Wick Properly
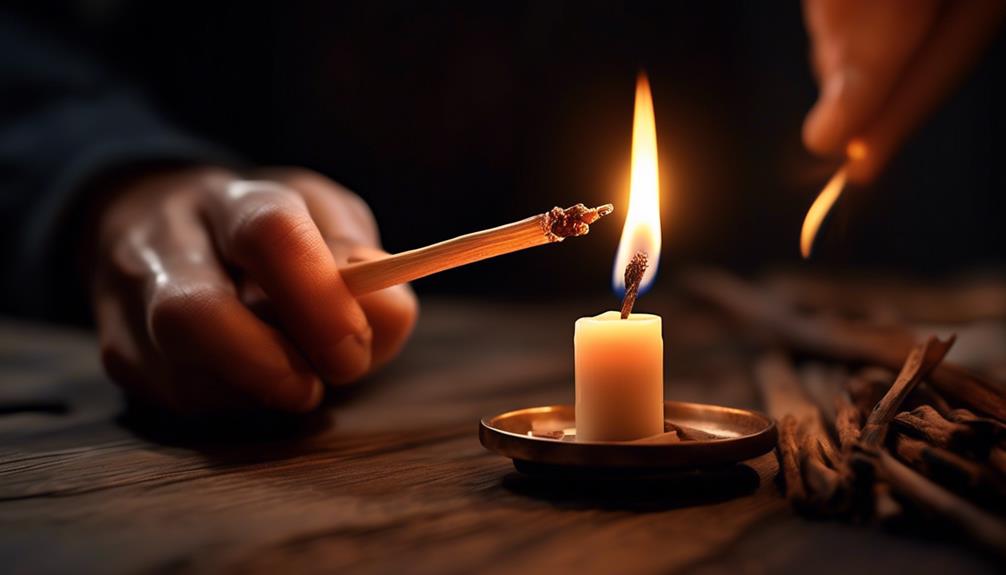
Positioning the wood wick for optimal burning sets the stage for a successful and consistent candle lighting experience. When lighting the wood wick properly, ensure the wick is trimmed to about 1/8 inch long. Remove any charred bits to maintain a clean flame.
Tilt the candle jar on its edge and ignite the corner of the wood wick for an effective start. Let your candle form a full, edge-to-edge melt pool during the first burn to prevent tunneling and ensure an even wax distribution. If tunneling occurs, give the candle a long burn to reset the burning pattern.
Troubleshooting Common Lighting Issues
When troubleshooting common lighting issues with wood wick candles, proper wick maintenance and burn techniques play a crucial role in ensuring a consistent and enjoyable candle experience.
To address the problem of a candle that won't stay lit, it's essential to consider the first burn and the wax reaching the edge of the jar. Ensure that during the first burn, the wax melts all the way to the edge of the jar. This establishes a 'burn memory' and prevents tunneling issues in future burns.
If the candle continues to struggle to stay lit, check if the wick is properly trimmed to the recommended length. Additionally, make sure there are no debris or trimmings obstructing the wick's ability to draw up wax.
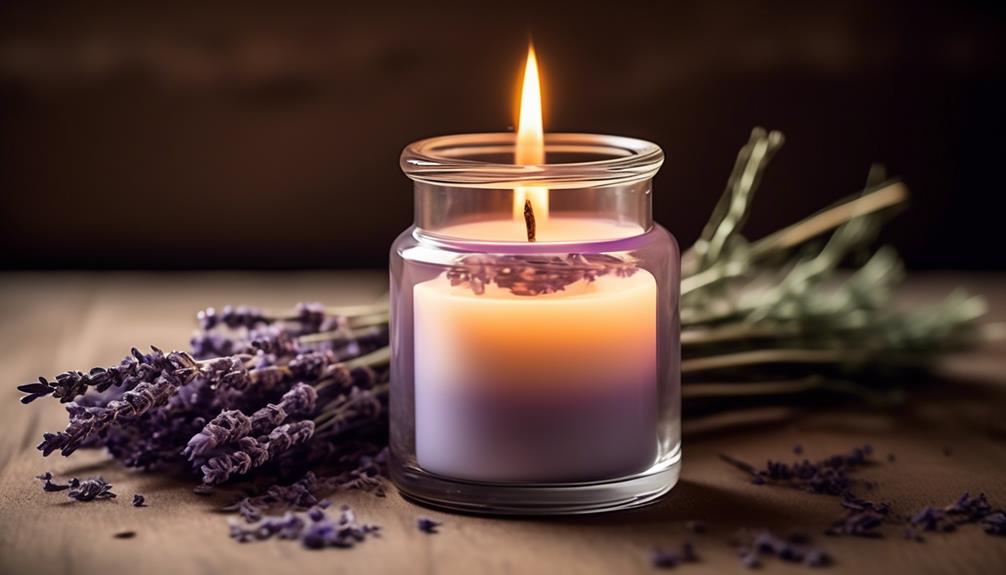
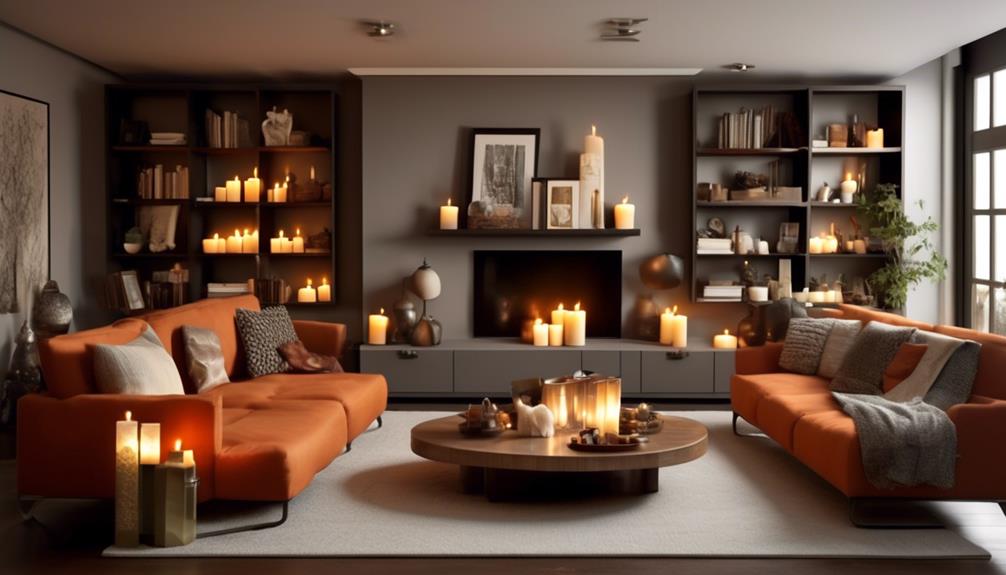
Enjoying the Cozy Ambiance
To bask in the cozy ambiance created by a wood wick candle, position yourself near its gentle flickering glow and let the soothing crackle of the wick ignite a sense of warmth and relaxation in the air.
As the wax melts and the flame dances, here's how to fully immerse yourself in the tranquil atmosphere:
- Embrace the gentle warmth: Feel the soft heat radiating from the candle, enveloping you in a comforting embrace that banishes the chill from the room.
- Listen to the mesmerizing crackle: Allow the wood wick's gentle crackling to transport you to a serene state of mind, where worries melt away in the ambient noise.
- Watch the enchanting dance of the flame: Witness the mesmerizing play of light and shadow as the flame flickers and sways, casting a warm glow that paints the room in a cozy light.
- Inhale the subtle fragrance: Let the delicate scent of the wood wick candle fill your space, creating a sensory experience that enhances the overall ambiance and soothes your soul.
Extending the Life of Your Wood Wick Candle

Let's delve into the art of extending the life of our wood wick candles.
By mastering wick-trimming techniques, storing our candles properly, and managing burning times effectively, we can ensure a longer-lasting and more enjoyable candle experience.
These practices not only enhance the candle's lifespan but also contribute to a safer and more consistent burn.
Wick-Trimming Tips
Ensuring the wood wick of your candle is trimmed to about 1/8 inch in length is essential for promoting optimal burning performance. When it comes to wick-trimming tips, here's what you need to know:
- Precision is Key: Use a set of nail clippers to trim the wood wick with accuracy.
- Mind the Length: Keeping the wick at the recommended length ensures a steady and even burn.
- Clean Cuts: Use sharp tools like scissors to remove any charred bits for a clean burn.
- Consistency Matters: Regularly trimming the wick maintains its integrity, helping your candle last longer and burn more efficiently.
Proper Storage Methods
Maintaining the optimal burning performance of your wood wick candle through precise wick-trimming practices sets the foundation for its longevity, and now, we shift our focus to enhancing this by discussing proper storage methods.
To ensure your wood wick candle lasts, make sure to store it in a cool, dry place away from direct sunlight and drafts. Exposing the candle to extreme temperatures or humidity can affect its quality. Additionally, always cover your candle with its lid when not in use to prevent dust accumulation and preserve the fragrance.
Proper storage methods also involve letting the flame draw completely across the candle surface during each use to prevent tunneling and ensure an even burn. By following these storage tips, you can extend the life and enjoyment of your wood wick candle.
Burning Time Management
To maximize the longevity and enjoyment of your wood wick candle, implementing effective burning time management techniques is essential.
When burning your candle, ensure you trim the wick to 1/8 inch for optimal burning.
Light the wick at a slight angle for the first time to encourage an even burn.
Give your candle enough time to create a full melt pool during the initial burn to prevent tunneling.
After each use, clean the wood wick to remove any black soot and charred debris.
These steps guarantee that your wood wick candle stays lit and burns consistently, allowing you to savor every moment of its warm glow.
Safety Tips for Wood Wick Candles
For the safe enjoyment of wood wick candles, it's crucial to follow specific guidelines to ensure a pleasant and hazard-free experience.
When it comes to safety tips for wood wick candles, there are key practices to keep in mind. First, maintaining the wood wick at a length of about 1/8 inch before each burn is essential to promote an optimal burning pattern and prevent excessive flickering.
Additionally, ensure to remove any charred bits from the wick to maintain a clean flame. When lighting the candle, tilting it on an angle and igniting the corner of the wood wick will help establish a robust flame.
After each use, cleaning the wood wick is advised to prevent the buildup of soot and debris, which can affect the burning pattern. Remember to allow the candle to create a full, edge-to-edge melt pool during the first burn to avoid tunneling issues.
Storing Your Wood Wick Candle Properly
When it comes to storing your wood wick candle properly, we need to consider a few key factors.
First, selecting the right storage location is crucial to maintaining the candle's quality.
Additionally, paying attention to temperature fluctuations and using container protection methods can help prolong the candle's lifespan.
Storage Location Tips
Properly storing your wood wick candle is essential for maintaining its quality and fragrance over time. Here are some storage location tips to ensure your candle stays in optimal condition:
- Store in a Cool, Dry Place: Keep your candle away from direct sunlight and heat sources to prevent the wax from melting prematurely.
- Avoid High Humidity: Moisture can impact the wood wick, so store it in areas with low humidity levels.
- Protect from Dust: Keep the candle in its original packaging or an airtight container to shield it from dust and debris.
- Upright Position: Storing the candle upright helps the wax pool evenly and ensures it melts to the edge, maximizing burn time and fragrance dispersion.
Temperature Considerations
Considering the impact of temperature on your wood wick candle's storage is crucial for maintaining its quality and fragrance integrity. To preserve the candle's characteristics, it's essential to store it in a cool, dry place away from direct sunlight and heat sources. Extreme temperatures can cause the candle to warp, affecting the wood wick's ability to burn evenly and creating a shallow melt pool. Here's a table to guide you on the ideal temperature considerations for storing your wood wick candle:
| Temperature | Storage Recommendation | Effects on Candle |
|---|---|---|
| High | Avoid direct heat sources | Warped candle, shallow melt pool |
| Low | Store in a cool, dry place | Candle may burn unevenly |
| Room | Ideal temperature range | Optimal burn and fragrance |
Container Protection Methods
To safeguard the integrity of your wood wick candle and its container, implementing effective protection methods is crucial for preserving its quality and aesthetics. When storing your wood wick candle, consider the following container protection methods:
- Draw the Wax: Ensure the wick is centered before each use to prevent the wax from pooling to one side, potentially damaging the container.
- Inspect Regularly: Check for any signs of damage or wear on the container. If necessary, use an old set of nails to gently push the wick away from the walls to prevent overheating.
- Maintain Cleanliness: Keep the container clean from any spilled wax or debris to maintain its appearance and prevent any potential damage.
- Proper Lid Usage: Always use a lid or cover when not in use to protect the candle and container from dust and maintain its fragrance.
Frequently Asked Questions
Why Won't My Wooden Wick Candle Burn?
We've encountered this too. A wooden wick candle mightn't burn due to several reasons. It could be the wick size, moisture in the candle, or air circulation.
Ensure the wick is trimmed to 1/8 inch, the candle is kept dry, and drafts are minimized. Ignite the wick properly, and watch it flourish.
Mastering these nuances guarantees a satisfying burn every time.
How Do You Start a Wooden Wick?
We start a wooden wick by tilting the candle jar at an angle and lighting the corner of the wick closest to the surface.
It's crucial to ensure the wick forms a full melt pool during its first burn and trim it to 1/8 inch for optimal performance.
Cleaning the wick of soot and charred debris after each use helps maintain an even burn.
Following these steps ensures a well-lit and evenly burning wood wick candle.
How Do You Get a Wood Wick Candle to Stay Lit?
We maintain a wood wick candle lit by:
- Ensuring the wax pool reaches the container edge.
- Trimming the wick to ⅛ inch.
- Creating a draft-free setting for a consistent burn.
Crafting a perfect ambiance, high-quality wood wicks paired with soy wax and natural oils offer a clean burn.
How Long Should I Burn a Wood Wick Candle?
We typically burn a wood wick candle for about 3-4 hours during each lighting session. This duration allows the wax to melt evenly and helps prevent tunneling issues.
By ensuring a full melt pool reaches the edges, we can make the most of our candle's burn time.
Remember to trim the wood wick before each use for optimal performance and safety.
Keeping these practices in mind will enhance your wood wick candle experience.
Conclusion
As the soft crackle of the wood wick candle fills the room with warmth and light, we're transported to a place of tranquility and comfort. The flickering flame dances gracefully, casting a mesmerizing glow that soothes the soul.
Embracing the cozy ambiance created by the gentle glow, we find solace in the simple pleasure of a well-lit wood wick candle. Let its calming presence linger, a beacon of relaxation in our busy lives.