Do you want to use natural ingredients to color candle wax? You’re in luck, as we have the ideal solution for you!
In this guide, we will show you the simple steps to achieve beautiful, vibrant colors using natural ingredients.
You might not know this, but there are many items in your pantry that can be used to dye candle wax.
By following our directions, you’ll be able to create personalized candles that are not only visually appealing but also free from harmful chemicals.
So, gather your supplies and get ready to serve others with these all-natural, eco-friendly candles.
Let’s dive in and discover the art of dyeing candle wax naturally!
Key Takeaways
- Natural dyes derived from plant-based sources are eco-friendly and free from harmful chemicals.
- Different natural dyes produce different colors, such as beetroot for red and turmeric for yellow.
- Stirring techniques and thorough mixing are crucial for achieving an even distribution of color in the wax.
- Test the dye’s color before pouring and adjust the dye concentration to achieve the desired color.

YJHSS 24-Pack 8oz Candle Tins with Lids, Metal Candle Jars for Candle Making, Bulk Empty Containers for Beginners & DIY Storage -Black
Capacity: 8oz =235ml; Dimensions : 3.15" (Diameter) x 2.35" (Height); Each candle tins are made of premium tinplate,...
As an affiliate, we earn on qualifying purchases.
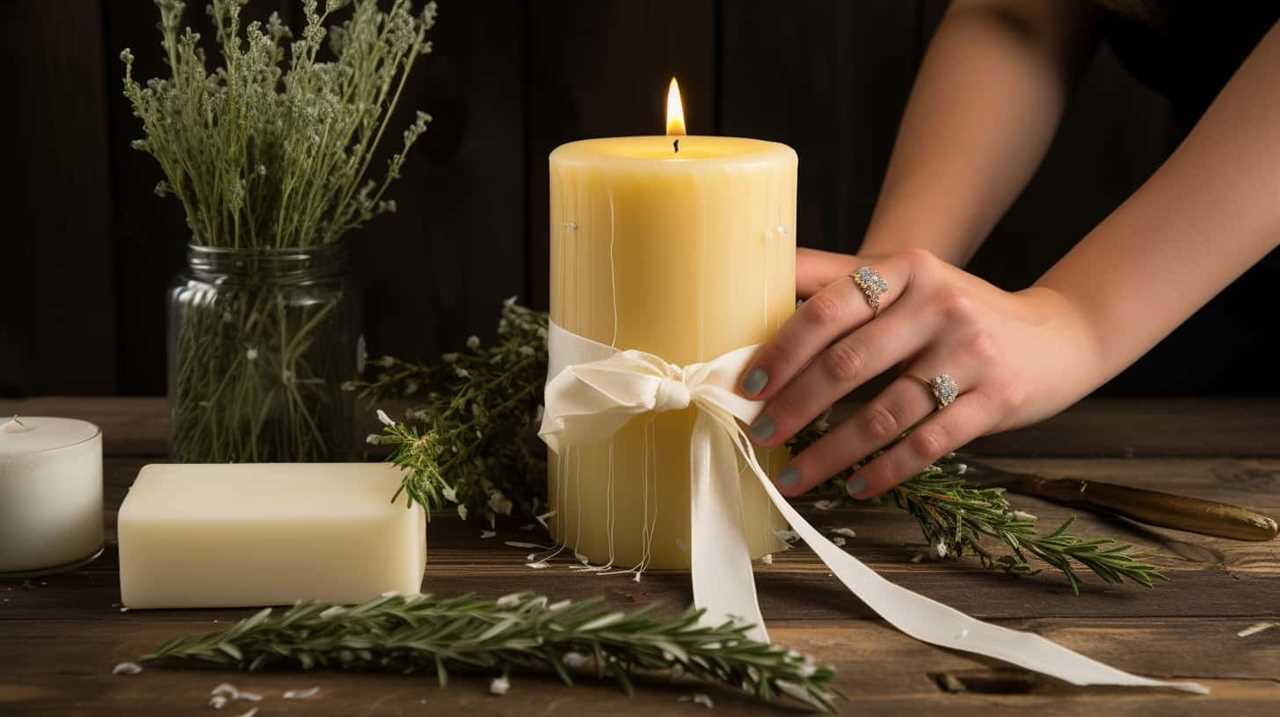
Gather Your Supplies
Let’s begin by rounding up all the supplies we’ll need for dyeing candle wax naturally. When it comes to eco-friendly alternatives, natural dyes are a great option. Not only do they provide vibrant colors, but they also offer several benefits.
Natural dyes are derived from plant-based sources, such as fruits, vegetables, and flowers, making them safe for both the environment and our health. Unlike synthetic dyes, natural options are free from harmful chemicals and toxins. They also create a unique and rustic look that adds charm to your candles.
To get started, gather ingredients like beetroot powder, turmeric, or dried flowers, as well as a double boiler, candle wax, wicks, and containers. With these supplies in hand, you’ll be well on your way to creating beautiful, eco-friendly candles.

QAPPDA 8oz Amber Candle Jars Set of 30,Round Glass Jars with Black Lids,Empty 250ml Glass Candle Making Jar Bulk Thick Small Food Storage Jar for Spice,Candy,Powder
Amber Glass Jar with Airtight Lid-Each set includes 30 pack rounded amber glass jars with black screw-on metal...
As an affiliate, we earn on qualifying purchases.
Choose Your Natural Dye Ingredients
To begin selecting your natural dye ingredients, gather a variety of quantifier determiners such as beetroot powder, turmeric, or dried flowers. These natural dye options offer a range of colors and benefits for your candle wax.
Beetroot powder, for example, can produce shades of pink and red, while turmeric creates vibrant yellow hues. Dried flowers, such as lavender or rose petals, can add a touch of elegance with their soft, pastel tones.
Using natural dyes not only adds beauty to your candles, but also ensures that no harmful chemicals are released when burning them. Natural dyes are eco-friendly, non-toxic, and safe for both you and the environment.
Now that you have gathered your natural dye ingredients, let’s move on to preparing your candle wax.

Syntic 40 Pack Small Glass Jars with Cork Lids, 7oz Empty Mason Jars for Making Candles, Yogurt Container with PE Lids for Wedding Favors, Baby Shower, Candy, Spices with Twine, Labels
Candy Bottles with 6 Kinds of Accessories - Perfectly satisfying your daily lifestyle demands. 40 PE lids +...
As an affiliate, we earn on qualifying purchases.
Prepare Your Candle Wax
Now that we have gathered our natural dye ingredients, we can begin preparing our candle wax. Before we dive into the dyeing process, it is essential to ensure that our wax is clean and ready to absorb the vibrant colors of the natural dyes. Here are some tips for preparing your candle wax:
- Clean the Wax: Remove any impurities or debris from the wax by filtering it through a cheesecloth or strainer. This step is crucial to achieve a smooth and even color distribution.
- Melt the Wax: Place the wax in a double boiler or a heat-safe container and melt it over low heat. Stir occasionally to prevent scorching or burning.
- Add the Dye: Once the wax is completely melted, it’s time to incorporate the natural dyes. Refer to the table below for different types of natural dyes you can use:
| Natural Dye | Color |
|---|---|
| Beetroot | Red |
| Turmeric | Yellow |
| Spinach | Green |
| Blueberries | Purple |
- Stir Well: Mix the dye thoroughly into the melted wax to ensure an even distribution of color. Stir gently but consistently to avoid creating air bubbles.
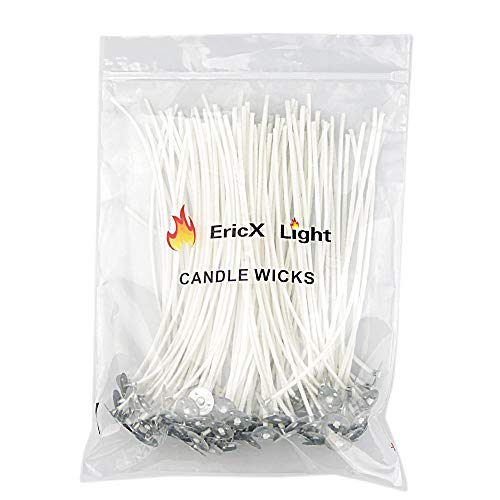
EricX Light 100 Piece Natural Candle Wick, Low Smoke 6" Pre-Waxed & 100% Natural Cotton Core,For Candle Making,Candle DIY
Pre-waxed and tabbed
As an affiliate, we earn on qualifying purchases.
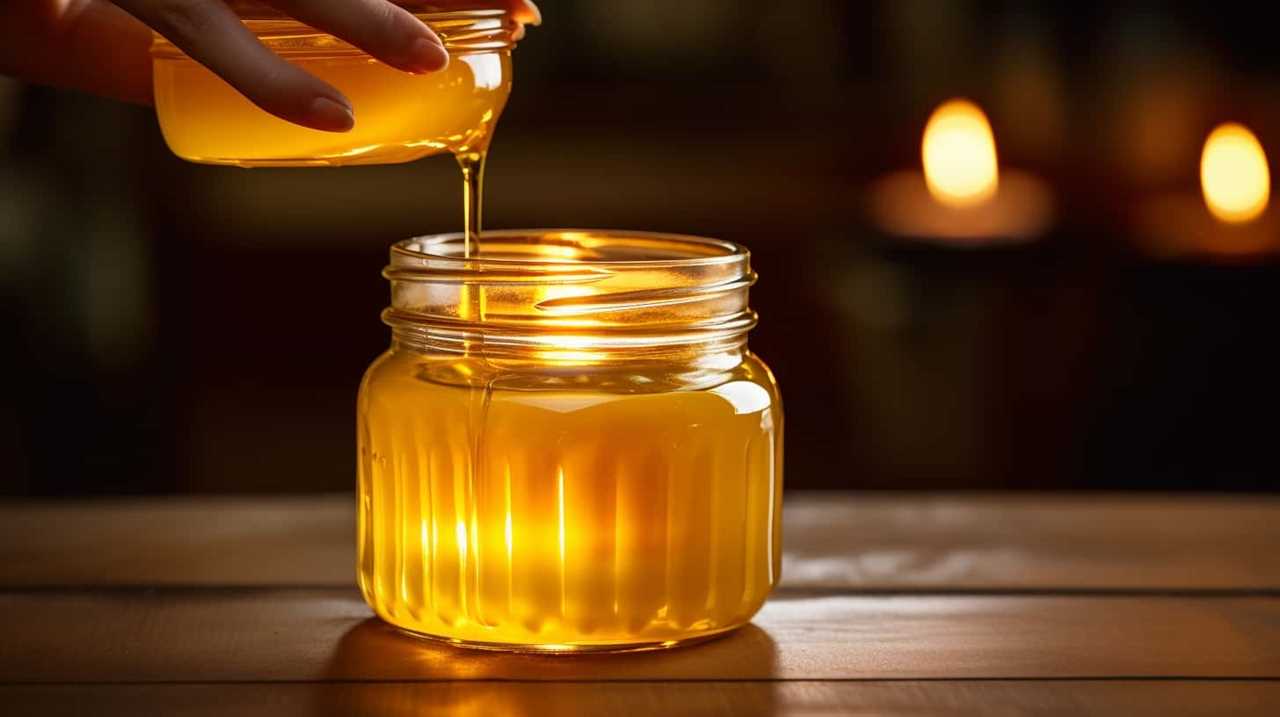
Melt the Wax and Add the Natural Dye
We melt the wax and incorporate the natural dye to create vibrant colors in our candles. Here is a step-by-step guide on how to melt the wax and add the natural dye to achieve beautiful results:
- Start by melting the wax in a double boiler. This ensures that the wax melts evenly and reduces the risk of overheating.
- Once the wax has melted, remove it from the heat source and let it cool slightly. It should be around 180°F (82°C) before adding the dye.
- Begin by testing different dye combinations on a small sample of melted wax. This allows you to see how the colors will turn out before adding the dye to your entire batch.
- If you encounter any common dyeing problems, such as uneven color distribution or wax discoloration, troubleshoot by adjusting the dye concentration or trying a different dye source.
Stir and Mix Thoroughly
After incorporating the natural dye into the melted wax, we thoroughly stir and mix the mixture to ensure an even distribution of color. Stirring techniques and mixing tips are essential to achieve the desired results in your dyed candle wax.
Here are some helpful tips to ensure a successful outcome:
- Use a wooden or heat-resistant spatula: These tools are ideal for stirring as they won’t react with the wax or dye, ensuring a clean and safe process.
- Stir gently but continuously: Start by stirring in a slow and steady motion, making sure to scrape the sides and bottom of the container. This will help prevent any clumps or uneven coloring.
- Avoid excessive stirring: While it’s important to mix thoroughly, over-stirring can introduce air bubbles into the wax, affecting the final appearance of your candle.
Test the Color Before Pouring
To ensure the desired color outcome, it’s essential to test the dye’s hue before pouring the wax mixture into the candle mold. Here are some testing methods and troubleshooting tips to help you achieve the perfect color for your candles:
- Start with a small batch: Test the dye on a small amount of wax first to see how it looks when melted and cooled. This will give you a better idea of the final color.
- Adjust dye concentration: If the color is too light, add more dye; if it’s too dark, use less. Gradually adjust the amount until you achieve the desired shade.
- Consider the type of wax: Different waxes may produce different results when dyed. Test the dye on the specific wax you’re using to ensure compatibility.
- Allow for curing time: Colors may change slightly as the wax cures. Keep this in mind and give the candles enough time to fully cure before evaluating the final color.
By testing the dye’s color before pouring, you can make adjustments and troubleshoot any issues to achieve the perfect shade for your candles.
Now, let’s move on to the next step: pouring the dyed wax into candle molds.
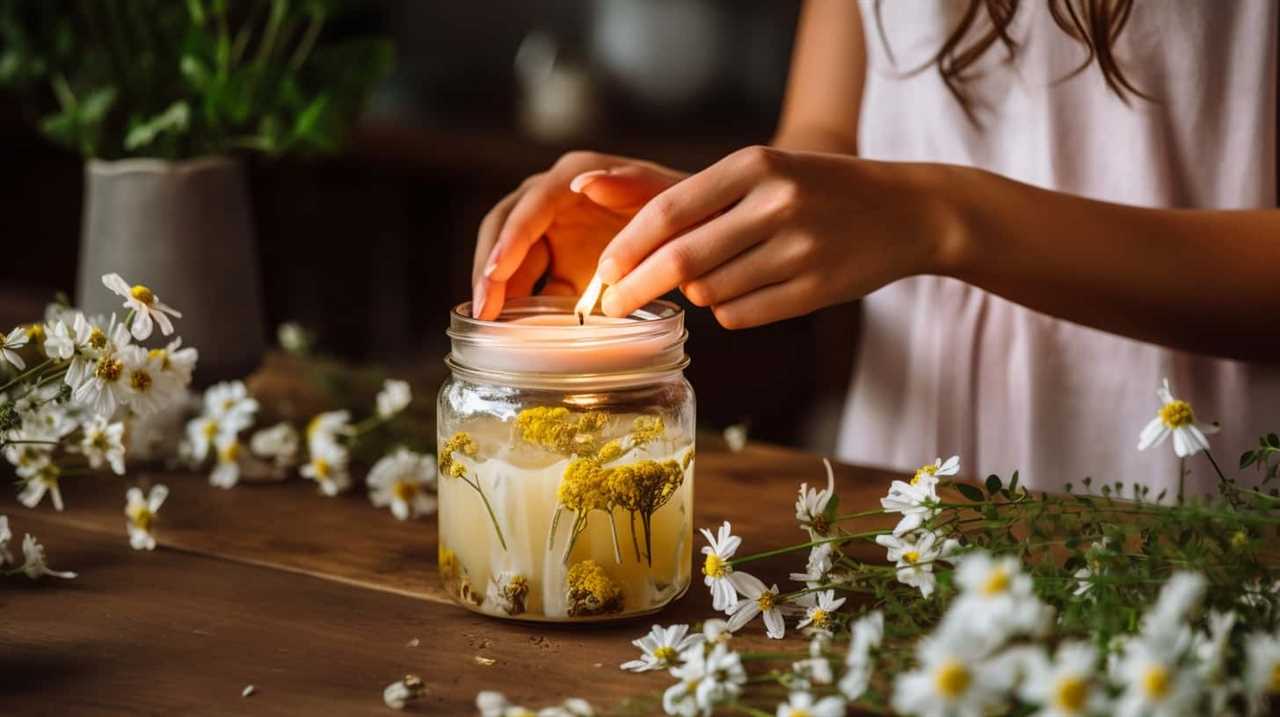
Pour the Dyed Wax Into Candle Molds
Once the desired color has been achieved, it’s time for us to carefully pour the dyed wax into the candle molds.
When it comes to candle mold options, there are a few alternatives to choose from. Traditional metal or silicone molds are commonly used, but you can also get creative and use household items like mason jars, teacups, or even seashells for a unique touch.
To achieve different patterns or designs when pouring the dyed wax, you can try layering different colors or swirling them together with a skewer or toothpick. Another option is to use different mold shapes, such as hearts or stars, to create interesting shapes.
Remember to pour the wax slowly and steadily to avoid air bubbles or spills.
With the dyed wax securely in the molds, we can now move on to the next step and allow the candles to cool and set.
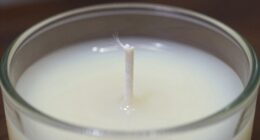
Allow the Candles to Cool and Set
We let the candles cool and set for a few hours to ensure they’re solid and ready to be used. This step is crucial for achieving the best results with your naturally dyed candles.
Here are some tips for properly handling hot wax and achieving vibrant colors with natural dyes:
- Be patient: Allow the candles to cool at room temperature without any disturbances. This will prevent any cracks or imperfections from forming.
- Avoid touching: Resist the temptation to touch or move the candles while they’re cooling. This can disrupt the setting process and affect the final appearance.
- Check for firmness: After a few hours, gently press the top of each candle to ensure they’re solid and firm. If they still feel soft, give them more time to cool.
- Remove from molds: Once the candles have completely cooled and set, carefully remove them from the molds. Take your time to avoid any breakage or damage.
Following these steps will help you create beautifully colored candles that are ready to be enjoyed and shared with others.
Frequently Asked Questions
How Long Does It Take for the Dyed Wax to Cool and Set Completely?
After dyeing the wax, it’s important to let it cool and set completely. The cooling time can vary depending on the size and thickness of the candle, but generally, it takes a few hours to overnight for the wax to fully harden and set.
Can I Use Food Coloring or Artificial Dyes Instead of Natural Dyes?
Using food coloring or artificial dyes in candle wax is an option, but there are pros and cons. Natural dyes offer a more eco-friendly and non-toxic choice, while artificial dyes can provide a wider range of vibrant colors.
What Kind of Candle Molds Should I Use for This Project?
When choosing candle molds, consider alternatives like silicone molds or repurposing household items like mason jars or teacups. DIY candle containers are a great way to add a personal touch and create unique candles.
How Do I Clean up Any Spills or Messes While Dyeing the Wax?
To clean up spills while dyeing wax, we recommend using a cloth or paper towel to absorb the excess dye. To prevent spills, be sure to work on a protected surface and handle the dye carefully.
Can I Mix Different Natural Dyes Together to Create Unique Colors?
Yes, we can mix different natural dyes together to create unique colors. By experimenting with different dyes and color combinations, we can create beautiful shades that will make our candles truly one-of-a-kind.
Conclusion
In conclusion, dyeing candle wax naturally is a simple and enjoyable process that allows you to create beautiful and unique candles. By using natural dye ingredients and following the steps outlined, you can achieve vibrant and stunning colors for your candles.
So gather your supplies, melt the wax, add the natural dye, and pour into molds. Then, allow the candles to cool and set, and voila! You’ll have your own homemade, naturally dyed candles to enjoy.