
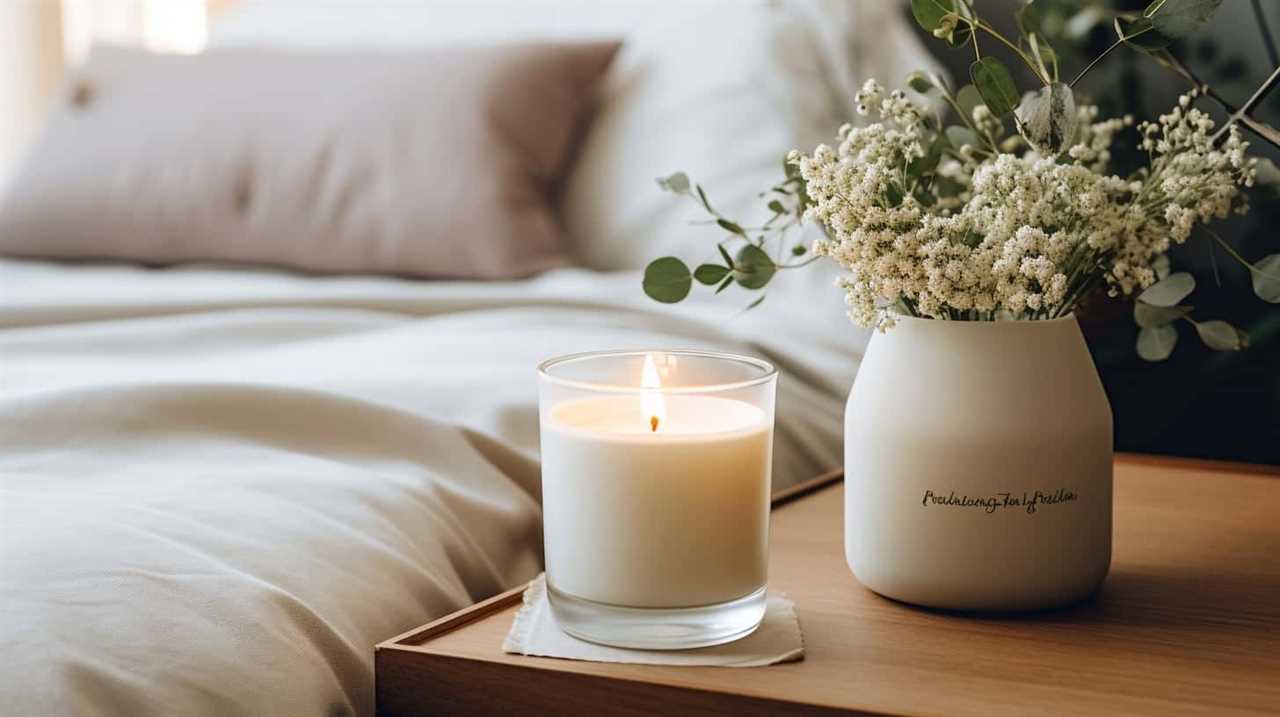
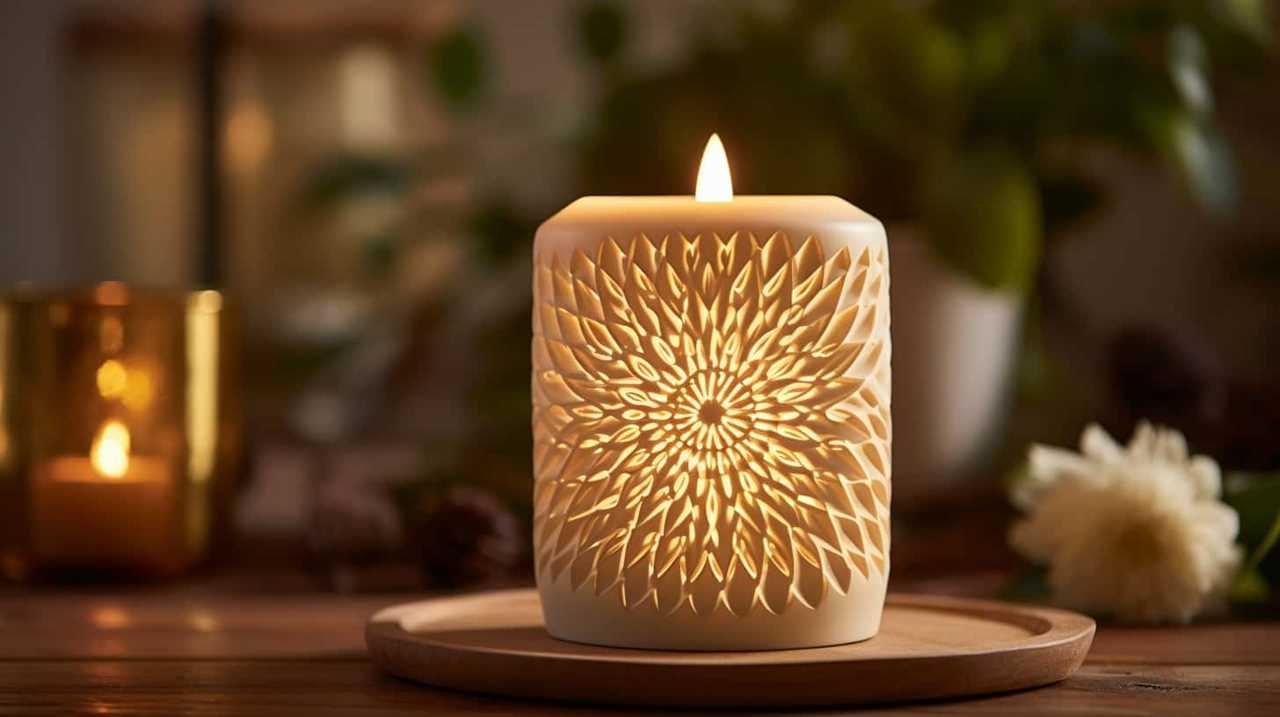
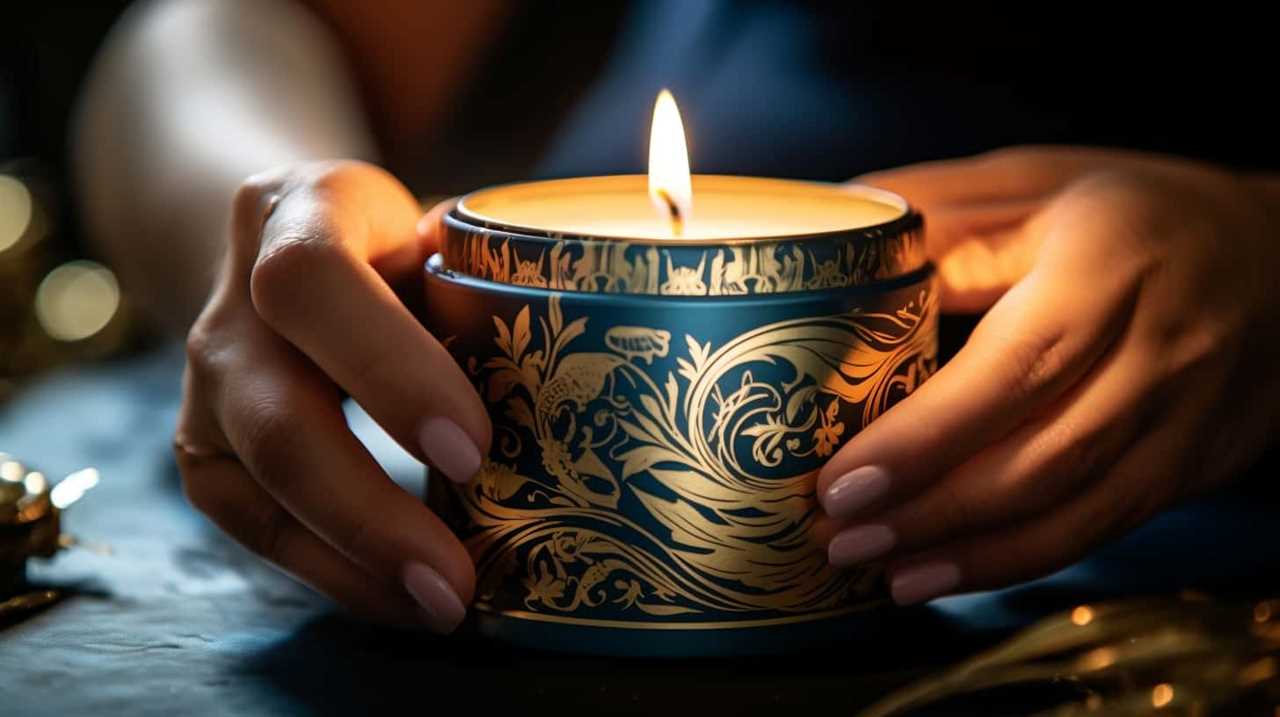
Caring for a candle is like tending to a fragile flame within ourselves; it requires our complete attention and commitment. In this tutorial, we will share our expertise on the art of candle care, helping you become proficient in maintaining them.
From selecting the perfect candle to handling emergencies with grace, we will equip you with the knowledge and skills needed to ensure your candles burn bright and safe.
With our guidance, you will learn the importance of trimming the wick, protecting your candle from drafts, and cleaning its vessels.
So, join us on this journey as we unravel the secrets of candle care, allowing you to create a serene and enchanting ambiance in any space.
Key Takeaways
- Consider the scent, burn time, and aesthetic appeal when selecting a candle.
- Trim the wick to about ¼ inch before each use to maintain its length.
- Place the candle in the center of a flat, heat-resistant surface for an even burn.
- Position the candle away from drafts and airflow for a steady and safe burn.

WFPLUS 100 Pcs Aluminum Tea Lights Cups, Empty Case Candle Wax Containers, Metal Tea Light Tins with 100 Pcs Candle Wicks Packaged in Carton Box, Candle Mold for DIY Candles Making Supplies
Size and Material: Round Tin Tea Light Cups Diameter: 3.7cm/1.5 Inch, Height: 1.5cm/0.6 Inch, made of aluminum, high...
As an affiliate, we earn on qualifying purchases.
Choosing the Right Candle
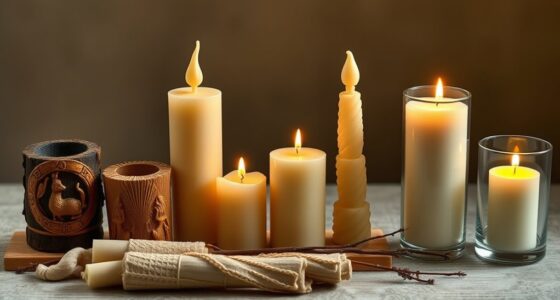
When selecting a candle, we recommend considering its scent, burn time, and overall aesthetic appeal.
The fragrance of a candle plays a significant role in creating a desired atmosphere. Whether you prefer a fresh and clean scent or a warm and cozy aroma, there are a variety of options available to suit your preferences.
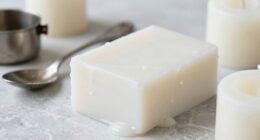
It’s also important to consider the type of wax used in the candle. Different wax types, such as soy, beeswax, or paraffin, offer different qualities and benefits. Soy wax, for example, is known for its clean burn and eco-friendly nature. Beeswax candles have a natural honey scent and are long-lasting. Paraffin candles, on the other hand, are widely available and often come in a variety of fragrances.

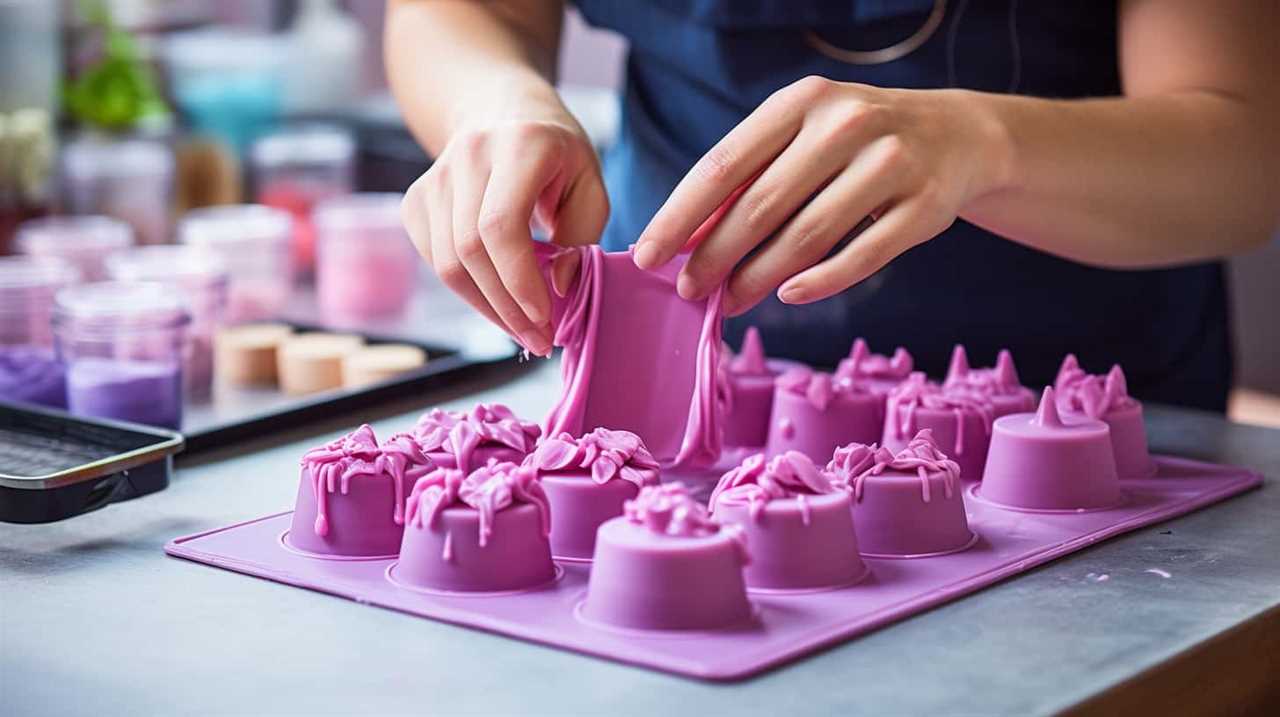
2 Pack 6 Inch Cylinder Candle Mold Pillar Candle Molds Taper - Resin Casting Silicone Molds for Home Decor & Candle Making Wave Spiral Mold
[High Quality] This Mold made from food grade silicone, flexibility and durable to reuse. Smooth interiors to demold.
As an affiliate, we earn on qualifying purchases.
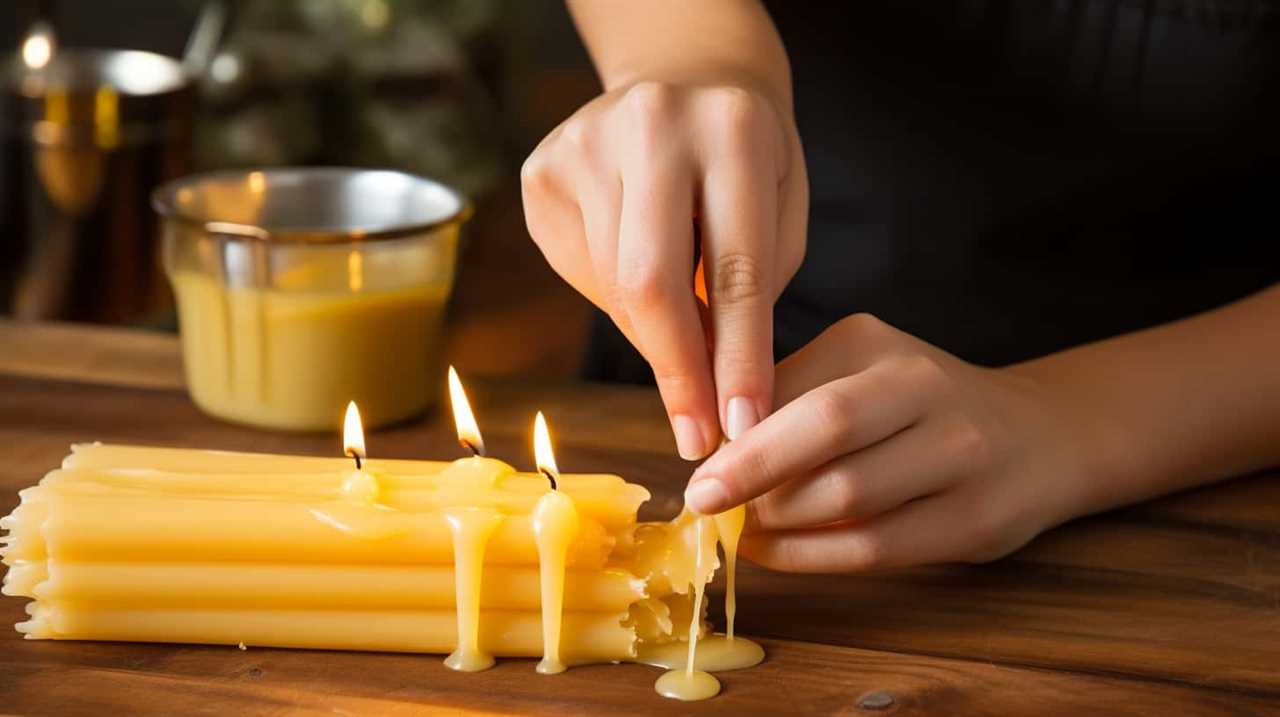
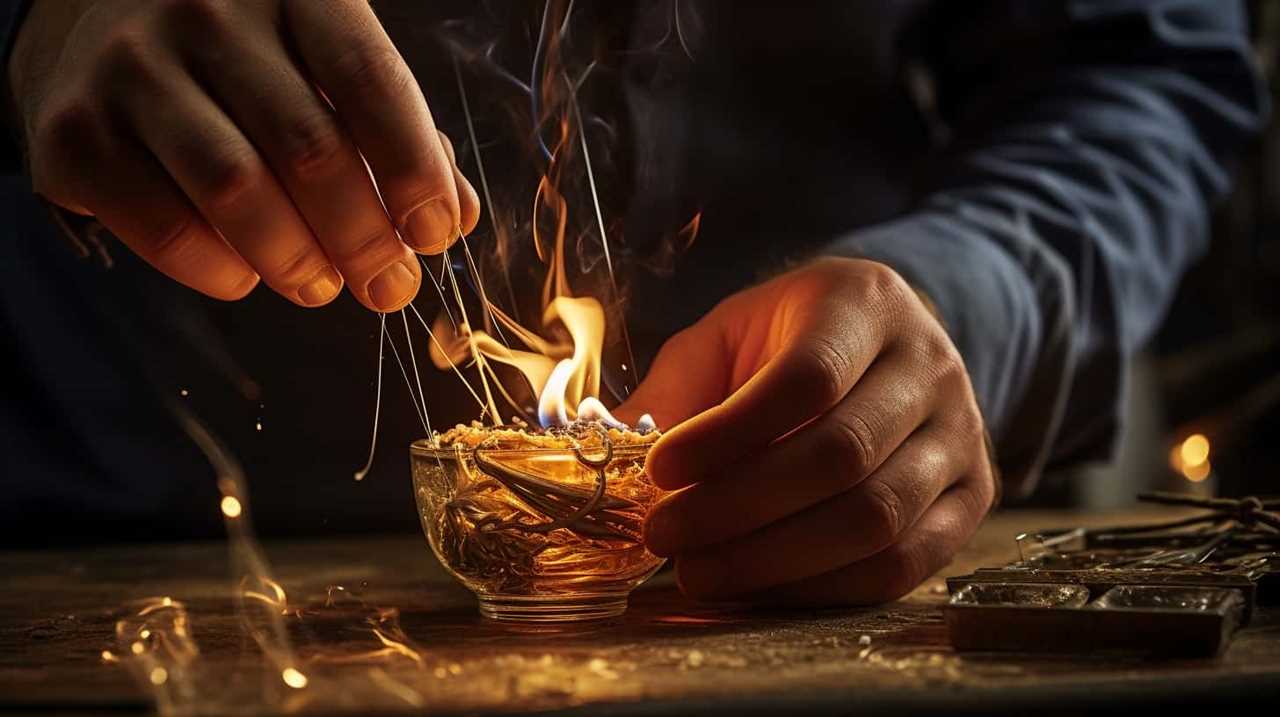
Properly Trimming the Wick
When it comes to properly trimming the wick of a candle, there are a few important points to keep in mind.

Firstly, trimming the wick to a length of about ¼ inch is crucial for safety, as it helps prevent the flame from getting too large and causing a fire hazard.
Secondly, the frequency of trimming will depend on how often you use the candle, but a good rule of thumb is to trim it before each use.
Lastly, the technique of trimming involves using a sharp pair of scissors or wick trimmers to carefully snip off the excess wick, ensuring a clean and even cut.
Wick Length for Safety
To ensure safety while using a candle, it’s important that we regularly trim the wick to the appropriate length. Wick maintenance is crucial for fire safety and to prevent accidents. Here are three key points to consider when trimming the wick:
- Trim to ¼ inch: Trim the wick to a length of about ¼ inch before each use. This prevents the flame from becoming too large and reduces the risk of the candle burning too hot.
- Use sharp scissors: Use sharp scissors or a wick trimmer to cut the wick. This ensures a clean cut and prevents the wick from fraying or splitting.
- Remove trimmings: After trimming the wick, make sure to remove any trimmings from the candle. These trimmings can catch fire and cause the flame to become unstable.
Trimming Frequency and Technique
We should regularly trim the wick of a candle to ensure its safety and prevent accidents. Proper trimming techniques are essential for maintaining the wick and maximizing the performance of the candle. To help you understand the importance of wick maintenance, here is a table outlining the recommended trimming frequency and technique for different candle sizes:
| Candle Size | Trimming Frequency | Trimming Technique |
|---|---|---|
| Small | Every 3-4 hours | Trim to 1/4 inch |
| Medium | Every 4-6 hours | Trim to 1/4 inch |
| Large | Every 6-8 hours | Trim to 1/4 inch |
| Extra-Large | Every 8-10 hours | Trim to 1/4 inch |
| Jumbo | Every 10-12 hours | Trim to 1/4 inch |

Large Silicone Cylinder Candle Mold - Pillar Candle Making Mold (16.9cm x 9.5cm/6.5" x 3.74")
Large Silicone Candle Mold: You will get 1 pack long cylinder candle making mold, great for for you...
As an affiliate, we earn on qualifying purchases.
Using a Candle Snuffer
Our preferred method for extinguishing candles is to use a candle snuffer. This handy tool allows you to safely and efficiently put out the flame without any risk of blowing hot wax or sparks.
Here are three reasons why we recommend using a candle snuffer:
- Precise snuffing technique: With a candle snuffer, you have better control over extinguishing the flame. Gently place the snuffer over the candle, allowing the flame to be suffocated slowly and completely.
- Avoiding accidental wax spills: When using alternative extinguishing methods like blowing or smothering the flame with a lid or a piece of paper, there’s a higher chance of hot wax spilling and causing a mess. Using a snuffer eliminates this risk entirely.
- Preserving candle scent: Blowing out a candle can disrupt the delicate scent, dispersing it into the air. By using a snuffer, you can retain the fragrance for longer, ensuring a more enjoyable candle experience.

Large Cylinder Mold for Candle Making, 2x3Inch 2x6Inch 2x8Inch Cylinder Silicone Candle Mold, 3 Pcs Long Pillar Epoxy Resin Casting Mold for Wax Candle Resin Craft Making
Large Cylinder Candle Mold: You will get 3 pack of large pillar silicone candle molds, measuring approx. 20.3...
As an affiliate, we earn on qualifying purchases.
Positioning the Candle Correctly
After using a candle snuffer to safely extinguish the flame, positioning the candle correctly is essential for optimal burning and safety. Proper candle placement ensures an even burn and reduces the risk of accidents. To help you master the art of candle positioning, here are some positioning techniques and candle care tips:
| Positioning Technique | Description |
|---|---|
| Centered | Place the candle in the center of a flat, heat-resistant surface to promote an even burn. Avoid placing it near flammable objects or drafts. |
| Elevated | Elevate the candle on a stable candle holder or tray to enhance the beauty of the flame and protect the surface beneath it. |
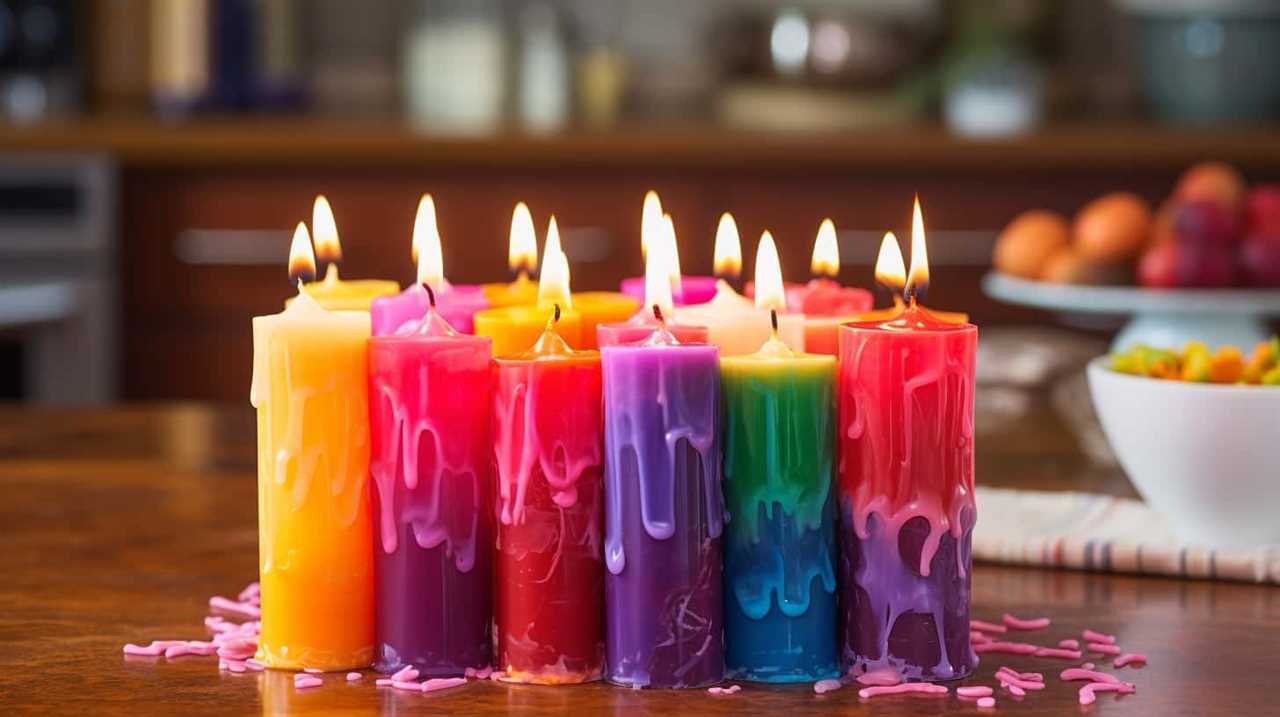
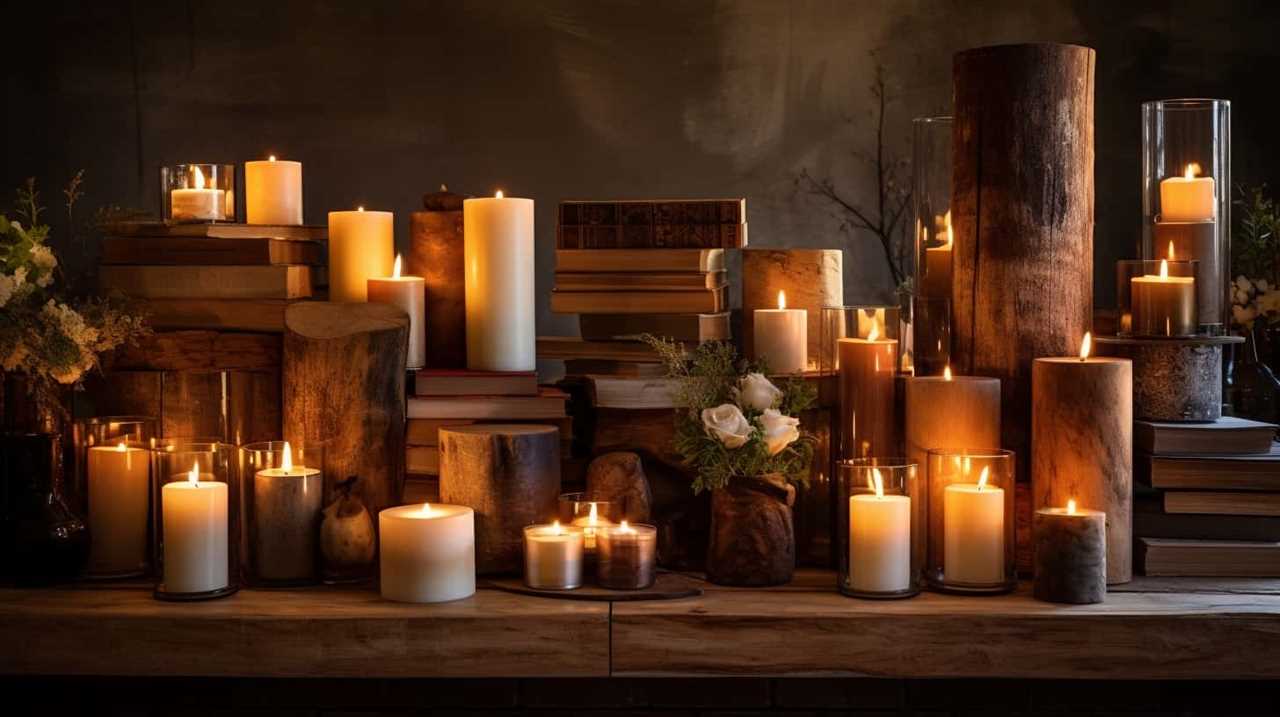
| Grouping | Create an attractive display by grouping candles in varying heights and sizes. Ensure they are placed at a safe distance from each other to prevent heat transfer. |
| Rotating | Rotate the candle periodically to prevent uneven burning and prolong its lifespan. |
Avoiding Drafts and Airflow
To ensure a safe and optimal burning experience for your candle, how can you prevent drafts and control airflow? Here are three candle safety precautions for avoiding open flames and maintaining a controlled environment:
- Place your candle in a draft-free area: Avoid positioning your candle near open windows, doors, or vents where drafts can disturb the flame. Even a slight breeze can cause the flame to flicker and potentially become a fire hazard.
- Use candle accessories: Consider using a candle snuffer or lid to extinguish the flame instead of blowing it out. This helps to minimize the airflow around the candle, reducing the risk of accidental flare-ups.
- Trim the wick properly: Trim your candle wick to around 1/4 inch before each use. This ensures a controlled and steady burn, preventing excessive flickering and the creation of drafts.
Allowing the Candle to Burn for Long Enough
To ensure optimal burn time for your candle, it’s important to allow it to burn for long enough. This means avoiding the temptation to extinguish it prematurely.
Optimal Burn Time
Once the candle has been lit, it’s important to ensure that we allow it to burn for an optimal amount of time. Proper burn time management is crucial for prolonging the lifespan of the candle and maximizing its fragrance. Here are three tips to help you achieve optimal burn time:
- The first burn: Allow the candle to burn for at least two hours during its initial use. This ensures that the wax melts evenly across the entire surface and prevents tunneling.
- Avoid short burns: It’s essential to burn the candle for a sufficient amount of time, typically one to two hours, to allow the wax pool to reach the edges of the container. This helps prevent the formation of a tunnel and promotes an even burn.
- Trim the wick: Before each burn, trim the wick to about ¼ inch to prevent excessive flickering and the formation of soot. A shorter wick ensures a controlled and steady burn.
By following these burn time management techniques, you can prolong the lifespan of your candle and enjoy its warm glow and enticing aroma for longer.
Now, let’s move on to the next section to learn how to avoid extinguishing the candle prematurely.
Avoid Extinguishing Prematurely
Let’s make sure we allow the candle to burn for a sufficient amount of time to avoid extinguishing it prematurely. Avoiding premature extinguishing is crucial in prolonging the burn time of your candle.
When you light the candle for the first time, it’s important to let it burn until the entire surface of the wax has melted. This will create an even wax pool and prevent tunneling, ensuring that the candle burns evenly throughout its lifespan.
Additionally, it’s recommended to burn the candle for at least one hour for every inch in diameter. This allows the wax to fully melt and release its fragrance. By allowing the candle to burn for long enough, you can maximize its burn time and enjoy its warm glow and beautiful scent for longer periods.
Now, let’s move on to the next section and discuss how to extinguish the candle safely.
Extinguishing the Candle Safely
We often extinguish our candles safely by gently blowing out the flame. However, there are other methods that can be used to ensure a safer and more controlled extinguishing experience. Here are three alternatives to consider:
- Use a candle snuffer: A candle snuffer is a tool specifically designed to extinguish candles without causing any wax spills. Simply place the snuffer over the flame and allow it to suffocate the fire, extinguishing the candle gently and neatly.
- Dip the wick: Another method is to dip the wick into the melted wax using a metal tool. This cuts off the oxygen supply and stops the flame from burning. Be careful not to leave the wick submerged for too long, as this can cause excessive smoke and soot.
- Use a lid or plate: If you don’t have a snuffer or a metal tool, you can also extinguish the candle by placing a lid or a heat-resistant plate over the jar. This method works by smothering the flame and preventing any wax spills.
By using these alternatives, you can safely extinguish your candle without worrying about wax spills or accidental fires.
Now, let’s move on to the next topic: preventing tunneling and uneven burning.
Preventing Tunneling and Uneven Burning
To prevent tunneling and ensure even burning, we can take certain measures to care for our candles.
One common issue with candles is tunneling, where the wax burns down the center, leaving a thick wall of unmelted wax along the sides.
To prevent this, it’s important to burn the candle for a sufficient amount of time during each use. A general rule of thumb is to burn the candle for at least one hour for every inch of its diameter.
Additionally, trimming the wick to ¼ inch before each use can help promote an even burn.
Taking these steps won’t only prevent tunneling but also reduce the risk of wax drips and ensure the safety of your candles.
Now, let’s move on to the next topic – storing candles properly.
Storing Candles Properly
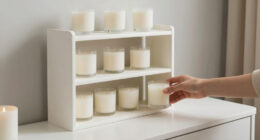
How can we ensure that our candles stay in optimal condition when not in use? Properly storing candle jars and preventing wax discoloration are key steps to maintaining the quality of your candles. Here are three tips to help you store your candles effectively:
- Keep them away from direct sunlight: Exposure to sunlight can cause the wax to melt or fade the color of the candle. Find a cool, dark place to store your candles, such as a cupboard or drawer.
- Avoid extreme temperatures: Extreme heat or cold can affect the consistency and fragrance of the candle. Keep them away from heaters, air conditioners, or windows. Optimal storage temperature is between 50-80°F (10-27°C).
- Use lids or covers: Dust and debris can accumulate on the candle surface, affecting its appearance and burn quality. Always cover your candle jars with their lids or use candle covers to keep them clean and protected.
Cleaning Candle Jars and Holders
When it comes to cleaning candle jars and holders, there are a few important points to keep in mind.
First, it’s essential to know how to remove wax residue effectively to ensure the glass is clean and ready for reuse.
Additionally, proper glass maintenance is crucial to prevent any damage or scratches.
Lastly, cleaning decorative candleholders requires special care and attention to preserve their intricate designs.
Removing Wax Residue
We find it essential to address the proper maintenance of candle jars and holders, particularly when it comes to removing wax residue. Wax build-up can be unsightly and can even affect the performance of your candle.

To ensure your candle jars and holders remain in pristine condition, consider the following wax removal techniques:
- Freezer Method: Place the candle jar or holder in the freezer for a few hours. Once the wax has hardened, use a spoon or butter knife to gently scrape it off. This method is effective for larger wax spills.
- Hot Water Method: Fill a sink or basin with hot water and submerge the candle jar or holder. Allow the wax to soften, then use a soft cloth or sponge to wipe away the residue. Be cautious not to use boiling water, as it may damage the glass.
- Candlestick Trick: For smaller wax spills on candle holders, place the holder in the freezer for a short time. Once the wax is hard, use a candlestick to gently tap and dislodge the wax.
Proper Glass Maintenance
To maintain the cleanliness and longevity of our candle jars and holders, it’s crucial to properly clean and maintain the glass surfaces.
Glass cleaning is an essential part of candle care as it not only keeps our candle containers looking pristine but also prevents soot buildup.
To clean the glass, start by removing any remaining wax residue using the techniques discussed earlier. Once the wax is removed, fill a sink or basin with warm water and a mild dish soap.
Gently scrub the glass using a soft cloth or sponge, paying special attention to any stubborn spots or stains. Rinse the glass thoroughly with clean water and dry it using a lint-free cloth or paper towel.
Regular glass cleaning will ensure that our candle jars and holders remain in excellent condition, allowing us to enjoy our candles for a long time to come.
Cleaning Decorative Candleholders
To maintain the cleanliness and longevity of our candle jars and holders, it’s important to clean and care for our decorative candleholders as well. Here are three essential tips for cleaning your candleholders:
- Cleaning wax spills:
If you have wax spills on your candleholders, gently scrape off any excess wax using a plastic scraper or a credit card. Then, place the holder in the freezer for a few hours to harden the remaining wax. Once hardened, use the edge of a spoon or a butter knife to lift the wax off the surface. Finally, wipe the holder with a damp cloth to remove any residue. - Removing soot stains:
Soot stains can accumulate on candleholders, especially around the rim. To remove these stains, mix equal parts water and white vinegar in a small bowl. Dip a soft cloth or sponge into the solution and gently scrub the stained area. Rinse with water and dry thoroughly. - Regular maintenance:
Regularly dust your candleholders using a soft, lint-free cloth. For stubborn stains, use a mild dish soap diluted with water. Avoid using harsh chemicals or abrasive scrubbers, as they can damage the surface of your holders.
Avoiding Overburning and Overheating
By monitoring the burn time and keeping an eye on the flame, we can prevent overburning and overheating of our candles.
Overburning, or leaving a candle burning for too long, can lead to excessive heat, which can cause the wax to spill over and create a mess. To prevent this, it’s important to follow the recommended burn time stated on the candle’s packaging or instructions.
Additionally, maintaining a steady flame is crucial to avoid overheating. A flickering or dancing flame indicates that the candle may be overheating, and it should be extinguished immediately to prevent any accidents.
To maintain a steady flame, ensure that the wick is trimmed to about ¼ inch before each use.
Using Candle Accessories Wisely
We can enhance our candle care routine by using candle accessories wisely. Here are three items to consider incorporating into your candle decor:
- Candle Snuffer: This tool allows you to extinguish the flame without blowing it out, preventing wax splatter and ensuring a clean burn. Simply place the snuffer over the flame and the lack of oxygen will put it out gently.
- Candle Trimmer: Keeping your candle wick trimmed to about 1/4 inch is important for an even burn and to prevent excessive smoke. A candle trimmer is specifically designed to trim the wick to the optimal length, making it easier to maintain a clean and safe burn.
- Candle Holder: Choosing the right candle holder not only adds to the aesthetic appeal but also protects your surfaces from heat damage. Look for holders that are heat resistant and stable to prevent accidents and ensure a longer lifespan for your candles.
Handling Candle Emergencies Safely
During a candle emergency, such as a sudden flame flare-up or accidental spill, it’s crucial that we stay calm and take immediate action to ensure our safety and prevent further damage. Candle safety and emergency preparedness are essential skills to possess when dealing with such situations.
Firstly, if a flame flares up unexpectedly, don’t panic. Carefully extinguish the flame by using a candle snuffer or a metal lid to smother it. Never use water, as it can cause splattering wax or even an explosion.
In the case of an accidental spill, quickly remove any flammable items from the area and use a fire extinguisher or baking soda to smother the flame. Remember to always have a fire extinguisher nearby and familiarize yourself with its usage.
Frequently Asked Questions
How Often Should I Clean My Candle Jars and Holders?
We clean our candle jars and holders regularly to maintain their appearance and functionality. The frequency depends on factors like usage and the type of candle snuffer used. It’s crucial to keep them clean for optimal candle burning experience.
Can I Use Any Type of Candle Snuffer or Are There Specific Ones I Should Use?
Different types of candle snuffers exist, each with its own benefits. While any snuffer can be used, some specific ones are designed for certain types of candles. Alternatively, other tools like a metal spoon can be used as snuffer alternatives.
What Should I Do if My Candle Starts to Tunnel and Burn Unevenly?
If a candle starts to tunnel and burn unevenly, we must intervene. To troubleshoot this issue, we should trim the wick, ensure an even burn, and avoid drafts. These candle care tips ensure a perfect burn every time.
Can I Burn Multiple Candles in the Same Room Without Any Issues?
Yes, you can burn multiple candles in the same room without any issues. However, it is important to choose the right candles for different rooms based on their scents and sizes to avoid overwhelming or conflicting fragrances.
How Do I Safely Dispose of a Candle That Has Burned All the Way Down?
To safely dispose of a completely burned-down candle, there are several recycling options available. We can recycle the glass jar, repurpose the leftover wax, or even compost the wick. Let’s explore these environmentally-friendly choices together.
Conclusion
In conclusion, caring for a candle is essential to ensure its longevity and safety. By choosing the right candle, properly trimming the wick, using a candle snuffer, and positioning it correctly, you can enhance your candle experience.
Avoiding drafts and airflow, cleaning candle jars and holders, and using accessories wisely are also important. Remember, handling candle emergencies safely is crucial.
So, go ahead and pamper your candles with utmost care, and they’ll illuminate your space with a brilliance that’s simply out of this world.