

To improve wick centering, try using simple tools like a chopstick, toothpick, or wick centering device to hold the wick upright during pouring. Gently reposition the wick when the wax is semi-solid to make sure it stays straight. Pour in stages to reduce movement and support the wick with adhesive or a sticker at the bottom. Patience and practice help you master these techniques. Keep exploring for more tips to perfect your candle-making process.

Get decor and gifts delivered free with Prime
- Fast, free delivery on millions of items
- Prime Video, Amazon Music and more included
- Member-only deals all year
Key Takeaways
- Use a wick centering device or a chopstick to hold the wick in place during pouring and cooling.
- Dip the wick’s metal end in hot wax and press it to the container’s bottom for secure positioning.
- Pour wax in stages to minimize movement and help maintain wick alignment.
- Reinforce the wick with adhesive or a wick sticker until the wax cools and sets.
- Gently reposition the wick with tools like a toothpick if it shifts during cooling.
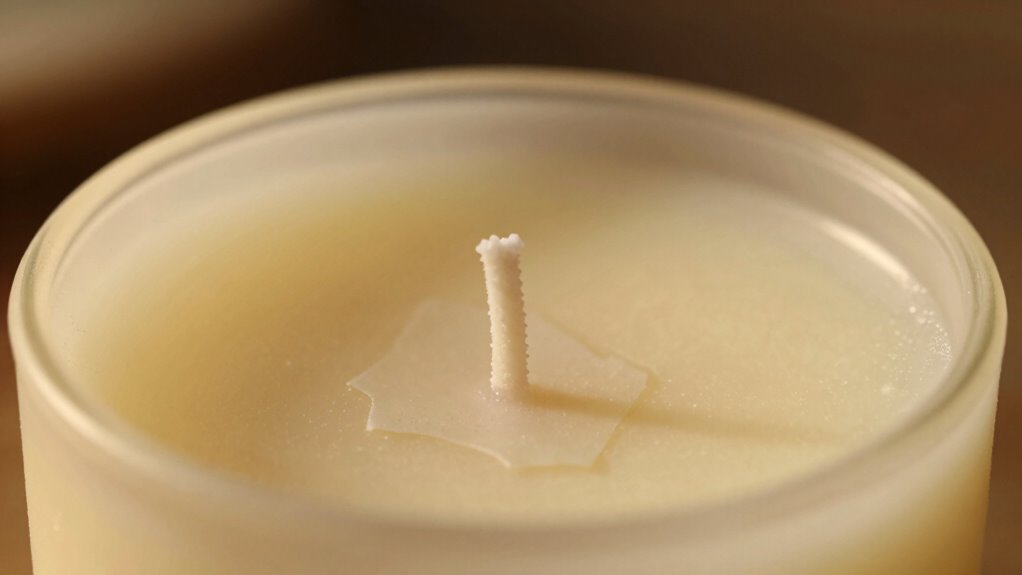
If you’ve ever struggled with a crooked or uneven candle wick, you’re not alone. Achieving a perfectly centered wick can transform your candle-making process and significantly improve the burn quality. When the wick isn’t properly centered, you risk uneven burning, tunneling, and even a shortened candle lifespan. Fortunately, there are simple DIY tricks you can try to keep your wick exactly where you want it. One key factor to consider is the wick material, as different materials behave differently during the curing process. Cotton wicks are common and easy to work with, but if you’re using a thicker or more rigid wick, you might need to adjust your approach slightly. Additionally, the candle fragrance you choose can influence how the wax cools and sets, which in turn affects wick placement. Light fragrances tend to have less impact on cooling, while denser scents might cause uneven setting if not properly managed.
To keep your wick centered, start by preparing your container and wick before pouring the wax. Cut a length of wick slightly longer than the height of your container. Dip the wick’s metal or wax-coated end into the hot wax, then quickly press it onto the bottom center of your container. Holding it in place for a few seconds ensures it adheres securely. While the wax cools and hardens, use a small piece of adhesive or a wick sticker on the bottom of the wick to reinforce its position. For added stability, you can also twist the wick gently to ensure it stays upright as the wax solidifies. Once the wax reaches a semi-solid state, you can adjust the wick if needed by gently repositioning it with a wick centering device or a simple tool like a chopstick or toothpick. These tools help guide the wick toward the center without disturbing the wax too much. Proper wick alignment during this stage can make a significant difference in the final result.
Another trick involves pouring the wax in stages. Pour a small amount first, let it cool just enough to hold the wick in place, and then pour the rest of the wax. This method minimizes movement and helps keep the wick centered during the setting process. If your candle fragrance is strong or your wick material tends to shift, consider using a wick holder or a wick centering device designed specifically for candle making. These tools keep your wick perfectly aligned as the wax cools, ensuring a professional-looking result. Additionally, understanding the wick behavior during cooling can help you troubleshoot and perfect your technique. Proper wick placement not only improves the candle’s appearance but also enhances its overall safety and burn quality. With patience and practice, these DIY wick centering tricks will help you craft candles that burn evenly, with beautiful, straight wicks that enhance both the aesthetic and function of your candles.
As an affiliate, we earn on qualifying purchases.
Frequently Asked Questions
Can DIY Wick Centered Candles Burn Evenly for Long Periods?
Yes, if you carefully focus on wick placement, your DIY wick centered candles can burn evenly for longer periods. Proper wick placement guarantees a consistent melt pool, which improves candle aesthetics and prevents tunneling. When you position the wick accurately, you help the candle burn more efficiently, reducing waste and maximizing burn time. Regularly adjusting or reinforcing the wick during pouring can also contribute to a more even burn and beautiful presentation.
What Tools Are Best for Manually Centering Wicks?
To manually center wicks for better candle stability, you can use a simple tool like a wick centering device or even a chopstick. For example, imagine you’re making a soy candle and notice the wick drifts; inserting a wick centering tool guarantees the wick stays centered during the pour. These tools help maintain proper wick centering, which improves candle stability and ensures an even burn.
How Do Temperature Changes Affect Wick Positioning?
Temperature changes can shift your wick positioning because of thermal expansion and material contraction. When the candle heats up, the wax and wick might expand, causing the wick to move slightly off-center. Conversely, cooling causes contraction, which can also affect the wick’s position. To maintain proper placement, you should regularly check your candle as it burns and adjust the wick if necessary, especially during temperature fluctuations.
Are There Safety Concerns When Adjusting Wicks During Burning?
Yes, there are safety concerns when adjusting wicks during burning. You should always exercise caution because the wax and wick are flammable materials. Always wait until the candle cools before making adjustments, and use tools like tweezers or wick centering devices. Follow safety precautions to prevent accidents, such as avoiding hot wax splatters or unintentional fires. Properly managing your candle helps guarantee safe and enjoyable burning experiences.
How Often Should I Re-Center a Wick While Burning?
You should re-center your wick as needed during burning, especially if it starts to lean or shift, to guarantee candle stability. Investigate the idea that frequent wick repositioning prevents uneven burning and soot buildup. By doing this, you maintain an even flame, promote cleaner burning, and optimize your candle’s performance. Check your candle every 20-30 minutes and adjust the wick gently, stopping once the wax is nearly consumed.
Conclusion
By trying these DIY wick centering tricks, you’ll find your candles burn more evenly and beautifully—like a perfectly choreographed dance. It’s simple, cost-effective, and makes a real difference in the final look and performance of your candles. Just remember, patience and a steady hand are your best friends in this process. With a little practice, you’ll master these tricks and enjoy candles that shine with professional-quality perfection every time.
Halloween Picks
halloween
As an affiliate, we earn on qualifying purchases.