To make your own tea lights, start by gathering supplies like wax, wicks, small containers, and optional fragrances or dyes. Melt the wax carefully using a double boiler, then pour it into your prepared molds or containers, ensuring the wick stays centered. Allow the candles to cool and set undisturbed, trim the wicks to about ¼ inch, and add personal touches like labels or decorations. For detailed steps and tips, discover more below.
Key Takeaways
- Gather small, heat-safe containers and pre-tabbed wicks suitable for tealights.
- Melt wax in a double boiler, monitoring temperature at 170°F-180°F, and add fragrance or dye if desired.
- Pour melted wax carefully into molds or containers at the right temperature, avoiding bubbles.
- Allow candles to cool undisturbed for 1-2 hours until fully set.
- Trim wicks to about ¼ inch for safe, clean burning and optimal performance.
Top picks for "tealight candl light"
Open Amazon search results for this keyword.
As an affiliate, we earn on qualifying purchases.
Gathering Your Supplies

To create your own tealight candles, start by gathering all the necessary supplies. First, choose your wick carefully; wick selection impacts how well your candle burns and how evenly the flame stays. Look for pre-tabbed wicks or cut your own to fit your tealight cups. Next, consider storage solutions for your supplies—use small containers or labeled jars to keep your wax, wicks, and other materials organized. Having everything in order makes the process smoother and prevents unnecessary delays. Make sure to have a heat-resistant surface and tools like a double boiler or melting pot ready for the next steps. By preparing your supplies properly, you’ll set yourself up for a successful candle-making experience. Additionally, understanding essential oils and their properties can help you incorporate scents that enhance your candles. Remember that safety measures, such as working in a well-ventilated area and keeping a fire extinguisher nearby, are fundamental safety precautions for candle making. To ensure consistent quality, familiarize yourself with wax types and how they behave during melting and pouring. Knowing the proper temperature ranges for melting different waxes can also improve your results and prevent accidents.
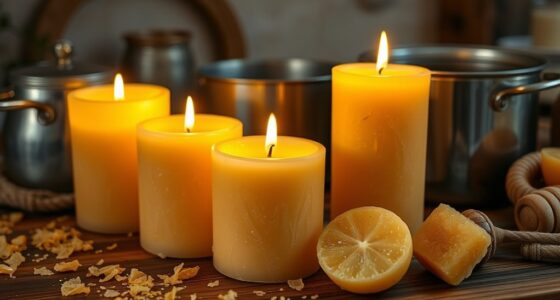
Melting the Wax

Begin melting the wax by setting up your double boiler or melting pot on a heat-resistant surface. Use melting techniques that allow you to control the wax temperature carefully. Place the wax in the top bowl or container, and turn on the heat to a low or medium setting. Keep a thermometer nearby to monitor the wax temperature, aiming for around 170°F to 180°F, which ensures proper melting without overheating. Stir gently as the wax melts to promote even heating and prevent clumping. Avoid rushing the process or increasing the heat too quickly, as this can cause the wax to scorch or become too hot. Patience is key—wait until the wax is fully melted and smooth before moving on to the next step. Additionally, maintaining a consistent temperature helps prevent issues such as overheating or uneven melting, ensuring a smooth finish for your tealights. For optimal results, consider using a HEPA filter to keep dust and airborne particles away during your candle-making process.
Preparing Your Molds and Containers

Once your wax has melted smoothly, it’s time to prepare your molds and containers. Choosing the right mold is essential—consider options like metal, silicone, or ceramic, based on your design preference. Proper container preparation guarantees your candles release easily and look professional. Additionally, selecting appropriate materials for your molds ensures they can withstand the heat and maintain their shape during pouring. Here’s what to keep in mind:
- Mold selection: Pick heat-safe materials that match your desired shape.
- Cleaning: Wash molds thoroughly to remove dust or residues.
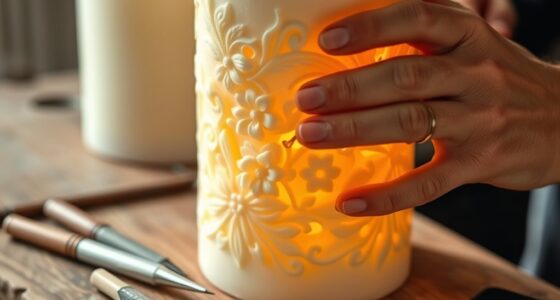
- Prepping containers: Ensure they are dry, stable, and free of debris before pouring wax. Proper color accuracy in your molds can also enhance the visual appeal of your tealights, especially if you plan to add colored wax or decorative elements. Using molds with consistent heat resistance helps prevent cracks or deformation during the cooling process. Understanding dog breed characteristics can also inspire personalized candle designs that reflect specific themes or personalities.
These steps help prevent leaks, cracks, or sticking, giving you a clean, polished final product. Taking a little time now guarantees your tealights turn out beautifully.
Adding Fragrance and Color
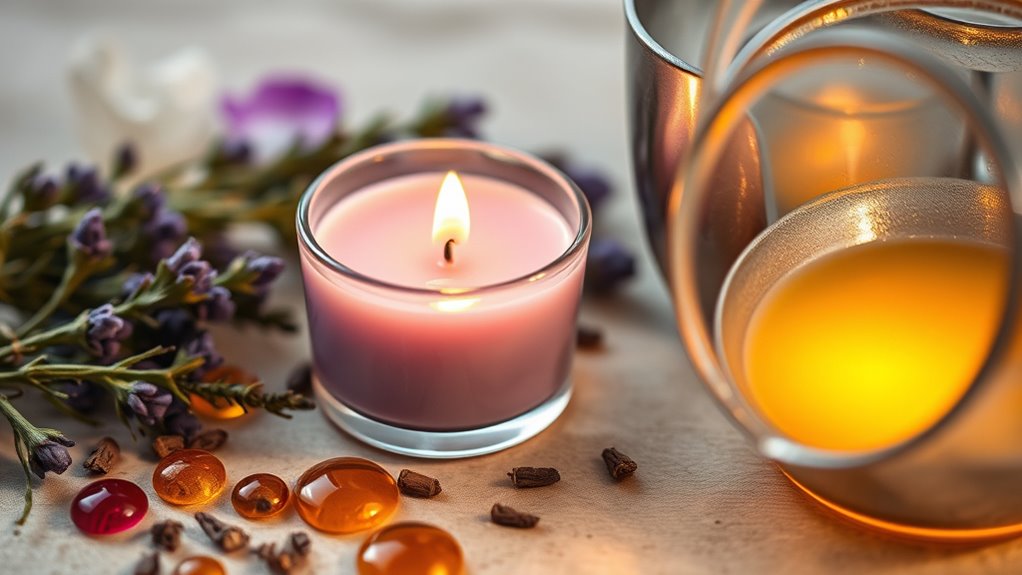
Adding fragrance and color to your tealight candles enhances their appeal and creates a personalized touch. You can achieve this by mixing essential oil blends for a custom scent or choosing dye options to match your mood or decor. Use a few drops of essential oils to avoid overpowering the candle, and stir well to distribute the fragrance evenly. For color, select dye options suited for candle making—liquid dyes or blocks—and add gradually until you reach your desired hue. Keep in mind that color intensity may deepen as the wax cools. Additionally, understanding essential oil blending techniques can help you create harmonious and personalized scents. Incorporating wax temperature control is also crucial to ensuring the fragrance and color are properly absorbed without affecting the candle’s quality. Proper temperature management can also prevent issues such as wax cracking or improper adhesion of dyes and fragrances. Below is a table illustrating the significance of fragrance and color choices:
| Fragrance (Essential Oil Blends) | Color (Dye Options) |
|---|---|
| Personalizes your candles | Sets the mood or theme |
| Enhances ambiance | Complements decor |
| Reflects your personality | Adds visual appeal |
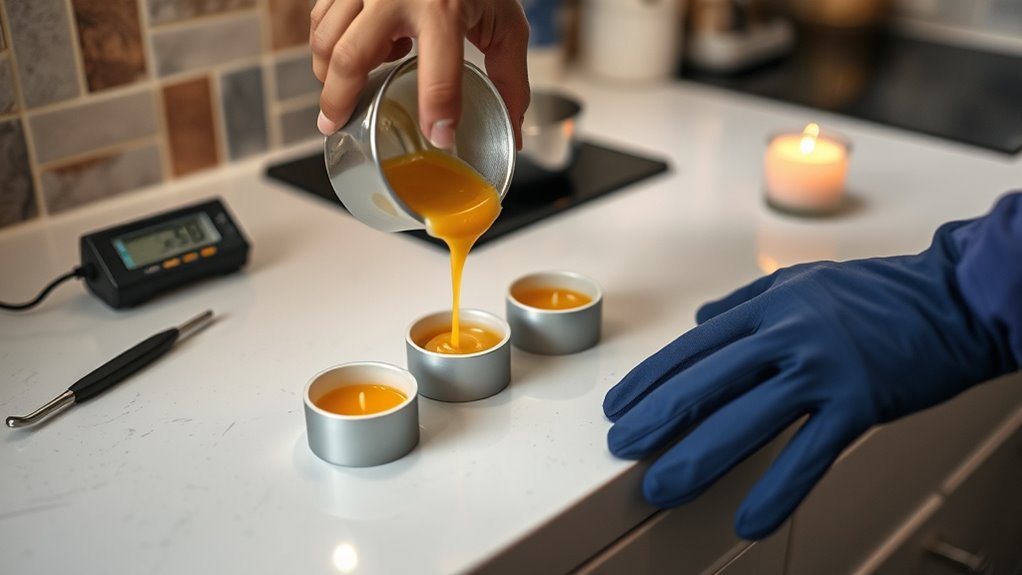
Pouring the Wax Into Containers

Pouring the wax into your containers is a straightforward step that requires careful attention to guarantee a clean, smooth finish. Achieving the right wax consistency is essential; it should be pourable but not too hot to prevent spills or cracks. Use a steady pour technique to avoid air bubbles and uneven surfaces. Before pouring, ensure your containers are stable and the wax is at the ideal temperature—warm enough to flow smoothly but not so hot that it melts the container. Keep a towel nearby to wipe drips quickly. To help, remember these tips:
- Maintain a consistent pour height for even distribution
- Pour slowly to minimize bubbles and spills
- Use a thermometer to monitor wax temperature accurately
- Ensuring filtration efficiency helps in selecting the best wax to achieve a clean burn and minimal soot. Additionally, paying attention to the eye patch benefits can help you choose the right ingredients for your homemade candles, ensuring they are nourishing and effective. Proper cultural celebrations can also serve as inspiration for creative candle designs that reflect traditional motifs.
Allowing the Candles to Cool and Set

Once you’ve poured the wax, it’s important to let your candles cool and set undisturbed. Using proper cooling techniques guarantees the wax hardens evenly, preventing cracks or sinkholes. Giving your candles enough time to fully set leads to a more professional finish and better burn quality. Proper cooling is especially important when making multiple candles, as uneven setting can affect their overall appearance and performance. Additionally, controlling the ambient temperature during cooling can help achieve more consistent results. Understanding layer concepts can also assist in organizing your candle-making process for better results.
Proper Cooling Techniques
After your candles have cooled slightly and the surface feels firm to the touch, it’s important to let them set undisturbed. Proper cooling relies on maintaining temperature control and a stable ambient environment to prevent cracks and imperfections. Avoid moving the candles during this time, as disturbance can cause surface imperfections. To optimize setting, consider these tips:
- Keep the candles in a consistent, room-temperature environment
- Avoid drafts or sudden temperature changes
- Let them sit undisturbed for several hours or overnight
- Proper storage is essential for preserving the quality and appearance of your finished candles. Additionally, ensuring temperature stability during this phase helps prevent surface cracking and deformities. Incorporating energy balance principles can also aid in achieving a smooth, even surface.
Optimal Setting Time
To make certain your tealight candles set properly, it’s crucial to give them enough time to cool and solidify. Rushing this step can cause cracks or uneven surfaces. Typically, you should allow candles to rest undisturbed for at least 1-2 hours. During this time, keep them on a flat surface away from drafts. Proper cooling ensures a smooth finish and better burn quality. Once cooled, store your tealights in a cool, dry place, ideally in a container that protects them from dust and temperature fluctuations. Good candle storage tips include wrapping them with tissue paper or placing them in airtight boxes. Proper setting and storage help maintain your candles’ shape and quality over time. Additionally, avoiding environmental factors such as humidity can help preserve the candles’ appearance and burning performance. Ensuring the candles are kept in a stable environment minimizes the risk of distortion or damage during the setting process.
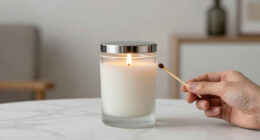
Trimming the Wicks
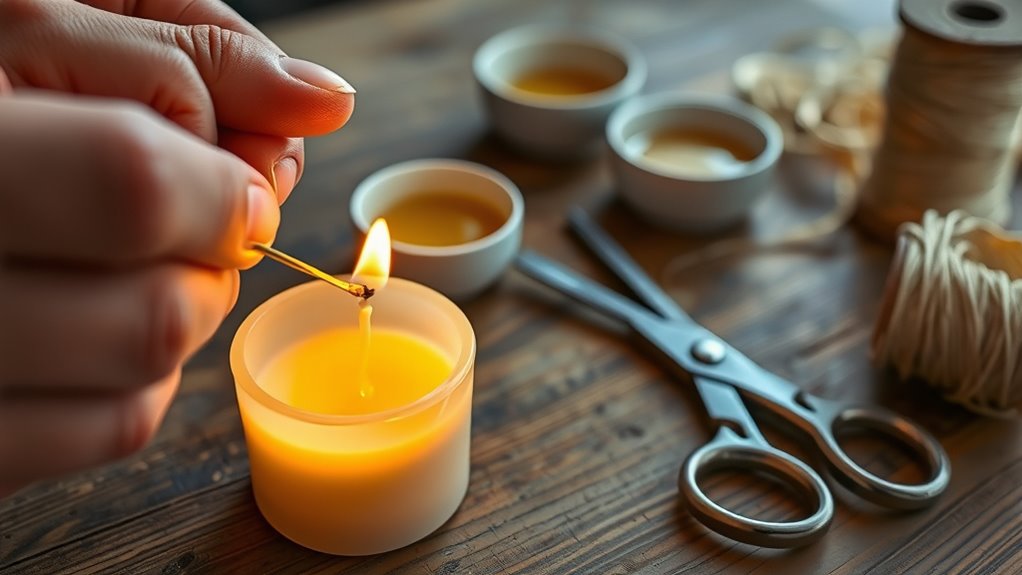
Trimming the wick is a crucial step in maintaining your tealight candles. Proper wick trimming ensures a safe, clean burn and helps control the flame height. When you trim the wick, aim for about ¼ inch to prevent a large, flickering flame or excessive soot. Regular wick trimming reduces smoke and keeps the flame steady. Additionally, maintaining an appropriate wick length can prevent issues such as tunneling or uneven burning, ensuring your candles burn evenly and safely. Keeping your wicks trimmed promotes better candle performance and safety, making your DIY tealights enjoyable and safe to use. Proper wick care is linked to overall candle safety and can extend the life of your candles.
Customizing Your Tea Lights

Customizing your tealights allows you to create a personalized ambiance that suits any occasion. You can add personalized labels to give your candles a special touch, whether for a gift or a themed event. Use decorative accents like ribbons, charms, or stickers to enhance their visual appeal. These small details make your tealights stand out and reflect your style. Consider using custom labels with names, dates, or messages to make them more meaningful. Decorative accents can be seasonal, elegant, or playful, depending on the vibe you’re aiming for. By customizing your tealights, you turn simple candles into unique decorations that add personality and charm to any setting. It’s a simple way to elevate your DIY candle-making project and impress your guests.
Safety Tips and Troubleshooting
While making tealight candles at home, it’s important to prioritize safety to prevent accidents or injuries. Always work in a well-ventilated area, keep a fire extinguisher nearby, and never leave burning candles unattended. Be aware of potential fire hazards, especially when handling hot wax or open flames. If you or someone in your household has allergies, choose allergen-free wax and fragrance oils to avoid reactions. Troubleshoot common issues like uneven burning by ensuring the wick is centered and trimmed to the right length. If your candle flickers excessively, check for drafts or wick problems. Remember, practicing safety not only protects you but also ensures your DIY tealights are beautiful and safe to enjoy.
Frequently Asked Questions
Can I Reuse Old Candle Wax for New Tea Lights?
Yes, you can reuse old candle wax for new tea lights through candle wax recycling. Just melt the leftover wax carefully, strain out any debris, and then pour it into your new molds. Remember to follow DIY candle tips like adding a new wick and ensuring the wax is at the right temperature. Reusing wax not only saves money but also helps reduce waste and makes your candle-making more eco-friendly.
What Are Eco-Friendly Alternatives to Paraffin Wax?
Think of your candle as a garden, and paraffin as a synthetic weed. You can choose natural waxes like soy, beeswax, or coconut wax, which are plant-based options that nurture your eco-friendly garden. These alternatives burn cleaner, are biodegradable, and come from renewable resources. By switching to plant-based options, you help protect the environment while still enjoying beautifully crafted tealights.
How Long Do Homemade Tealight Candles Typically Burn?
Your homemade tealight candles usually burn for about 3 to 5 hours, depending on candle wick selection and wax melting temperature. To guarantee a longer, cleaner burn, choose a wick that matches your wax type and size it properly. Adjust the melting temperature during pouring—keeping it at the recommended level helps prevent tunneling or uneven burning, giving you a more consistent and enjoyable candle experience.
Can I Make Scented Tealights Without Synthetic Fragrances?
Yes, you can make scented tealights without synthetic fragrances. Around 80% of people prefer natural fragrances, so using essential oils is a great choice. Simply add a few drops of essential oils like lavender, citrus, or eucalyptus to your melted wax before pouring. This creates a lovely, natural scent that’s safe and chemical-free, perfect for a calming ambiance or gift.
What Is the Best Way to Store Homemade Tea Lights?
You should store your homemade tea lights in a cool, dry place to guarantee ideal candle storage and wax preservation. Keep them in an airtight container or a sealed plastic bag to prevent dust and moisture from affecting the wax. Avoid direct sunlight, as heat can cause the wax to soften or melt, compromising your candle’s quality. Proper storage helps maintain your tealights’ shape, scent, and burn quality over time.
Conclusion
Making your own tealight candles is a fun and rewarding project. Did you know that Americans buy over 1.5 billion candles each year? By creating your own, you not only save money but also customize scents and colors exactly to your liking. Plus, you’ll enjoy the satisfaction of crafting something beautiful and functional. So gather your supplies and get started—you’re about to add a personal, cozy touch to your space!