To make DIY hand-dipped taper candles, gather your supplies like wax, wicks, and dipping tools, then set up a clean, ventilated workspace. Melt the wax safely using a double boiler, add color gradually, and keep the temperature steady at around 180°F. Attach the wick firmly, dip slowly to build layers, and rotate the candle for even coverage. If you keep practicing, you’ll discover tips for perfecting your candles and customizing their look.
Key Takeaways
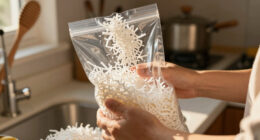
- Gather wax, wicks, dipping tools, and protective gear; set up a clean, ventilated workspace.
- Melt wax in a double boiler, maintain ~180°F, and add color gradually for uniform dye.
- Attach and secure the wick, then dip the candle into hot wax, withdrawing slowly to build layers.
- Keep wax at consistent temperature, rotate the candle during dips, and trim the wick to ¼ inch after cooling.
- Troubleshoot uneven coloring or dripping by controlling dipping speed, cooling time, and ensuring proper wick placement.

Falnvita Candle Making Tools, Taper Candle Dipping Tool, Taper Dipper for Efficient DIY 16 Candles Making | Reusable Rack Ensures Uniform Wax Coating & Easy Dipping/Drying
Taper Candles Making Tools: Designed for small candle makers and hobbyists, this 3D-printed taper candle dipping tool makes…
As an affiliate, we earn on qualifying purchases.
As an affiliate, we earn on qualifying purchases.
Gathering Your Supplies and Preparing Your Workspace
Before you begin making your hand-dipped taper candles, it’s essential to gather all the necessary supplies and set up a clean, organized workspace. Prioritize safety precautions by keeping flammable materials away from heat sources and working in a well-ventilated area. Proper workspace organization helps prevent accidents and makes the process smoother. Lay out your wax, wicks, dipping tools, and protective gear like gloves and aprons within easy reach. Clear your surface of clutter to avoid spills or mishaps. Guarantee your work area has a stable heat source, like a double boiler, set up safely. Using a high-quality heat source ensures consistent melting and safety during the process. Additionally, having a well-ventilated workshop can help dissipate any fumes produced during melting. Taking these steps ensures a safe, efficient environment, so you can focus on creating beautiful, hand-dipped taper candles without unnecessary risk or distraction.

SAEUYVB Candle Making Kit with Wax Melter, Candle Making Kit for Adults – DIY Starter Soy Candle Making Kit/Supplies-Perfect as Home Decoration
🎁【A Complete Candle Making Kit】Our candle making supplies is suitable for all levels and contains everything needed to…
As an affiliate, we earn on qualifying purchases.
As an affiliate, we earn on qualifying purchases.
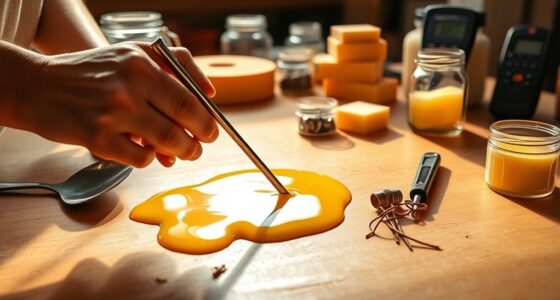
Melting and Coloring the Candle Wax
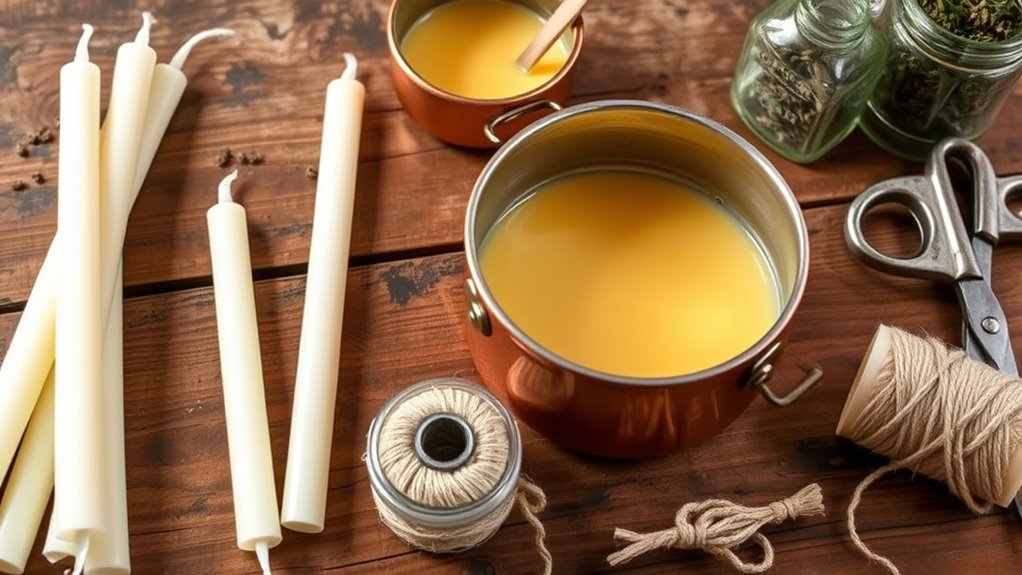
Once your workspace is set up and supplies are ready, it’s time to melt the wax. Understanding wax composition helps you select the right heat level and avoid accidents. To melt the wax safely and efficiently:
Before melting wax, ensure your workspace is prepared and supplies are ready for safe, efficient heating.
- Use a double boiler or a melting pot to prevent direct heat.
- Stir gently as the wax melts to ensure even heating.
- Monitor the temperature closely, aiming for around 170°F (77°C).
- Being aware of digital literacy can help you find resources and tutorials for safe candle-making techniques online.
- Familiarity with bank opening hours can assist in planning any necessary trips to purchase supplies during convenient times.
- Recognizing the importance of temperature control ensures that the wax melts uniformly and reduces the risk of over-heating or accidents.
- Developing energetic alignment while working with your materials can enhance your creative process and result in more harmonious candles.
When it’s melted, you can add color. To achieve the desired hue, blend different color dyes, stirring thoroughly for smooth color blending. Keep in mind that wax color intensifies as it cools, so start with a small amount of dye. Proper melting and thoughtful color blending will give your candles a professional, vibrant finish.
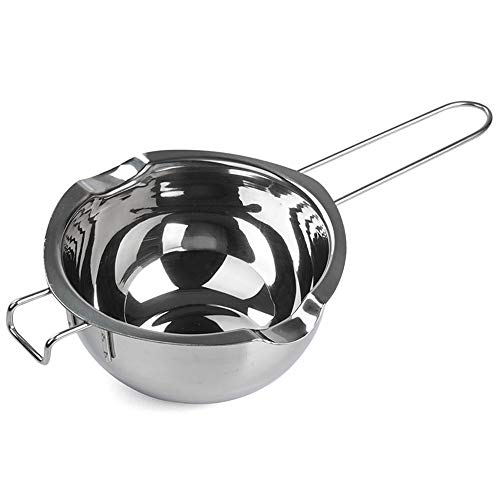
Stainless Steel Double Boiler Pot for Melting Chocolate, Candy and Candle Making (18/8 Steel, 2 Cup Capacity, 480ML)
【Superior Material 】- Made of 18/8 Stainless steel, Rust Resistant, Sturdy,and proper temperature to melt things but not…
As an affiliate, we earn on qualifying purchases.
As an affiliate, we earn on qualifying purchases.
Attaching the Wicks and Securing Them in Place

Attaching the wicks securely is essential for a smooth dipping process and a clean, even burn. To do this, start by selecting a wick that fits your candle’s diameter. Use a wick attachment, such as a small weight or a wick holder, to keep the wick straight and centered. Secure the wick at the top of the mold or container with a dab of melted wax or a wick tab. Make sure the wick is taut but not overly tight. Proper candle securing prevents the wick from shifting or leaning during dipping, ensuring your final candle is straight and well-balanced. Confirm the wick’s position before each dip. This careful wick attachment makes the entire process easier and results in a professional-looking taper candle. Additionally, choosing the appropriate wick size helps achieve optimal burning performance and prevents soot or tunneling. When the wick is properly secured, it also minimizes the risk of distraction or mishandling during the dipping process, leading to better overall results. Ensuring that the wick is properly secured and centered can also help in maintaining consistent candle quality throughout the process. Proper wick attachment techniques are fundamental to creating a high-quality candle with a clean burn.

MILIVIXAY 100% Organic Hemp Candle Wick with Natural Beeswax Coating, 200 FT Spool, Standard Size (1.0mm)+ Wick Sustainer Tabs (200PCS).
🕯️ 200ft 100% organic hemp wicks,standard size (1.0mm),edible grade beeswax coated.perfect burn, beautifully rolled, free of funky tastes…
As an affiliate, we earn on qualifying purchases.
As an affiliate, we earn on qualifying purchases.
Dipping the Candles: The Basic Technique

To begin dipping your candles, heat the wax to a consistent, smooth temperature—around 180°F (82°C)—and keep it steady throughout. This guarantees even coating and prevents splattering. As you dip, remember to choose the right wick for your candle’s size; a thicker wick can help with candle scenting and proper burn. Here’s how to proceed:
Heat wax to 180°F, maintain steady, and select the right wick for even, beautiful candles.
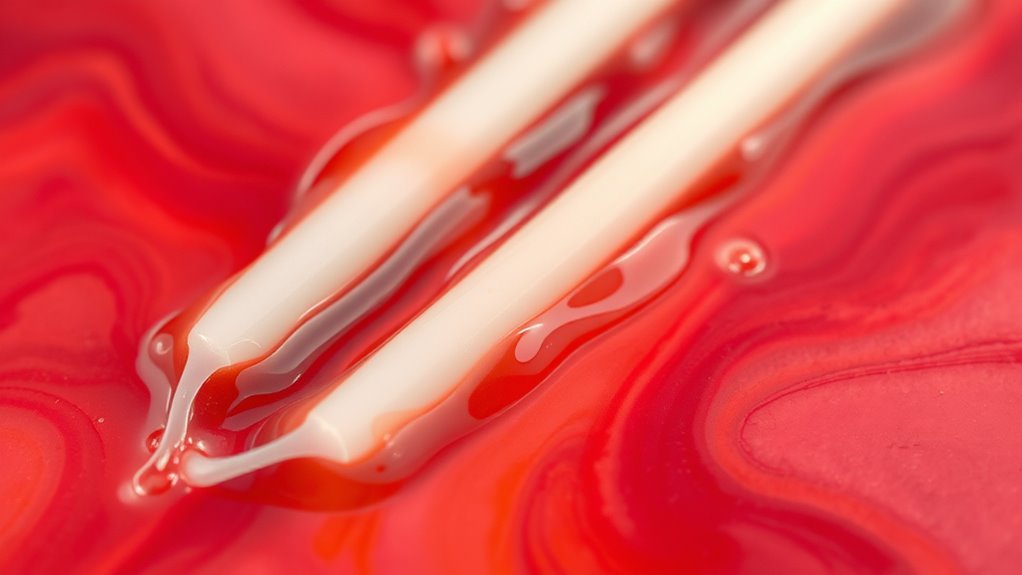
- Dip the wick into the heated wax, then slowly withdraw it, allowing excess wax to drip off.
- Repeat the dipping process, gradually building up layers, maintaining even spacing and timing.
- Keep your wax at a steady temperature, avoiding cooling or overheating, to ensure smooth, uniform layers. Maintaining consistent wax temperature is essential for achieving the best results in your hand-dipped candles. Consistent temperature control can also help prevent issues like wax cracking or uneven layering, ensuring a professional finish. Incorporating proper techniques can enhance the overall quality of your candles and optimize your DIY process.
Building Layers and Achieving the Desired Shape
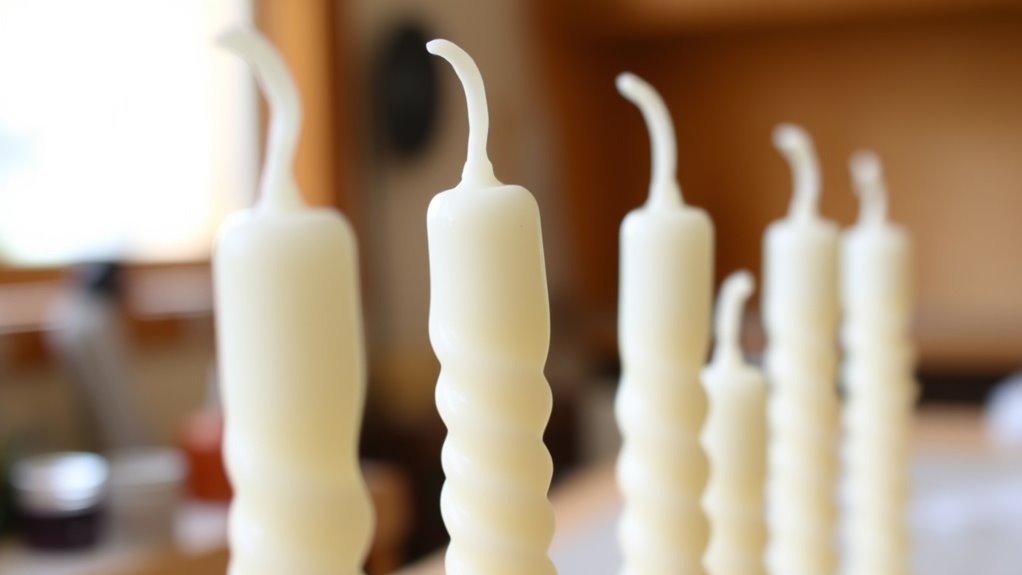
As you build up your candle layers, focus on maintaining consistent spacing and timing between dips to shape your taper smoothly. Use layering techniques to add thickness gradually, avoiding uneven build-up. Pay attention to your shaping methods by constantly evaluating the candle’s form during each dip, gently guiding the wax to refine the taper. To achieve a uniform shape, rotate the candle steadily and keep dips even in height and thickness. If the candle starts to flare or unevenly thicken, pause and smooth out the wax before continuing. Patience is key; controlled layering and deliberate shaping methods help you create a professional-looking taper. With practice, you’ll develop a steady hand that results in beautifully shaped, symmetrical candles.
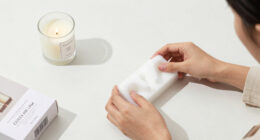
Finishing Touches and Proper Candle Care
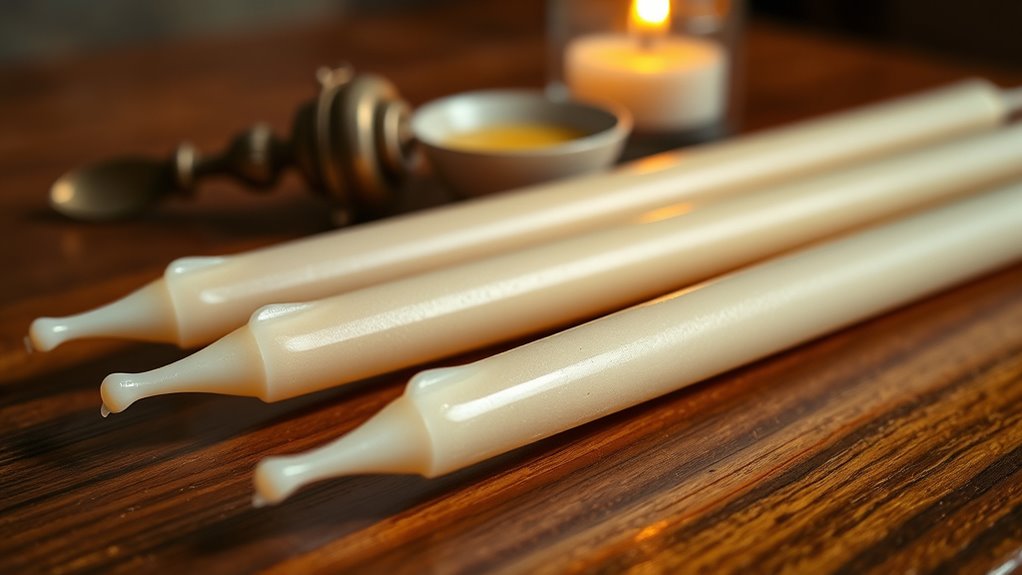
Once you’ve finished dipping and shaping your candles, the final step is to add finishing touches and guarantee proper care to keep them looking beautiful and functioning safely. First, trim the wick to about ¼ inch to promote safe burning and prevent excess smoke. Second, inspect your candles for any irregularities or cracks, gently smoothing them if needed. Third, store your candles in a cool, dry place away from direct sunlight, which helps preserve their color and shape. Remember, candle safety is essential—never leave burning candles unattended, and keep them away from drafts. Additionally, paying attention to candle material quality can influence how well your candles burn and how long they last. Using appropriate candle care practices can prevent accidents and extend the lifespan of your candles. It’s also helpful to keep your candles away from outdoor elements when not in use, as exposure to wind or moisture can damage their appearance and functionality. By following these storage tips and maintenance practices, your handmade taper candles will stay beautiful and safe to use for a long time.
Tips for Customizing and Troubleshooting Your Taper Candles
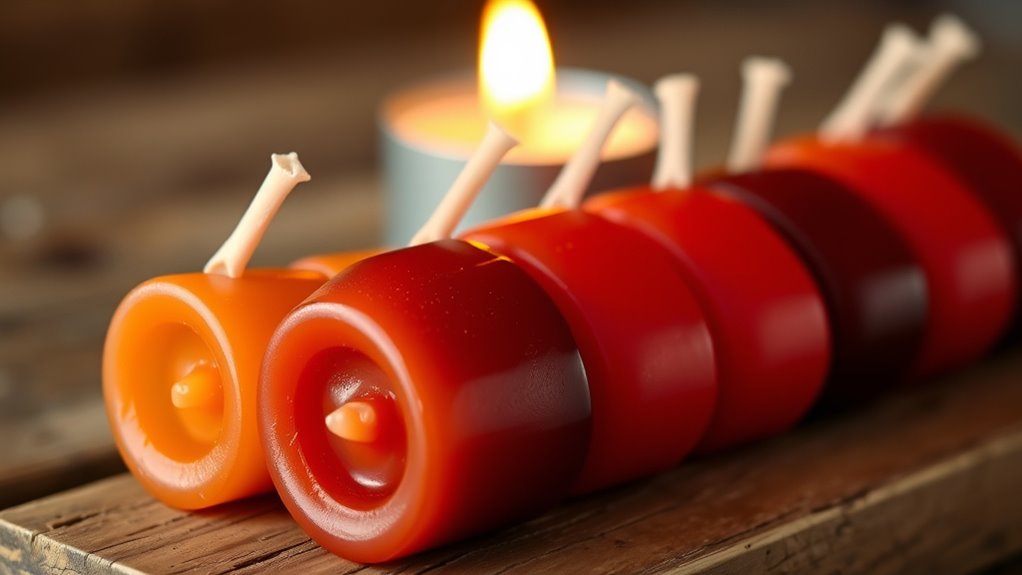
To create beautiful, professional-looking candles, you need to focus on achieving even color and fixing any dripping issues. Sometimes, uneven dye distribution or excessive wax can cause problems, but there are simple tricks to correct them. Keep these tips in mind to customize your candles perfectly and troubleshoot common mistakes. Additionally, understanding automation technologies can inspire innovative methods to improve your candle-making process. For example, utilizing online resources can help you find tutorials and tips tailored to your needs. Remember that visualization techniques can also enhance your ability to anticipate and prevent issues during the process. Moreover, exploring market trends can help you adjust your designs to meet current customer preferences.
Achieving Even Color
Achieving an even color in your hand-dipped taper candles can be tricky, but with some simple adjustments, you can create smooth, uniform hues. To improve color consistency and dye blending, consider these tips:
- Stir the dye thoroughly before dipping to ensure uniform distribution.
- Maintain a consistent temperature in your dipping melt to prevent uneven color absorption.
- Dip each candle to the same depth and duration, then gently rotate to promote even dye coverage.
Fixing Dripping Issues
Dripping wax is a common challenge when making taper candles, but you can minimize or eliminate it with some simple adjustments. One effective method is wick trimming—keeping the wick short helps control the flow of wax and reduces excessive drips. Before dipping, trim the wick to about ¼ inch to promote steady, even burning. Additionally, focus on drip prevention techniques, such as dipping slowly and allowing each layer to cool slightly before adding the next. This prevents excess wax from pooling and dripping down the sides. Consistently monitoring the candle as you dip allows you to identify and address drips early. Proper projector bulb maintenance and careful dipping will help ensure your candles burn evenly and cleanly, resulting in cleaner, more polished taper candles with minimal mess. Using a vacuum cleaner with high suction power can also help remove any wax drips on your workspace, keeping your area tidy. Paying attention to candle composition can improve the overall quality and reduce dripping issues during the dipping process. Additionally, understanding the heat control of your dipping setup allows for better management of wax flow and drip prevention.
Frequently Asked Questions
How Do I Prevent My Candles From Cracking During Dipping?
To prevent candle cracking during dipping, you should focus on proper dipping techniques. Make certain your wax is at the right temperature—too hot causes cracking, too cold leads to uneven layers. Dip slowly and steadily, avoiding rapid movements. Also, let each layer cool slightly before the next dip. This helps minimize stress on the wax, reducing the chances of candle cracking and giving you smooth, professional-looking tapers.
What Is the Ideal Temperature for Melting Candle Wax?
You should melt candle wax at around 170-180°F (77-82°C) for ideal results. Keep the temperature steady to avoid cracking. When adding candle fragrance or doing color mixing, make certain the wax is fully melted but not too hot, typically around 180°F. This prevents scent evaporation and color loss. Maintaining this temperature helps you create beautifully scented, well-colored candles without risking cracking or uneven finishes.
How Do I Correct Uneven Wax Layers on My Candles?
To correct uneven wax layers, first reheat the candle slightly to soften the wax. Gently scrape off the uneven layer and re-dip the candle, ensuring consistent immersion and controlled speed. This process improves wax layering, enhancing the candle’s aesthetics. Be patient and work slowly to prevent further unevenness. Proper technique not only corrects imperfections but also results in a smoother, more attractive finish for your handmade candles.
Can I Use Alternative Wicks for Different Candle Sizes?
Yes, you can use alternative wicks for different candle sizes by carefully selecting the right wick type and size for each. Proper wick selection guarantees your candles burn evenly and safely. Consider factors like wax type, candle diameter, and burn rate when choosing alternative wicks. Always test your new wick choices before making larger batches to ensure ideal performance and avoid uneven burning or tunneling.
How Long Should I Wait Between Dipping Layers?
You should wait about 10-15 seconds between dipping layers to guarantee proper layer thickness and prevent melting previous layers. This pause allows the wax to cool slightly, creating a smooth, even coat. If you dip too soon, your layers might blend or become uneven. Conversely, waiting too long can cause the wax to cool completely, making it harder to add new layers. Keep a steady rhythm for best results.
Conclusion
With patience and creativity, you can craft beautiful taper candles that shine like stars in your home. Think of your workspace as a canvas, where each dip adds a stroke of personality. As you experiment and refine your technique, you’ll find that making your own candles is not just a craft but a journey of self-expression. Light up your space with candles you’ve lovingly created—turning simple wax into glowing works of art.