To make soy candles at home, start by setting up a clean, well-ventilated workspace with all your supplies like soy wax, wicks, fragrances, and containers. Melt the wax carefully in a double boiler to around 170°F, then secure the wick at the bottom of your container before pouring. Add scents and colors as desired, let your candle cure, trim the wick, and finish with cleaning. Follow these steps for beautiful, personalized candles, and discover more tips along the way.
Key Takeaways
- Prepare a clean, ventilated workspace with safety tools and store supplies properly before starting.
- Melt soy wax evenly at around 170°F using a double boiler, monitoring temperature closely.
- Secure wicks in containers, pour wax carefully at optimal temperature, and avoid spills or air bubbles.
- Add fragrance and color gradually, then allow candles to cure and trim wicks for a professional finish.
- Follow safety guidelines throughout, store finished candles properly, and use quality supplies for best results.

SoftOwl Premium Soy Candle Making Kit – Full Set – Soy Wax, Big 7oz Jars & Tins, 7 Pleasant Scents, Color Dyes & More – Perfect as Home Decorations – DIY Starter Scented Candles Making Kit
🧡 THE ULTIMATE SET FOR BEGINNERS: The natural soy wax candle making kit comes in a beautiful giftable…
As an affiliate, we earn on qualifying purchases.
As an affiliate, we earn on qualifying purchases.
Gathering Your Supplies and Workspace Setup
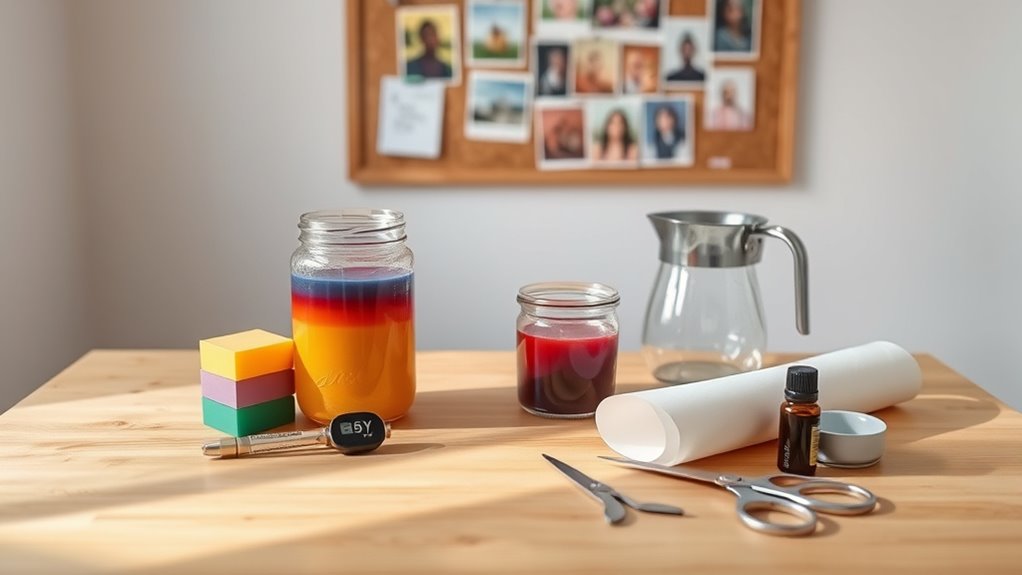
To start making your DIY soy candles, you’ll need to gather all the necessary supplies and set up a clean, well-organized workspace. Safety precautions are essential—keep your work area free of clutter, work in a well-ventilated space, and have fire safety tools nearby. Store your supplies, like soy wax, wicks, and essential oils, in a cool, dry place to prevent spoilage and ensure longevity. Use designated containers for melting and mixing to avoid contamination. Keep your workspace tidy to prevent accidents, and always handle hot wax with care. Proper storage tips help maintain the quality of your candle-making supplies, making your process safer and more efficient. Additionally, understanding the properties of soy wax can help you achieve better results in your candles. For optimal safety and quality, consider using a personal safety equipment such as gloves and eye protection during your process. Preparing your space thoughtfully sets the foundation for a successful DIY candle project, and paying attention to the temperature control of your wax can improve your overall results. Moreover, being aware of the differing melting points of various waxes can assist in choosing the right type for your candles.
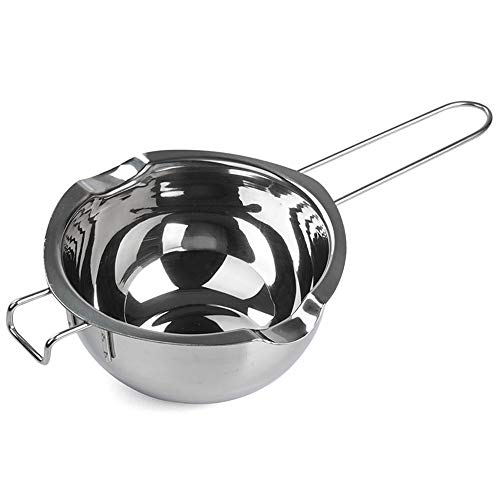
Stainless Steel Double Boiler Pot for Melting Chocolate, Candy and Candle Making (18/8 Steel, 2 Cup Capacity, 480ML)
【Superior Material 】- Made of 18/8 Stainless steel, Rust Resistant, Sturdy,and proper temperature to melt things but not…
As an affiliate, we earn on qualifying purchases.
As an affiliate, we earn on qualifying purchases.
Melting the Soy Wax Properly
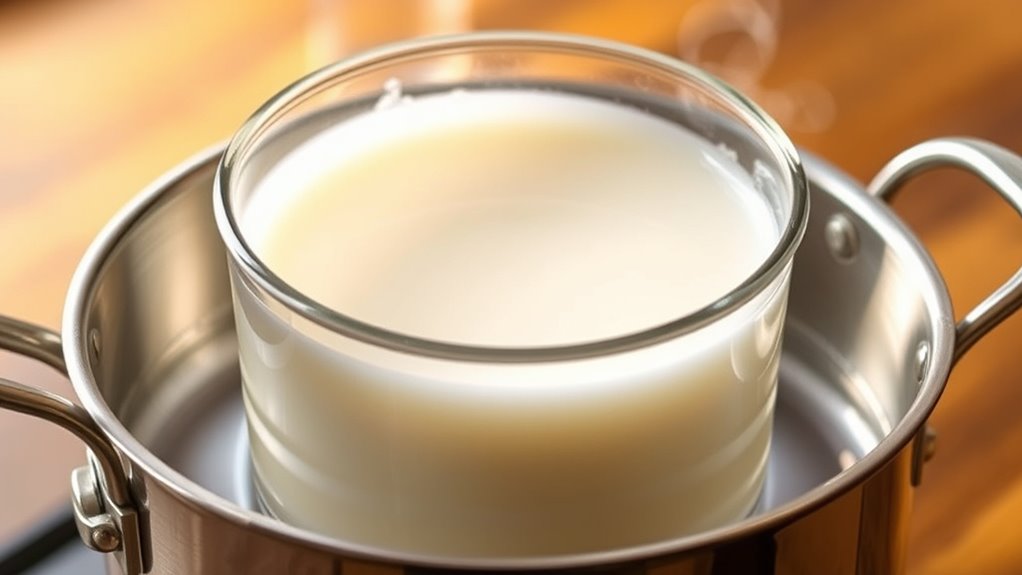
To melt your soy wax effectively, you need to choose the right equipment, like a double boiler or a heat-safe container. Keep a close eye on the temperature to prevent overheating, and stir gently to ensure even melting. Paying attention to these points helps you achieve a smooth, consistent wax ready for pouring.
Choosing the Right Equipment
Choosing the right equipment is essential for melting soy wax safely and efficiently. Proper tools guarantee your process stays safe and your candles turn out perfect. When selecting equipment, prioritize safety and quality. You have several supplier options, from craft stores to online retailers, making it easy to find what you need. Consider investing in a double boiler or a dedicated melting pot to prevent direct contact with heat, reducing the risk of accidents. Use a thermometer to monitor temperature and avoid overheating. Also, choose heat-resistant utensils to stir the wax. Ensuring your equipment is appropriate not only protects you but also helps maintain safety standards and equipment longevity, resulting in smoother candle-making sessions and better results. Additionally, selecting equipment made from high-quality materials can enhance heat distribution and durability, making your candle-making experience more efficient and enjoyable. Using professional-grade tools can further improve the precision and consistency of your melts, leading to higher-quality candles.
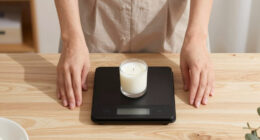
Monitoring Temperature Carefully
Monitoring temperature carefully is crucial for melting soy wax properly and achieving clean, even candles. Proper temperature regulation ensures the wax melts at the right rate without burning or overheating. Use a reliable thermometer and place it securely in the melting vessel, ensuring it doesn’t touch the bottom or sides, which can give inaccurate readings. Keep the temperature steady, aiming for around 170°F (77°C), and avoid rushing the process. Regularly check the thermometer to stay within the ideal range. Too high a temperature can cause the wax to break down, while too low can result in uneven melting. Consistent temperature regulation and correct thermometer placement help you maintain control, leading to a smooth melting process and a better final product. Additionally, understanding tuning techniques can help you optimize your setup for consistent results. Being aware of common mistakes can prevent issues like overheating or poor adhesion in your candles. Incorporating temperature control tools can further enhance your ability to maintain the ideal melting conditions.
Ensuring Even Melting
Ensuring even melting of soy wax requires paying close attention to how you heat it. Proper temperature control prevents hot spots and uneven melting. Keep the heat steady and avoid direct flames—use a double boiler or a heat-safe container in a saucepan. Regularly stir the wax to promote wax agitation, which helps distribute heat evenly. This prevents some areas from melting faster than others. To achieve consistent results, monitor the temperature closely, aiming for around 170°F (77°C). Avoid rushing the process, as uneven melting can cause issues with scent throw and appearance. Additionally, understanding thermal stability of soy wax can help you plan your melting process more effectively. Remember, patience and careful heat management are key to melting soy wax smoothly and evenly. This guarantees a flawless candle with a professional finish.
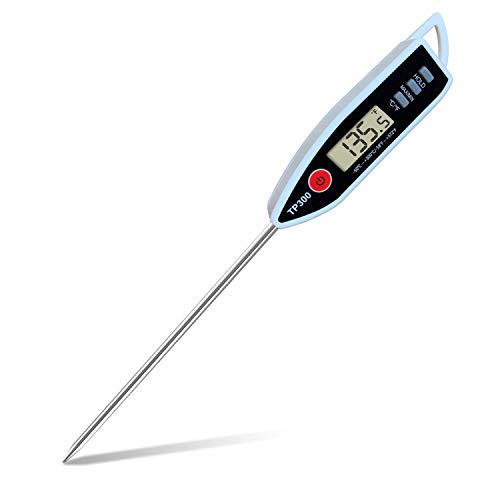
Digital Meat Food Thermometer for Candy Candle Milk BBQCooking Kitchen BBQ, Probe Instant Read Thermometer for Pork Deep Fry Roast Baking Temperature
HOLD button keeps the teperature reading until it is pressed again; ℃/℉ button makes Celsius/Fahrenheit switchable; Power button…
As an affiliate, we earn on qualifying purchases.
As an affiliate, we earn on qualifying purchases.
Preparing and Securing Your Candle Wicks
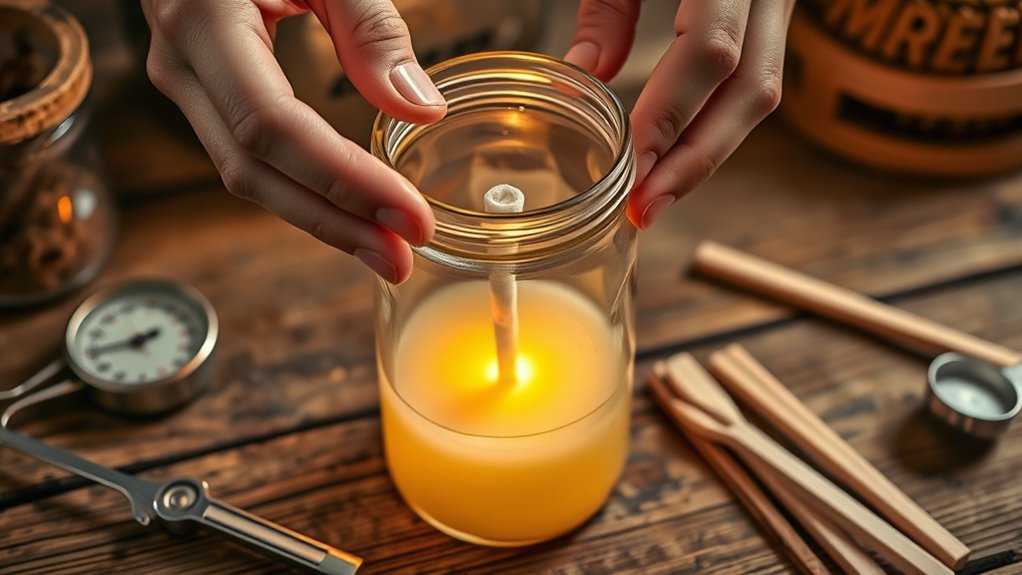
Before you start pouring your melted wax, ensuring you prepare and secure your candle wicks properly is vital. Proper wick stability keeps the wick centered and upright, preventing uneven burning or wax tunneling. To achieve this, attach the wick to a secure base, like a wick sticker or hot glue, at the bottom of your container. Use a wick centering device or tie the wick to a chopstick laid across the top to keep it straight. Securing the wick tightly reduces movement during pouring, maintaining flame safety throughout the process. A stable wick ensures an even, consistent burn and minimizes fire hazards. Take your time to position and secure the wick firmly; this small step makes a big difference in your candle’s safety and quality.

MGLIFEUL Candle Tins Jars Container Vessels for Making 4 8 Oz Black Empty Candle Tins Can Gift Box Packaging Plate with Lids Wax Container Bulk Making DIY Candle Supplies Accessories(Black,4oz,12pcs)
【High Quality Metal Candle Tins】The candle tins with lids is made of drop and impact resistant high strength…
As an affiliate, we earn on qualifying purchases.
As an affiliate, we earn on qualifying purchases.
Pouring the Melted Wax Into Containers
Choosing the right container guarantees your candle looks great and burns safely. When pouring, use a steady, controlled technique to prevent spills and air bubbles. Paying attention to these details helps create a clean, professional finish for your homemade candles. Additionally, selecting containers that can withstand temperature fluctuations ensures safety and optimal burning performance. Using containers made from durable materials can also contribute to the longevity and safety of your candles. You should also consider the durability of the container, especially if you plan to sell or gift your candles, to ensure they remain intact during use. Being aware of payment security measures is also important when handling transactions related to your candle business.
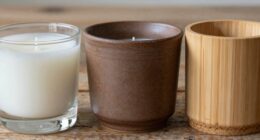
Proper Container Selection
Have you picked the right containers for your soy candles? Selecting the perfect vessel is key to a successful candle. You want containers with appealing aesthetics that match your style, whether modern, rustic, or minimalist. Durability is equally important—choose heat-resistant glass or metal to avoid cracks or breaks when pouring hot wax. Consider size and shape: wider openings make for easier pouring and wick placement. Make sure the containers are clean and free of dust or oils, which can affect adhesion. Also, check that the containers are stable and won’t tip easily. Remember, the right combination of aesthetics and durability guarantees your candles look professional and last longer. Proper container selection sets the foundation for a beautiful, safe DIY candle. Additionally, selecting appropriate containers can enhance the overall farmhouse aesthetic, creating a cozy, rustic charm for your finished candles. Paying attention to heat resistance ensures safety and longevity of your containers when exposed to hot wax.
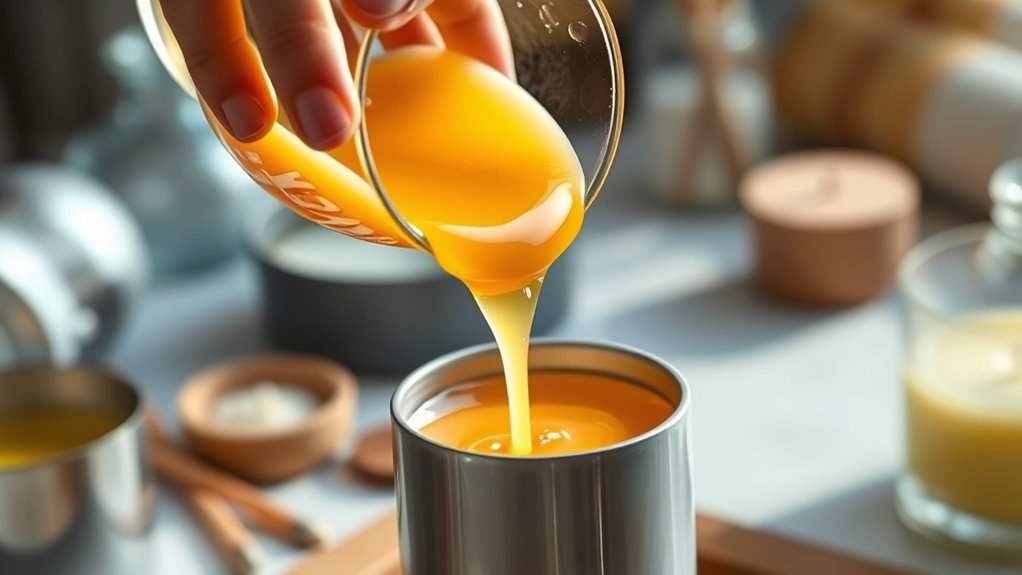
Controlled Pouring Technique
Once you’ve selected your containers, the next step is to pour the melted wax with control and precision. Achieving pouring stability is essential to avoid spills and uneven surfaces. Hold the pouring vessel steadily, keeping a consistent angle to ensure a smooth flow. Make sure your containers are compatible with hot wax to prevent cracking or damage. Pour slowly and steadily, filling each container to the desired level without overfilling. If you’re working with multiple containers, pour in the same sequence to maintain balance. Use a thermometer to monitor wax temperature; pouring at the right temperature helps achieve cleaner lines and reduces imperfections. Controlled pouring helps create a professional finish and minimizes mess, making the candle-making process smoother and more enjoyable. Proper technique is essential for minimizing imperfections and achieving a polished look.
Adding Fragrance and Color for Customization
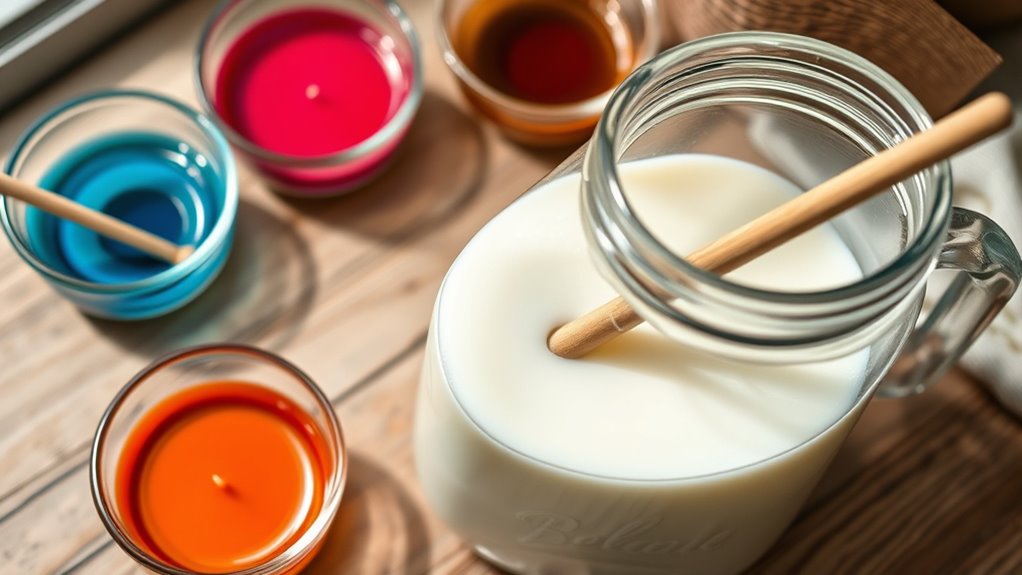
Adding fragrance and color is a simple way to personalize your soy candles and make them uniquely yours. To achieve the best results, consider fragrance blending to create a custom scent that fits your mood. Use high-quality candle fragrances and add them at the right temperature, usually around 185°F, to ensure proper scent throw. For color, choose pigments or dyes designed for candle making to maintain color stability throughout the candle’s burn. Here are some tips:
- Start with small amounts of fragrance and add more gradually
- Use candle-specific dyes to prevent fading or discoloration
- Stir thoroughly to evenly distribute fragrance and color
Curing, Trimming, and Finishing Your Candles
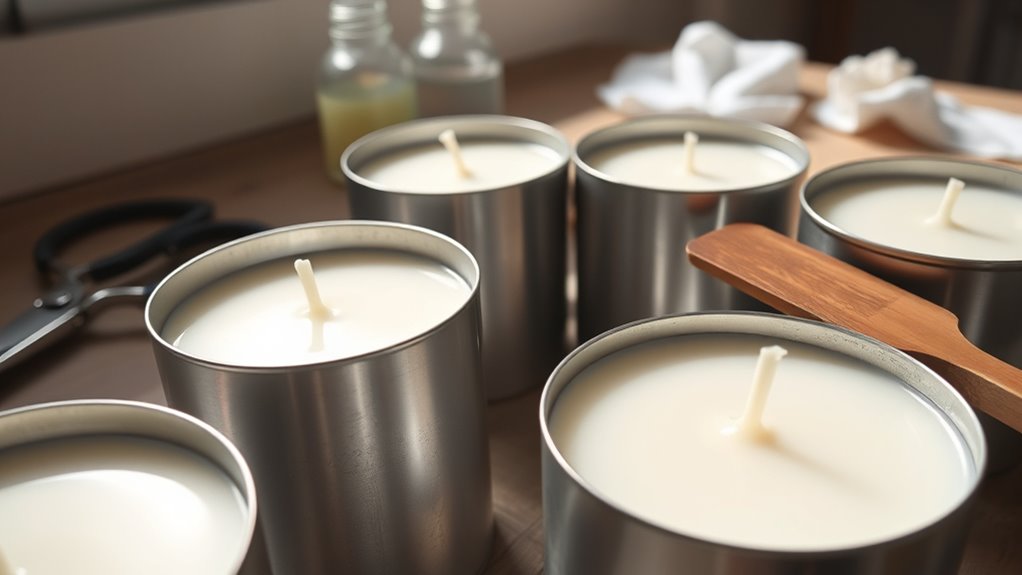
After pouring and your candles have cooled completely, it’s important to cure them properly to guarantee the best scent throw and burn performance. Curing allows the fragrance oils to meld with the wax, resulting in a stronger, longer-lasting scent. Once cured, trim the wicks to about ¼ inch for a cleaner burn and to prevent soot. Finishing touches, like smoothing any imperfections or cleaning the container edges, enhance the overall appearance. Proper candle storage is essential; keep your finished candles in a cool, dark place to protect the scent and extend their shelf life. Using the right wax types can also improve the overall quality and longevity of your candles. Selecting the appropriate safety practices during the entire process helps prevent accidents and ensures a successful candle-making experience. Incorporating candle care tips can also help maintain your candles’ quality over time. Well-cured and carefully finished candles will burn evenly, last longer, and maintain their aroma, making your DIY creations more enjoyable and presentable. Additionally, choosing trustworthy brands for your candle supplies can ensure better quality and safety.
Frequently Asked Questions
How Long Does Soy Wax Typically Last Before It Goes Bad?
Soy wax typically lasts about 6 to 12 months before it starts to degrade, impacting wax preservation and candle shelf life. To guarantee your candles stay fresh, store them in a cool, dry place away from direct sunlight. Proper storage helps prevent the wax from melting or developing off-odors, extending the quality and lifespan of your candles. Keep an eye on the wax’s appearance and smell for signs of spoilage.
Can I Reuse Leftover Soy Wax for New Candles?
You can absolutely reuse leftover soy wax—it’s like discovering a hidden treasure chest of candle-making potential! Recycling wax is easy and eco-friendly, but you must guarantee proper wax preservation to prevent contamination or scent mixing. Melt down your leftover wax carefully, strain out any debris, and store it in an airtight container for future creations. This way, you maximize your wax’s lifespan and keep your candle game strong!
What Safety Precautions Should I Take During Candle Making?
You should prioritize fire safety by never leaving melting wax unattended, keeping a fire extinguisher nearby, and avoiding open flames. Guarantee proper ventilation in your workspace to prevent inhaling fumes and reduce fire risks. Always use heat-resistant containers, handle hot wax carefully, and keep flammable materials away from your workspace. These precautions protect you and create a safe environment for your candle-making hobby.
How Do I Fix a Candle That Has Sunk or Cracked?
Did you know that over 30% of homemade candles develop sinking wax or cracks? To fix a sinking or cracked candle, you should carefully reheat the top layer of wax using a heat gun or warm spoon. Pour melted wax over the affected area, smoothing it out. Let it cool and harden, then trim the wick if needed. This candle repair technique restores your candle’s beauty and guarantees a safe burn.
Are There Eco-Friendly Alternatives to Traditional Fragrance Oils?
Yes, you can use eco-friendly alternatives like plant-based fragrances and natural essential oils instead of traditional fragrance oils. These options are sustainable, biodegradable, and free from synthetic chemicals, making your candles healthier for you and the environment. You simply add a few drops of your chosen natural essential oils or plant-based fragrances to your melted soy wax before pouring. This way, you create a lovely, eco-conscious scent for your candles.
Conclusion
Now that you’ve mastered each step, you’re ready to create beautiful, personalized soy candles. Imagine making candles for your home or gifting them to friends—like Sarah did, turning her hobby into a cozy business. With a little practice, you’ll find joy in customizing scents and colors, crafting candles that brighten any space. So grab your supplies and start experimenting—your perfect candle is just a pour away!