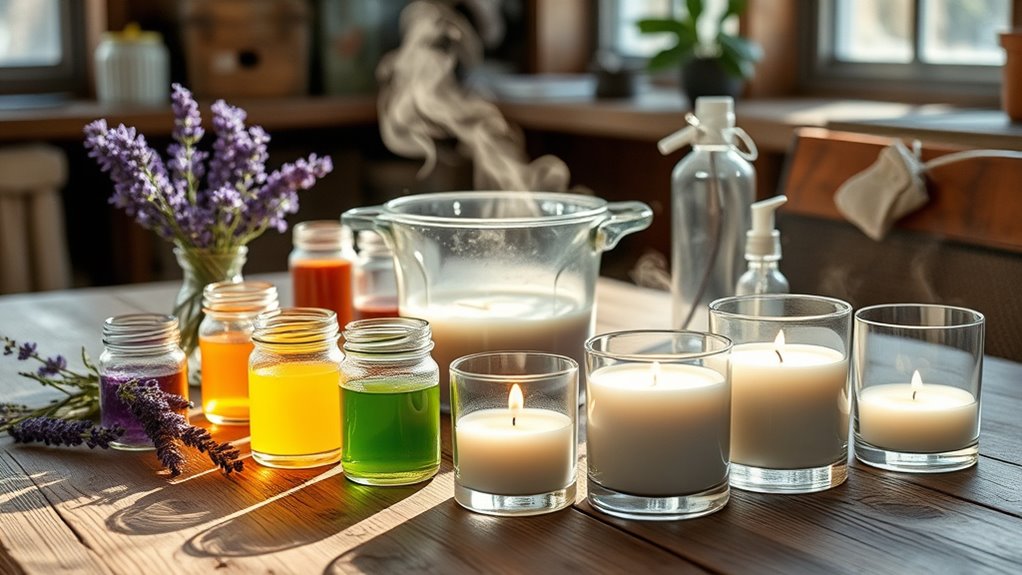
To make natural, essential oil scented candles, start by choosing a suitable wax like soy or beeswax, and prepare a clean, ventilated workspace. Melt the wax carefully, then blend your favorite essential oils—aim for about 6-10% of the wax weight—and pour at the right temperature. guarantee proper wick placement and allow your candles to cure for a couple of weeks. For tips on scent diffusion, troubleshooting, and creative decoration ideas, keep exploring this guide.
Key Takeaways
- Choose high-quality, natural essential oils like lavender, citrus, or eucalyptus to create authentic, therapeutic fragrances in your candles.
- Experiment with blending different essential oils to develop personalized scents with balanced top, middle, and base notes.
- Add essential oils at 6-10% of the wax weight during pouring to ensure strong, lasting natural aroma.
- Use a clean, well-ventilated workspace and proper tools to safely melt wax and incorporate essential oils without contamination.
- Allow candles to cure for 1-2 weeks in a draft-free environment to enhance scent throw and overall fragrance strength.

YJHSS 24-Pack 8oz Candle Tins with Lids, Metal Candle Jars for Candle Making, Bulk Empty Containers for Beginners & DIY Storage -Black
Capacity: 8oz =235ml; Dimensions : 3.15" (Diameter) x 2.35" (Height); Each candle tins are made of premium tinplate,...
As an affiliate, we earn on qualifying purchases.
Choosing the Right Wax for Your Candles
When selecting wax for your scented candles, it’s important to contemplate how well it holds fragrance, burns cleanly, and suits your DIY preferences. Different wax types, such as soy, beeswax, paraffin, or palm wax, each offer unique benefits. Soy wax is popular for its clean burn and excellent scent throw, making it ideal for home use. Beeswax provides a natural, subtle aroma and a longer burn time, perfect if you prefer a more organic vibe. Consider your candle containers as well; some waxes perform better in certain shapes or sizes, affecting how the wax melts and releases fragrance. Choosing the right wax ensures your candles burn evenly, smell delightful, and fit your creative style. Additionally, understanding the horsepower of electric dirt bikes can help you appreciate their performance capabilities, especially if you’re interested in powerful and efficient tools or hobbies. Selecting the appropriate wax type can also influence the overall aesthetic and sustainability of your candles, aligning with eco-friendly practices. For instance, burning characteristics such as melting point and hardness are crucial factors to consider for achieving a smooth, consistent burn. Always test small batches to find the best match for your DIY project.

QAPPDA 8oz Amber Candle Jars Set of 30,Round Glass Jars with Black Lids,Empty 250ml Glass Candle Making Jar Bulk Thick Small Food Storage Jar for Spice,Candy,Powder
Amber Glass Jar with Airtight Lid-Each set includes 30 pack rounded amber glass jars with black screw-on metal...
As an affiliate, we earn on qualifying purchases.
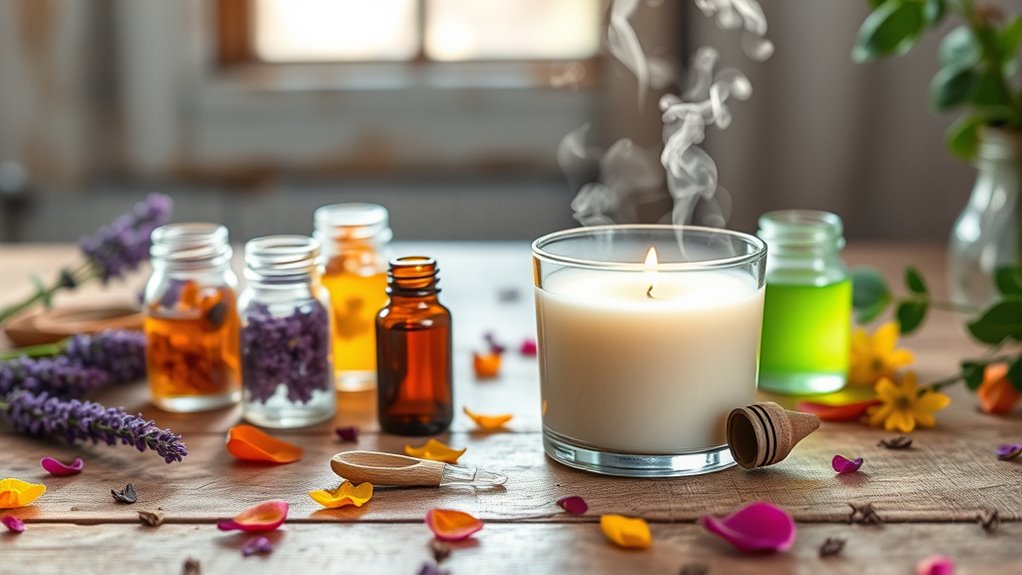
Selecting the Perfect Essential Oils for Fragrance

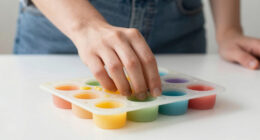
Choosing the right essential oils can transform your candles into a calming or invigorating experience. Consider their aromatherapy benefits and how you want the scent to influence your space. You can also mix different oils to create a unique fragrance that suits your mood and style. For those interested in enhancing their ambiance further, exploring scented candle techniques can provide additional inspiration. Incorporating aromatic cleaning oils can also add a subtle, refreshing scent to your candles, elevating their overall aroma experience. Additionally, understanding the recommended quantity for candles ensures the scent is balanced and effective without overwhelming the senses. Using natural therapeutic properties of essential oils can further enhance the mood and atmosphere created by your candles.
Aromatherapy Benefits and Uses
Selecting the right essential oils for your candles can greatly enhance their aromatherapy benefits and suit your mood or needs. For stress relief, consider calming oils like lavender or chamomile, which promote relaxation. If you’re looking to boost your mood, citrus oils such as orange or lemon can energize and uplift. Use mood enhancement techniques by blending oils to create a personalized scent profile. Here’s a quick guide:
| Purpose | Essential Oil |
|---|---|
| Aromatherapy stress relief | Lavender, Chamomile |
| Mood enhancement techniques | Orange, Lemon |
| Focus and clarity | Peppermint, Eucalyptus |
| Sleep aid | Lavender, Bergamot |
| Invigoration | Eucalyptus, Rosemary |
Choose oils that align with your desired effect, and enjoy the therapeutic benefits of your candles. Additionally, understanding proper blending techniques can help you craft harmonious scent combinations for a more balanced aromatherapy experience. Developing an understanding of diffusion methods can also enhance how effectively your oils distribute in your space, maximizing their benefits. Exploring different application techniques can further improve the overall effectiveness of your aromatherapy practice.
Popular Essential Oil Scents
The scents you pick for your candles can profoundly influence their mood-enhancing effects and overall ambiance. Popular essential oil scents like lavender, eucalyptus, citrus, and vanilla are favorites because they create inviting atmospheres. When selecting essential oils, consider how different blends can enhance fragrance longevity, guaranteeing your candles scent the room longer. For instance, citrus oils provide a fresh burst, while lavender offers calming properties, and vanilla adds warmth. Combining essential oil blends thoughtfully allows you to craft a balanced fragrance that suits your mood. Keep in mind that the right scents can evoke specific feelings and transform your space. Choosing the most popular and complementary essential oils helps ensure your candles deliver a delightful, long-lasting aroma. Additionally, understanding the best-selling essential oils can guide you toward more popular choices that are widely appreciated for their quality and effectiveness. Exploring nanotechnology advances can also inspire innovative ways to enhance candle production and scent dispersion techniques.
Blending for Unique Fragrance
To create a truly unique and personalized candle scent, blending essential oils is key. You’ll want to experiment with essential oil combinations that complement each other, balancing top, middle, and base notes. Using scent layering techniques helps you craft depth and complexity, making your candles more intriguing. Start by choosing a dominant scent, then add supporting oils to enhance and deepen the aroma. Consider pairing citrus with floral or woody oils for a fresh yet warm feel. Keep in mind that some oils blend better than others, so testing small batches is essential. By thoughtfully combining different essential oils and applying scent layering techniques, you can create a signature fragrance that makes your candles truly one-of-a-kind. Additionally, understanding essential oil blending techniques can help you achieve more harmonious and balanced scents. Exploring aromatic profiles can guide you in selecting complementary oils that enhance your scent combinations, ensuring a more refined fragrance. Incorporating knowledge of blending ratios can further refine your custom scents for perfect harmony. When experimenting, paying attention to diffusion properties of oils can also influence how the scent develops when the candle is lit.

Syntic 40 Pack Small Glass Jars with Cork Lids, 7oz Empty Mason Jars for Making Candles, Yogurt Container with PE Lids for Wedding Favors, Baby Shower, Candy, Spices with Twine, Labels
Candy Bottles with 6 Kinds of Accessories - Perfectly satisfying your daily lifestyle demands. 40 PE lids +...
As an affiliate, we earn on qualifying purchases.
Preparing Your Candle-Making Workspace

Before you start making candles, set up a dedicated workspace by gathering all your supplies in one place. Make sure your area is well-ventilated to avoid fumes from melting wax and scents. Organize your tools so everything is within easy reach, keeping your process smooth and safe. Being aware of federal tax obligations can also help you plan your finances effectively. Additionally, understanding your personality traits can help optimize your workspace arrangement, ensuring comfort and efficiency.
Gather Necessary Supplies
Setting up your candle-making workspace begins with gathering all the necessary supplies to guarantee a smooth process. You’ll want to have everything within reach to avoid interruptions. Essential items include a clean double boiler or melting pot for the wax, high-quality essential oils with good shelf life, a digital thermometer to monitor temperature, candle wicks suited for your container size, and molds or jars. Keep in mind, the candle fragrance strength depends on the amount of essential oil used, so measure carefully. Also, ensure your workspace is free of drafts and clutter. Having all supplies ready helps maintain focus and precision, ensuring your candles turn out perfectly scented and safe. With everything in place, you’re ready to craft beautiful, natural candles.
Choose a Well-Ventilated Area
Choosing a well-ventilated area is essential for safe and comfortable candle making. Proper ventilation highlights the importance of airflow to disperse fumes from melted wax and essential oils, reducing the risk of inhaling potentially harmful vapors. Ensuring good workspace safety also involves keeping your area free from clutter and flammable materials. A ventilated space helps maintain a clear environment, preventing accumulation of fumes and improving overall comfort during your craft. Avoid working in enclosed or poorly ventilated spaces, as this can lead to headaches or respiratory issues. By selecting a spot with fresh air and steady airflow, you create a safer, more enjoyable environment for your candle-making process, making it easier to focus on your project while prioritizing health and safety. Incorporating proper airflow management can also enhance your ability to manage safe and efficient workspace practices, especially when working with volatile organic compounds from certain essential oils. Additionally, ensuring consistent airflow can help reduce the buildup of fumes, further protecting your respiratory health during extended crafting sessions.
Organize Your Tools
Organizing your tools before you start guarantees a smooth and efficient candle-making process. Having a designated space helps you quickly access what you need and keeps your workspace tidy. Use storage solutions like labeled jars, small containers, or a dedicated toolbox to keep your wicks, wax, dyes, and essential oils separate. Arrange tools such as thermometers, spatulas, and melting pots within easy reach. Regular cleaning techniques, like wiping down surfaces and washing utensils promptly, prevent wax buildup and maintain safety. A clean, organized workspace minimizes accidents and makes the process more enjoyable. Additionally, understanding safety precautions can help foster a more harmonious environment during collaborative projects. Proper organization also aligns with the importance of AI bifurcation by ensuring that processes remain manageable and safe in complex or evolving work environments. A clean, organized workspace minimizes accidents and makes the process more enjoyable. Proper organization ensures you stay focused and produce beautiful, fragrant candles every time.

Etienne Alair Organic Soy Candle Wax for Candle Making, 10 lbs Natural Candles Making Supplies, Beeswax-Free, Paraffin-Free, Pure Soy Wax Flakes Perfect for Candles, Tealights and Melts
All-In-One Starter Kit – Everything you need to dive into candle making! Our Etienne Alair soy candle wax...
As an affiliate, we earn on qualifying purchases.
Melting and Pouring the Wax Safely

To melt the wax safely, start by placing it in a double boiler or a heatproof container set over a pot of simmering water. Keep the heat moderate to prevent overheating, which can cause splattering or burns. As the wax melts, stir gently to ensure even melting and avoid creating air bubbles. When the wax reaches about 170°F (77°C), it’s ready for pouring. Use steady, deliberate pouring techniques to fill your prepared candle containers, minimizing spills and air pockets. Pour slowly to avoid splashing hot wax and to achieve a smooth surface. Always keep a cloth or paper towels nearby to clean up any drips. Proper melting and pouring techniques help you create clean, professional-looking candles safely and efficiently.
Blending Essential Oils for Custom Scents
Blending essential oils allows you to create personalized candle scents that reflect your preferences. To craft unique fragrances, experiment with essential oil combinations and scent layering techniques. Start with a base oil like lavender or vanilla, then add middle notes such as citrus or eucalyptus, and finish with top notes like peppermint or cinnamon. Consider the mood you want to evoke—calm, energizing, or cozy. Visualize swirling colors and fragrant aromas blending seamlessly. Think of:
- A warm, spicy aroma with cinnamon and clove
- A fresh, citrusy scent with lemon and bergamot
- A calming lavender and chamomile mix
- An invigorating peppermint and eucalyptus blend
- A sweet vanilla and caramel harmony
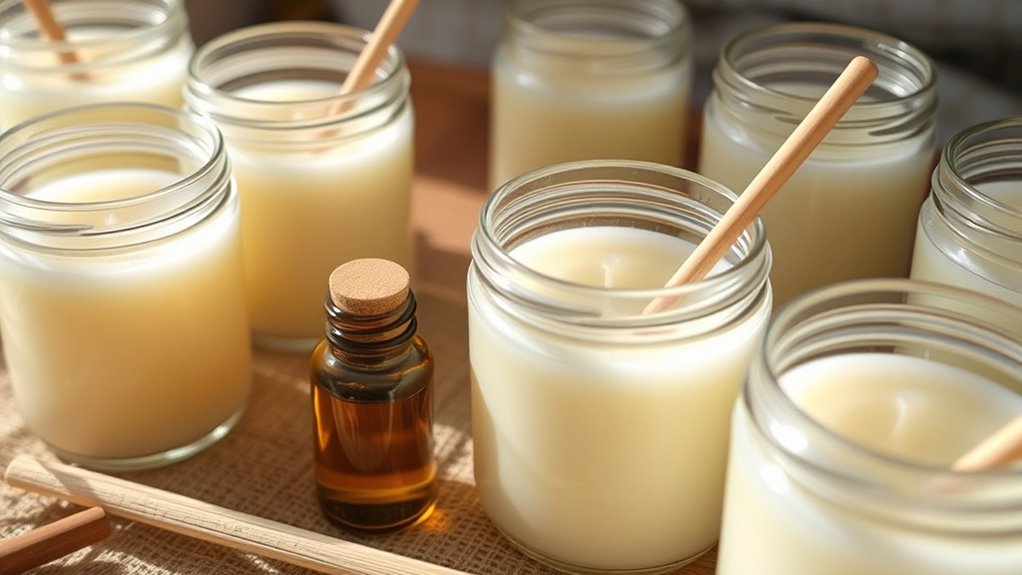
Pouring the Wax Mixture Into Containers

Once the wax has fully melted and the essential oils are thoroughly mixed in, carefully pour the liquid wax into your chosen containers. Confirm the wax temperature is appropriate—usually around 130°F to 140°F—to prevent splattering and achieve a smooth pour. Use a steady, controlled pouring technique to avoid creating air bubbles or spills. Hold the container steady and pour slowly, filling each mold or jar to the desired level. If you notice wax pooling around the wick, pause briefly to let it settle before adding more. Keep your workspace clean and work on a protected surface. Proper pouring technique helps ensure your candles have a professional finish and evenly distributed fragrance. Once filled, you’ll be ready for the next step in candle making.
Setting and Curing Your Candles
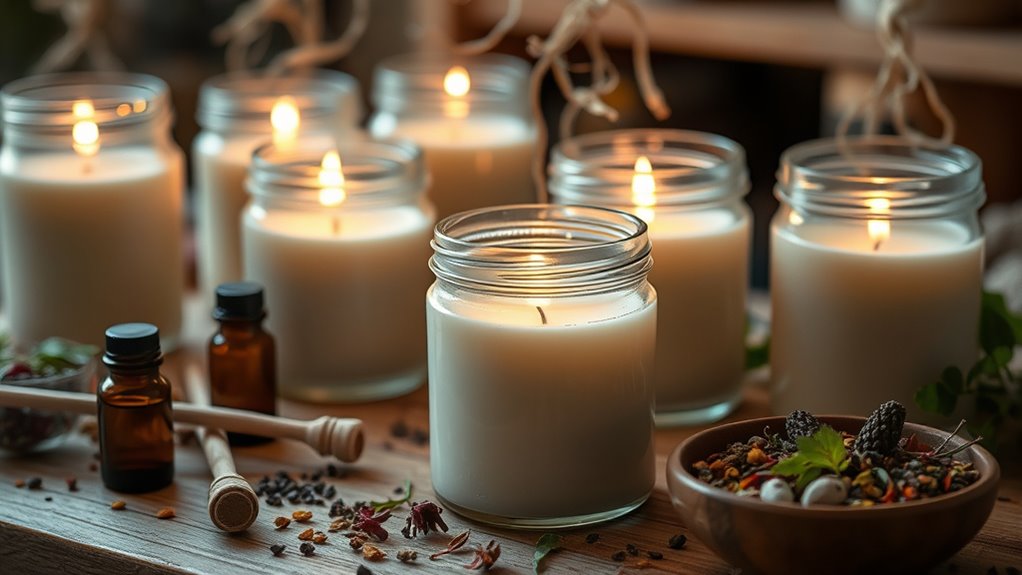
To get the best burn from your candles, you need to focus on proper cooling techniques. Allow them to cool undisturbed at room temperature, avoiding drafts or temperature fluctuations. For ideal scent and performance, give your candles enough time to cure—usually at least a week before lighting.
Proper Cooling Techniques
After pouring your candle wax, it’s vital to allow it to cool and set properly to guarantee a smooth finish and ideal scent throw. During the cooling process, maintaining proper temperature control is essential. Rapid cooling can cause cracks or uneven surfaces, while too slow cooling may affect fragrance distribution. To ensure optimal results, place your candle in a stable, draft-free area. Keep the ambient temperature consistent, avoiding temperature fluctuations. As the wax cools, you’ll notice it gradually hardening, forming a solid, smooth surface. Proper cooling techniques help preserve the scent and shape of your candle.
- A cozy corner away from vents or sunlight
- Stable surface free of vibrations
- Consistent room temperature
- No disturbances during the cooling period
- Patience as the wax fully solidifies
Optimal Curing Duration
Allowing your candles to cure properly is essential for achieving the best scent throw and a durable finish. During curing, the wax consistency stabilizes, ensuring even fragrance distribution. Typically, wait at least 1-2 weeks before burning your candles for ideal fragrance longevity. Patience allows the scent molecules to fully meld with the wax, enhancing aroma release. To help you understand, here’s a quick guide:
| Curing Time | Wax Consistency | Fragrance Longevity |
|---|---|---|
| 1 week | Slightly firm | Good |
| 2 weeks | Solid but flexible | Excellent |
| 4+ weeks | Very firm | Maximum |
Tips for Achieving the Best Fragrance Throw

Achieving the best fragrance throw in your DIY candles depends on a few key factors. To boost fragrance intensity and guarantee lasting scent longevity, pay attention to your ingredients and technique. Use high-quality essential oils, as they provide a stronger aroma and better scent diffusion. Pour your wax at the right temperature to maximize scent retention. Incorporate enough fragrance oil—usually around 6-10% of the wax weight—for a more robust aroma. Keep your candle free of drafts during curing and burning to prevent scent loss. Ultimately, trim your wick regularly to promote a steady burn, helping the scent disperse evenly. Visualize your candle radiating a warm, inviting aroma that fills your space, thanks to these simple yet effective tips.
Troubleshooting Common Candle-Making Issues
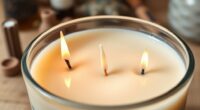
Even experienced candle makers encounter issues that can disrupt the final product, but most problems have straightforward solutions. If your wick isn’t sticking properly to the container, make certain the surface is clean and dry before pouring. Using a wick sticker or hot glue can also improve adhesion. Burn performance issues, like uneven burning or tunneling, often stem from wick size or wax temperature. Make certain your wick is appropriate for your candle’s size, and pour at the correct temperature for even melting. Additionally, trimming the wick to about ¼ inch before each burn helps maintain a steady, clean burn. Addressing wick adhesion and burn performance early on ensures your candles burn safely, evenly, and beautifully, making your DIY projects more successful and enjoyable.
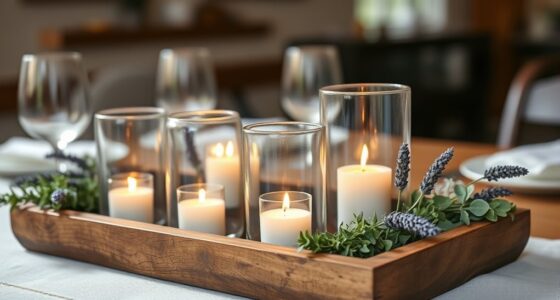
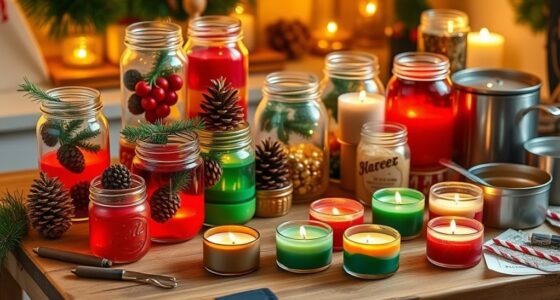
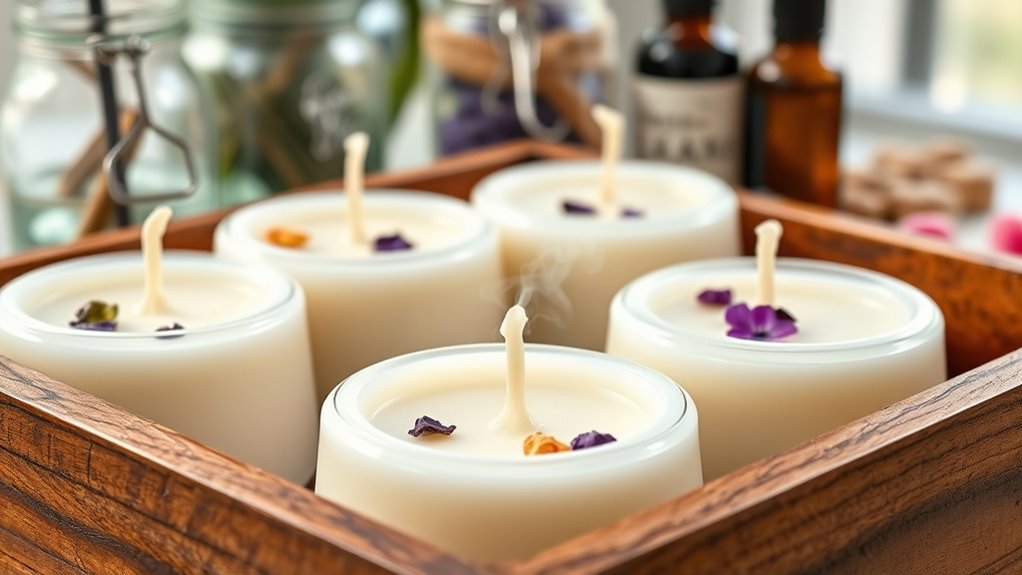
Creative Ideas for Decorating Your Candles
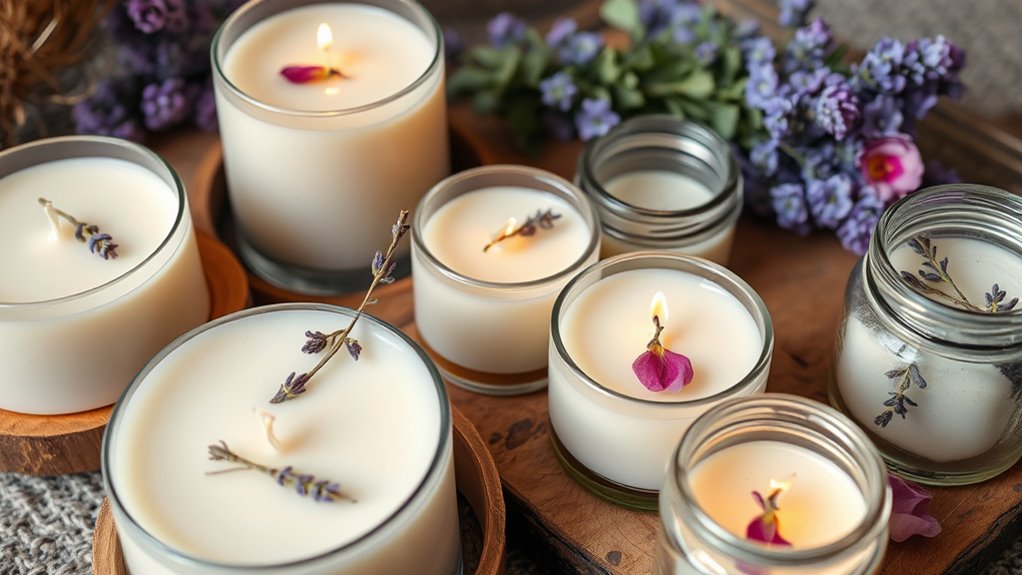
Decorating your candles creatively can transform a simple homemade piece into a stunning centerpiece or personalized gift. You can enhance their visual appeal with decorative candle holders that match your style, from rustic wood to sleek glass. Add a personal touch with personalized label designs featuring names, dates, or custom artwork. Embellish the wax surface with dried flowers, herbs, or glitter for a textured, eye-catching effect. Use wax seals or stamped designs to give your candles an elegant finish. Incorporate metallic accents like gold or silver leaf for a luxurious look. These creative elements help your candles stand out, making them perfect for gifting or decorating your space with a unique, handcrafted vibe.
Frequently Asked Questions
How Long Do Homemade Essential Oil Candles Typically Last?
Your homemade essential oil candles usually last around 20 to 40 hours of burn time. To maximize candle preservation and scent longevity, trim the wick before each use and keep the candle away from drafts. Properly curing your candles for a few days before burning also helps improve scent throw. With good care, you’ll enjoy their natural fragrance longer, making your investment in DIY candles truly worthwhile.
Can I Reuse Old Candle Containers for New Candles?
Yes, you can reuse old candle containers for new candles, but you should carefully clean them first. Remove any residual wax and wick, then wash the container thoroughly to guarantee safety considerations are met. Check for cracks or damage, as compromised containers can break when heated. Reusing containers is eco-friendly and cost-effective, just make sure they’re clean and safe to prevent any hazards when your new candles burn.
Are There Any Safety Precautions for Children Around Candle-Making?
Yes, you should prioritize child safety around candle-making. Always supervise children closely and keep them away from hot wax, open flames, and sharp tools. Use supervision tips like setting clear boundaries, working in a safe, clutter-free area, and never leaving melting wax unattended. Make sure children understand the dangers and only involve them in age-appropriate tasks, ensuring their safety while enjoying the creative process together.
How Do I Prevent Wax From Cracking or Sinking?
Think of your candle as a delicate dance partner; to prevent wax cracking or sinking, start by pouring your wax at the right temperature—warm but not too hot. Use a steady hand and pour in stages if needed, allowing each layer to cool. Keep the wick centered, and avoid moving the candle while it cools. This helps the wax set evenly, preventing cracks and sinking like a smooth, harmonious performance.
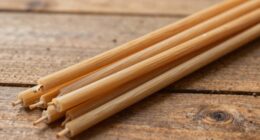
What Are Some Eco-Friendly Options for Candle Wicks?
You can choose eco-friendly candle wicks made from sustainable materials like cotton, wood, or bamboo. Look for biodegradable options that break down naturally and reduce environmental impact. These wicks are often free from harmful chemicals and are a great sustainable choice. When selecting your wick, verify it’s compatible with your wax type for a clean, eco-conscious burn. This way, your candles stay beautiful and eco-friendly.
Conclusion
Now that you’ve revealed the secrets to crafting your own scented candles, you’re ready to turn your space into a fragrant haven. With a little patience and creativity, your candles will become like tiny jars of magic, filling every room with natural warmth and aroma. Keep experimenting and refining your techniques—soon, you’ll be creating scents as unique as your own signature. Light up your passion, and let your homemade candles tell your story.