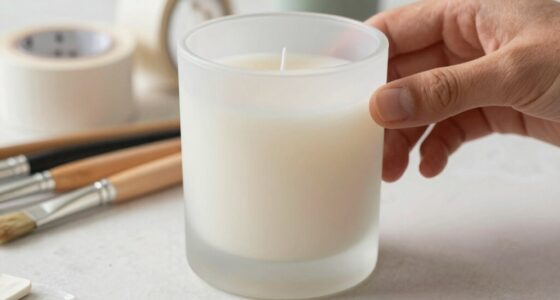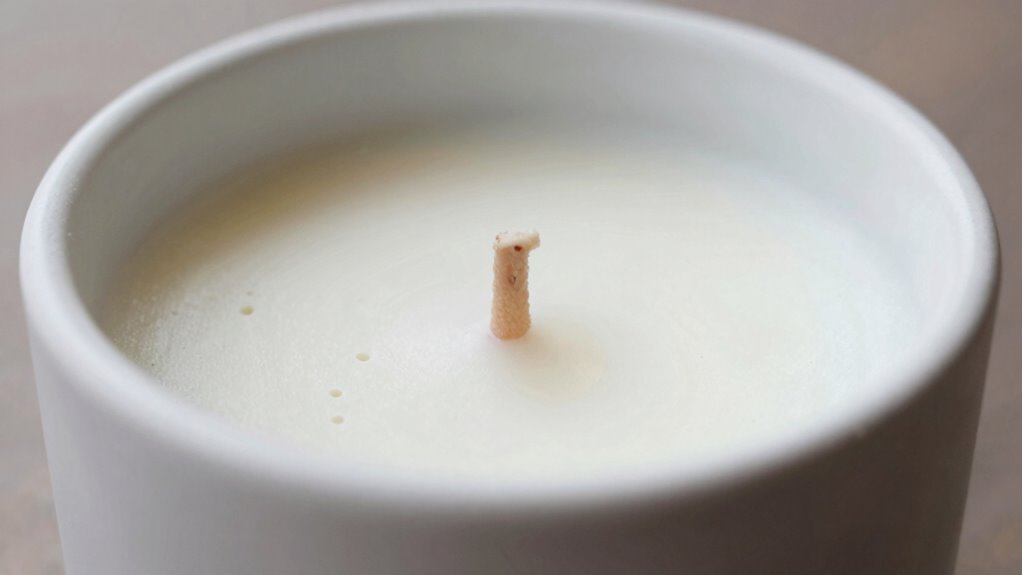

To make container candles with minimal sinkholes, you should pour wax at the right temperature, around 135°F to 145°F, and guarantee the wax is melted slowly and evenly to prevent air bubbles. Pre-warm your containers and pour in layers, allowing each to cool slightly before adding more wax. If sinkholes appear, top up with melted wax during cooling. Careful temperature control and patience are key—keep exploring for more detailed tips.

Get decor and gifts delivered free — and shop member deals
- Fast, free delivery on millions of items
- Access to Prime Big Deal Days deals on October 6–7
- Prime Video, Amazon Music and more included
Key Takeaways
- Pour wax at the recommended temperature (135°F–145°F) to ensure even flow and reduce air bubbles.
- Preheat containers to improve wax adhesion and minimize gaps or sinkholes during cooling.
- Use layered pouring techniques, allowing each layer to cool slightly before adding the next.
- Gently stir and release trapped air before pouring to prevent bubbles and sinkholes.
- Cool candles slowly in a controlled environment to promote even setting and minimize surface imperfections.
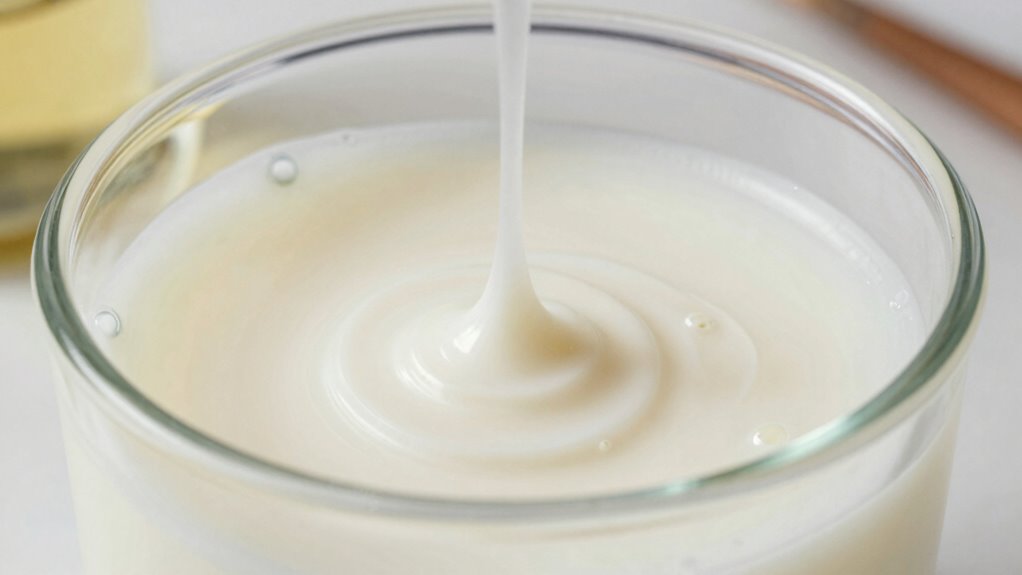
When it comes to wax melting techniques, patience and precision are key. To minimize sinkholes, you should melt your wax slowly and uniformly, avoiding rapid heating that can cause uneven melting or air bubbles. Use a double boiler or a dedicated melting pot to gently warm the wax, maintaining a steady temperature around the recommended melting point for your specific wax. Stir the wax gently and consistently as it melts, ensuring an even temperature throughout. This not only creates a smoother surface but also helps prevent air pockets that can lead to sinkholes during cooling. Incorporating a thermometer to monitor wax temperature and practicing patience during the cooling process will give you the best results. Pouring your wax at the right temperature is crucial. Too hot, and you risk creating bubbles and sinkholes as the wax cools unevenly; too cold, and the wax may seize or not adhere smoothly to the container. Typically, pouring between 135°F and 145°F works well for most container candles. Before pouring, let the wax cool slightly from its melting temperature, and give it a gentle stir to release any trapped air. You’ll also want to preheat your container slightly—by warming it with a quick blast of heat or rinsing it with warm water—so the wax bonds better, reducing the chances of sinkholes forming as it cools. Additionally, proper container preparation can improve adhesion and reduce imperfections. Using a layered pouring technique can also help in creating a more uniform surface and prevent imperfections. To further ensure a flawless finish, consider adding a small amount of wax to the surface during the cooling process if you notice imperfections forming. Monitoring the cooling rate and controlling the environment where your candles set can significantly impact the quality of the final product. Once poured, avoid moving the container until the wax has fully cooled and set. If you notice the surface starting to crack or sink, a quick top-up with a small amount of melted wax can help level the surface and prevent sinkholes from becoming more pronounced. Using a thermometer to monitor the wax temperature, practicing patience during the cooling process, and handling your candles carefully during the setting stage will give you the best chance at creating smooth, beautiful containers free of sinkholes. With these wax melting techniques and mindful fragrance incorporation, you’ll craft candles that are not only fragrant but also visually flawless.
container candle wax melting pot
As an affiliate, we earn on qualifying purchases.
As an affiliate, we earn on qualifying purchases.
Frequently Asked Questions
Can I Reuse Old Candle Wax for New Containers?
Yes, you can reuse old candle wax for new containers. Upcycling wax saves money and reduces waste, making your candle-making more eco-friendly. Before pouring, melt the leftover wax and filter out any debris. Use creative container choices to give your recycled wax a fresh look. Just make certain the old wax isn’t contaminated and is compatible with your new candle’s scent and color for the best results.
What Types of Wicks Are Best for Small Containers?
For small containers, you should choose wick selection carefully to guarantee proper burning. Opt for cotton or wood wicks, as they provide a steady flame and burn evenly. Make sure to select a wick compatible with your container’s size and wax type for ideal container compatibility. A wick that’s too small may cause tunneling, while one too large could create a fire hazard. Test different wicks to find the perfect fit.
How Do I Prevent Wax From Cracking During Cooling?
If you want to prevent wax from cracking during cooling, you’ll need to carefully control your wax melting process and choose the right wick. Use wick selection that promotes steady heat distribution, and avoid overheating the wax. As the wax cools, keep the temperature consistent and avoid sudden temperature changes. This careful handling guarantees a smooth, crack-free surface, revealing the secret to perfect container candles every time.
Is It Necessary to Add Fragrance Oils?
Adding fragrance oils isn’t necessary, but it enhances your candle’s scent strength and overall appeal. To avoid overpowering or weak scent, consider fragrance dilution—using the right amount for your wax type. Too much fragrance can cause issues like sinkholes, while too little leaves your candle scentless. Test different quantities to find the perfect balance for your desired aroma, ensuring a fragrant, well-behaved candle.
How Long Does It Take for a Container Candle to Fully Cure?
A container candle typically takes about 1 to 2 weeks to fully cure. During this curing time, the wax hardness stabilizes, which helps improve scent throw and burning performance. You should keep the candle in a cool, dark place and avoid lighting it during this period. Proper curing guarantees your candle burns evenly and releases fragrance as intended. Patience is key for the best results.
Conclusion
Now that you know how to make container candles with minimal sinkholes, you’re ready to create beautiful, professional-looking candles at home. Remember, using the right pouring temperature and proper wick placement makes a big difference. Did you know that over 80% of candle failures are caused by sinkholes? By following these tips, you’ll reduce waste and enjoy the satisfaction of perfectly crafted candles. Happy candle making—your cozy space awaits your personal touch!
Halloween Picks
halloween
As an affiliate, we earn on qualifying purchases.