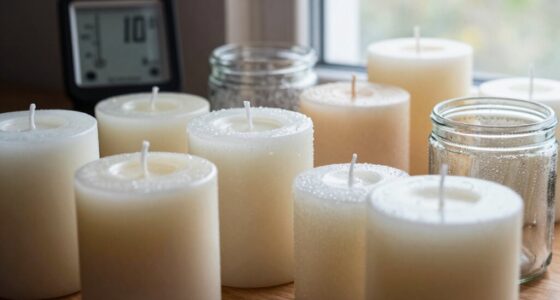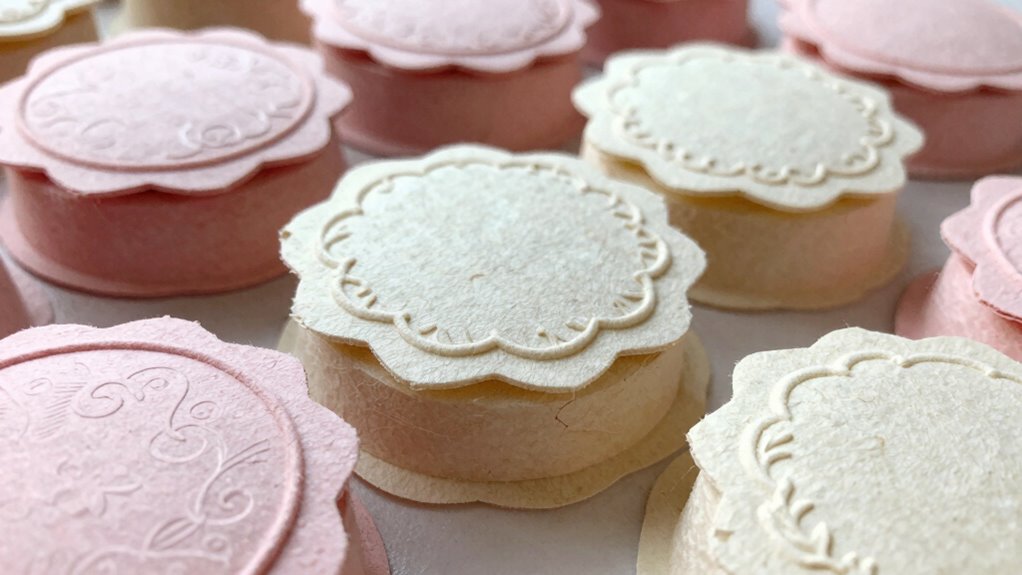

To create DIY candle dust covers from paper and cardstock, start by measuring your candles carefully to guarantee a snug fit. Cut your material slightly larger in diameter and height, then add small rims or folds at the edges for stability and dust prevention. Decorate the covers with patterns, paint, or embellishments to match your décor. For more tips on customizing and shaping your covers, keep exploring how to craft the perfect dust covers for your candles.
Key Takeaways
- Measure candles accurately to create snug-fitting covers from paper or cardstock.
- Cut the material slightly larger than the candle’s dimensions for a proper fit.
- Add rims or folds at edges for stability and dust prevention.
- Decorate covers with patterns, paint, or embellishments to match your decor.
- Use tabs or handles for easy removal and placement of the covers.
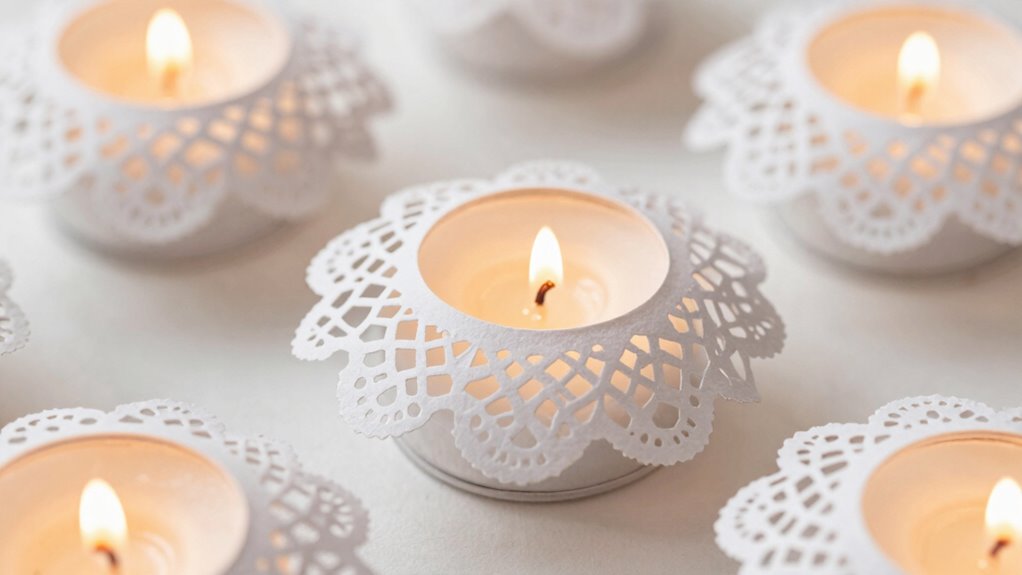
Candle dust can quickly accumulate and dull the appearance of your favorite candles, but you don’t need to buy expensive covers to keep them pristine. Instead, you can craft simple, effective DIY candle dust covers from paper and cardstock that serve as excellent dust prevention techniques. These homemade covers not only protect your candles from dust but also make them look neat and organized. Plus, creating your own covers gives you the flexibility to customize their size, style, and color to match your decor.
To start, measure your candles carefully. You want the cover to fit snugly but not so tight that it’s difficult to remove. Using these measurements, cut a piece of cardstock or thick paper that’s slightly larger than the candle’s diameter and height. For added stability, you might want to add a small rim or fold at the edges to create a lip that prevents dust from slipping in from the sides. When designing the cover, consider decorative elements like patterns, paint, or embellishments to make your candle display more visually appealing. Remember, the goal is to create a protective barrier that reduces dust accumulation and preserves the candle’s surface and wick. Incorporating 3D printing techniques can also allow for precise customization of your covers, especially for unique candle shapes or sizes. Understanding the materials suitable for DIY projects can help ensure your covers are both durable and attractive.
Once you’ve cut and decorated your covers, you simply slide them over the candles when they’re not in use. This quick step is highly effective in preventing dust from settling on the wax and wick, which can otherwise make the candle look dull and may interfere with burning performance. You might also want to make a few covers in different sizes for various candle shapes, ensuring all your candles stay dust-free. For additional protection, you can attach a small handle or tab to the cover, making it easier to lift off without knocking over the candle.
As an affiliate, we earn on qualifying purchases.
Frequently Asked Questions
What Types of Paper Are Safest for Candle Covers?
You should choose flame-resistant papers for candle covers to stay safe. Look for papers with flame resistant coatings, which help prevent fires. Decorative patterns on these papers add a nice touch without sacrificing safety. Avoid regular paper, which can catch fire easily. Opt for specialized craft or fire-retardant papers, ensuring your DIY project is both beautiful and safe. Always test your covers before placing them near open flames.
How Do I Prevent the Covers From Catching Fire?
To prevent your paper or cardstock covers from catching fire, prioritize fire safety and heat resistance. Keep covers at a safe distance from the candle flame, avoid placing them directly on the flame or hot wax, and make certain they’re made from thicker, heat-resistant paper. Always supervise burning candles, and consider adding a metal or glass barrier around the flame for extra protection. These steps help minimize fire risks effectively.
Can I Customize Covers for Different Candle Sizes?
Yes, you can customize covers for different candle sizes by adjusting the dimensions and designing with decorative patterns. Use sturdy paper or cardstock to guarantee material durability, which helps the covers hold their shape and protect the candle properly. Measure each candle carefully, then cut your material accordingly. Personalize with decorative patterns to match your decor, making sure the fits remain snug and safe around the candle without risking fire hazards.
How Long Do Paper Candle Dust Covers Last?
They usually last a few weeks, but it depends on your candle’s scent and how often you burn it. If you notice wax melting or the scent fading, it’s time to change the cover. Paper covers tend to wear out faster from heat and handling, but if you handle them gently, they can last longer. Keep an eye on signs of wear, and you won’t be caught off guard by a cover’s demise.
Are There Eco-Friendly Alternatives to Paper and Cardstock?
Yes, you can choose eco-friendly alternatives to paper and cardstock, like recycling options and biodegradable materials. Consider using plant-based papers, bamboo, or cornstarch-based bioplastics that break down naturally. These options help reduce waste and are sustainable. When making candle dust covers, opt for these materials to lessen your environmental impact, and always check if your local recycling programs accept these biodegradable options for proper disposal.
Conclusion
By creating your own candle dust covers from paper and cardstock, you not only protect your candles but also add a personal touch to your decor. With a bit of effort, you can craft elegant covers that enhance your space and keep dust at bay. Remember, “A stitch in time saves nine,” so taking these small steps now guarantees your candles stay beautiful longer. Happy crafting!