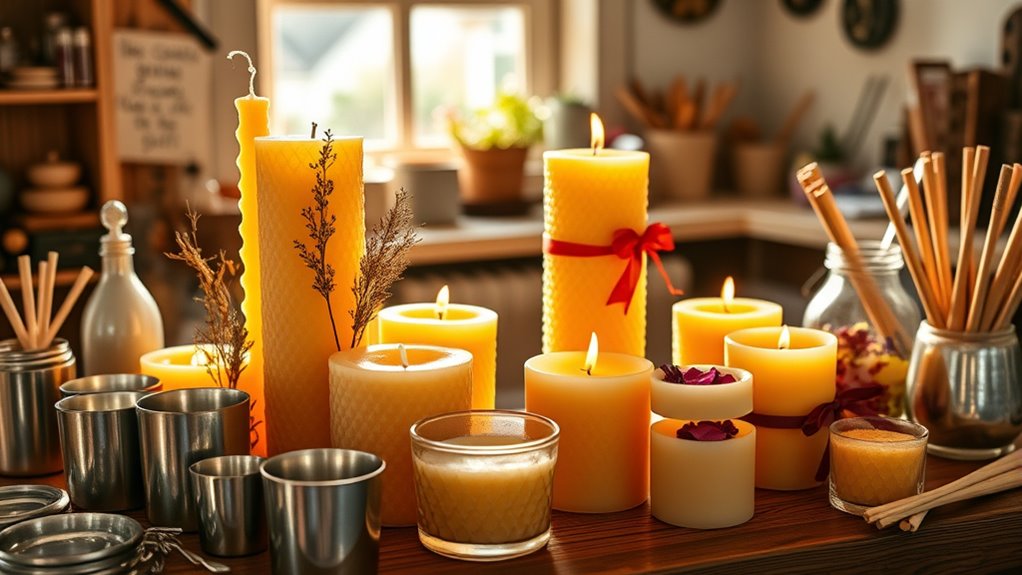
To make DIY beeswax candles at home, start by gathering high-quality beeswax, wicks, molds or containers, and safety gear. Melt the beeswax gently using a double boiler, then carefully pour it into your chosen molds or jars, making sure the wick stays centered. Let the candles cool and set before trimming the wick. For personalized touches, add colors, scents, or decorations during the process. Keep exploring to discover detailed steps for creating beautiful, natural candles.
Key Takeaways
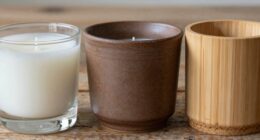
- Choose high-quality beeswax and suitable molds or containers for your pillar or container candles.
- Melt beeswax gently using a double boiler, then add fragrance or color if desired.
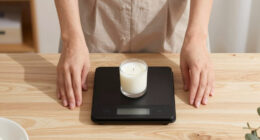
- Secure and center the wick in the mold or container before pouring the melted beeswax.
- Pour beeswax steadily, allowing it to cool and set undisturbed for a smooth finish.
- Trim the wick, finish with decorative touches, and cure the candle for optimal scent and durability.

Beeswax Candle Making Kit with Electric Wax Melter for Adult, 5lbs Bees Wax for Candle Making and DIY Art&Craft
Beeswax Making Kit: There are electric wax melting pot for beeswax melting, 5lbs beeswax, 100 cotton wicks, 100…
As an affiliate, we earn on qualifying purchases.
As an affiliate, we earn on qualifying purchases.
Gathering Your Supplies and Tools

Before you begin making beeswax candles, you need to gather all the necessary supplies and tools. First, collect high-quality beeswax, wicks, a double boiler or melting pot, and molds or containers. Safety precautions are essential; make sure you work in a well-ventilated area, wear gloves, and keep a fire extinguisher nearby. Proper storage tips are also important—store beeswax in a cool, dry place away from direct sunlight to prevent melting or discoloration. Keep your tools clean and organized to avoid contamination. Use heat-resistant containers for melting beeswax. Understanding the color accuracy of your materials can help ensure your candles have a consistent, appealing appearance. Additionally, being aware of water evaporation can help you manage your workspace and materials more effectively, especially when working with water-based tools or environments. Being mindful of natural materials can also enhance the quality and authenticity of your homemade candles. Paying attention to the density of beeswax can help you achieve better results and a smoother finish. Having everything ready and understanding safety measures helps prevent accidents and ensures your candles turn out beautifully. Once you’ve gathered your supplies, you’re ready to move forward confidently.

MUAECH Candle Jar Mold with Lid for Candles Making, Silicone Concrete Molds Storage Container Moulds for Epoxy Resin, Unique Vessels Cement Mould for DIY Jewelry Holder Trinket Box Home Decor
Great Value: You will get cylinder concrete molds*1, sealing ring*6, lid mold*1, wood round lid*1. Meet your different…
As an affiliate, we earn on qualifying purchases.
As an affiliate, we earn on qualifying purchases.
Preparing the Beeswax for Candle Making

To prepare the beeswax for candle making, start by cutting or breaking it into small, manageable pieces. This helps guarantee even melting and maintains beeswax purity. Next, consider the purity level, as high-quality beeswax produces cleaner, longer-lasting candles. Before melting, you might want to gently pre-warm the wax to remove any residual impurities. If you’re planning to scent your candles, choose beeswax that is either unscented or lightly scented, as strong scents can interfere with your candle scenting process. Additionally, dyeing beeswax can add color to your candles if desired. For optimal results, using quality beeswax ensures the best appearance and burning qualities. Also, understanding the cost-effective production of beeswax can help in managing expenses for larger projects. Finally, keep your workspace clean and organized to prevent contaminants. Proper preparation ensures your beeswax melts uniformly and results in beautiful, pure candles with the desired scent profile.

Beesworks 100 Piece Cotton Candle Wick 6" Pre-Waxed for Candle Making, Candle DIY
Pack of 100: Each package includes 100 candle wicks. Each wick measures 6" long with a metal base…
As an affiliate, we earn on qualifying purchases.
As an affiliate, we earn on qualifying purchases.
Melting and Pouring the Beeswax

Once your beeswax is properly prepared, it’s time to melt it carefully. Use a double boiler or a heat-safe container in a saucepan to gently warm the beeswax, avoiding direct heat to prevent burning. As it melts, consider your fragrance options—adding essential oils will give your candles a delightful scent. Stir gently to distribute the fragrance evenly. When pouring, choose a wick that’s appropriate for your candle size; a thicker wick works well for pillar candles, while a thinner one suits containers. Keep the wick centered and steady as you pour the melted beeswax into your mold or container. Working at a steady pace ensures a smooth, even surface and prevents air bubbles. Remember, patience during pouring results in a cleaner finish. Proper shower design can also enhance your bathroom experience, making your space more relaxing and functional. Additionally, understanding candle safety tips is essential to ensure a safe and enjoyable candle-making process.
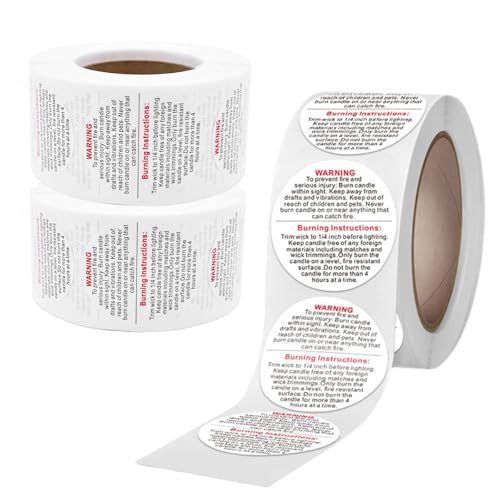
1500PCS Candle Warning Labels,Candle Wick Stickers,1 Inch Candle Safety Stickers,Candle Jars and Tins Warning Labels for Candle Making DIY Candle Jars
Warning Label Size:The diameter of candle jar label is 1in / 25mm, which is suitable for warning label…
As an affiliate, we earn on qualifying purchases.
As an affiliate, we earn on qualifying purchases.
Setting and Finishing Your Candles

After pouring the beeswax into your mold or container, allow the candle to cool and set undisturbed. Once solid, carefully remove the candle from the mold if needed. To enhance scent infusion, gently warm the candle’s surface and add a few drops of essential oil, pressing them lightly into the wax. Proper wick placement is vital: position the wick at the center before the wax hardens, ensuring it stays upright. For a polished finish, trim the wick to about ¼ inch. You can also smooth any uneven surfaces with a heated tool or a knife. Additionally, proper candle curing is essential for optimal scent throw and candle quality, as it allows the fragrance to fully develop. Incorporating room‑size wattage guides can help determine the ideal curing time based on candle size and wax type. Remember that candle scent throw improves significantly after curing, so patience is key. Finally, let the candle cure for a few hours to maximize scent throw and guarantee the wax is fully set before lighting.
Tips for Customizing and Decorating Your Candles
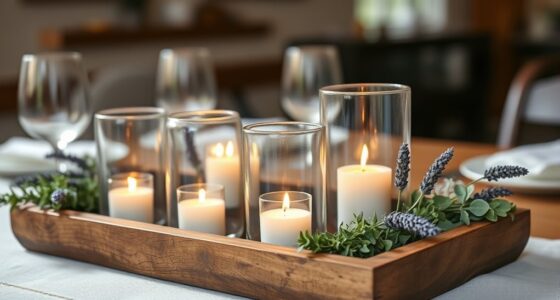
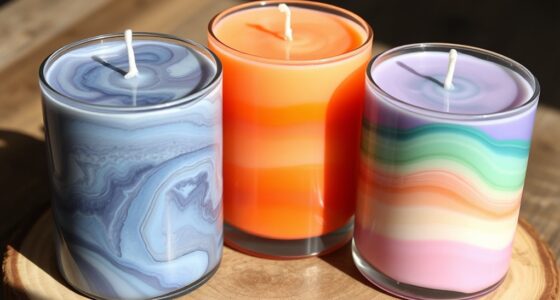
With your candles now set and cooled, it’s the perfect time to get creative with their appearance. Choose a color scheme that matches your decor or mood, using tinted beeswax or adding color chips for a personalized touch. You can also incorporate decorative accents like dried flowers, herbs, or small charms to enhance their visual appeal. Embedding these details during the pouring process creates a unique, textured look. Consider layering different shades of beeswax for a striking effect or carving patterns into the surface once the candle is solid. For a polished finish, use stencils or wax dyes to add intricate designs or borders. Additionally, exploring wax-free candle techniques can offer eco-friendly options for personalized decoration. Incorporating safe candle-making practices ensures your creations are both beautiful and secure. Experimenting with different decoration methods can help you develop a signature style that makes your candles truly stand out. These simple tips help transform your candles into beautiful, customized pieces that reflect your style and creativity.
Frequently Asked Questions
How Long Does It Take for Beeswax Candles to Fully Cure?
It takes about 1 to 2 weeks for beeswax candles to fully cure. During this cure time, the scent develops fully, enhancing your candle’s aroma. You should let your candles sit in a cool, dark place without burning them during this period. Patience guarantees the wax hardens properly, making your candles burn evenly and smell delightful once cured.
Can I Reuse Leftover Beeswax From Previous Candles?
Yes, you can reuse leftover beeswax from previous candles. Beeswax recycling is a great way to practice candle wax reuse, saving money and reducing waste. First, gently melt the leftover wax, strain out any debris, and pour it into a clean mold or container. This recycled beeswax can be used for making new candles, ensuring you make the most of your beeswax and minimize waste.
What Safety Precautions Should I Follow During Melting?
Like a cautious captain steering through calm waters, you should follow workshop safety and handle heat carefully when melting beeswax. Wear heat-resistant gloves, keep a fire extinguisher nearby, and work in a well-ventilated area. Never leave melting wax unattended, and use a double boiler to prevent direct heat contact. These precautions protect you from burns and accidents, ensuring your candle-making journey remains safe and enjoyable.
Are Beeswax Candles Suitable for Outdoor Use?
Yes, beeswax candles are suitable for outdoor use because they create a warm outdoor ambiance. However, keep in mind that beeswax isn’t highly weather-resistant, so strong winds or rain can affect them. To maximize their outdoor appeal, place them in protected areas or use lanterns. They’ll add a cozy, natural glow, but for long-lasting outdoor ambiance, consider weather-resistant holders or covers to shield them from the elements.
How Do I Store Beeswax Candles Properly to Prevent Melting?
To prevent your beeswax candles from melting, store them in a cool, dry place away from direct sunlight and heat sources. Follow storage tips like keeping them upright and in a temperature-controlled environment. Handling best practices include wrapping candles in tissue paper or placing them in a box to avoid accidental damage. By doing so, you’ll maintain their shape and scent, ensuring your candles stay perfect until you’re ready to use them.
Conclusion
Now that you’ve crafted your own beeswax candles, you’ve truly embraced the art of simplicity—only to realize how effortlessly they transform any space. Ironically, these humble candles, born from nature’s gift, can outshine their commercial counterparts in charm and scent. So, enjoy the glow of your handmade masterpieces, knowing that the quiet elegance of beeswax is now forever in your hands—proof that real luxury often comes from the most modest of sources.