
To master advanced candle techniques like over-dipping and layering, focus on controlling your wicks and wax temperature for clean, polished results. Carefully dip your candles, building up multiple layers while maintaining even spacing and precision. Use contrasting colors and textures for visual depth, and carve or etch to add intricate details. With practice, you’ll create stunning, textured designs that showcase your skill. Keep exploring these techniques to unravel even more creative possibilities.
Key Takeaways
- Master over-dipping by controlling wick extension and cooling candles before each dip for smooth, layered color buildup.
- Use steady, deliberate dips with proper wax temperature to achieve clean, textured layering effects.
- Incorporate contrasting colors and textures between layers to enhance visual depth and interest.
- Allow each layer to cool slightly before adding the next to prevent blending and maintain sharp separation.
- Employ wax carving and etching tools to add texture, patterns, and reveal underlying layers for intricate designs.

YJHSS 24-Pack 8oz Candle Tins with Lids, Metal Candle Jars for Candle Making, Bulk Empty Containers for Beginners & DIY Storage -Black
Capacity: 8oz =235ml; Dimensions : 3.15" (Diameter) x 2.35" (Height); Each candle tins are made of premium tinplate,...
As an affiliate, we earn on qualifying purchases.
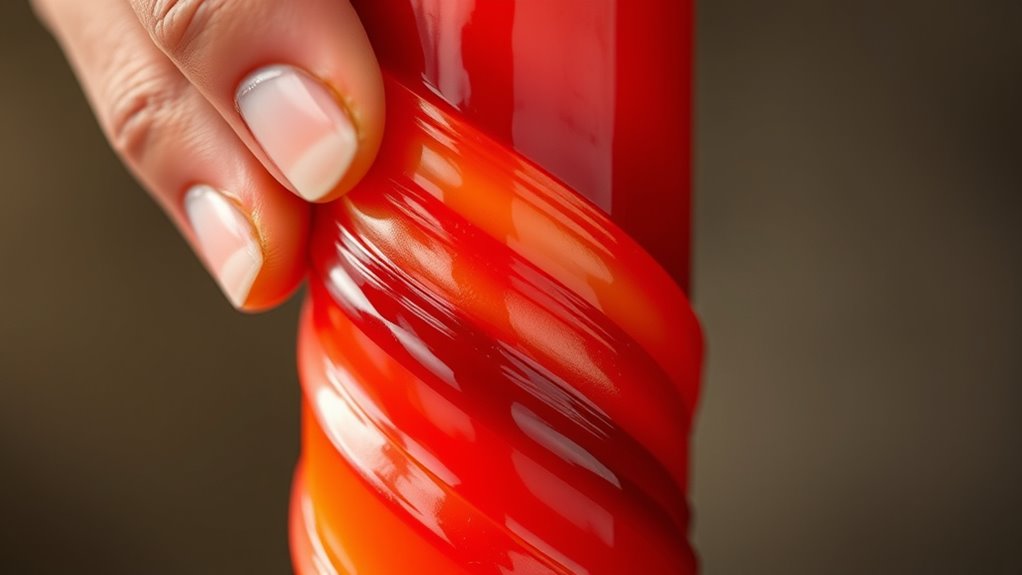
Understanding Over-Dipping Techniques
Understanding over-dipping techniques is vital for achieving the perfect candle finish. When you work on over-dipping, focus on controlling the wick extension, which determines how much the wick protrudes after each dip. A longer wick extension makes the candle look more polished and professional. Timing your dips is essential; you want to dip just long enough to create a smooth, even layer without overloading the wax. Keep a steady rhythm, and don’t rush the process—patience guarantees better control over the dip timing. If the wax cools too quickly, rewarm it gently to maintain proper flow. Mastering these details helps you build a clean, layered finish, elevating your candle-making game. Additionally, understanding Angel Numbers can provide spiritual guidance and encouragement throughout your creative process. Staying informed about Personal Debt Forgiveness Bills can also help you manage your finances better, freeing up resources to invest in your craft. Paying attention to home decor concepts like layering effects can inspire you to incorporate aesthetic details into your finished candles. Moreover, researching lighting techniques used in home cinema projectors can give you ideas for enhancing the ambiance created by your candles.

QAPPDA 8oz Amber Candle Jars Set of 30,Round Glass Jars with Black Lids,Empty 250ml Glass Candle Making Jar Bulk Thick Small Food Storage Jar for Spice,Candy,Powder
Amber Glass Jar with Airtight Lid-Each set includes 30 pack rounded amber glass jars with black screw-on metal...
As an affiliate, we earn on qualifying purchases.
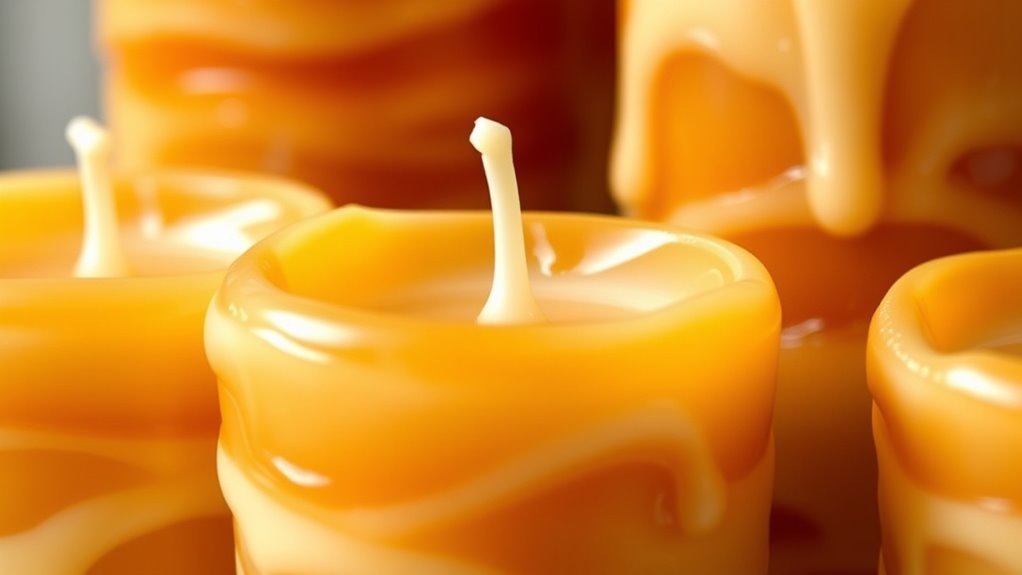
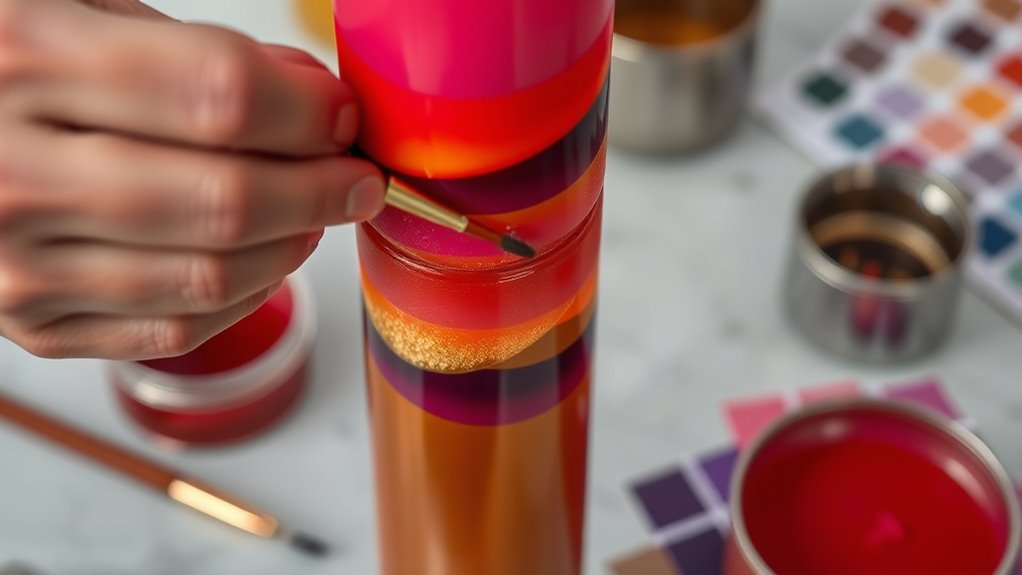
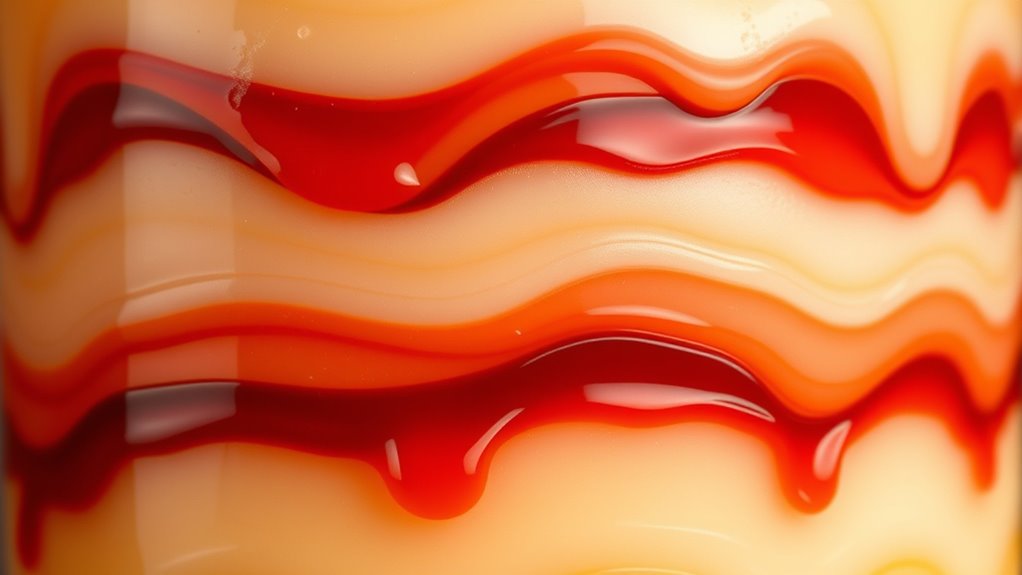
Mastering Layering Effects for Visual Depth
To create striking visual depth, start by choosing colors that complement each other well. Varying candle heights can also add dimension, making your display more dynamic. Applying layering techniques thoughtfully will help you achieve a stunning, multi-dimensional look. Additionally, understanding the core personality traits of your audience or yourself can influence your color and style choices to better reflect desired moods or themes. Incorporating interior design basics such as mood boards can further refine your color palette and overall aesthetic. Recognizing individual emotional responses to different styles can also enhance the overall impact of your candle display. Being aware of regional resources and tools, like local craft suppliers or online tutorials, can also support your technique development.
Choosing Complementary Colors
Choosing the right complementary colors is essential for creating striking layering effects that add depth to your candles. When selecting hues, focus on color blending and hue harmony to guarantee seamless transitions between layers. Complementary colors, like blue and orange or purple and yellow, enhance visual interest without clashing. To achieve this, consider these tips:
- Match warm tones with cool tones for contrast
- Use color theory to select harmonious pairs
- Incorporate subtle shades of the same hue for soft layering
- Experiment with semi-transparent wax for smooth blending
- Balance vibrant colors with muted shades for depth
- Understanding color harmony principles can guide you in creating visually appealing effects, especially when mindful of how organization impacts overall design coherence. Additionally, exploring color psychology can help evoke specific moods and enhance the aesthetic appeal of your candles. Being aware of color contrast techniques can also improve the visual impact of your layered candles.
Varying Candle Heights
Varying candle heights is a powerful technique to create visual interest and add depth to your layered candle displays. By introducing candle height variations, you prevent your arrangement from appearing flat or monotonous. This approach enhances the perception of dimension while maintaining design consistency. To achieve balanced contrast, consider different heights that complement each other without overwhelming the overall look. Use the following table to understand the importance of height variation and its impact on your display:
| Candle Height Variation | Visual Effect |
|---|---|
| Slightly taller | Adds subtle depth |
| Significantly taller | Creates bold focal points |
| Uniform height | Ensures clean, cohesive look |
| Random heights | Introduces organic charm |
| Consistent spacing | Maintains design harmony |
Additionally, incorporating elements like glycolic acid in your skincare routine can improve skin texture and radiance, complementing the visual appeal of your display. Recognizing the role of visual depth in design can further help you craft more dynamic and engaging arrangements. Understanding entertainment support hours can inspire creative ideas for themed decor and displays, making your arrangements more engaging and immersive. Using layering techniques can also help emphasize the depth created by height variations and add complexity to your overall presentation.
Layering Techniques Tips
Mastering layering techniques can greatly enhance your candle displays by adding depth and visual interest. To achieve stunning effects, focus on maintaining wick consistency for even burning and ideal scent infusion. When layering, consider these tips:
- Use contrasting colors or textures for visual impact
- Vary the thickness of each layer to create dimension
- Allow each layer to cool slightly before adding the next for clean separations
- Incorporate scent infusion between layers to combine aroma with visual appeal
- Keep the wick centered and consistent to ensure even burning and prevent uneven layering

Syntic 40 Pack Small Glass Jars with Cork Lids, 7oz Empty Mason Jars for Making Candles, Yogurt Container with PE Lids for Wedding Favors, Baby Shower, Candy, Spices with Twine, Labels
Candy Bottles with 6 Kinds of Accessories - Perfectly satisfying your daily lifestyle demands. 40 PE lids +...
As an affiliate, we earn on qualifying purchases.
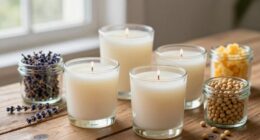
Selecting the Right Materials and Colors
When choosing your candle materials, consider the different wax types to find the one that suits your project best. Pay attention to color compatibility to achieve your desired look, and select fragrances that complement your design without overpowering it. Making thoughtful choices here guarantees your finished candles look beautiful and smell inviting. Additionally, understanding food safety can inspire color and design choices that resonate more deeply with your personal or thematic intentions.
Choosing Candle Wax Types
Choosing the right candle wax is essential for achieving your desired look, scent, and burn quality. Different waxes melt at varying temperatures and hold scent blending differently, affecting the overall fragrance experience. When selecting wax, consider these factors:
- Type of wax (paraffin, soy, beeswax, or palm) influences burn time and scent throw. Understanding the combustion properties of each wax type helps in selecting the best one for your project.
- Melting point affects how easily wax melts and layers during over-dipping or layering.
- Scent retention varies across wax types, impacting how well your chosen fragrances blend.
- Appearance of the wax affects the final aesthetic, especially when layering or over-dipping.
- Compatibility with dyes and additives ensures smooth wax melting and consistent layering.
- Understanding the tuning properties of different waxes allows for better control over layering effects and overall candle quality.
Choosing the right wax allows you to craft candles with beautiful layers and enhanced scent profiles, elevating your DIY project.
Color Compatibility Tips
Selecting the right materials and colors for your candles is key to achieving a cohesive and visually appealing result. Focus on creating a balance between color contrast and shade harmony. Use contrasting colors, like deep blue and bright yellow, to add visual interest and make certain layers stand out. However, be mindful of shade harmony; pairing muted pastels or analogous hues ensures a seamless, elegant look. Consider the mood you want to evoke—bold contrasts for energy or soft tones for serenity. Test small samples beforehand to see how colors interact when layered or over-dipped. Avoid clashing colors or overly bright combinations that may distract from the candle’s design. Thoughtful color choices elevate your candle craft, making each piece both artistic and harmonious. Additionally, understanding color harmony principles can help you select combinations that naturally complement each other and enhance the overall aesthetic.
Selecting Fragrance Options
The right fragrance can transform your candle from simple decor into a sensory experience. When selecting scents, consider how floral scents evoke elegance and calm, while citrus fragrances add brightness and energy. Mixing these scents can create a balanced and inviting atmosphere. Keep in mind:
- Choose high-quality essential oils or fragrance oils for a stronger scent throw
- Test small batches to find your preferred scent blend
- Pair floral scents with softer colors like pastels for a harmonious look
- Use citrus fragrances to energize layered or contrasting candle designs
- Be mindful of scent strength to avoid overpowering the space
- Additionally, understanding the recommended quantity for candles helps ensure you achieve the desired scent intensity without overpowering or underwhelming the final product.
- Considering scent compatibility with decor can help you create a cohesive and inviting ambiance in your space.
EricX Light 100 Piece Natural Candle Wick, Low Smoke 6" Pre-Waxed & 100% Natural Cotton Core,For Candle Making,Candle DIY
Pre-waxed and tabbed
As an affiliate, we earn on qualifying purchases.
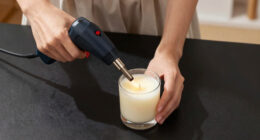
Step-by-Step Guide to Over-Dipping
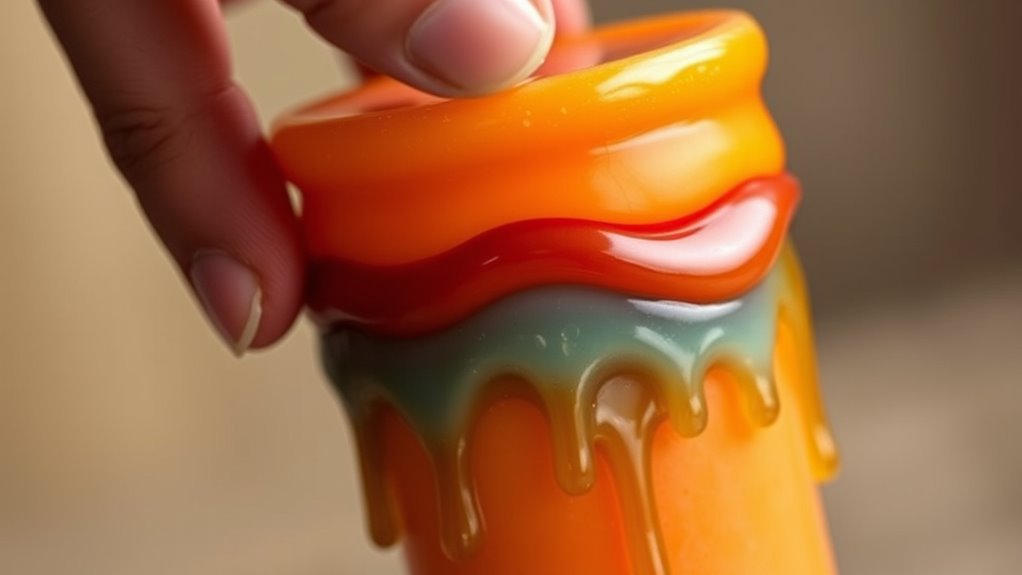
Over-dipping your candle is a straightforward technique that adds layers of color and texture to your creation. To start, verify your wick is centered and maintained at the proper length to prevent uneven layers. Before dipping, check that your candle has cooled slightly to avoid melting previous layers. When dipping, hold the candle by the wick and submerge it into the melted wax, then lift it smoothly and allow excess wax to drip off. Repeating the dipping process, building up the layers gradually, can create a variety of textured effects. Always follow safety precautions, like working in a well-ventilated area and handling hot wax with care. Regularly maintain the wick’s position to ensure even layering. Proper wax temperature control ensures a safe browsing experience and helps you control your data privacy while experimenting with your candle projects. With patience and attention to detail, over-dipping creates stunning textured effects on your candle.
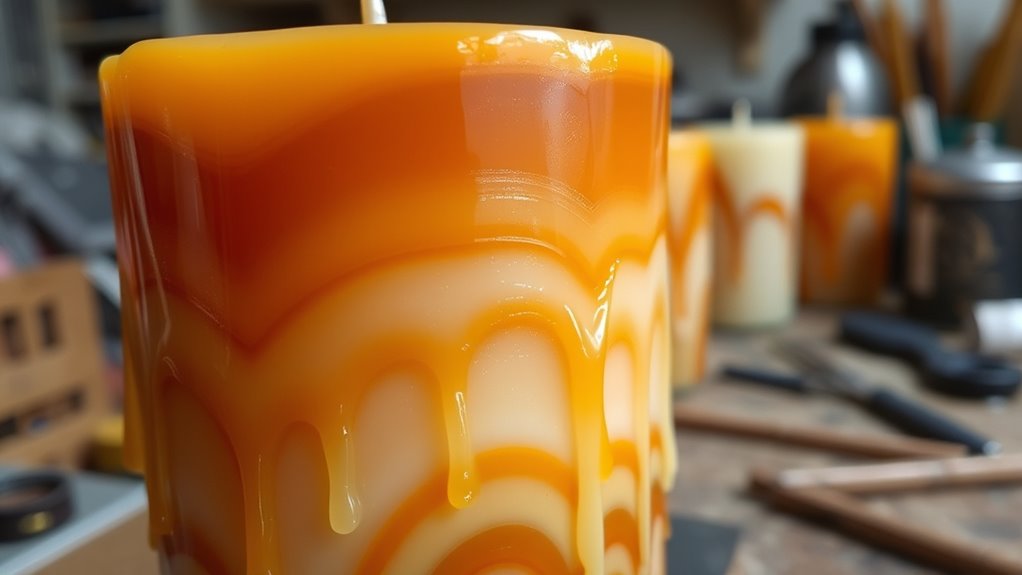
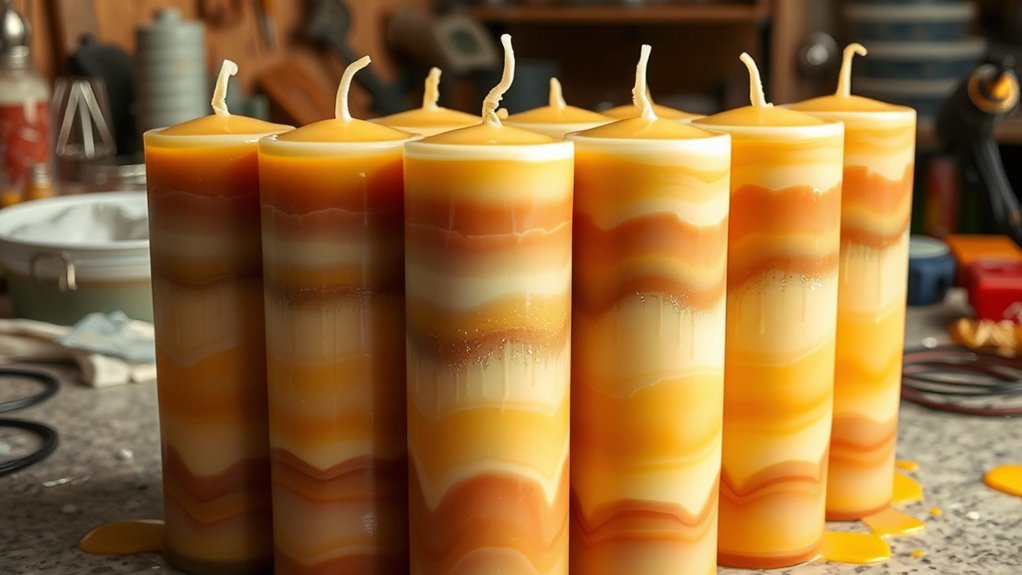
Creating Intricate Layered Designs
Creating intricate layered designs allows you to craft visually stunning candles with depth and complexity. To achieve this, focus on precise wax carving to create textured surfaces and shapes that enhance your layers. Proper wick placement ensures even burning and highlights your layered work. As you build your design, consider adding contrasting colors or textures between layers for added visual interest. Use tools like knives or carving tools to etch patterns, revealing hidden layers beneath. When layering, pour wax carefully to prevent blending or smudging your designs. Adjust the wick position to accommodate multiple layers, keeping everything aligned. Keep these tips in mind to elevate your candle-making skills and produce detailed, eye-catching creations.
Creating layered candles with textured surfaces and precise alignment elevates your craft with depth and visual interest.
- Use wax carving to add texture and detail
- Layer different colors for contrast
- Maintain proper wick placement for even burn
- Pour wax slowly to prevent blending
- Align layers carefully for precision
Troubleshooting Common Challenges
Have you ever struggled with candles that sink in the middle or develop uneven burns? These issues often stem from problems with your wicks and wick size. If your wick is too small, the flame may be weak, causing poor melt pools and tunneling, while a wick that’s too large can create a high, flickering flame, leading to uneven burns and excessive soot. To troubleshoot, first check your wicks; ensure they’re the appropriate size for your candle’s diameter. Adjust by switching to a wick better suited to your wax type and container size. Also, trim the wick to about ¼ inch before each burn to promote even melting. Proper wick selection and maintenance can dramatically improve your candle’s burn quality, preventing sinking, tunneling, and uneven burns.
Frequently Asked Questions
How Do I Prevent Candles From Cracking During Over-Dipping?
To prevent candles from cracking during over-dipping, you should carefully monitor the wax temperature, keeping it just below the melting point to guarantee smooth application. Make sure your candle is stable and cool enough before dipping again, as rapid temperature changes can cause cracking. Dip slowly and evenly, allowing each layer to set properly. This approach helps maintain candle stability and prevents cracks, resulting in a cleaner, more professional finish.
What Safety Precautions Should I Take While Layering Candles?
You must prioritize safety when layering candles, even if you’re experienced. Always wear personal protective equipment like gloves and goggles to prevent burns or injuries from hot wax or accidental splashes. Keep fire hazards in mind by working in a well-ventilated area away from flammable materials. Never leave melting wax unattended, and have a fire extinguisher nearby. These precautions guarantee you enjoy your craft safely and confidently.
Can I Use Unconventional Materials for Layering Effects?
You can experiment with alternative materials for unconventional layering, but always prioritize safety. Use non-flammable, heat-resistant items like dried herbs, decorative stones, or metal accents, ensuring they won’t catch fire or release toxic fumes. Test small amounts first, and avoid materials with plastic or synthetic components. This approach allows creative, unconventional layering while keeping your candles safe and beautiful. Always stay cautious and observe proper safety measures during your project.
How Long Should I Wait Between Dips for Optimal Results?
Waiting just a heartbeat or two between dips can make or break your layered candle masterpiece—it’s that essential! For ideal results, keep your Dipping timing precise and practice Layering patience, usually waiting about 30 seconds to a minute, depending on wax thickness. Rushing this step can cause uneven layers or melting. So, stay patient, trust the process, and you’ll create stunning, multi-dimensional candles that wow everyone!
Are There Eco-Friendly Options for Candle Dyes and Waxes?
Yes, you can use eco-friendly dyes and natural waxes for your candles. Look for eco-friendly dyes derived from plant-based sources or mineral pigments, which are non-toxic and biodegradable. Opt for natural waxes like beeswax, soy wax, or coconut wax, as they’re sustainable and renewable. These options help you create beautiful, environmentally conscious candles while reducing your ecological footprint. Always check product labels to verify they’re truly eco-friendly.
Conclusion
By experimenting with over-dipping and layering, you’ll open a world of creative candle designs. Don’t be afraid to try new combinations and techniques—practice makes perfect, after all. Remember, patience is key, and every mistake is a stepping stone to mastery. Keep pushing your boundaries, and soon these advanced methods will become second nature. With dedication, you’ll turn simple candles into stunning works of art that truly stand out.