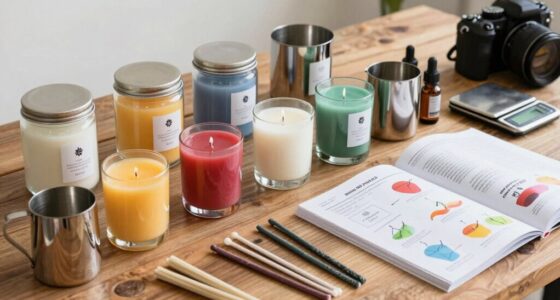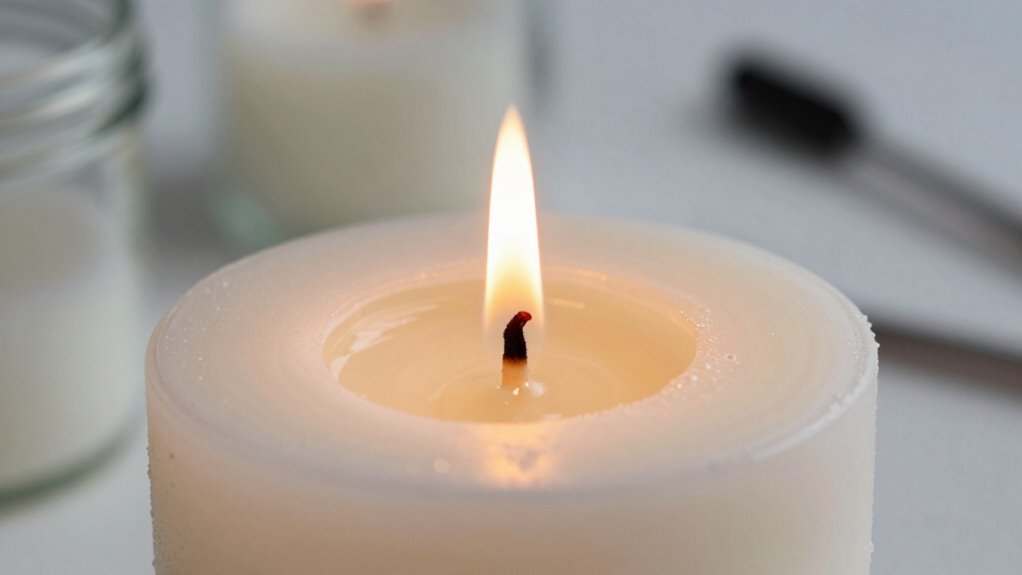
When you make your first candle test batch, you’ll notice how important temperature control, fragrance infusion, and wick selection are for a perfect burn. Expect some trial and error as you adjust fragrance loads, wick sizes, and cooling times. You’ll see how wax types and ingredient compatibility affect the scent throw and appearance. With each test, your skills grow—keep exploring, and you’ll uncover even more tips for creating a beautiful candle that burns just right.
Open a free Amazon Business account
Business pricing, bulk buying and tax-exempt orders.
As an affiliate, we earn on qualifying purchases.
Key Takeaways
- Expect some trial and error with fragrance load and wick size adjustments.
- Observe the candle’s surface during cooling for frosting or imperfections.
- Test scent throw both unlit and when burning to evaluate fragrance strength.
- Monitor burn performance, including melt pool, tunneling, and wick behavior.
- Record all observations to refine process for better consistency in future batches.

Starting your first candle test batch can feel exciting and a bit nerve-wracking, but knowing what to expect can make the process smoother. When you begin, one of the most important steps is understanding how fragrance infusion works. You’ll want to carefully measure and add your chosen fragrance oils to your wax. This is where your scent becomes part of the candle, so paying attention to the recommended fragrance load—usually around 6-10% of the wax weight—ensures a good balance of scent strength and burn quality. During this phase, you might notice the fragrance oils blending into the melted wax, and it’s essential to stir thoroughly but gently. Proper fragrance infusion not only influences how strong your candle smells when lit but also affects the overall aesthetic and scent throw. Temperature control during pouring can also impact how well the fragrance binds with the wax, which is a key aspect of successful candle making. Additionally, monitoring the cooling process can help prevent issues like surface imperfections or frosting on the candle’s surface. Being aware of fragrance compatibility with your wax type can further improve your results and reduce the likelihood of separation or scent loss. Understanding the wax type you’re working with can also influence how well the fragrance infuses and how easily the candle sets.
Once your wax is scented and cooled to the right pouring temperature, wick selection becomes your next focus. Picking the correct wick size is crucial for a safe and even burn. If you choose a wick that’s too small, your candle might drown in wax, resulting in tunneling or poor scent diffusion. Conversely, a wick that’s too large can cause uneven burning, excess soot, or even a fire hazard. You’ll want to match your wick to the diameter of your container and the type of wax you’re using. Many candle makers start with a wick size chart or test different wicks in small batches. This step might involve some trial and error, but it’s essential for achieving a clean, steady burn and optimal fragrance release.
During the testing process, you’ll likely make notes on how your candle performs. Observe how evenly it melts, how strong the scent throw is, and whether the wick stays centered. It’s normal to go through a few rounds of testing, adjusting fragrance infusion levels or trying different wick sizes until you find the perfect combination. As you refine your batch, you’ll get a better sense of how your ingredients interact—how the fragrance infuses into the wax, how the wick choice impacts burn quality, and how to avoid common issues like tunneling or excessive soot. Remember, patience and careful observation are key. Your first test batch is a learning experience, and each one gets you closer to creating a beautifully scented, safe, and consistent candle.

MAYJAM Essential Oils Set – Fragrance Oil for Diffuser Soap Candle Making
- Rich, Long-Lasting Fragrance: Highly concentrated, soothing aromas
- Variety of Scents: 20 diverse essential oils included
- Multiple Uses: Diffusers, soap, candles, crafts
As an affiliate, we earn on qualifying purchases.
As an affiliate, we earn on qualifying purchases.
Frequently Asked Questions
How Long Should My Candle Test Burn Time Be?
Your candle test burn should last around 2 to 4 hours, ensuring the wax melts evenly. Keep an eye on the wax color, watching for any uneven melting or tunneling, which can indicate issues. Also, assess the fragrance strength; a good burn helps distribute the scent evenly without overpowering. Proper burn time helps you identify if your wax, wick, and fragrance work well together for a perfect candle.
Can I Reuse Wax From My Test Batch?
Absolutely, you can reuse wax from your test batch. Think of it as a modern alchemy—wax recycling saves resources and reduces waste. Just make sure you remove any debris or leftover wick remnants. Keep in mind, re-melting may slightly impact fragrance retention, so consider adding fresh fragrance oil when reusing. This way, your candle maintains its scent strength, and you get more out of your initial investment in wax.
What Safety Precautions Are Recommended During Testing?
During candle testing, you should wear safety gear like gloves and goggles to protect against hot wax splashes and fumes. Guarantee proper ventilation by working in a well-ventilated area or using exhaust fans, especially if heating wax or working with fragrances. Keep a fire extinguisher nearby, avoid distractions, and never leave melting wax unattended. These precautions help keep you safe while testing your candles.
How Do I Fix an Uneven Burn or Tunneling?
Oh no, your candle’s burning like a bad joke? First, check your wick selection—maybe it’s too small or too big. Then, consider your fragrance load; too much can cause tunneling. Trim your wick to about a quarter inch before lighting, and allow the wax to melt evenly across the surface. These tweaks should turn that uneven burn into a perfect glow, making your candle the star of the show.
What’s the Best Way to Store Leftover Candle Wax?
To store leftover candle wax, guarantee it cools to a safe wax temperature before handling. Use an airtight container compatible with wax, like metal or heat-resistant glass, to prevent contamination and spills. Keep the container in a cool, dark place away from direct sunlight, which can affect the wax’s quality. Proper storage preserves the wax’s consistency and scent, making it easy to reuse for future candles.
Conclusion
Think of your first candle test batch as planting a tiny seed. With patience and attention, it’ll grow into a beautiful flame, revealing what works and what needs tweaking. Don’t get discouraged by small setbacks—they’re just the watering and sunshine your craft needs to flourish. Keep experimenting, learning, and refining. Before you know it, your candles will shine brighter than you ever imagined, lighting the path for your scented journey ahead.
Flea & tick season Picks
flea and tick prevention
As an affiliate, we earn on qualifying purchases.