Have you ever considered creating your own taper candle? It’s simpler than you may think and everyone enjoys the warm and inviting atmosphere that candles provide.
In this guide, we will show you the step-by-step process of creating your very own taper candle. From gathering the necessary materials and tools to pouring the wax into the mold, we’ve got you covered.
No need to worry about complicated techniques or expensive equipment. With just a little bit of time and effort, you can enjoy the satisfaction of making your own beautiful taper candle.
So, let’s get started and light up your space with a handmade touch!

Key Takeaways
- Choose the appropriate taper candle size based on burn time and purpose.
- Prepare the wax for melting by following wax melting techniques and safety precautions.
- Use wax additives like liquid dyes or color blocks to add color to the wax.
- Allow the wax to cool and harden completely before removing it from the mold.

Vtopmart 25 PCS Clear Plastic Drawer Organizers Set, 4-Size Versatile Bathroom and Vanity Drawer Organizer Trays, Storage Bins for Makeup, Bedroom, Kitchen Gadgets Utensils and Office
- Versatile Drawer Organizer Set: Fits various home drawers and spaces
- Includes 25 Bins in 4 Sizes: Customizable storage options for different items
- Non-Slip and Durable Design: Silicone pads prevent slipping, sturdy plastic construction
As an affiliate, we earn on qualifying purchases.
Gather Necessary Materials and Tools
To make a taper candle, we’ll gather the necessary materials and tools.
The first step is choosing the right taper candle size. Consider the purpose of your candle and the desired burn time. For a shorter burning time, opt for a smaller taper candle, while a longer burning time may require a larger size.
Next, let’s discuss some tips for achieving a smooth finish on the taper candle. It’s crucial to melt the wax at the right temperature and pour it slowly into the mold to avoid air bubbles. Using a heat gun or hairdryer can help eliminate any imperfections on the candle’s surface.
Once the taper candle is complete, we can move on to preparing the wax for melting.
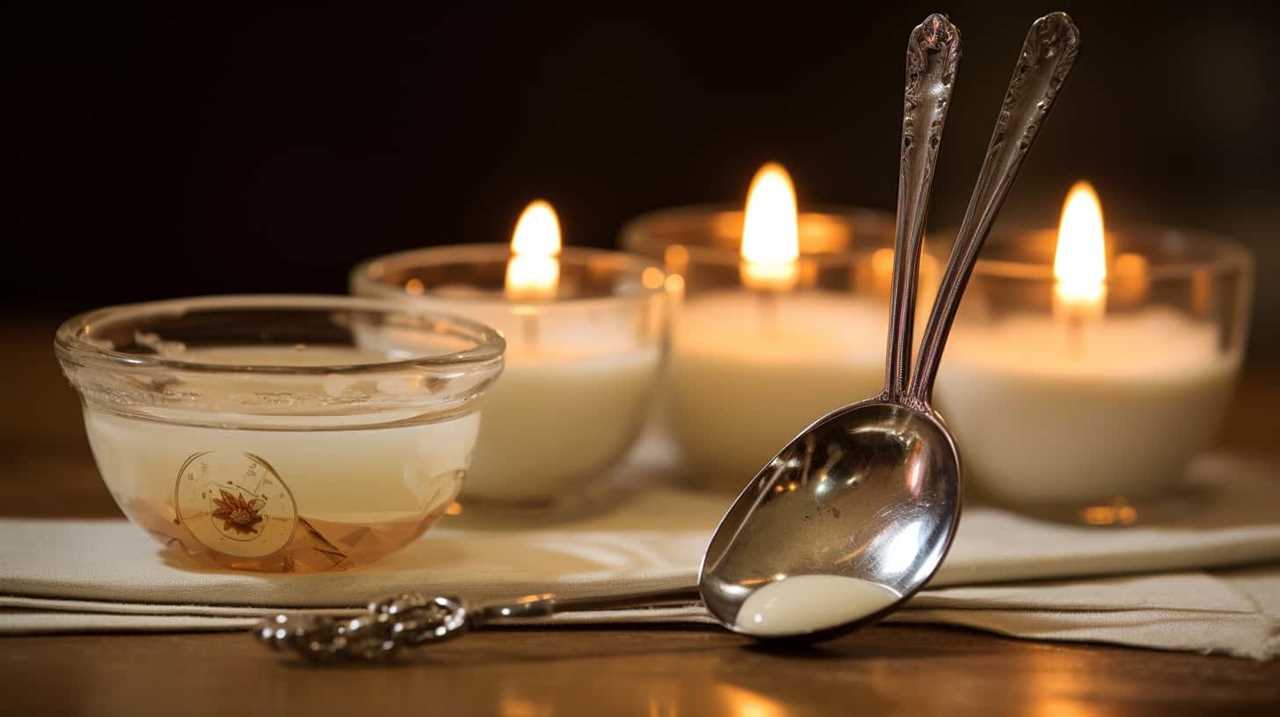
Prepare the Wax for Melting
We gather the necessary materials and tools to prepare the wax for melting in order to make a taper candle. Before we start melting the wax, it’s important to familiarize ourselves with some wax melting techniques and safety precautions to ensure a successful and safe candle-making process.
Here are three key points to consider:
- Choose the right type of wax: Different waxes have different melting points and properties. Be sure to select a wax that’s suitable for taper candles and follow the manufacturer’s instructions for melting.
- Use a double boiler or a dedicated melting pot: To melt the wax safely, it’s recommended to use a double boiler or a dedicated melting pot. This indirect heat method helps prevent the wax from burning or catching fire.
- Monitor the temperature: It’s crucial to closely monitor the temperature of the wax while melting. Overheating can lead to discoloration or even combustion. Use a thermometer to maintain the wax at the appropriate temperature for melting.
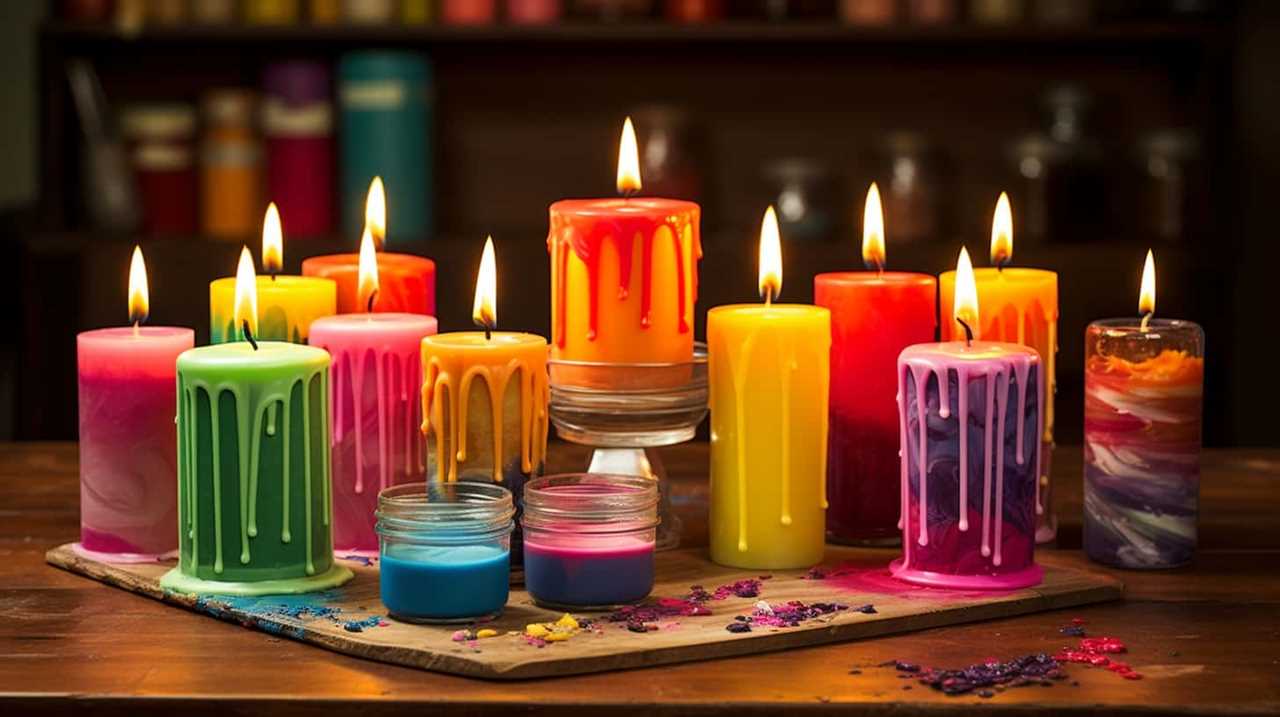
Add Color and Fragrance to the Wax
Before adding color and fragrance to the wax, we gather the necessary supplies and tools. To add color to the wax, we can use wax additives specifically designed for candle making. These additives come in the form of liquid dyes or color blocks.
When choosing a fragrance, it’s important to consider the type of wax being used and the desired scent strength. We can opt for essential oils or fragrance oils, which are specifically formulated for candle making. Essential oils are derived from natural sources, while fragrance oils are synthetic.
It’s essential to follow the recommended fragrance load for the type of wax to ensure a proper scent throw. By carefully selecting the right fragrance and adding it to the wax, we can create beautifully scented taper candles.
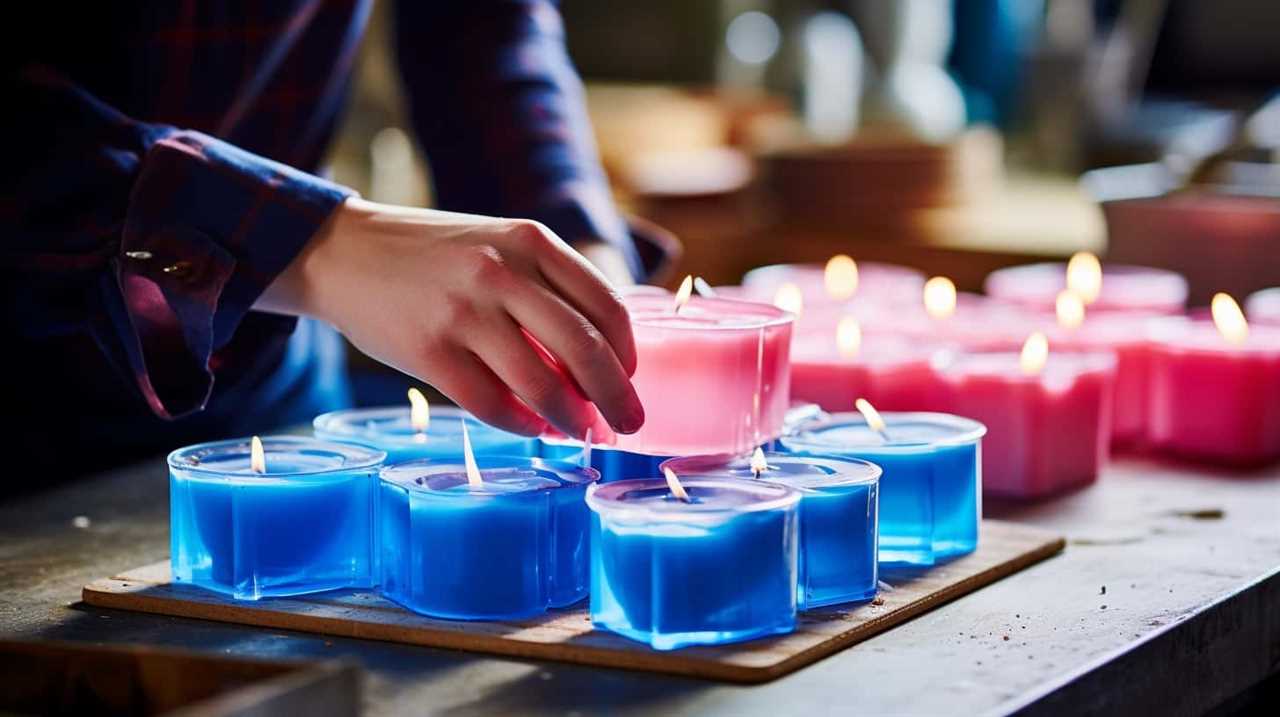
Create the Taper Candle Mold
Having gathered the necessary supplies and tools, we can now move on to creating the taper candle mold. There are different types of candle molds available, each with its own advantages and disadvantages. Here are three options to consider:
- Metal molds: These are durable and heat-resistant, making them ideal for long-lasting use. However, they can be more expensive and may require additional steps to release the candle.
- Silicone molds: These molds are flexible and easy to release the candle from. They come in various sizes and shapes, allowing for creativity in candle design. However, they may not be as durable as metal molds.
- Plastic molds: These are affordable and widely available. They’re lightweight and easy to handle. However, they may not hold up well to high temperatures and can warp or melt.
When using candle molds, it’s important to troubleshoot common issues such as air bubbles, uneven cooling, or difficulty in removing the candle from the mold. By following proper techniques and using the right materials, you can create beautiful taper candles with ease.
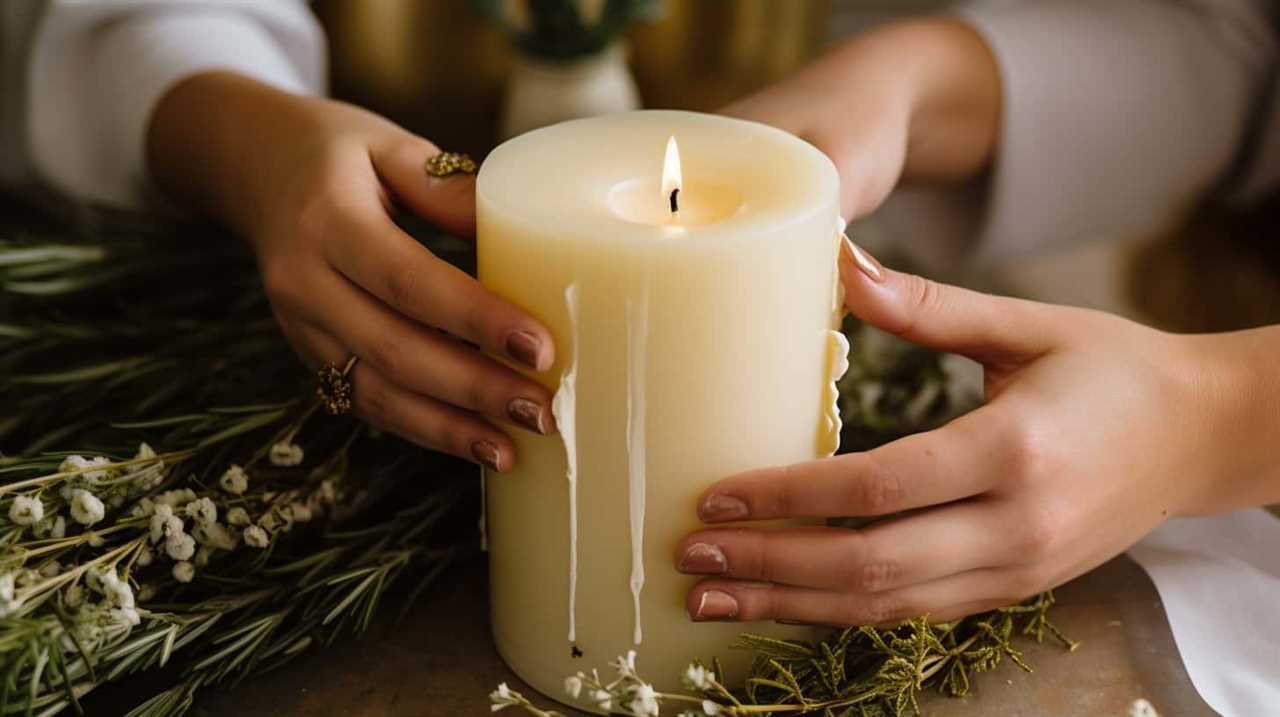
Pour the Wax Into the Mold and Let It Set
To pour the wax into the mold and let it set, we’ll need to follow a few simple steps.
First, make sure your mold is properly prepared by greasing it or using a release spray. This will ensure easy removal of the candle once it has set.
Next, melt the wax in a double boiler or a heat-resistant container placed in a pot of boiling water. You can also use alternative methods for making taper candles, such as using a microwave or a candle-making machine.
Once the wax has melted, carefully pour it into the mold, ensuring that it fills the entire cavity. Avoid overfilling, as this can cause the candle to warp or crack.
Allow the wax to cool and harden completely before attempting to remove the candle from the mold.
Troubleshooting common issues when pouring wax into the mold include air bubbles, which can be prevented by gently tapping the mold to release any trapped air, and uneven pouring, which can be addressed by pouring the wax slowly and evenly.
Frequently Asked Questions
How Long Does It Take for the Taper Candle to Completely Harden and Set?
It takes a few hours for the taper candle to completely harden and set. Once the wax has cooled, you can proceed with how to properly decorate a taper candle and follow some tips for achieving the perfect taper shape.
Can I Use a Different Type of Wax Instead of the One Mentioned in the Article?
Using a different type of wax for taper candles is possible, but it has pros and cons. Alternatives like soy or beeswax may have different melting points or burning times. Consider these factors before making a decision.
What Are Some Common Mistakes to Avoid While Pouring the Wax Into the Mold?
Common mistakes when pouring wax into the mold include not heating it to the correct temperature, using a mold that is not properly sealed, and pouring too quickly. Troubleshooting tips include using a thermometer, sealing the mold tightly, and pouring slowly and steadily.

How Do I Remove Any Air Bubbles That May Have Formed in the Wax While It Was Setting?
To ensure a smooth finish, we’ve got tips and techniques for removing air bubbles from your wax while it sets. We’ll also share best practices for preventing air bubbles in taper candles, guaranteeing a flawless result.
Can I Reuse the Taper Candle Mold for Future Candle-Making Projects?
Yes, you can reuse the taper candle mold for future projects. However, if you’re looking for alternative candle molds, there are many options available, such as silicone molds or metal molds.
Conclusion
As we watch the wax slowly solidify within the mold, we’re reminded of the power of transformation. Just as the liquid wax takes shape and becomes a beautiful taper candle, we too have the ability to mold and shape our own lives.
With a little patience and creativity, we can create something both practical and aesthetically pleasing. So go ahead, embrace the art of candle making and let your inner light shine.