
To create DIY cupcake dessert candles with whipped wax techniques, start by gathering high-quality wax, fragrance oils, and tools like piping tips and a double boiler for safe melting. Carefully melt and color the wax, then whip it until fluffy and light. Use piping techniques to layer and texture the candle “frosting” and base. Adding decorative elements like sprinkles or tiny accents adds realism. Keep practicing and experimenting—your craft will improve with each step. If you keep going, you’ll master the art of realistic cupcake candles.
Key Takeaways
- Use cooled, whipped wax for realistic cupcake frosting textures by whipping with a hand mixer until fluffy.
- Pipe whipped wax onto a sturdy wax base using star tips for detailed, cupcake-like ridges.
- Maintain consistent temperature during whipping and piping to ensure smooth, streak-free textures.
- Incorporate colorful dyes and build layered effects for visual realism and decorative appeal.
- Allow candles to set for 24-48 hours, then finish with smooth coatings and decorative accents for a polished look.
Top picks for "cupcake dessert candl"
Open Amazon search results for this keyword.
As an affiliate, we earn on qualifying purchases.
Gathering Materials and Tools for Your Cupcake Candles
Before you begin making your cupcake candles, gather all the necessary materials and tools to guarantee a smooth process. Prioritize candle safety by choosing high-quality wax, wicks, and heat-resistant containers. Make certain you have a double boiler or melting pot to safely melt the wax without accidents. Keep your workspace organized with storage solutions like small jars or containers for leftover wax and supplies. Sharp tools such as scissors or knives will help with decoration, but handle them carefully. Don’t forget to have a thermometer to monitor wax temperature, preventing overheating. Proper storage solutions also help keep your workspace tidy and safe, reducing the risk of spills or fire hazards. Additionally, understanding contrast ratio can influence how vibrant and detailed your candle colors appear in different lighting conditions. Staying informed about safety precautions is essential to avoid accidents during the melting and pouring stages. Being aware of power management solutions can help protect your workspace equipment from electrical issues. Preparing everything beforehand makes your crafting experience safer and more enjoyable.
Selecting the Perfect Wax and Fragrance Oils
Choosing the right wax and fragrance oils sets the foundation for beautiful and fragrant cupcake candles. Different wax types, such as soy, beeswax, or paraffin, each offer unique textures and melting points, so pick one that suits your desired look and burn time. Soy wax is popular for its smooth finish and clean burn, while beeswax provides a natural aroma and golden hue. When selecting fragrance oils, look for high-quality fragrance oil blends specifically designed for candle making. These blends ensure consistent scent throw and longevity. Experiment with different combinations to find the perfect balance of scent strength and fragrance profile. Remember, the right wax and fragrance oils will make your cupcake candles not only visually appealing but also delightfully aromatic. Additionally, understanding the melting points of different waxes can help you achieve the ideal texture and appearance for your candles. Selecting the appropriate wax consistency is crucial for achieving the desired cupcake shape and smooth surface finish. Being aware of candle safety guidelines is also essential to ensure your candle creations are both beautiful and safe to use. Moreover, considering allergen information can help in choosing fragrance oils that are safe for all users.
Preparing Your Workspace for Safe Candle Making
Setting up your workspace for candle making is essential to guarantee safety and efficiency throughout the process. Begin by clearing a flat, stable surface free of clutter to prevent accidents. Organize your tools, wax, wicks, and safety equipment within easy reach to streamline your workflow. Prioritize safety precautions by keeping a fire extinguisher nearby and working in a well-ventilated area to avoid inhaling fumes. Use heat-resistant mats or surfaces to protect your workspace from hot wax spills. Keep flammable materials away from the melting area and ensure your workspace is tidy to minimize risks. Proper workspace organization not only promotes safety but also helps you work more efficiently, making your candle-making experience enjoyable and trouble-free. Additionally, consider vetted Halloween product reviews to select the safest and most reliable supplies for your project. Incorporating knowledge about electric power generation with bike generators can inspire eco-friendly practices and innovative methods for powering your tools or small appliances during your craft sessions. Understanding dog breeds can also help you choose the right pet to keep you company during your creative projects.
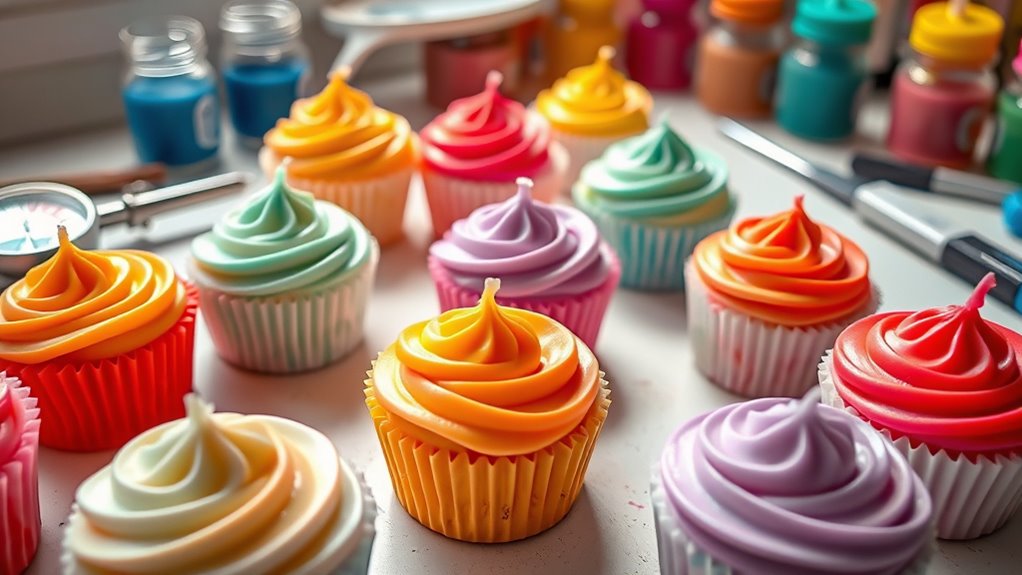
Melting and Coloring the Wax for Whipped Effects
To create the perfect whipped look, you need to carefully select your wax colors and blend them smoothly. Keeping the temperature consistent guarantees your colors melt evenly and achieve the desired effect. Once you master these steps, your cupcake candles will look both professional and adorable. Incorporating organization techniques into your process can help keep your workspace tidy and efficient, making the crafting experience more enjoyable. Ensuring proper fire safety practices during candle making can prevent accidents and promote a safe crafting environment. Being aware of AI vulnerabilities can also be useful in troubleshooting any unexpected issues with your wax or techniques.
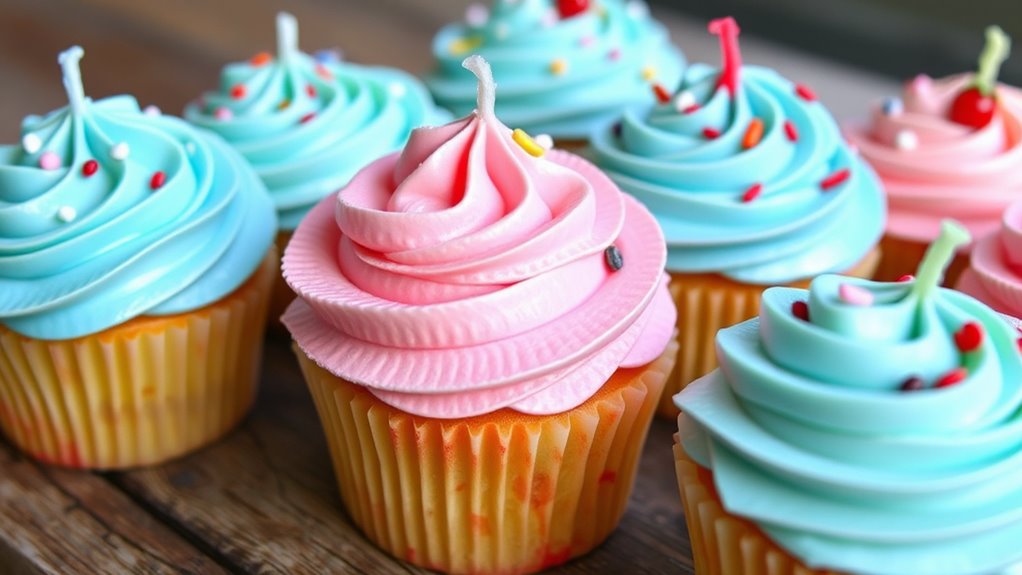
Selecting Wax Colors
Selecting the right wax colors is essential for achieving the whipped, textured look in your cupcake candles. To create realistic and appealing designs, focus on color blending and shade matching. Choose colors that complement each other and reflect your desired cupcake flavor or theme. Experiment with small amounts of different dyes to find perfect shades. Keep in mind that adding too much dye can overwhelm the wax and hinder the whipped effect. Use a palette of soft pastels or vibrant hues depending on your style. Test your shades beforehand by melting small samples. Consistent shade matching guarantees a polished look, especially when layering or creating gradients. Remember, subtle variations in color can add depth and visual interest to your whipped candle. Additionally, understanding wax melting points can help prevent color inconsistencies and achieve smoother blending. Knowing the headphone compatibility of your devices can also ensure your candles work seamlessly with various setups if you plan to incorporate lighting or sound elements into your design.
Achieving Smooth Blends
Achieving smooth blends in your whipped cupcake candles starts with melting the wax thoroughly and evenly. Use a double boiler to maintain a steady temperature, preventing uneven melting that can cause inconsistent color blending. Once melted, add your chosen dyes gradually, stirring constantly to achieve seamless color blending. For a whipped effect, aim for a slightly thicker pour temperature to promote texture smoothing, ensuring the wax flows smoothly without creating air pockets. Stir well to evenly distribute the color, which helps prevent streaks and promotes a uniform appearance. Consistent melting and careful coloring are key to achieving a silky, smooth finish and beautiful, blended hues that mimic the look of real frosting. Proper preparation ensures your whipped wax will have the desired texture and color harmony. Additionally, controlling the pour temperature can greatly influence the final look and texture of your whipped candles. When working with wax, temperature control is essential to achieve the perfect whipped effect and avoid issues like separation or uneven texture.
Maintaining Consistent Temperature
Maintaining a consistent temperature while melting and coloring your wax is essential for achieving the desired whipped effect. Proper temperature control ensures your wax maintains the right wax consistency, preventing it from becoming too runny or too thick. When melting, use a double boiler and monitor the heat closely. Consistently stirring helps distribute heat evenly and avoids hot spots. When adding color, do so gradually, keeping the temperature steady. This prevents color separation and keeps the wax smooth. Using a thermometer to track temperature accurately is crucial for air purifier effectiveness and achieving the perfect whipped texture. Keep the wax within the recommended melting range. Maintaining temperature stability is key to preventing wax separation and ensuring a smooth, fluffy finish. Stir frequently for even wax consistency. Avoid sudden temperature changes to prevent wax separation and preserve whipped texture. Additionally, consulting industry trends can help you adapt your techniques for better results. Being aware of temperature control methods can further enhance your ability to create consistent and professional-looking candles.
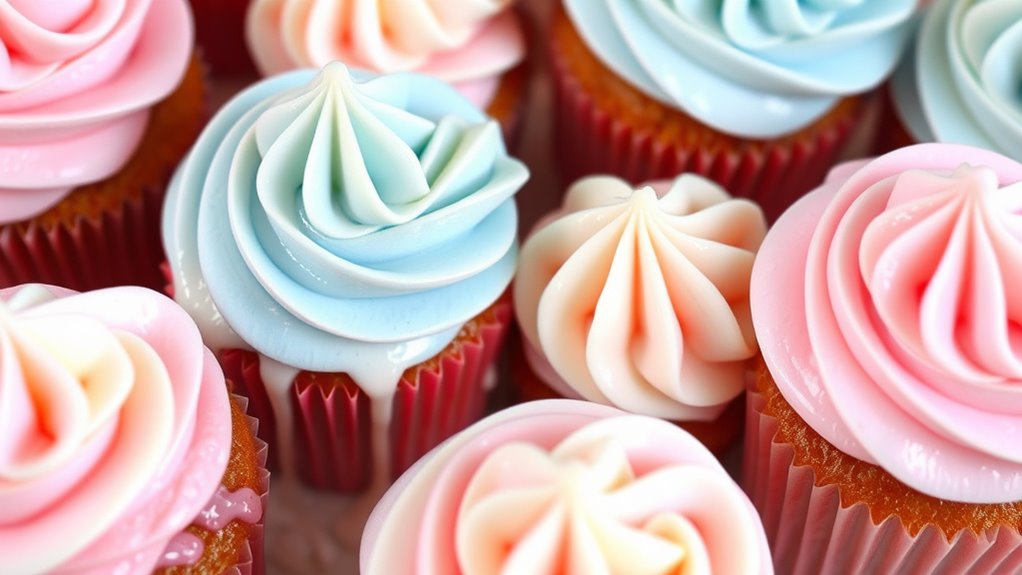
Creating the Whipped Wax Texture and Piping Technique
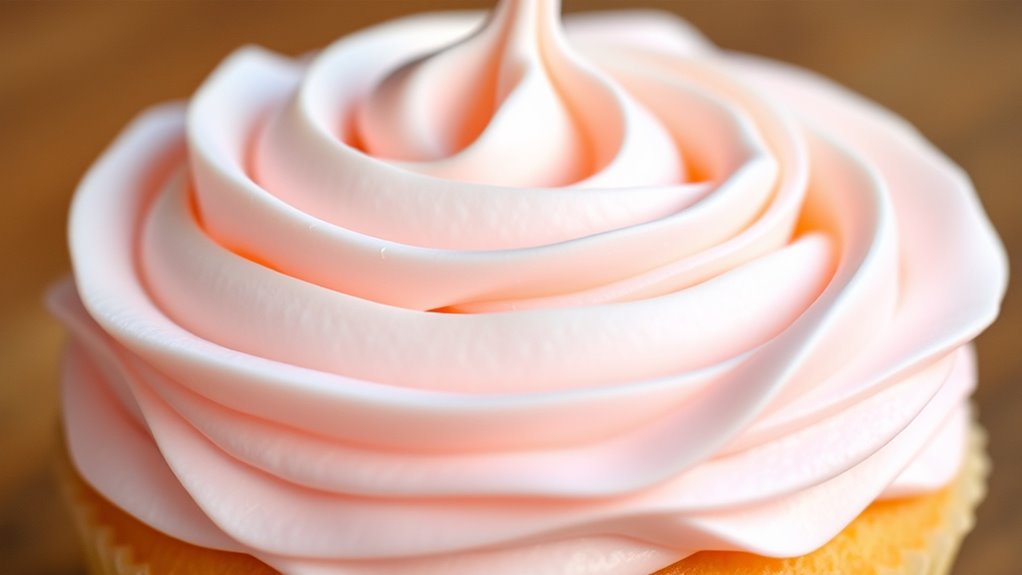
To create the signature whipped wax texture for your cupcake candles, start by melting your wax until it reaches a smooth, pourable consistency. Once melted, cool the wax slightly and whip it using a hand mixer or whisk until it becomes fluffy and light. This process is essential for mastering whipped wax techniques and achieving the desired texture. When piping, use a star tip or similar nozzle to create realistic ridges and swirls. Practice different piping methods to add texture and dimension to your cupcake tops. To keep your workflow smooth, follow this table for key tips:
| Step | Tip |
|---|---|
| 1 | Use cooled, whipped wax for best texture |
| 2 | Keep your piping tip steady and consistent |
| 3 | Apply gentle pressure for even swirls |
| 4 | Practice on a scrap surface first |
Additionally, choosing the right container can enhance the overall aesthetic and safety of your finished candles. Using safety guidelines during the candle-making process ensures your project is both beautiful and secure, preventing accidents or issues with wax handling. This guarantees your whipped wax looks professional and appealing.
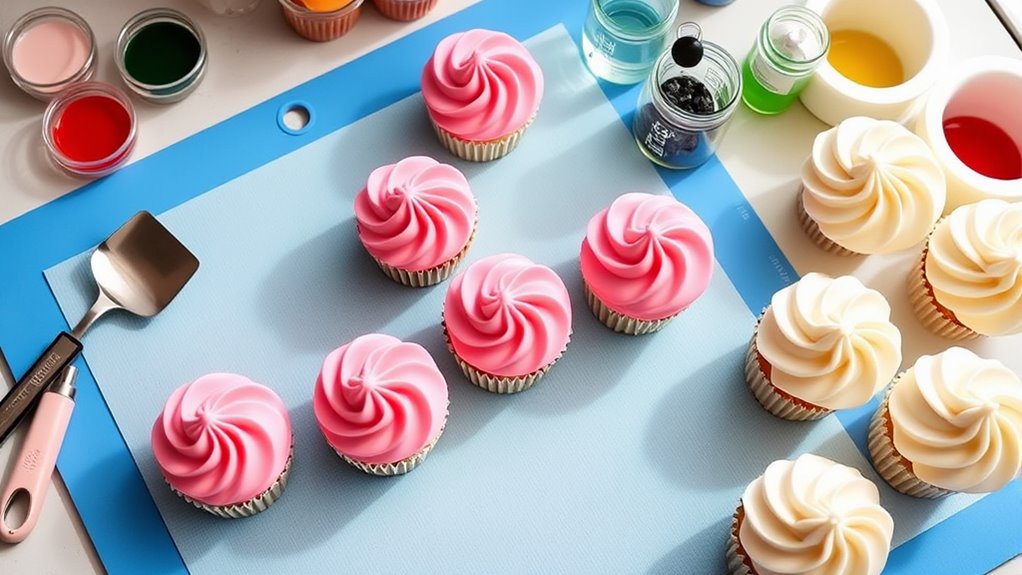
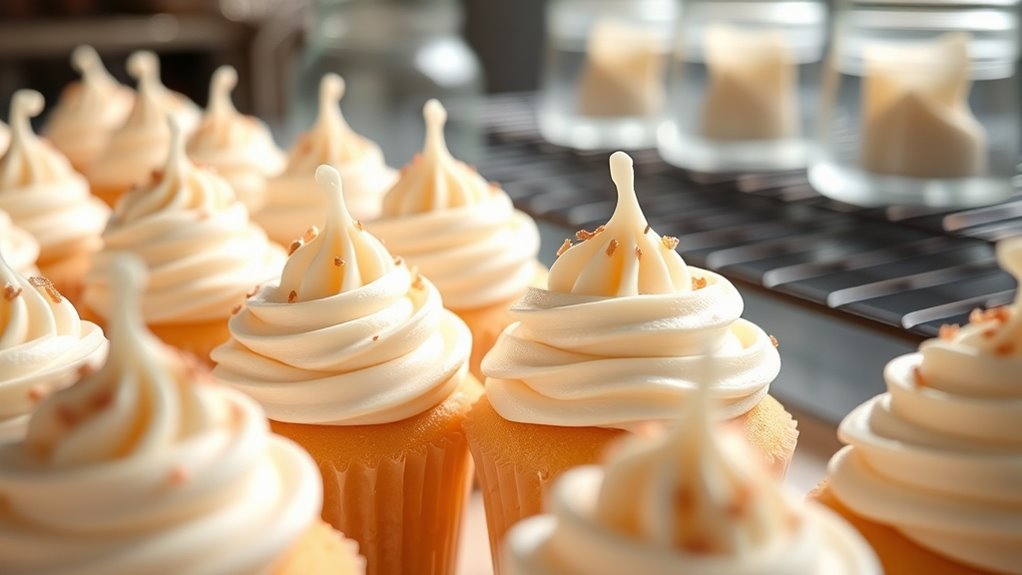
Crafting the Cupcake Base and Topping Layers

Start by preparing your cupcake base with a sturdy yet smooth layer of wax. This forms the foundation for your candle and should be even and well-set. Once the base is ready, you’ll add the topping layers to create a realistic cupcake look. Use different shades of wax to mimic frosting or icing, and pipe or spoon these layers carefully to build height and texture. To make your cupcake more appealing, consider adding texture or swirls to the topping layers, giving it a freshly frosted appearance. Here are some helpful tips:
Create a realistic cupcake candle by layering wax frosting with textured swirls and vibrant colors.
- Use a piping bag for smooth, controlled frosting layers
- Mix colors for a vibrant, realistic look
- Build height gradually for a layered effect
- Finish with small decorative details for realism
- Incorporating self-awareness into your design process can help you refine your techniques and achieve more balanced, appealing results.
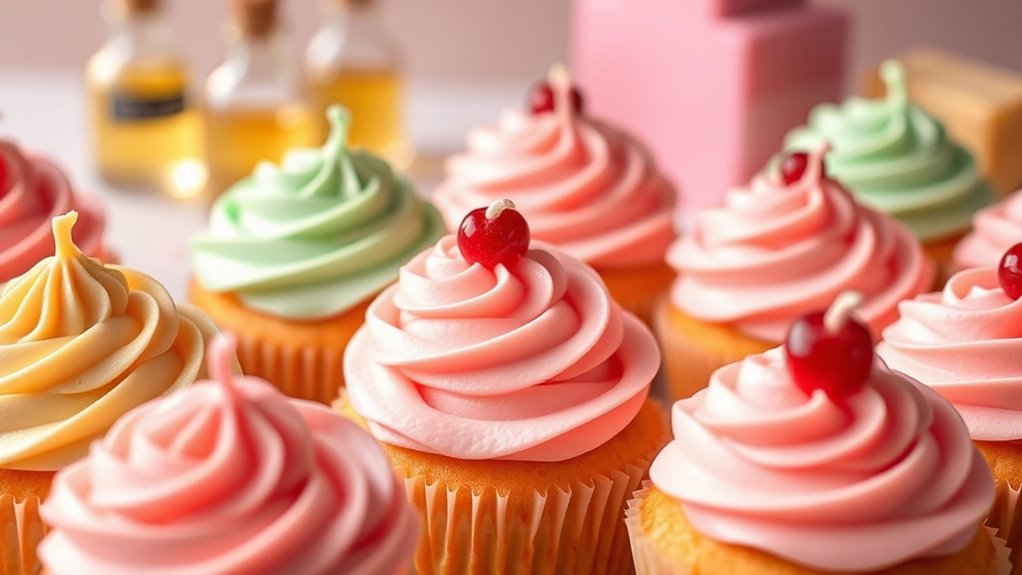
Adding Decorative Elements and Finishing Touches
Now, it’s time to add those final decorative touches to make your cupcake candles stand out. You can sprinkle colorful confetti or tiny accents to enhance their look, and don’t forget to apply a smooth finishing coat for a polished finish. These small details will transform your candles into charming, eye-catching creations.
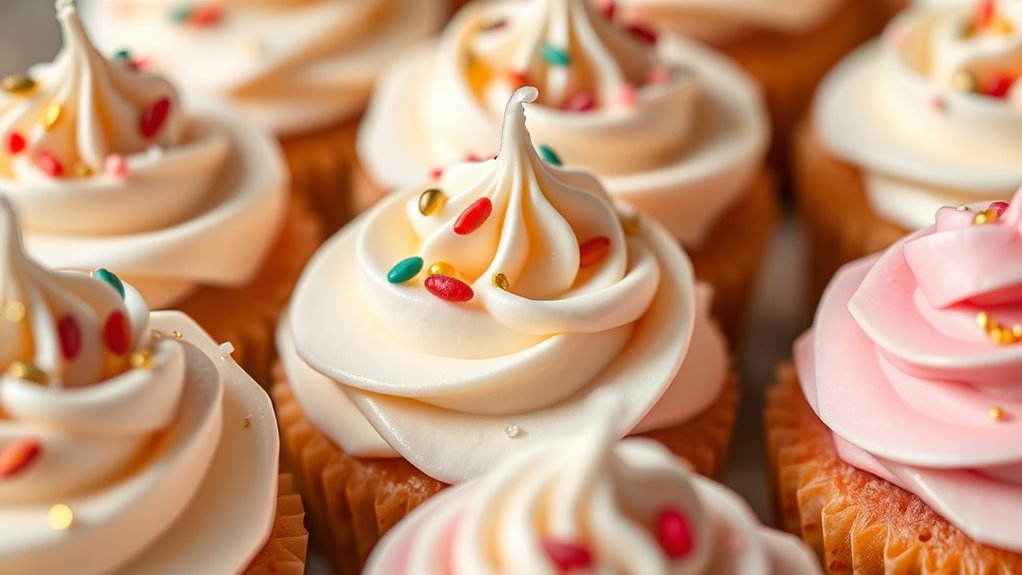
Embellishing With Sprinkles
Adding sprinkles is a simple way to give your cupcake candles a fun and colorful finish. To achieve an appealing look, focus on sprinkle placement and color coordination. Start by selecting sprinkles that complement your candle’s overall color scheme. When applying, sprinkle gently and evenly, aiming for a balanced distribution. For a more refined appearance, consider grouping sprinkles in clusters or spreading them sporadically for a whimsical effect. You can also create themed designs by choosing specific colors or shapes. Remember to press the sprinkles lightly into the wax surface to ensure they stay put as the wax cools. With thoughtful sprinkle placement and color matching, your cupcake candles will look irresistible and professionally finished.
Incorporating Tiny Accents
To elevate your cupcake candles, incorporating tiny accents adds a delicate and personalized touch. Small decorative elements like miniature fruit slices, tiny pearls, or delicate ribbons can enhance their visual appeal. When choosing accents, consider flavor pairing inspiration—like using pastel-colored beads for a fruity scent or metallic touches for a more sophisticated look. These accents not only boost aesthetic charm but also serve practical purposes, such as guiding storage solutions by indicating scent categories or seasonal themes. Carefully place your tiny accents to avoid clutter, ensuring each element complements the overall design. Finishing touches like a small bow or a sprinkle of glitter can make your candles stand out. Ultimately, these accents reflect your creativity and attention to detail, transforming simple cupcake candles into eye-catching decor.
Applying Finishing Coats
Once you’ve placed your tiny accents and made sure everything looks balanced, it’s time to apply finishing coats that will bring your cupcake candles to life. Focus on achieving smooth, even layers that enhance your design’s details. Use color blending techniques to create realistic shading and depth, making the frosting look luscious. Keep your wax consistency just right—too thick and it won’t spread smoothly, too thin and it might run. Carefully layer your finishing wax, adding small touches like sprinkles or highlights for extra flair. Remember, a steady hand and patience will make a big difference. These final coats will unify your cupcake’s appearance, giving it a professional, polished look that’s sure to impress.
Allowing Your Candles to Set and Cure Properly
After pouring your candle wax into the molds, it’s essential to allow them to set and cure properly before handling or lighting. This guarantees your cupcakes hold their shape and burn evenly. The cure time varies depending on the wax type, but generally, you should wait at least 24 to 48 hours. During this period, keep your candles in ideal storage conditions—cool, dry, and away from direct sunlight—to prevent warping or discoloration. Proper curing not only improves the scent throw but also enhances the overall appearance. Resist the urge to touch or move the candles too early, as this can damage the surface or cause imperfections. Patience now results in a more polished, professional-looking cupcake candle once fully cured and ready for use.
Tips for Maintaining and Repurposing Your Cupcake Candles
Maintaining and repurposing your cupcake candles can extend their lifespan and enhance your crafting experience. To do so safely, always follow candle safety guidelines, like trimming the wick before each burn and avoiding drafts. When repurposing, consider fragrance pairing to refresh your candles—add a few drops of complementary essential oils or fragrance oils to re-invigorate the scent. Keep your candles clean by removing any excess wax drips or debris, which helps prevent uneven burning. You can also convert old cupcake candles into decorative accents by removing the wax and creating new shapes or layering different fragrances for a custom aroma. Proper maintenance guarantees safe use and allows you to enjoy your candles longer while exploring creative ways to reuse them.
Frequently Asked Questions
How Long Does It Typically Take for Whipped Wax Cupcakes to Fully Cure?
It typically takes about 24 to 48 hours for whipped wax cupcakes to fully cure. During this curing time, the wax hardness increases, ensuring your candles hold their shape and scent better. Keep them in a cool, dry place and avoid handling them too soon. Patience is key, as allowing proper curing time results in a more durable and visually appealing finished product.
Can I Customize the Scent Intensity of My Cupcake Candles?
Absolutely, you can customize your cupcake candles’ scent intensity like adjusting a flavor in a recipe. Think of scent strength adjustments as turning a dial—more fragrance oil for a bold aroma, less for a subtle hint. Use fragrance blending techniques to fine-tune the scent, mixing different oils to achieve your desired strength. Experimenting allows you to create a perfectly scented cupcake that matches your mood or space.
What Safety Precautions Are Recommended During the Piping Process?
You should wear protective gear like gloves and goggles to prevent burns and splashes during the piping process. Make certain your workspace is well-ventilated to avoid inhaling fumes from hot wax. Keep a fire extinguisher nearby and work on a stable, heat-resistant surface. Avoid distractions, and never leave hot wax unattended. These precautions help keep you safe while creating beautiful cupcake candles with whipped wax techniques.
Are There Alternative Materials for Decorating Beyond Traditional Wax?
You can explore alternative decoration options beyond traditional wax, such as using non-wax embellishments like polymer clay, fabric, or felt for added texture and color. These materials allow you to create unique, durable details that won’t melt or deform with heat. Incorporate small decorative charms, faux sprinkles, or painted accents to enhance your cupcake candles. Just make certain any non-wax embellishments are securely attached and heat-resistant if near the flame.
How Do I Troubleshoot Common Issues Like Cracking or Sinking in Whipped Wax?
Cracks and sinks in whipped wax can feel like cracks in a glass slipper—disappointing but fixable. Check your wax consistency; if it’s too cold or thick, it won’t set properly. Use troubleshooting tips like gently reheating and remixing the wax before pouring again, and guarantee your mold isn’t too cold. Maintaining the right temperature and smooth wax consistency helps prevent these issues and creates perfect, cupcake-like candles.
Conclusion
Now that you’ve mastered the whipped wax techniques, you’re ready to create stunning cupcake candles that delight the senses and brighten any space. With patience and creativity, you’ll craft candles that inspire joy, evoke comfort, and spark imagination. Embrace each step with confidence, enjoy every pour and detail, and let your passion shine through your beautiful, handmade creations. Your unique candles are more than decor—they’re expressions of your artistry and love.