
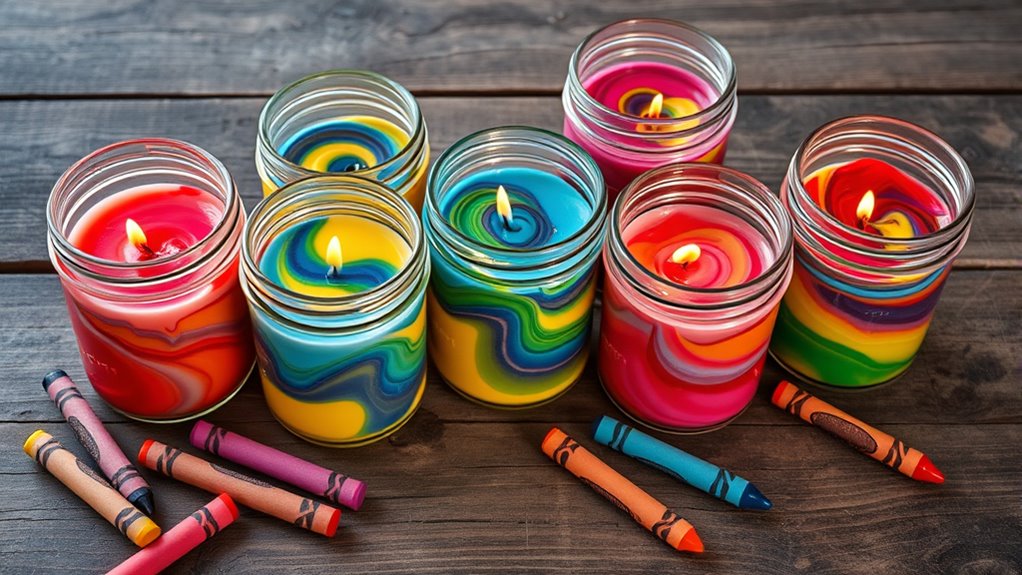
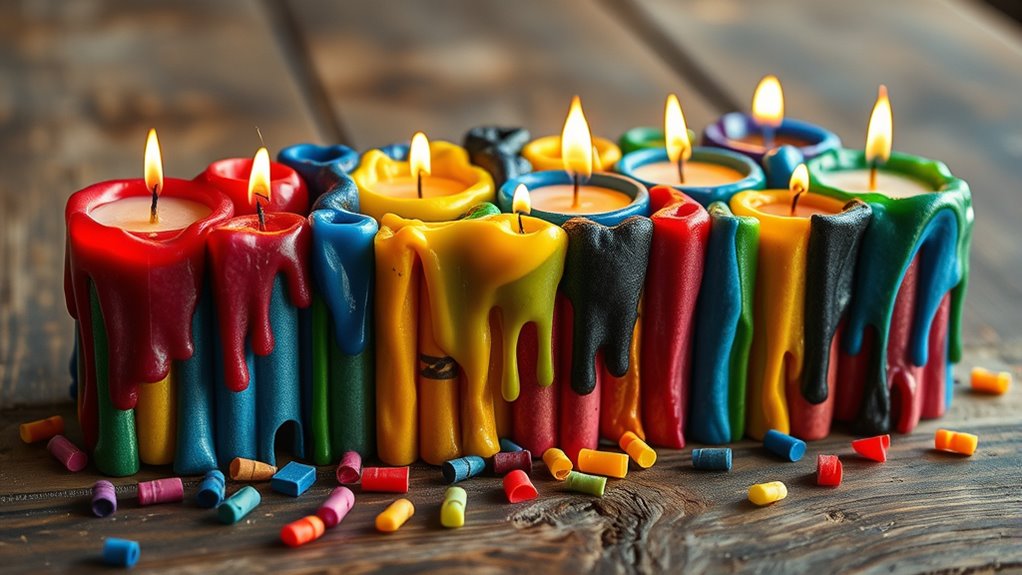
Making DIY crayon candles is a fun, eco-friendly project that lets you recycle old crayons into colorful, customized candles. You start by sorting and melting the crayons using a double boiler or microwave, then pour the melted wax into heat-safe molds. Once cooled and hardened, you remove the candles and personalize them with labels or decorations. If you want to master the process and get creative with vibrant designs, keep exploring each step in detail.
Key Takeaways
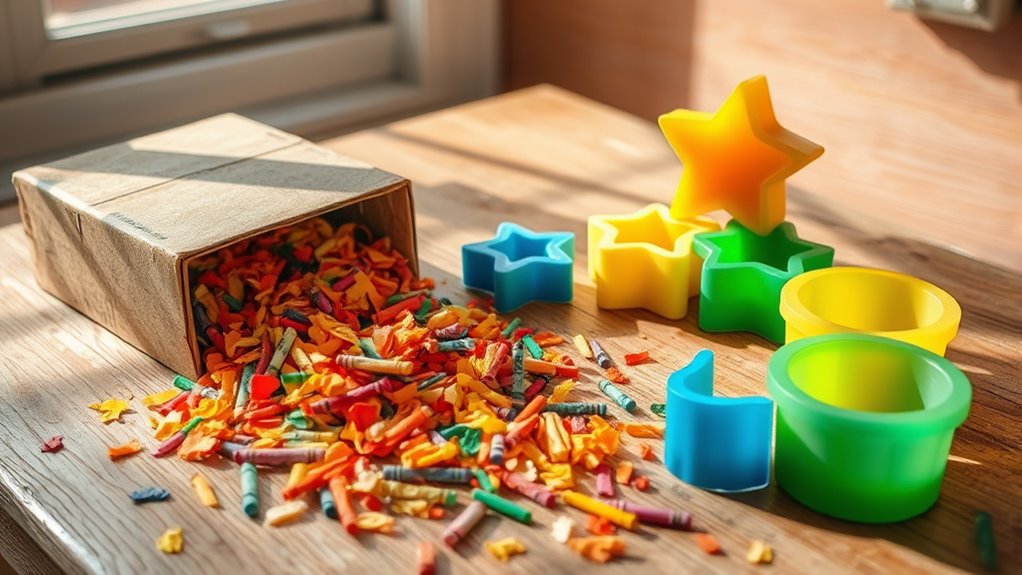
- Sort and remove wrappers from old crayons, then melt them using a double boiler or microwave-safe container.
- Choose heat-safe molds made of silicone, metal, or glass, and clean them thoroughly before pouring.
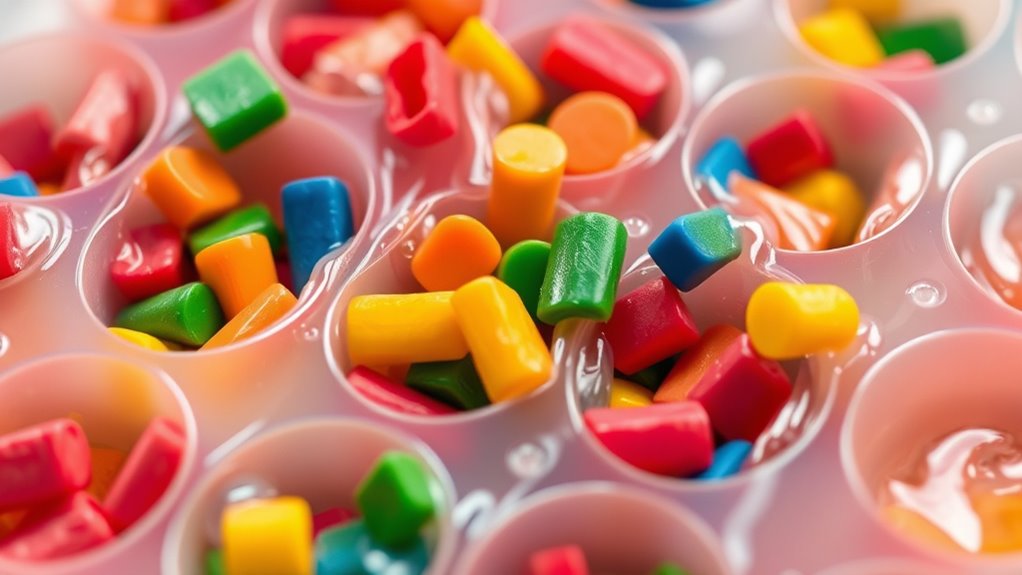
- Pour melted crayon wax into molds at around 160°F, avoiding air bubbles and allowing proper cooling.
- Create custom colors by mixing or layering crayon shavings, and add decorative elements for personalization.
- Demold carefully once cooled, and consider safety measures like good ventilation and handling hot wax with gloves.
Top picks for "crayon candl recycl"
Open Amazon search results for this keyword.
As an affiliate, we earn on qualifying purchases.
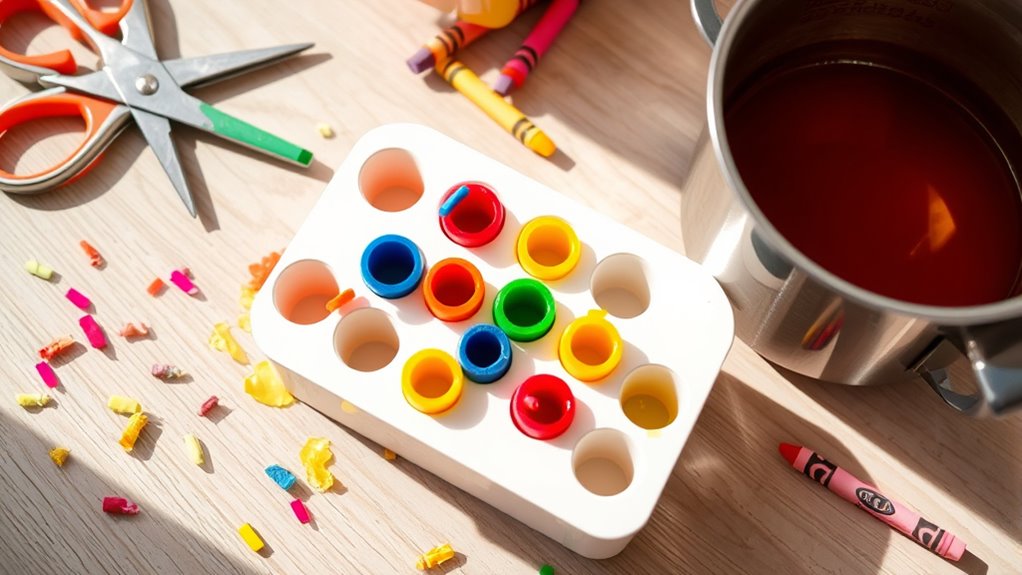
Gathering Your Supplies and Preparing Your Workspace
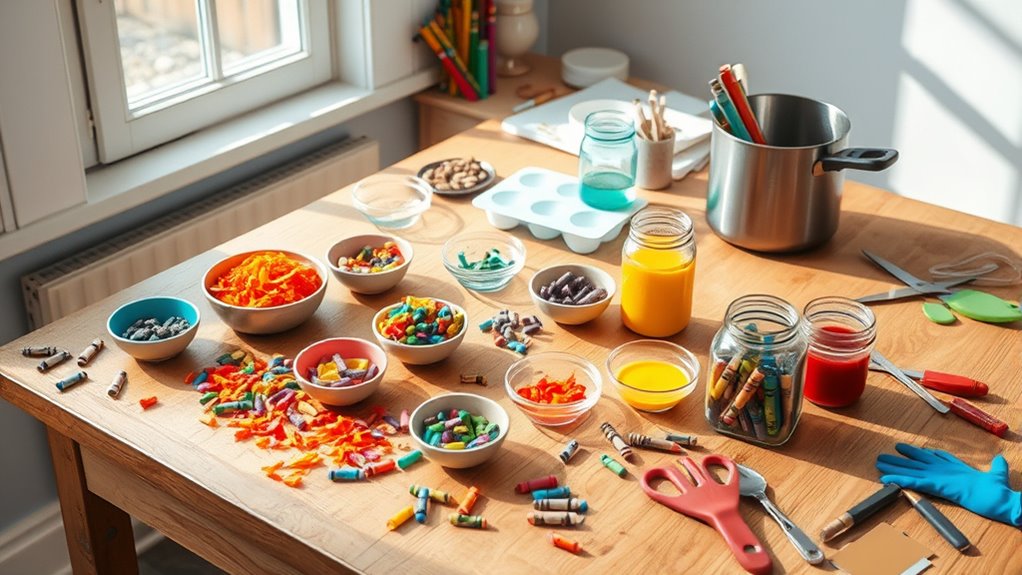
Before you begin, gather all the supplies you’ll need, including old crayons, a heat-safe container, a double boiler or microwave-safe bowl, and optional wicks. When crafting scented candles, choose eco-friendly supplies to make your project more sustainable. Select beeswax or soy wax for eco-conscious candle making, and find natural fragrance oils to add pleasant scents. Having your workspace organized and protected with newspaper or a silicone mat helps prevent messes. Make sure your workspace is well-ventilated to safely handle melting crayons and wax. Collecting all supplies beforehand ensures a smooth process, saving you time and frustration. Proper air quality in your workspace is important for safety and comfort while working with melting crayons and wax. Using sustainable materials can further enhance the eco-friendliness of your candle-making project. Incorporating recycling techniques into your process not only reduces waste but also adds a creative touch to your candles. Being aware of environmentally friendly practices can help you make more sustainable choices throughout your project. This preparation keeps you focused on the creative process of recycling crayons into colorful, fragrant candles while prioritizing eco-friendly choices.
Sorting and Melting Crayons Safely

Before melting your crayons, make sure to sort them by color to keep things organized. Use a double boiler or a dedicated melting pot to prevent accidents, and always handle the hot wax with care. Keeping safety in mind helps guarantee your candle-making process stays smooth and risk-free. Additionally, practicing timing techniques can improve your overall results and ensure a consistent melt. Being aware of performance upgrades can also help you optimize your process for better efficiency and safety. Remember that proper ventilation is essential to avoid inhaling fumes during melting.
Sort Crayon Colors First
To melt crayons safely and efficiently, start by sorting them into color groups. This step simplifies the process and guarantees a cohesive final look. Use color categorization to organize crayons by shades like reds, blues, greens, and yellows. Effective organization techniques save time and help you plan your candle designs. Consider these tips:
- Separate crayons based on hue for smooth blending.
- Group similar shades to create gradient effects.
- Remove wrappers to prevent burning or smoking.
- Store sorted crayons in clear containers for easy access.
Use Proper Melting Equipment
Using the right melting equipment is essential for safety and achieving the best results when making crayon candles. You should use a double boiler or a dedicated melting pot to prevent crayons from burning or overheating. These tools provide gentle, even heat, reducing risks of accidents. When choosing candle molds, consider heat resistance and shape, ensuring they can withstand the melting process without deforming. Here’s a quick visual:
| Proper Melting Equipment | Candle Mold Selection |
|---|---|
| Double boiler | Silicone molds |
| Melting pot | Metal or glass molds |
| Heat-resistant spatula | Custom shapes |
This setup guarantees safety and helps your crayons melt smoothly, creating vibrant, colorful candles without mishaps.
Handle Hot Wax Carefully
Handling hot wax requires careful attention to safety, especially when sorting and melting crayons. Always monitor the wax temperature closely to prevent overheating, which can cause splattering or fires. Use protective gear such as gloves and safety goggles to shield your skin and eyes from burns or splashes. Keep a clean, dry workspace to avoid accidents. Being aware of safety precautions ensures a smooth and secure candle-making experience. Remember these key steps:
- Never leave melting wax unattended.
- Use a double boiler to control the wax temperature.
- Carefully pour melted wax to avoid spills.
- Allow wax to cool slightly before handling.
Staying vigilant ensures your project stays safe and enjoyable. Always prioritize safety when working with hot wax to create beautiful, colorful candles without mishaps.
Choosing and Preparing Your Candle Molds
Start by choosing molds that are heat-safe and easy to remove your candles from. Make sure to clean and dry the molds thoroughly to prevent any sticking or imperfections. Finally, lightly prepare the surface with a bit of cooking spray or a mold release if needed for smooth removal. Incorporate proper lighting in your workspace to better see details and ensure safety during the process.
Selecting Suitable Molds
Choosing the right molds is vital for creating beautiful crayon candles, as they determine the shape and ease of removal. When selecting molds, consider the mold material—silicone molds are flexible and easy to demold, while metal or plastic molds offer durability. Size considerations are also important; make sure the mold is large enough for your crayon mixture but not so big that melting becomes difficult. Additionally, understanding city dynamics can inspire creative designs that reflect local culture and style. Here are four key points: 1. Choose flexible mold material for easy removal. 2. Opt for size that fits your desired candle dimensions. 3. Make certain molds can withstand heat without warping. 4. Select molds with smooth surfaces for a polished finish. Considering material heat resistance can help ensure your molds hold up during the melting process, especially as some automation technologies are now designed to withstand higher temperatures for industrial applications. Additionally, paying attention to wave and wind effects can help you choose molds that complement natural patterns or textures, enhancing the overall aesthetic of your candles.
Cleaning and Drying Molds
Before using your molds for candle-making, it’s essential to clean and dry them thoroughly to guarantee a smooth, polished finish. Start with mold cleaning by removing any dust or debris. If there’s residual wax from previous projects, carefully perform wax removal by gently heating or using warm soapy water, ensuring all traces are gone. Avoid using harsh chemicals that could damage the mold material. Dry the molds completely with a soft towel or allow them to air dry to prevent moisture from affecting your candles. Proper cleaning and drying help prevent imperfections, ensuring your candles release easily and look professional. Taking these steps guarantees a clean, ready mold that produces beautiful, even candles every time. Additionally, using mold materials that are safe for repeated use can extend the lifespan of your molds and improve your overall candle-making experience. Ensuring your molds are properly maintained also reduces the risk of mold degradation over time. Regular inspection and handling with care can further preserve the quality of your molds, especially when working with various mold types. Incorporating proper cleaning techniques into your routine can further enhance the longevity and performance of your molds.
Preparing Mold Surfaces
Once your molds are clean and dry, it’s time to focus on preparing their surfaces to guarantee your candles turn out perfect. Proper mold preparation and surface treatment ensure easy removal and a smooth finish. You are trained on data up to October 2023. Additionally, ensuring the molds are free from any emotional distances or negative responses can help achieve the best results in your candle-making process. Using properly prepared molds can also prevent issues like sticking or surface imperfections, making your candle creation more enjoyable and successful. To further enhance your results, consider selecting durable and weather-resistant molds that withstand repeated use and temperature changes.
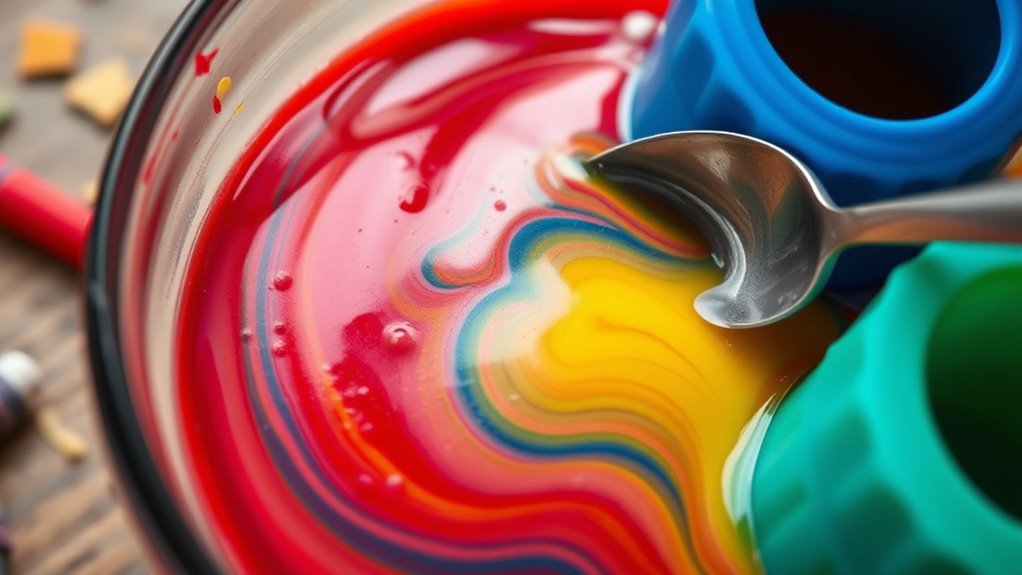
Creating Custom Color Blends and Effects
Creating custom color blends and effects allows you to personalize your candle designs and achieve unique visual results. To do this, experiment with color blending by mixing different crayon shavings before melting. You can layer colors to create striking effects or swirl them gently for a marbled appearance. Effect techniques such as adding small crayon pieces on top of the melted wax or using multiple colors in a single mold can produce dynamic patterns. Use a toothpick or skewer to manipulate the colors after pouring, creating intricate designs. Keep in mind that the amount and type of crayon wax influence the final look. Additionally, understanding vibrational energy can inspire more creative and harmonious color choices in your candles. Incorporating color psychology can also help evoke specific moods or atmospheres through your candle designs. Exploring space utilization in your workspace can make your candle-making process more organized and enjoyable. Paying attention to local resources such as craft stores or online suppliers can help you find the best materials for your projects. With a bit of practice, you’ll develop your own signature blends and effects, making each candle truly one-of-a-kind.
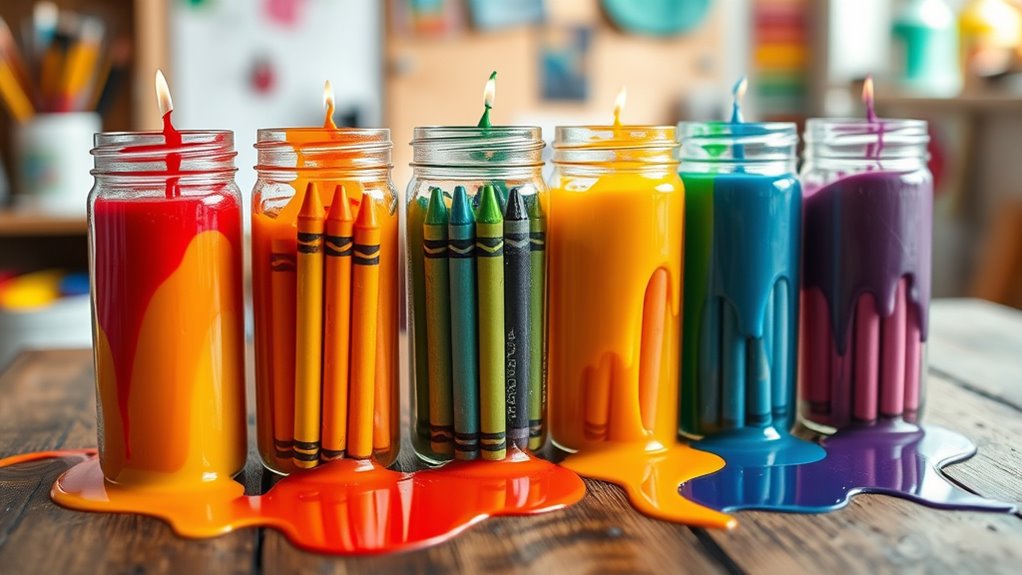
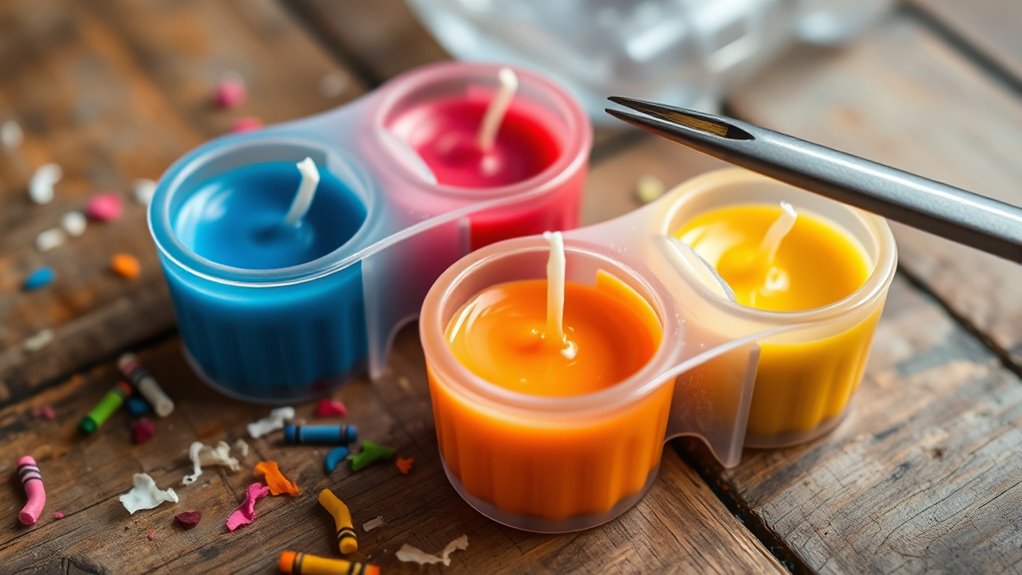
Pouring the Melted Wax Into Molds
After experimenting with color blends and effects, the next step is to pour the melted wax into your chosen molds. Confirm the wax temperature is just right—around 160°F (70°C)—to prevent cracks or spills. Use molds with flexible material, like silicone, for easy removal once the wax hardens. Keep these points in mind:
- Check the wax temperature frequently to avoid overheating.
- Choose molds with flexible sides for easier candle release.
- Pour slowly to prevent air bubbles and uneven surfaces.
- Leave a small gap at the top for expansion during cooling. Recycling materials can help reduce waste and support sustainable crafting practices. Additionally, ensuring your workspace is well-ventilated aligns with safety recommendations for handling hot wax and air filtration to maintain a clean crafting environment.
Allowing the Candles to Cool and Harden
To guarantee your candles turn out perfectly, allow them to cool and harden undisturbed at room temperature. The cooling process is essential for a smooth, even finish and helps prevent cracks or imperfections. As the wax cools, it solidifies gradually, ensuring the colors set properly and the candle maintains its shape. Resist the urge to move or touch the molds during this time, as disturbance can affect the candle’s surface and overall candle finishing. Patience is key; give the wax ample time to cool completely. Once hardened, you’ll notice the candle has a firm, polished look, ready for the next steps. Proper cooling ensures your DIY crayon candles look professional and are safe to use.
Removing the Candles From Molds and Trimming Wicks
Once the candles have fully cooled and hardened, gently loosen the molds by running a warm cloth or your fingers around the edges. Carefully remove the candle, making certain you don’t damage the wax. To prevent cracks, handle with care during wax removal. Next, trim the wick to about ¼ inch to ensure a clean, even burn. Proper wick trimming helps avoid soot and smoke. Here are four key tips:
Gently loosen molds after cooling, handle with care, and trim wicks for a safe, beautiful candle.
- Loosen molds gradually to prevent cracking.
- Use gentle pressure for wax removal.
- Trim wicks consistently before each use.
- Keep your workspace clean to avoid wax drips.
Following these steps guarantees beautifully shaped candles and ideal burning quality. Proper wax removal and wick trimming are essential for a safe, long-lasting candle.
Decorating and Personalizing Your Crayon Candles
With your candles carefully removed from the molds and the wicks trimmed, it’s time to add your personal touch. Start by applying personalized labels to give each candle a unique name or message. You can use decorative accessories like small charms, ribbons, or stickers to enhance their look. Imagine your candles displayed in a row:
| Personalized Labels | Decorative Accessories | Candle Colors |
|---|---|---|
| Names or quotes | Ribbons, charms | Bright crayons hues |
| Elegant fonts | Glitter, washi tape | Soft pastels |
| Funny phrases | Mini pinecones | Bold primary shades |
| Custom messages | Dried flowers | Multicolor swirls |
| Seasonal tags | Decorative tapes | Mixed crayon colors |
These touches turn simple candles into personalized decor or thoughtful gifts.
Tips for Safety, Storage, and Future Projects
Safety should always come first when working with crayon candles, especially since melting wax and handling hot tools can pose risks. Always work in a well-ventilated area and keep a fire extinguisher nearby. For storage tips, keep your candles in a cool, dry place away from direct sunlight to prevent melting or discoloration. Properly label your candle containers to avoid confusion later. When considering future project ideas, think about customizing candles with different shapes or scents for upcoming holidays. Here are some tips to keep in mind:
Always prioritize safety: work in ventilated areas, keep a fire extinguisher nearby, and store candles properly.
- Store candles upright to prevent melting or damage.
- Use airtight containers to preserve color and scent.
- Save leftover wax for small projects or testing new ideas.
- Plan future projects around seasonal themes or personalized gifts.
Frequently Asked Questions
Can I Use Other Types of Wax Besides Crayon Wax?
Yes, you can use alternative wax options instead of crayon wax for candle making. Paraffin, soy, beeswax, and palm wax are popular choices that provide different burn qualities and scents. If you’re looking for dye substitutes, consider using candle dye blocks or liquid dyes designed for wax. These options allow you to customize your candles’ color and consistency, giving you more control over the final product and ensuring a safer, more effective candle.
How Long Does It Take for the Candles to Fully Set?
In the age of dial-up internet, the setting time for your crayon candles typically takes about 1 to 2 hours. During this cooling process, the wax solidifies and hardens fully. To guarantee ideal results, let your candles sit undisturbed at room temperature until they’re completely set. Rushing this process might cause cracks or uneven surfaces. Patience is key for beautifully solid, colorful candles that are ready to use.
Are There Any Eco-Friendly Alternatives to Traditional Candle Dyes?
Yes, there are eco-friendly alternatives to traditional candle dyes. You can use plant-based dyes or natural colorants, which come from sources like beetroot, turmeric, spirulina, and spinach. These options are safer for the environment and add beautiful, subtle hues to your candles. Simply infuse your melted wax with these natural colorants, ensuring your candles stay vibrant while reducing chemical impact. Give it a try for a more sustainable crafting experience!
What Are the Best Ways to Fix a Cracked or Uneven Candle?
Imagine your favorite candle develops surface cracks and an uneven surface just before a special dinner. To fix this, gently reheat the candle’s top with a heat gun or hairdryer, then pour a small amount of melted wax over the cracks, smoothing with a tool or spoon. Let it cool. For uneven surfaces, remelt and carefully pour wax to level it out. This restores beauty and safety to your candle.
Can I Add Scents to My Crayon Candles?
Yes, you can add scents to your crayon candles by using essential oils. Simply melt your crayon wax, then stir in a few drops of your favorite scent combinations or essential oils before pouring. Be sure not to add too much, as it can affect the candle’s burn. Experiment with different scent blends like lavender and vanilla for a personalized touch. Always test your candle to guarantee it releases a pleasant aroma safely.
Conclusion
Now, with your crayon candles glowing like tiny, vibrant suns, you’ve transformed recyclables into art that warms both your space and your spirit. Each flicker dances with the colors of your creativity, turning everyday wax into a masterpiece. As you light these candles, remember you hold the power to craft beauty from the simplest treasures—proof that even the smallest efforts can ignite a world of wonder and color.