
To create stunning multi-colored layered candles, gather quality wax, colorants, and safety gear. Melt each layer at the right temperature, pour carefully into your mold, and let each layer cool completely before adding the next. Use contrasting or complementary colors for vibrant effects, manipulate the wax surface for patterns, and guarantee proper curing. If you continue exploring, you’ll discover detailed tips to make your candles truly unique and professional-looking.
Key Takeaways
- Select contrasting or harmonious colors and prepare dyes for vibrant, layered effects.
- Melt wax slowly to the correct temperature, ensuring proper adhesion between layers.
- Pour each cooled, set layer carefully at the right temperature to prevent mixing or cracking.
- Manipulate the wax surface with tools to create patterns or textures between layers.
- Allow the candle to cure for at least 48 hours for optimal fragrance, appearance, and burn quality.

FUHITIM Soy Candle Wax Kit for Candle Making 10 lbs Bag, Premium Natural Soy Wax Flakes, No additives and Pure, 100 Cotton Candle Wicks, Fragrance Oils, Dried Flowers & Pigment Colors
【Simple Candle Making Starter Kit for Beginners】This candle making starter kit provides basic supplies for those who want…
As an affiliate, we earn on qualifying purchases.
As an affiliate, we earn on qualifying purchases.
Gathering Your Supplies and Setting Up Your Workspace

Before you begin, gather all the supplies you’ll need for your layered candles, including wax, wicks, colorants, and containers. Make sure your workspace is well-organized to keep everything within reach and prevent spills. Safety gear is essential—wear gloves, goggles, and an apron to protect against hot wax and potential splashes. Clear your area of unnecessary clutter, so you have a clean, dedicated space for your project. Use a heat-resistant surface or mat to safeguard your work surface. Keeping your tools and ingredients organized helps streamline the process, reduces accidents, and makes your candle-making experience more enjoyable. Additionally, understanding the types of candles and their specific layering techniques can help you achieve a more professional-looking result. Researching different wax melting points can also improve your layering success by ensuring each layer solidifies properly before adding the next. Familiarizing yourself with candle safety precautions is crucial to prevent accidents and ensure a safe crafting environment. Being aware of the colorant compatibility with wax types can help achieve vibrant and lasting colors in your layers. Once everything is set up safely and efficiently, you’re ready to move on to the next step in creating your layered masterpiece.

Candle Wax Dye for Soy Wax Candle Making – 16 Vivid Candle Dye Coloring Chips – Candle Color Dye – Premium Candle Wax Coloring for Candle Making – Highly Concentrated Candle Chips Colors
16 Vibrant Candle Dyes for Candle Making: Complete set of 16 bright, individually wrapped candle dye chips suitable…
As an affiliate, we earn on qualifying purchases.
As an affiliate, we earn on qualifying purchases.
Melting and Preparing Your Wax for Layering
Before you start melting your wax, make sure you’ve chosen the right type for your project, like soy or beeswax. Use a double boiler or melting pot, and always keep safety in mind by monitoring the temperature and avoiding spills. This helps guarantee your layers will set smoothly and look professional. Incorporating temperature control ensures consistent results and prevents accidents during melting. Proper wax selection can also influence how well your layers adhere and their overall appearance. Additionally, selecting appropriate wax types can influence how vibrant and layered your candle designs turn out. Being aware of sound vibrations and their effects can further enhance your understanding of material interactions during the process.
Choosing the Right Wax
Choosing the right wax is essential for creating clean, distinct layers in your candles. Different wax types, such as soy, beeswax, or paraffin, each have unique melting points and textures that affect layering. Soy wax is popular for its smooth finish and ease of use, while beeswax offers a natural, glossy look. Consider scent options as well; some waxes hold fragrance oils better or release scent more strongly. Confirm the wax you select melts evenly and cools at a steady rate to prevent layering issues. When preparing your wax, use a thermometer to maintain the right temperature for pouring each layer. Additionally, selecting vetted wax products ensures you use high-quality materials that contribute to a professional finish. Understanding the melting points of different waxes helps you achieve a consistent layering process. Picking the appropriate wax type and understanding its properties will help you achieve clear, professional-looking layered candles.
Melting and Safety Tips
Proper melting and preparation of your wax set the foundation for clean, even layers in your candles. Always melt your wax slowly using a double boiler or a dedicated melting pot to prevent overheating. Keep a close eye on the temperature to avoid fire hazards; use a thermometer to monitor the wax. Never leave melting wax unattended, as hot wax can ignite if it overflows or gets too hot. Wear safety equipment like gloves and safety goggles to protect against splashes. Ensure your workspace is clear of flammable materials and work in a well-ventilated area. By following these safety tips, you minimize risks and create a safe environment for candle making. Properly prepared wax results in smooth, professional-looking layered candles. Incorporating high-quality content about candle safety and techniques can also boost your project’s credibility and success.

Holographic 240 Pcs Candle Warning Labels Candle Jar Container Stickers Wax Melting Safety Stickers for Jars Tins Containers Making Supplies
Package content: you will receive 240 pieces holographic candle warning labels with round shape and holographic appearance, each…
As an affiliate, we earn on qualifying purchases.
As an affiliate, we earn on qualifying purchases.
Choosing and Mixing Your Colors for a Vibrant Effect
To create eye-catching layered candles, start by selecting bright, vivid pigments that stand out. Pay attention to achieving a balanced color palette so each layer complements the others. Using proper mixing techniques will help you achieve smooth, consistent colors that enhance your candle’s overall vibrancy. Incorporating high-quality gourmet coloring agents can also improve color intensity and longevity in your finished candles. Ensuring proper color blending techniques can prevent muddiness and create more striking visual effects. Additionally, considering the type of wax used can influence how well the colors appear and blend together, contributing to the overall aesthetic. Understanding the vetted materials suitable for candle making can further ensure your layered designs are durable and visually appealing.
Selecting Bright Pigments
Selecting bright pigments is essential for creating eye-catching layered candles that truly stand out. When you choose your pigments, focus on vibrant, high-quality options that deliver bold color payoff. Proper pigment selection guarantees your layers will remain vivid and distinct. During color mixing, start with small amounts of pigment, gradually adding until you reach the desired brightness. Bright pigments can sometimes be overpowering if overused, so balance is key. Use a palette of complementary or contrasting colors to enhance the visual impact. Remember, the right pigment choice influences how well your colors blend or stay separate. By carefully selecting and mixing your pigments, you’ll achieve a lively, dynamic look that makes your layered candles truly pop.
Achieving Color Balance
Achieving color balance is essential for creating layered candles that look vibrant and harmonious. To do this, focus on maintaining good color harmony by selecting shades that complement each other. Avoid over-saturating your pigments, as high saturation can overpower other layers and disrupt the visual flow. Instead, adjust the pigment saturation to achieve a balanced look, ensuring no color dominates the others. Use a consistent color palette and consider the overall effect you want to create, whether bold or subtle. Test your colors beforehand by pouring small samples to see how they interact when layered. Remember, a well-balanced color scheme enhances the candle’s aesthetic, making each layer stand out without clashing. Additionally, understanding how the visual flow of colors impacts the overall design can help you create more cohesive and appealing layered candles. Paying attention to color contrast can also help you emphasize certain layers or features within your design. Incorporating color harmony principles can further refine your palette and improve the overall effect. Furthermore, experimenting with color saturation levels can help you fine-tune the vibrancy and subtlety of each layer for a more polished result.
Mixing Techniques Tips
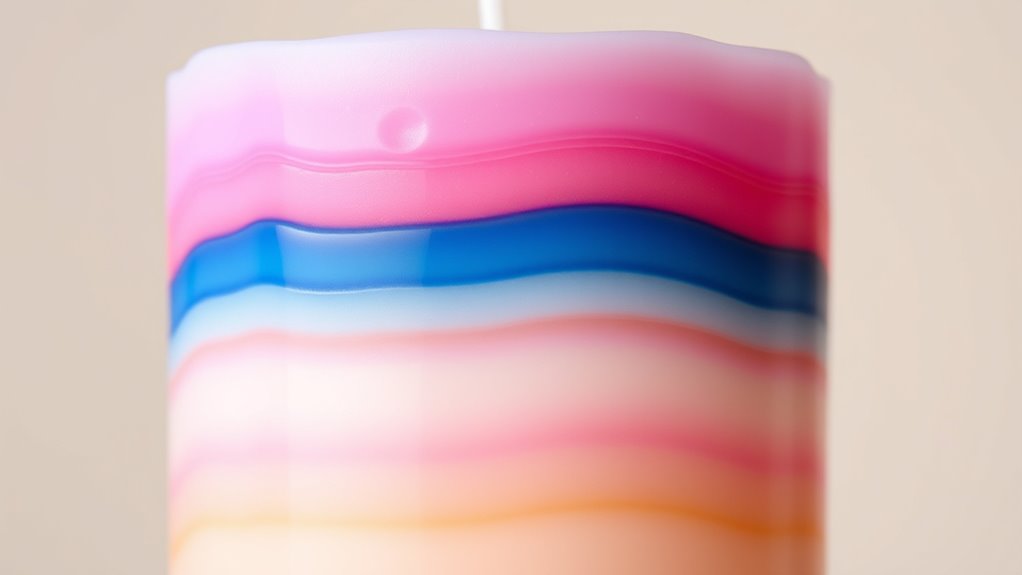
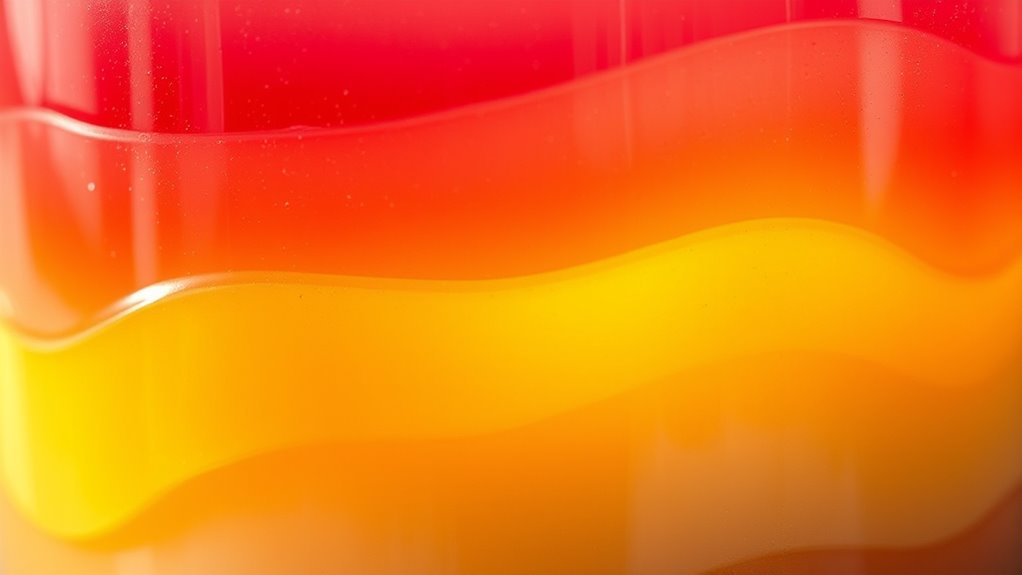
Choosing the right colors and mixing techniques is key to creating vibrant layered candles. To achieve striking color blending, start with small amounts of dye and gradually add more until you reach your desired hue. This prevents color muddiness and ensures clarity in each layer. For maximum layer contrast, select colors that are distinctly different—such as deep reds with bright yellows or bold blues with soft pinks. When mixing, stir thoroughly to ensure even distribution, but avoid over-mixing, which can dull the vibrancy. Keep your wax at the right temperature to prevent colors from blending unintentionally. Additionally, understanding color theory can help you select harmonious or contrasting colors that enhance your candle designs. Being aware of environmental considerations like proper disposal of dye and wax waste can also contribute to sustainable crafting practices. Recognizing color symbolism can guide you in choosing colors that convey specific moods or themes in your candles. Proper colorfastness techniques are essential to ensure your colors remain vibrant over time. By carefully choosing your color palette and mastering precise mixing techniques, you’ll create visually appealing candles with clear, vibrant layers and enthralling contrast.
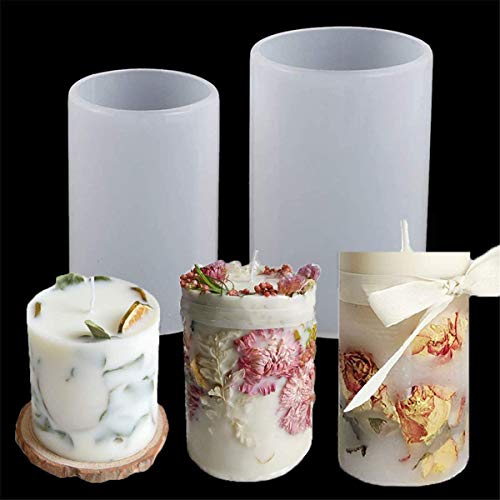
Gtian 2 Sizes Cylinder Candle Molds for Candle Making Silicone Candle Molds Pillar Candles Resin Mould Epoxy Resin Casting Molds for DIY Aromatherapy Candles, Wax, Soaps, Polymer Clay
Easy Casting and Demold: our pillar candle mold is designed to make your candle-making process a breeze; The…
As an affiliate, we earn on qualifying purchases.
As an affiliate, we earn on qualifying purchases.
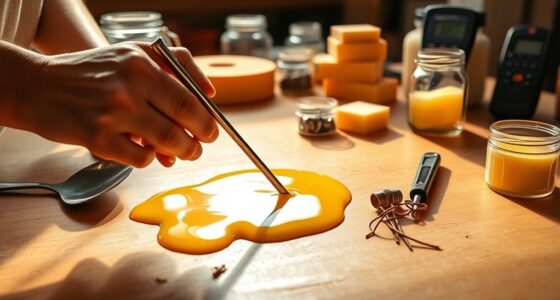
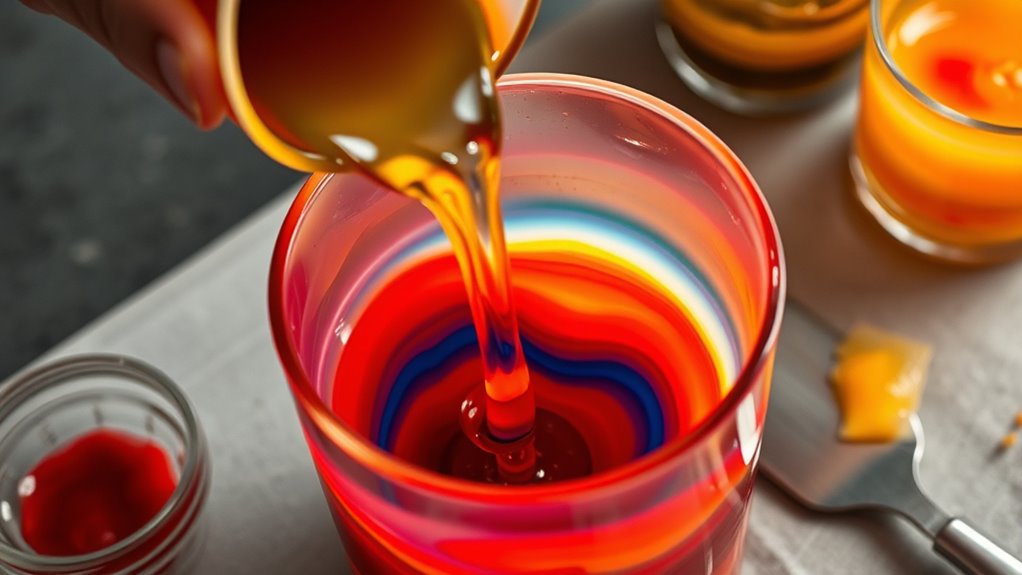
Pouring the First Layer and Allowing It to Cool
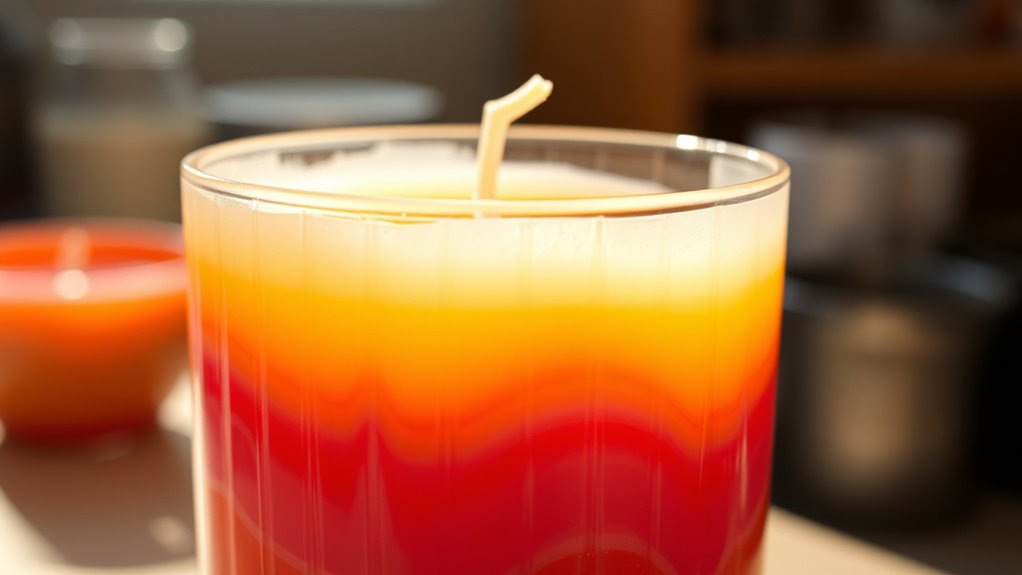
Once your melted wax reaches the desired temperature, carefully pour it into your prepared mold to form the first layer. Make certain your candle fragrance is evenly mixed before pouring, as it influences the scent distribution. Be mindful of wick placement; position the wick upright and centered to keep it straight during cooling. To prevent imperfections, follow these tips:
- Pour slowly to minimize air bubbles.
- Leave a small space at the top of the mold to accommodate the next layer.
- Allow the wax to cool and set completely before adding another layer, which usually takes 1-2 hours.
- Remember to monitor your privacy policy and cookie preferences to ensure a safe browsing experience while working on your project. Proper temperature control can also help achieve a more smooth finish and prevent cracking or uneven layers. Additionally, controlling the cooling rate can influence the overall appearance and durability of your layered candles. Patience ensures a clean separation between layers and a professional-looking finish. Once cooled, you’re ready to proceed with adding your next layer.
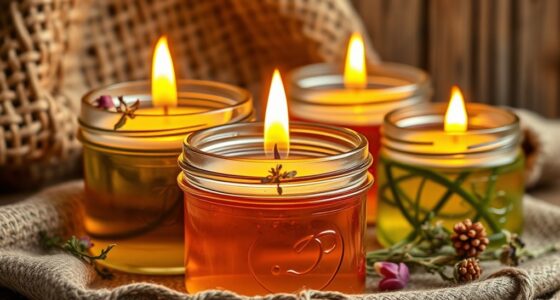
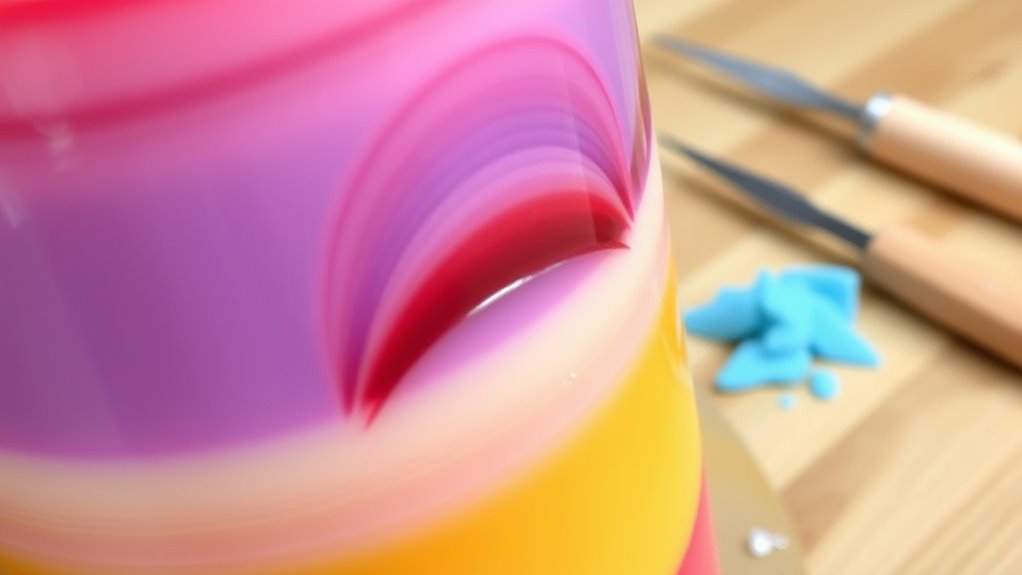
Adding Additional Layers and Creating Patterns
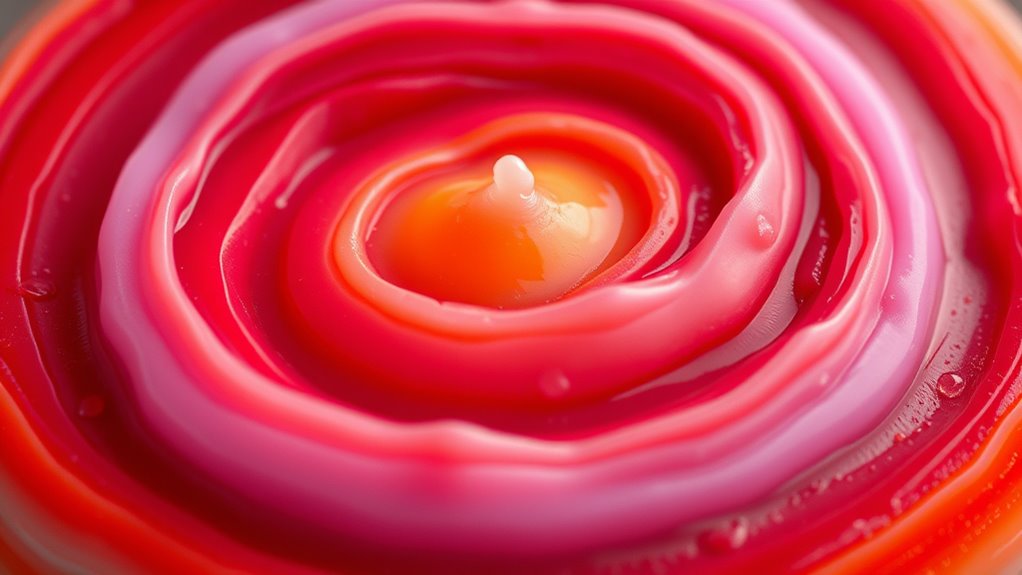
After the first layer has fully cooled and set, you can start adding additional layers or creating patterns to enhance your candle’s design. To maintain a cohesive color pattern, choose contrasting or complementary colors for each new layer. When pouring additional layers, vary the layer thickness to add visual interest—thicker layers create bold blocks of color, while thinner layers produce more delicate progressions. Be sure to wait until each layer is partially cooled but still pourable to prevent mixing. You can also create patterns by pouring in specific shapes or using tools like skewers or toothpicks to manipulate the wax surface. Experimenting with different layer thicknesses and color patterns allows you to craft unique, eye-catching designs that showcase your creativity.
Finishing Touches and Proper Candle Curing
To guarantee your layered candle looks professional and burns evenly, finishing touches and proper curing are essential. First, assure you select the right wick size and material to match your candle’s diameter and wax type, which influences burning performance and scent throw. Next, add your chosen candle scent carefully, avoiding over-scenting, which can affect the burn and appearance. Finally, allow your candle to cure by letting it sit undisturbed in a cool, dark place for at least 48 hours. This process helps the wax and scent meld, enhancing the fragrance and overall finish. Remember these key points:
- Choose the correct wick for your candle size.
- Add scent at the right temperature.
- Cure your candle properly before lighting.
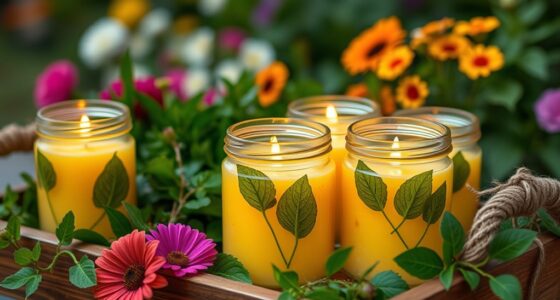
Tips for Customizing and Personalizing Your Layered Candles

Personalizing your layered candles allows you to create unique, meaningful designs that reflect your style or special occasion. Use personalized labels to add a professional touch or include a heartfelt message. Consider scent customization by choosing fragrances that match the theme or mood you want to evoke—lavender for relaxation or citrus for energy. You can also experiment with different wax colors or embedded objects to make your candles truly one-of-a-kind. When adding labels, verify they’re heat-resistant and securely attached. For scent, blend essential oils or use pre-made fragrance oils to achieve your desired aroma. These small tweaks make your candles more personal, memorable, and perfect for gifting or decorating any space.
Frequently Asked Questions
How Can I Prevent Color Bleeding Between Layers?
To prevent color bleeding between layers, guarantee each layer cools completely before adding the next. Use a thermometer to maintain the right temperature for each wax color, as high heat can cause color mixing. Pour slowly and steadily to promote color separation and layer clarity. Additionally, consider adding a small amount of additive or dye fixative to keep colors vibrant and distinct, giving your layered candles a professional, clean look.
What Safety Precautions Should I Follow During Candle Making?
You should prioritize safety gear like gloves and goggles to protect yourself, especially around hot wax. Keep your workspace free of clutter and flammable materials to prevent accidents. Always work in a well-ventilated area, and never leave melting wax unattended. These precautions guarantee your candle-making journey is both safe and enjoyable, allowing you to focus on creating beautiful layered candles without worry.
Can I Use Scented Oils in Layered Candles?
Yes, you can use scented oils in layered candles, but you should check scents compatibility to avoid unpleasant reactions. Opt for fragrance layering by choosing oils that complement each other, ensuring a harmonious scent profile. Always add scented oils at the right temperature, typically when the wax is melted but not too hot, to preserve the fragrance’s strength and clarity. This way, your layered candles will smell as beautiful as they look.
How Do I Fix Mistakes or Uneven Layers?
Think of your candle as a delicate dance—mistakes or uneven layers can trip you up. To fix this, gently reheat the uneven layer, ensuring the wax is smooth and consistent. Focus on maintaining proper layer adhesion by matching wax temperatures and consistency. If a layer doesn’t set right, scrape it away carefully and reapply with a slightly warmer wax. Patience and steady hands keep your candle’s flow seamless and beautiful.
What Are Alternative Materials for Eco-Friendly Candles?
To make your candles more eco-friendly, you can switch to biodegradable wax like soy, beeswax, or coconut wax. Use plant-based dyes such as beetroot powder, spirulina, or turmeric to add color naturally. These materials reduce environmental impact and are safer for you. By choosing biodegradable wax and plant-based dyes, you’ll create beautiful, sustainable candles that align with eco-conscious values while still achieving vibrant, layered designs.
Conclusion
Now that you’ve learned how to create stunning layered candles, you can experiment with colors, patterns, and shapes to make each piece uniquely yours. You can mix and match, pour and cool, personalize and perfect. You can explore new techniques, refine your skills, and craft beautiful, personalized candles that brighten your space and inspire your creativity. With patience and passion, you can turn simple wax into breathtaking works of art that reflect your style and spirit.