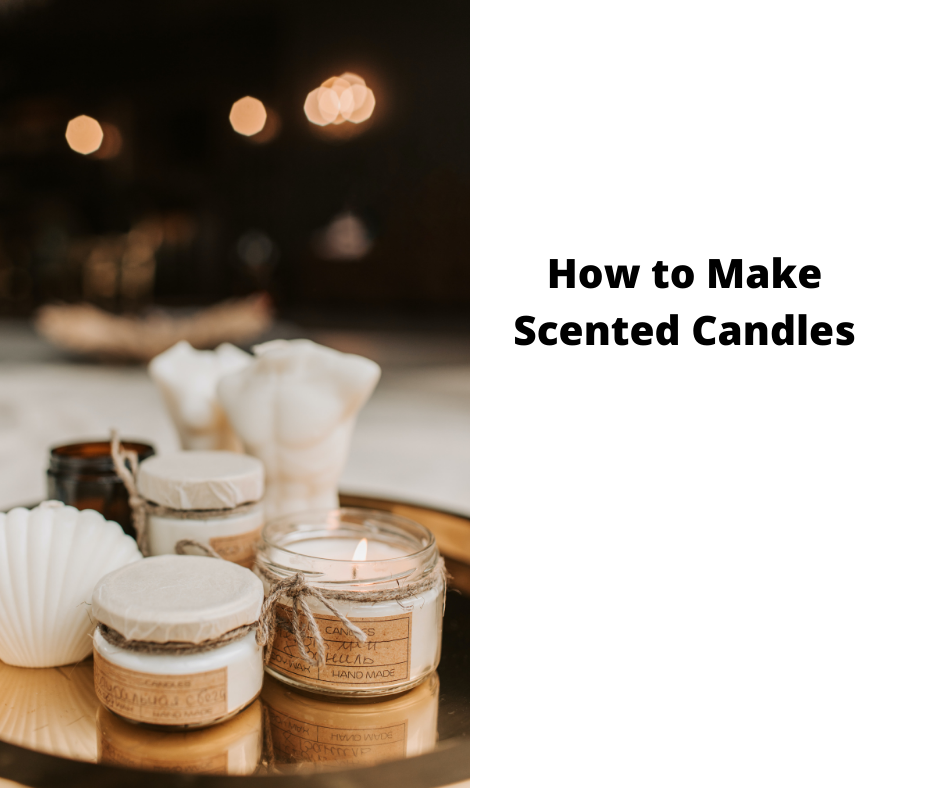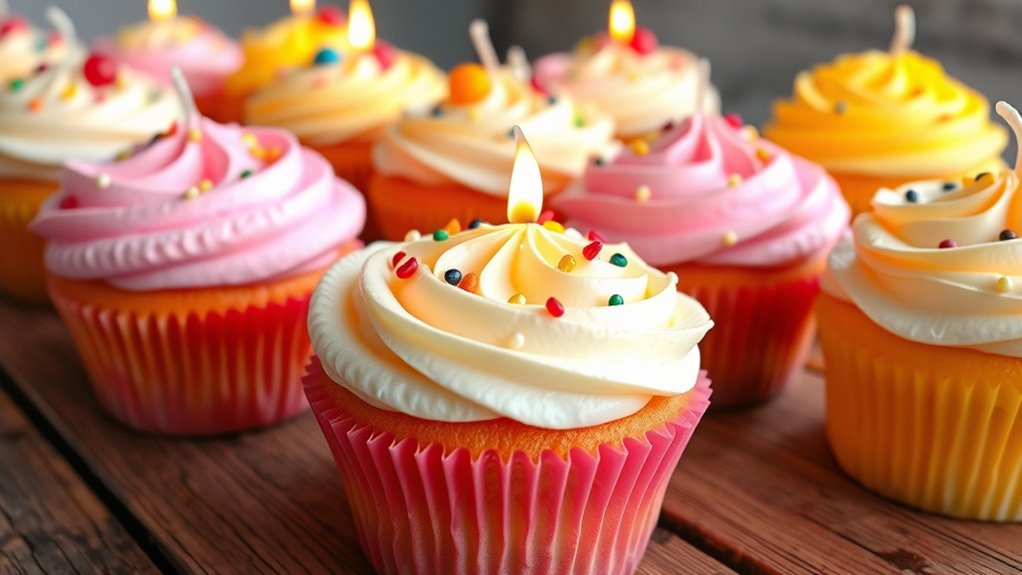

To make dessert-themed cupcake candles, start by gathering quality wax like soy or beeswax and choosing vibrant dyes and appealing fragrances. Melt the wax and pour it into silicone cupcake molds for the bases, then craft frosting details with piped wax or layered colors. Add decorative touches like sprinkles, glitter, or mini toppings for realism. Carefully layer and cool each part for professional-looking results. Keep safety in mind and explore additional tips to perfect your cupcake candles.
Key Takeaways
- Gather high-quality wax, fragrances, vibrant dyes, and essential tools like molds, wicks, and piping supplies for realistic cupcake designs.
- Melt and pour wax into silicone molds to create cupcake bases, then allow them to cool completely before decorating.
- Use piping techniques and textured molds to add frosting layers, swirls, and toppings for a lifelike dessert appearance.
- Layer different colors and add decorative elements like sprinkles or mini toppers during cooling for a professional finish.
- Follow safety guidelines by trimming wicks, avoiding unattended burning, and ensuring proper ventilation during crafting and burning.
Wehous 2PCS Silicone Candle Mold, Cupcake Shape Soap Mold Resin Candle Mold for Epoxy Casting 3D Cute Ice Cream Chocolate Fondant Cake Mould for DIY Dessert Candle Soap Wax Resin Clay Craft Home Decor
【CUTE CANDLE SOAP SILICONE MOLD】The cupcake shaped silicone mold could be used to make adorable cupcake shape candle,…
As an affiliate, we earn on qualifying purchases.
As an affiliate, we earn on qualifying purchases.
Gathering Your Supplies and Ingredients
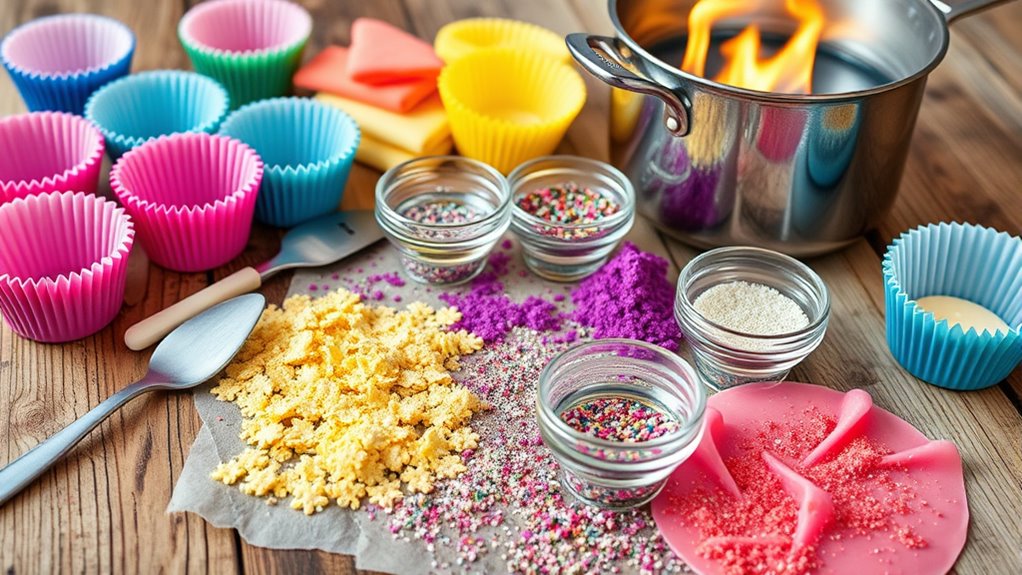
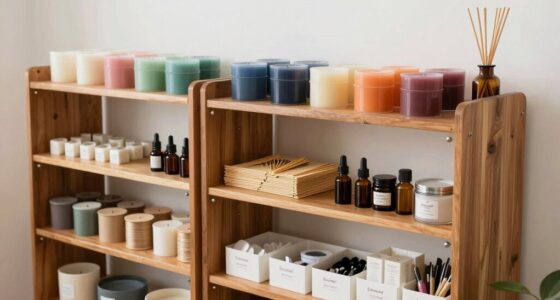
Before you begin making your cupcake candles, it’s important to gather all the supplies and ingredients you’ll need. Start with high-quality wax, your chosen candle scent, and a variety of wicks suitable for small candles. For candle scent, pick fragrances that complement the cupcake theme, like vanilla or cupcake frosting. When selecting a wick, consider the size of your container to ensure proper burning; a wick that’s too small will burn unevenly, while one that’s too large may cause soot. Also, gather cupcake liners or molds, coloring agents, a double boiler or melting pot, and stirring tools. Having everything ready beforehand makes the process smoother and ensures your cupcake candles turn out beautiful and fragrant.
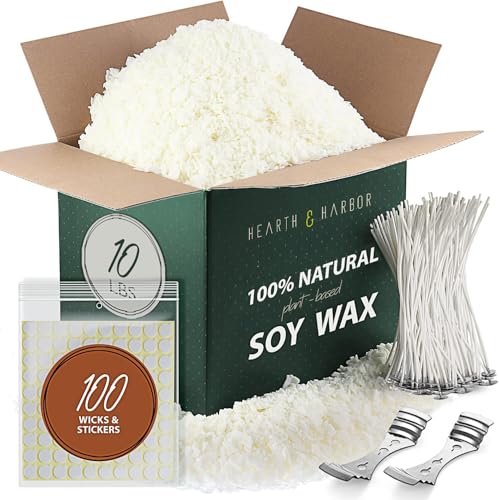
Hearth & Harbor Organic Soy Candle Wax for Candle Making, 10 lbs Natural Candles Making Supplies, Beeswax-Free, Paraffin-Free, Pure Soy Wax Flakes Perfect for Candles, Tealights and Melts
All-In-One Starter Kit – Everything you need to dive into candle making! Our Hearth and Harbor soy candle…
As an affiliate, we earn on qualifying purchases.
As an affiliate, we earn on qualifying purchases.
Preparing Your Candle Wax and Colors
To make your cupcake candles stand out, you need to choose the right type of candle wax and vibrant colors. Consider options like soy, beeswax, or paraffin for different textures and burning qualities. Picking bold, eye-catching hues will help your candles look as delicious as they smell. Exploring best candle wax types can help you select the most suitable material for your project. Additionally, incorporating sound healing techniques into your candle-making process can enhance the relaxation and mindfulness experience during crafting. When selecting a wax, consider the color accuracy to ensure your chosen dyes appear vibrant and true to tone. For those aiming for optimal performance, understanding Volkswagen TDI Tuning principles can inspire similar precision in your candle creation process.
Choosing Candle Wax Types
Choosing the right candle wax type is essential for creating beautiful and functional cupcake candles. Different waxes have unique melting points and scent traits, impacting how your candles look and smell. For example, soy wax melts at around 120°F, ideal for detailed cupcake designs, while beeswax offers a natural scent and higher melting point. Consider your scent combinations and how the wax manages fragrance throw. Here’s a quick comparison:
| Wax Type | Melting Point | Best Use Case |
|---|---|---|
| Soy | 120°F | Easy to work with, good scent throw |
| Beeswax | 145°F | Natural scent, durable finish |
| Paraffin | 130°F | Smooth finish, versatile scent |
Choose based on your scent goals and candle texture for perfect cupcake candles.
Selecting Vibrant Color Options
Adding vibrant colors to your cupcake candles can turn simple wax into eye-catching treats. To achieve this, carefully select your color options, considering how different shades blend together. Color blending allows you to create unique, custom hues that mimic real cupcake toppings or frosting. Keep in mind color symbolism; for example, pinks evoke sweetness, while bright yellows suggest cheerfulness. Use liquid or pigment-based candle dyes to get the most vibrant results, adding small amounts until you reach your desired intensity. Test your color choices in a small amount of wax first, ensuring they melt smoothly and blend well. Engaging with inspirational quotes that emphasize creativity and experimentation can motivate you to try new color combinations and techniques. By thoughtfully selecting and blending colors, you’ll craft cupcakes that look as delicious as they smell. Exploring color psychology can help you choose shades that evoke specific moods or themes in your candle designs. Incorporating vintage decor or rustic elements can also add charm to your finished candles. Understanding how interior design influences ambiance can inspire you to match your candle colors with your overall decor theme.
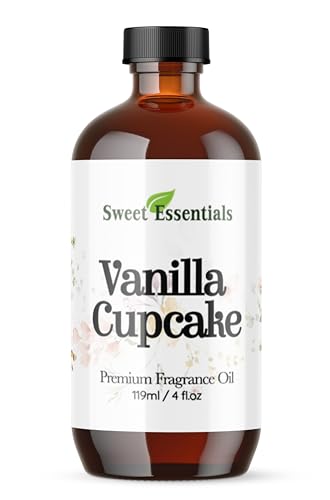
Vanilla Cupcake, 4oz Premium Fragrance Oil, Aromatherapy, Diffuser, Crafts, Soap, Home Scents, Bath & Body, DIY Parfum and Much More. Versatile and Long-Lasting
Scent: VANILLA CUPCAKE – Description: The rich creamy scent of vanilla cupcakes intertwining with buttery icing notes.
As an affiliate, we earn on qualifying purchases.
As an affiliate, we earn on qualifying purchases.
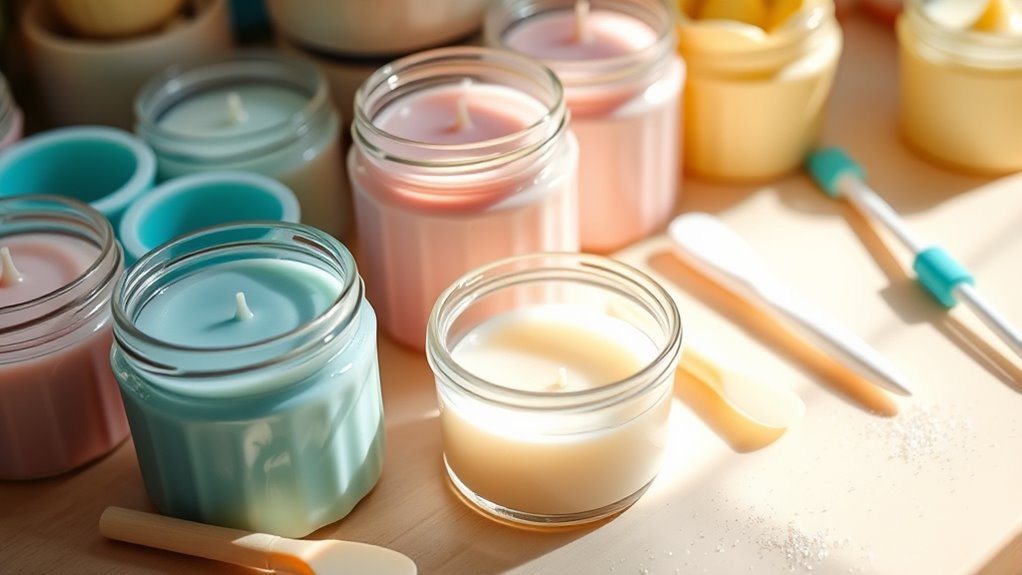
Creating the Cupcake Base and Topping
Now, it’s time to shape the cupcake base and add the frosting. You’ll mold the wax to resemble a real cupcake, then craft a decorative topping to mimic frosting. To ensure the frosting stays in place and looks realistic, consider applying a patch to protect the area from imperfections during the decoration process. Choosing the right materials can also enhance the overall appearance and durability of your candle. For added realism and safety, make sure to select bicycle tire materials that are suitable for the detailed work involved in decorating. Remember, understanding the financial impact of your craft can help you appreciate its value and potential as a creative venture.
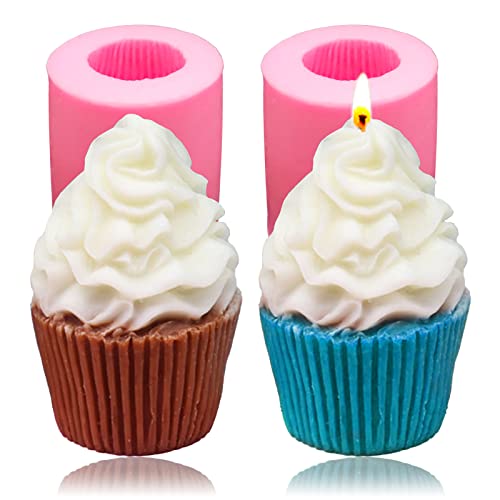
Forming the Cupcake Base
To create the cupcake base, start by melting your soap wax and pouring it into a silicone cupcake mold. Make certain the wax has a smooth, pourable wax consistency for easy filling. Here are the steps to follow:
- Prepare your wax until it reaches a pourable, smooth consistency.
- Pour the wax carefully into the cupcake mold, filling it about three-quarters full.
- Allow the wax to cool slightly before moving the mold to prevent spills or cracks.
- Let it set completely at room temperature for a few hours or until solid. Proper wax consistency ensures clean, crisp edges and a professional finish.
- Once cooled, gently remove the base from the mold, ready for the next step.
Crafting the Frosting Topping
Once your cupcake base has cooled and set, you can start shaping the frosting topping. Choose your frosting textures—smooth, ruffled, or swirled—to match your desired look. Using piping techniques, fill a piping bag fitted with your preferred tip, such as a star or round tip. Apply steady pressure as you pipe from the center outward or in circular motions, building layers to mimic real frosting. Vary the pressure or angle to create different textures, like ridges or rosettes. For a classic swirl, hold the piping bag vertically and twist as you go. Practice on a scrap piece first to perfect your technique. With patience and precision, your frosting will look irresistibly realistic, ready to be decorated with sprinkles or other embellishments.
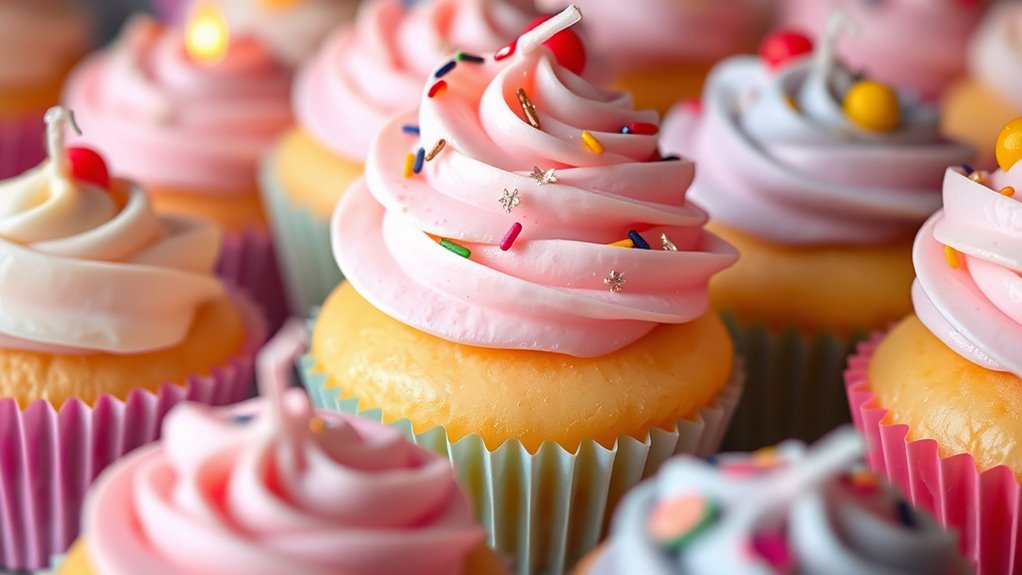
Adding Decorative Details
Have you ever wondered how to make your cupcake candles look more realistic and appealing? Adding decorative details is key. To enhance your candles, try these steps:
- Use sprinkle accents to mimic the look of real cupcake sprinkles, applying them around the frosting for a fun, colorful touch.
- Attach decorative toppers—like miniature fruit or themed figures—to the top for added charm.
- Create a textured cupcake base by shaping wax or using textured molds, making it look like a real cupcake wrapper. Incorporating cultural trends into your design can also add a modern twist.
- Finish with a small dab of melted wax or glue to secure each detail firmly.
- Consider the preppy aesthetic when choosing colors and embellishments to give your candles a chic and sophisticated look. Additionally, paying attention to personality traits can help you customize your designs to match specific themes or moods.
- Experimenting with different color palettes can further personalize your cupcake candles, reflecting your unique style or seasonal themes.
These finishing touches will elevate your DIY cupcake candles, making them look deliciously lifelike and perfect for gifting or decor.
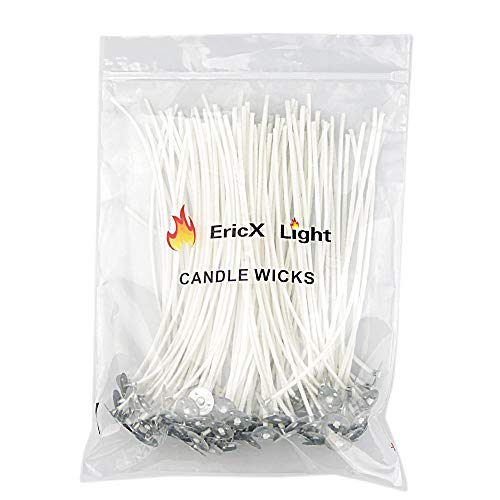
EricX Light 100 Piece Natural Candle Wick, Low Smoke 6" Pre-Waxed & 100% Natural Cotton Core,For Candle Making,Candle DIY
Pre-waxed and tabbed
As an affiliate, we earn on qualifying purchases.
As an affiliate, we earn on qualifying purchases.
Assembling and Pouring the Wax Layers
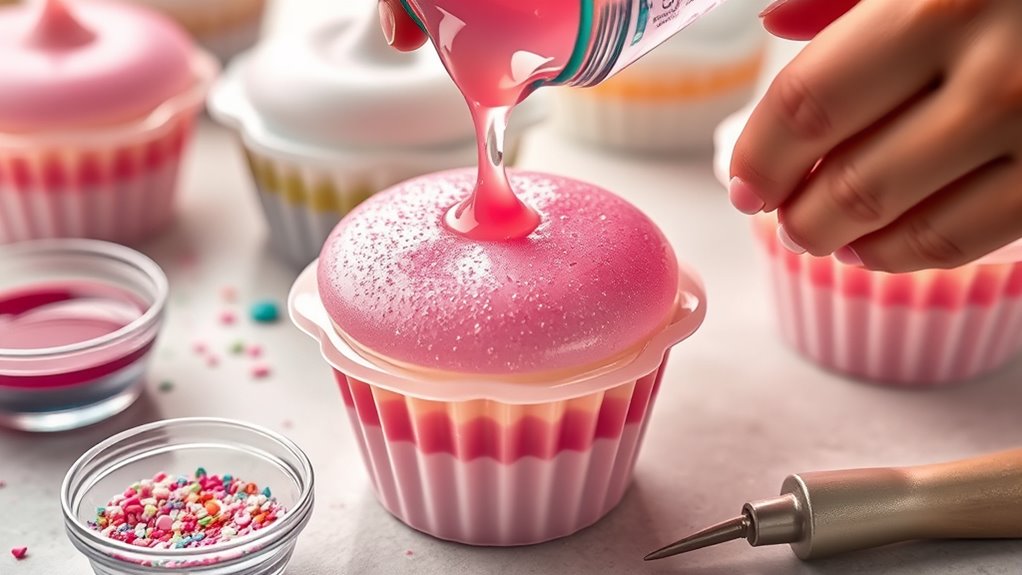
As you begin assembling the cupcake candles, it’s important to pour the wax layers carefully to guarantee a smooth, layered finish. Start by making sure your wick is centered and securely anchored. When pouring each layer, consider scent blending—adding complementary fragrances to create delicious aroma combinations. Pour the wax slowly to avoid bubbles and uneven surfaces, allowing each layer to cool slightly before adding the next. This prevents mixing of the colors and maintains distinct, clean layers. Keep your pouring temperature consistent to ensure a seamless look. Once the first layer has set, repeat the process for subsequent layers, adjusting scents as desired. Proper wick placement and careful pouring are key to achieving a professional, dessert-inspired cupcake candle. Incorporating wax temperature control can also help in understanding how different scents and wax types may affect the burn and overall appearance of your candles.
Adding Finishing Touches and Decorations
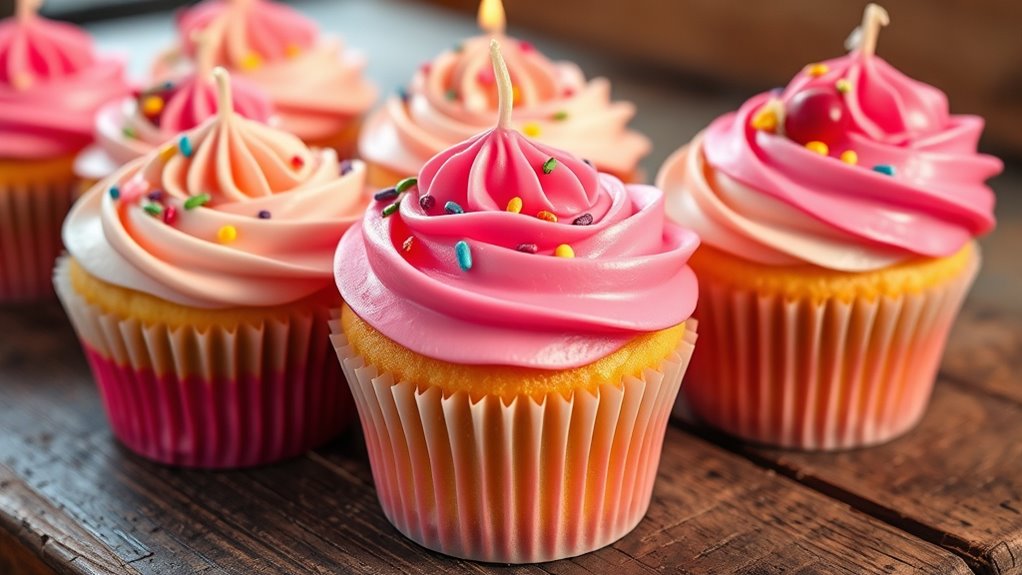
To give your cupcake candles a polished and realistic appearance, adding finishing touches and decorations is essential. These details make your creations unique and appealing. Here are some ideas to enhance your candles:
Enhance your cupcake candles with personalized labels, decorative toppers, and subtle shimmer for a polished, charming finish.
- Attach personalized labels to add a custom touch or special message.
- Use scented embellishments like tiny edible-looking sprinkles or faux fruit for realism.
- Add small decorative toppers such as mini cherries or flowers for extra flair.
- Incorporate subtle shimmer or glitter to make your candles stand out.
These finishing touches elevate your cupcake candles, making them perfect as gifts or decor. Using personalized labels not only adds charm but also makes each candle memorable. Scented embellishments enhance the sensory experience, making your candles both beautiful and fragrant.
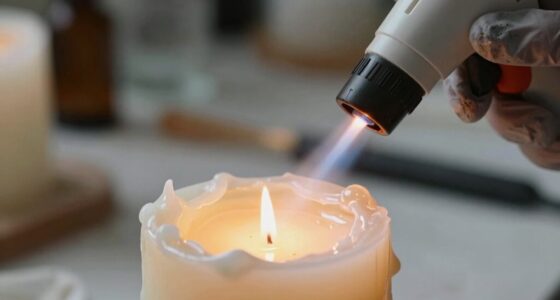
Tips for Safety and Candle Maintenance
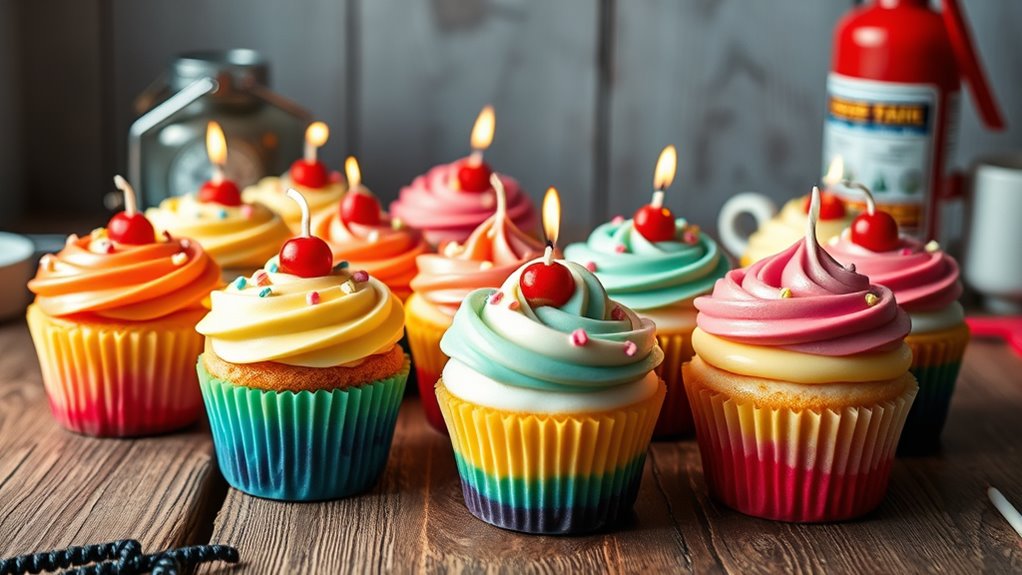
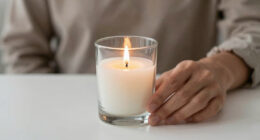
Adding decorative touches to your cupcake candles makes them more appealing, but it’s equally important to prioritize safety and proper maintenance. Always keep an eye on your candles while they’re burning to prevent fire hazards. Never leave a lit candle unattended, and trim the wick to about a quarter-inch before each use to reduce excessive flames. Ascertain your workspace has proper ventilation to avoid smoke buildup and improve air quality. Store unused candles in a cool, dry place away from children and pets. Regularly check your candles for signs of melting or damage, and extinguish them if you notice any irregularities. Following these safety tips helps you enjoy your dessert-themed creations without risk, making candle making both fun and safe. Be mindful of candle placement to prevent accidents and ensure a safe environment while enjoying your craft. Additionally, understanding candle safety standards can help you adhere to best practices and prevent potential hazards. Proper ventilation not only keeps your workspace safe but also ensures a comfortable environment during your candle-making sessions. Remember that fire safety knowledge is essential when working with open flames to protect yourself and your surroundings.
Frequently Asked Questions
Can I Customize Cupcake Scents for Different Occasions?
Yes, you can customize cupcake scents for different occasions by using scent blending techniques. You get to combine personalized fragrance options to create unique aromas that match any event, whether it’s a birthday, wedding, or holiday. Experiment with different essential oils or fragrance oils, adjusting ratios until you find the perfect scent profile. This way, your cupcake candles will always reflect the mood and theme of the occasion, making them truly special.
What Are Eco-Friendly Alternatives to Traditional Candle Wax?
Like a gust of fresh air, eco-friendly alternatives to traditional candle wax exist. You can use sustainable wax options like soy, beeswax, or coconut wax, which are plant-based candle materials. These options burn cleaner and are biodegradable, making them better for the environment. Switching to these plant-based candle materials helps reduce pollution and supports sustainable practices, so you can enjoy your cupcake candles guilt-free while caring for the planet.
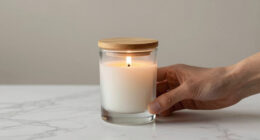
How Long Do Cupcake Candles Typically Last?
Cupcake candles usually last around 20 to 30 hours of burn time, depending on their size and wax quality. To maximize their candle preservation and shelf life, keep the wicks trimmed and store them in a cool, dry place. Properly cared for, these dessert-themed candles stay fresh and vibrant, ensuring you enjoy their sweet glow longer. Remember, good candle preservation practices help extend their burn time and overall lifespan.
Can I Make Cupcake Candles Without a Mold?
Yes, you can craft a charming DIY cupcake candle without a mold! Use mold alternatives like silicone cups, plastic containers, or even recycled jars to create your cupcake shape. Simply pour your wax into these makeshift molds, add your favorite scents, and let it set. With a little creativity, you’ll whip up wonderful, whimsical DIY cupcake candles that look just as delightful as store-bought ones!
Are There Allergy-Safe Ingredients for Candle Making?
Yes, you can find allergy-safe ingredients for candle making. Look for gluten-free ingredients and soy-based wax, which are generally considered safer options. Always check labels to verify they’re free from common allergens like nuts or fragrances that might trigger reactions. Using these ingredients helps create candles that are safer for sensitive individuals, while still allowing you to enjoy your dessert-themed candle projects without worry.
Conclusion
Just like the artistry behind a masterful pastry, your cupcake candles transform simple materials into delightful creations. With patience and creativity, you’ve crafted edible-looking desserts that brighten any space. Remember, as in any fine art, safety and care guarantee your masterpieces last. So, keep your flame steady and your wax pure—your dessert-inspired candles are now a proof of your craftsmanship, echoing the magic of a sweet treat that’s forever burned into memory.